Hello all! Lisa here and today I'm sharing a card for the Coffee Lovers Blog Hop! Did you know that Rubbernecker Stamps is a Super Sponsor for the hop? You can find the Rubbernecker Hop Post here and check out all of the DT makes for Day 1 of the hop! You have until end of day tomorrow to link up a newly created Coffee, Tea or Cocoa themed project for a chance to win one of many prizes!
There is lots of caffeinated goodness in the Rubbernecker shop and I used a couple of my faves today! Here's how I was inspired:
I just love the owls available over in the shop! And Campbell here is having his Monday morning coffee... he looks like he needs it right?
And of course I used this Graduated Horizontal Stripe background! I've been playing with it all month and if you'd like you can see how I used it on this post here and this one here! For today I used Lemon, Citrus and Apricot Color Fuse Inks to create a sunrise feel.
Isn't he a cutie!? I added a few die cuts and a sun for the feel of a scene without creating a full scene.
This is one of my very favorite sentiments in the shop! I love the font and it's a great wish for any of your coffee loving besties!
I had a lot of fun creating this one and here's how I did it:
- I started with a 6x6 piece of white cardstock and placed it in my Misti butted right up to the corner. Since this a cling mounted rubber stamp, I took the extra pad out of the Misti before putting the paper it into place. Also, using a larger piece of cardstock and stamping before you die cut your panel makes it easy to use the magnets to keep the piece in place while you stamp the background. Then using the lightest color first I started inking up the stamp. This time I used a sponge to apply the ink and it took a little bit longer and a few more impressions, but I like how the the ink blended in more smoothly. Once I had the Lemon ink as solid as I wanted, I used the Citrus ink overlapping the Lemon a bit and then the Apricot and let that overlap the Citrus.
- Once the background was complete, I used the largest of the Nested Deckle Rectangle Dies to cut my stripey panel. I placed the die onto the paper and used some washi tape on the outside edges of the die to keep it in place. Then I attached that to a white base cut 5 1/2 x 4 1/4".
- I used the Misti again to stamp my sentiment onto a white piece of cardstock and then cut it with the largest of the Nested Banner Stitch dies again holding the die into place with some washi. I place it on the outside edges when I can in case the washi sticks a little too good to the paper so it doesn't tear the fronts of my die cuts.
- I attached the banner to the front of the card offset to leave room for Campbell and used some foam tape to give it some dimension.
- I stamped, die cut and colored Campbell with my Copics and popped him up next to the sentiment.
- I die cut the sun, grass and flowers from cardstock and design papers in the colors I wanted and then placed them around Campbell to create my mini scene... popping up some parts and using glue for others. I love that the sun die cuts the inside circle out separately so I can pop the center up higher than the outside rays!
- I just added a few sequins to finish it up.
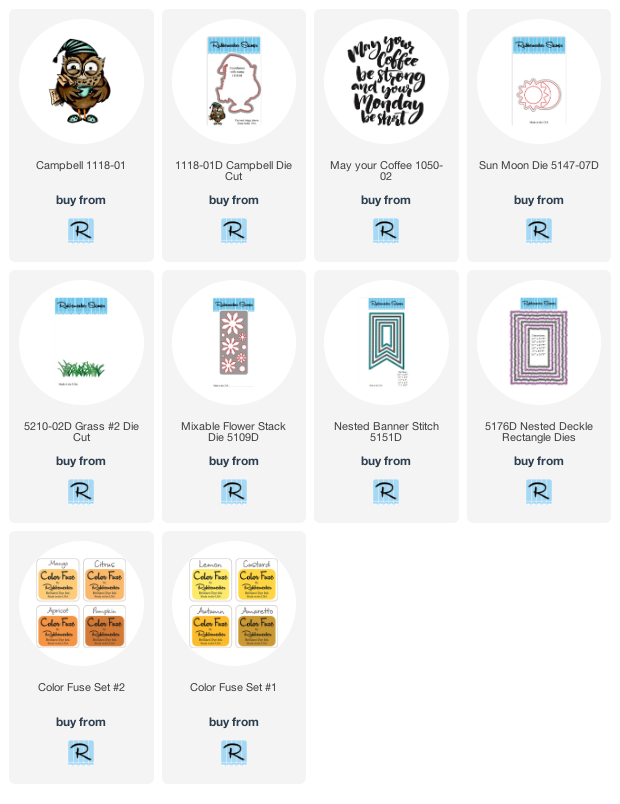
Below are links to all of the Rubbernecker Stamps products I've used today. If you choose to purchase using them, I will receive a small compensation at no additional cost to you... and thank you!


Love love love this! LOVING that sentiment (except for this past Monday ... we WANTED that one to go slow cause of the holiday! LOL!) and loving the little owl!!!!
ReplyDeleteADORABLE Card!! Love the Owl!!
ReplyDeleteAbsolutely adorable, love the owl coloring!
ReplyDeleteSuper cute owl image and your coloring is fantastic. I love this card.
ReplyDeleteThis is so cute! I love that owl.
ReplyDeleteSo cute. Awesome coloring and fun image.
ReplyDeleteOh this is so adorable!
ReplyDeleteSo cute and well designed. I love the coloring.
ReplyDeleteAWWHH! Love that sleepy eyed owl, great card!
ReplyDelete