Welcome back! Today I'm sharing a fun and fairly simple card using this fun image, Ralph Golfing and a few other things from Rubbernecker Stamps!
The Base:
- I started this one by cutting a panel of white using the largest of the Small Stitched Rectangle dies.
- I ink blended that with Serene and Grass Color Fuse Ink using brushes.
- Then I splattered some water onto the ink and patted it with a paper towel to leave some watermarked splatters on the panel.
- Next I cut another panel using the next smaller rectangle and I positioned it onto a piece of green cardstock, taped it in place and then centered the Diamonds Tattered die in the center of that and ran them through the die cut machine together to create the green panel with openings.
- I popped the green panel up over the ink blended panel. (You could easily create a shaker by adding a piece of acetate to the back of the green panel before adding the pop up tape, but I chose to leave it as it was to keep it simple.)
The Sentiment:
- I stamped the Best Wishes from the Best Wishes Etc clear sentiment stamp set onto white cardstock.
- Next the Old Putter stamp was inked up just over part of the sentiment and stamped centered and underneath the Best Wishes. (If you don't trust yourself to not get ink where you don't want it, you can mask the set by putting tape over the parts you don't want to ink up before applying ink; then ink it up and peel the tape off before you stamp).
- Then I centered the banner die over the sentiment and taped it in place. I love that these banner dies are open so I can do that and be sure I have the sentiment or image exactly where I want it!
- Finally I popped the sentiment up onto the base.
The Image:
- I stamped Ralph onto some Copic Friendly paper using Memento Tuxedo Black Ink and used the coordinating die to cut him out.
- I colored him mostly using the following Copic markers:
- YG01, YG06, and YG09 for the green parts
- B21, B24, and B26 for the blue parts
- E21, E50, and E51 for his skin
- C1, C3, and C5 for any gray areas
- When I was done coloring I popped him up onto the card and added a few sequins and I was done!
I think Ralph is a pretty fun image don't you? I know I had fun putting this one together!
Thanks so much for stopping! I hope you enjoyed it and you'll come again soon!
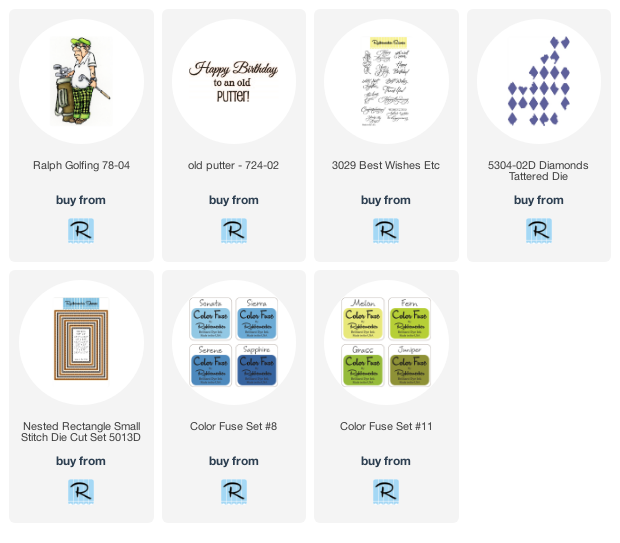
I've included links below for all of the Rubbernecker Stamps products I've used on this project. Should you choose to purchase using these links I will receive a small compensation at no additional cost to you. And thank you!


HA!! I loveeeeeeeeeee this! LOVING that sentiment!
ReplyDeleteSuch a fun golfing card. I love that sentiment!
ReplyDelete