

Welcome! I've got a slimline today using one of the new clear layered sets in the Rubbernecker shop, Field of Daisies! I also used some of the fantastic slimline dies including the very cool SLI Circle Lattice Die.

Have you seen the cool slimline insert dies in the shop? I love that you can mix and match inserts with the solid background dies to create so many different designs!
- Place the solid background die upside down onto the paper.
- Next place the insert where you want it. I chose to center it because I knew I was going to create a shaker and wanted to leave space around the edges. (But wouldn't this look cool offset a bit!
- Using removable tape, secure the dies so they don't shift when you run them through your die cutting machine.
- Run them through your die cutting machine and you have your panel with a lattice insert!

Usually when you receive a new stamp set, it will have a film on it from the manufacturing process and it needs to be seasoned. You can use your finger and rub over it, an eraser, just stamp and clean it a few times. I find an easy way, especially for something with a solid surface, to get them ready to stamp is to use my sand eraser and rub it lightly over and then wash the stamp off.

I used various yellows and oranges and randomly stamped my layers. This set is SO easy to line up, there is no need to mark them!
These are the colors I used:

This pallet makes me happy... feels like autumn, right?

- All flowers and leaves were stamped using various combinations of yellow and orange or greens and die cut.
- A piece of acetate was cut slightly larger than the lattice window and adhered to the back of the panel.
- Foam tape was added around the window on the back side of the panel.
- Sequins were laid out onto the base.
- The window panel was popped up over the sequins.
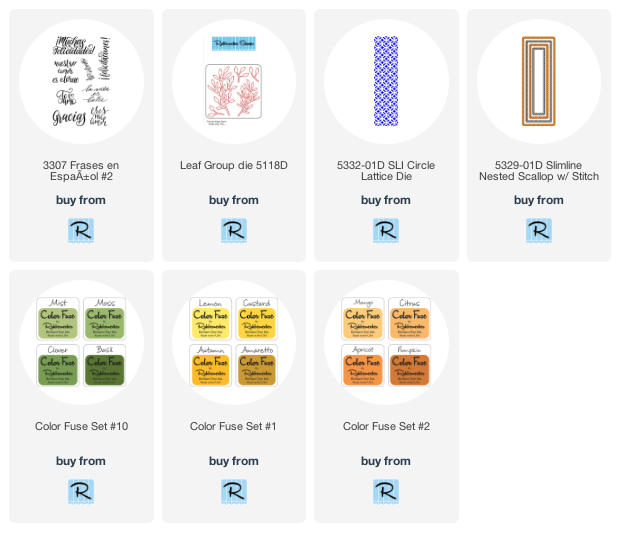
- Extra leaves were die cut using the Leaf Group Die
- Flowers and leaves were popped up on top of the shaker panel with thin foam tape.
- The Gracias sentiment from Frases En Espanol #2 was stamped on cardstock and fussy cut out and popped up onto the card front.

Finally a few sequins were added and I was done!
Thanks so much for stopping by today! I hope you were inspired and that you'll come again soon!
Wow wow wow! This is beautiful! Loving those flowers!
ReplyDeleteWow that background is perfect and the colour combo is beautiful. María, xx
ReplyDeleteAbsolutely gorgeous. I love the bright cheery colors.
ReplyDeleteOoh, how beautiful! Gorgeous card my friend! Happy Thanksgiving!
ReplyDeleteTheresa
Such warm and happy colours. A fabulous card design
ReplyDeleteClaire