

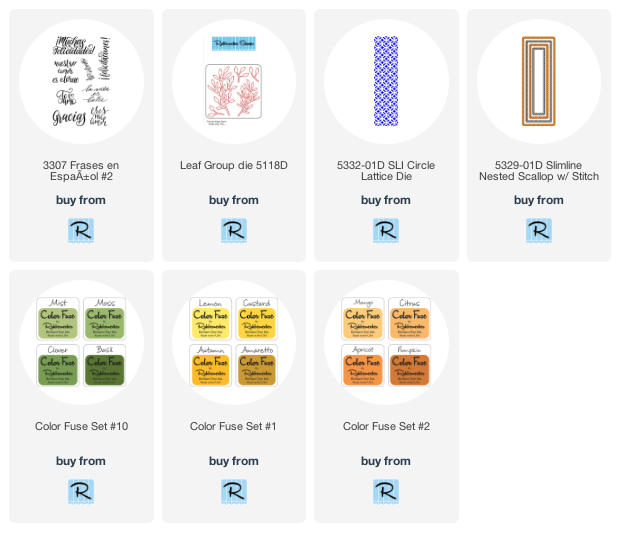
Welcome! I've got a slimline today using one of the new clear layered sets in the Rubbernecker shop, Field of Daisies! I also used some of the fantastic slimline dies including the very cool SLI Circle Lattice Die.

Have you seen the cool slimline insert dies in the shop? I love that you can mix and match inserts with the solid background dies to create so many different designs!
- Place the solid background die upside down onto the paper.
- Next place the insert where you want it. I chose to center it because I knew I was going to create a shaker and wanted to leave space around the edges. (But wouldn't this look cool offset a bit!
- Using removable tape, secure the dies so they don't shift when you run them through your die cutting machine.
- Run them through your die cutting machine and you have your panel with a lattice insert!

Usually when you receive a new stamp set, it will have a film on it from the manufacturing process and it needs to be seasoned. You can use your finger and rub over it, an eraser, just stamp and clean it a few times. I find an easy way, especially for something with a solid surface, to get them ready to stamp is to use my sand eraser and rub it lightly over and then wash the stamp off.

I used various yellows and oranges and randomly stamped my layers. This set is SO easy to line up, there is no need to mark them!
These are the colors I used:

This pallet makes me happy... feels like autumn, right?

- All flowers and leaves were stamped using various combinations of yellow and orange or greens and die cut.
- A piece of acetate was cut slightly larger than the lattice window and adhered to the back of the panel.
- Foam tape was added around the window on the back side of the panel.
- Sequins were laid out onto the base.
- The window panel was popped up over the sequins.
- Extra leaves were die cut using the Leaf Group Die
- Flowers and leaves were popped up on top of the shaker panel with thin foam tape.
- The Gracias sentiment from Frases En Espanol #2 was stamped on cardstock and fussy cut out and popped up onto the card front.

Finally a few sequins were added and I was done!
Thanks so much for stopping by today! I hope you were inspired and that you'll come again soon!
5 comments:
Wow wow wow! This is beautiful! Loving those flowers!
Wow that background is perfect and the colour combo is beautiful. María, xx
Absolutely gorgeous. I love the bright cheery colors.
Ooh, how beautiful! Gorgeous card my friend! Happy Thanksgiving!
Theresa
Such warm and happy colours. A fabulous card design
Claire
Post a Comment