Showing posts with label Frases En Espanol. Show all posts

Thursday, November 26, 2020

Rubbernecker Stamps - Gracias


Welcome!  I've got a slimline today using one of the new clear layered sets in the Rubbernecker shop, Field of Daisies!  I also used some of the fantastic slimline dies including the very cool SLI Circle Lattice Die.


Have you seen the cool slimline insert dies in the shop?  I love that you can mix and match inserts with the solid background dies to create so many different designs!

  • Place the solid background die upside down onto the paper.
  • Next place the insert where you want it.  I chose to center it because I knew I was going to create a shaker and wanted to leave space around the edges.  (But wouldn't this look cool offset a bit!
  • Using removable tape, secure the dies so they don't shift when you run them through your die cutting machine.
  • Run them through your die cutting machine and you have your panel with a lattice insert!


Usually when you receive a new stamp set, it will have a film on it from the manufacturing process and it needs to be seasoned.  You can use your finger and rub over it, an eraser, just stamp and clean it a few times.  I find an easy way, especially for something with a solid surface, to get them ready to stamp is to use my sand eraser and rub it lightly over and then wash the stamp off.


I used various yellows and oranges and randomly stamped my layers.  This set is SO easy to line up, there is no need to mark them!

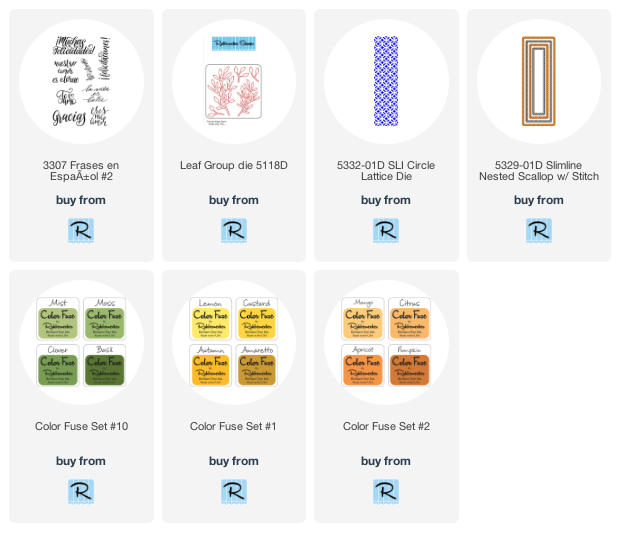
These are the colors I used:


This pallet makes me happy... feels like autumn, right?


  • All flowers and leaves were stamped using various combinations of yellow and orange or greens and die cut.
  • A piece of acetate was cut slightly larger than the lattice window and adhered to the back of the panel.
  • Foam tape was added around the window on the back side of the panel.
  • Sequins were laid out onto the base.
  • The window panel was popped up over the sequins.
  • Extra leaves were die cut using the Leaf Group Die
  • Flowers and leaves were popped up on top of the shaker panel with thin foam tape. 
  • The Gracias sentiment from Frases En Espanol #2 was stamped on cardstock and fussy cut out and popped up onto the card front.


Finally a few sequins were added and I was done!

Thanks so much for stopping by today!  I hope you were inspired and that you'll come again soon!


Thursday, May 21, 2020

Feliz Cumpleanos - Rubbernecker Stamps!


Welcome back!  Today I'm back with some more stripey goodness!  This time I used it for this birthday card using the Dog With Big Eyes stamp along with Birthday Balloons!


I created the background just like my last, but this time using the Color Fuse #8 blues...


I love using a frame to highlight the main card images!  But I also love letting the images push the limits of the frame... I mean all of this fun can't be contained!


And again I used the Frases En Espanol #1 stamp set for this Happy Birthday wish!


I added a little sparkle with some clear sequins and I was done!

Here's how I created this one:

  1. I started with the background panel!  Just like my last one,  I cut a piece of white cardstock approximately 6x6.  Usually I'll die cut my panel first, however it was easiest to stamp the stripey background using a larger piece because I was able to place the cardstock in the corner and still use the magnets to hold it into place leaving room for the stamp and so I could stamp more than once to get a nice solid stripe.
  2. To give a sort of Ombre effect, all four of the blues in Color Fuse Set #8 were used.  I started with the lightest and inked up the first three skinny stripes or so and stamped... I didn't worry about overlapping so that the varying colors would have a bit of a transition and blend.  I cleaned off the stamp and repeated the process with next few wider stripes using the next darkest ink in the set and then twice more with the two darkest colors.  I did go over in the same fashion a second time again to blend the colors better.
  3. Once my striped background was complete, I used the largest of the Rectangle Small Stitch Dies and taped it into place with some washi tape placed on the outside of the die to be sure my stripes would be straight and ran it through the Gemini to cut the panel.  (I like to place the tape on the outside when I can in case the washi decides to stick so I don't tear my panel at all).
  4. I stamped, die cut and colored my pup!  I used E34, E35 and E37 to color him in and E77 and E79 for his nose.
  5. I stamped, die cut and colored two of the Birthday Balloons images.  I used R24, R27, and R29 for the red balloons; Y08, Y11, and Y15 for the yellow; and B21 B24, and B26 for the blue.  I trimmed the "Happy Birthday" sentiment from the center balloon of each knowing I was going to use a different sentiment.
  6. I attached my stripey background to a white card base that I cut 5 1/2 x 4 1/4".
  7. I grabbed one of the rectangle frames that I had on hand... when I cut these frames I put any leftovers into a clear baggy for later use so it's easy to grab one when I need it!  I added some thin foam popup tape to the back of the frame for dimension and popped it onto the background at an angle.
  8. I added my images inside the frame letting parts of them fall over the edge using varying thickness of foam tape.  I was careful to cover up the area of the balloon strings where I cut off the sentiment with my placement.
  9. I stamped and fussy cut the sentiment I wanted and then added foam tape to the ends so I could pop it over the edge of the frame.
  10. I added a few sequins for sparkle and fun!
That's me for today!  I hope you enjoyed your visit and be sure to come back tomorrow!  We've got lots of fun going on here because it's the start of the Coffee Lovers Blog Hop and Rubbernecker Stamps is a Sponsor!  It's a week long celebration of all things Coffee, Tea and Cocoa and there will be chances to win lots of prizes if you link up and play along!  Be there or be square (like this graphic... although it is pretty cute... but be there anyway just to be safe!)


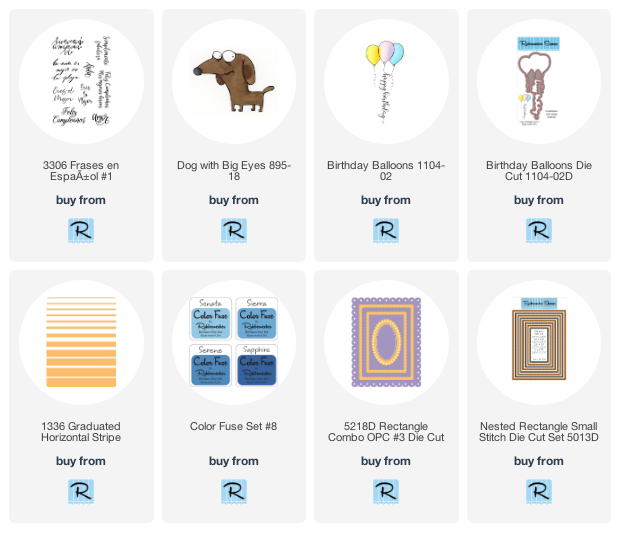
Below are links to all of the Rubbernecker products I've used today!  If you choose to purchase using these links I will receive a small compensation and thank you!

Thursday, May 14, 2020

You're The Best! - Rubbernecker Stamps


Welcome back!  Today I'm sharing a masculine card that would make a great Father's Day card!


I just love this Old Truck stamp!  It's fun to color up and it's great for any man card.  And how about that great stripey background!  I love the Graduated Horizontal Stripe Background stamp... it's such a great simple but bold background and depending on the colors you choose it can be used for any kind of card.  I'll be using it quite a bit this month! 


And the Frases En Espanol #1 stamp set!  I just love the fonts and it contains a bunch of great sentiments.  This one says You're The Best.  Perfect, right?


I very rarely create masculine cards, but I really enjoyed making this one!

Here's how I created it!

  1. I cut a piece of white cardstock approximately 6x6.  Usually I'll die cut my panel first, however it was easiest to stamp the stripey background using a larger piece because I was able to place the cardstock in the corner and still use the magnets to hold it into place leaving room for the stamp and so I could stamp more than once to get a nice solid stripe.
  2. To give a sort of Ombre effect, all four of the browns in Color Fuse Set #3 were used.  I started with the lightest and inked up the first three skinny stripes or so and stamped... I didn't worry about overlapping so that the varying colors would have a bit of a transition and blend.  I cleaned off the stamp and repeated the process with next few wider stripes using the next darkest ink in the set and then twice more with the two darkest colors.  I did go over in the same fashion a second time again to blend the colors better.
  3. Once my striped background was complete, I used the largest of the Rectangle Small Stitch Dies and taped it into place with some washi tape placed on the outside of the die to be sure my stripes would be straight and ran it through the Gemini to cut the panel.  (I like to place the tape on the outside when I can in case the washi decides to stick so I don't tear my panel at all).
  4. I stamped, die cut and colored the truck using YG61, YG63 and YG67 and just a bit of E15 for the rust.
  5. Next a smaller stitched panel was cut and the background was ink blended with green, yellow, orange and red Distress Oxides.
  6. Then using the Misti to be sure of a good impression, I stamped the sentiment using Memento Tuxedo Black Ink.
  7. I adhered the ink blended piece to a piece of brown (the same color as my base would be) and cut it down leaving a slight border.  I added the striped background to the 5 1/2 x 4 1/4" base and then popped up the smaller rectangle onto the center.
  8. Some trees and the sun were cut from white cardstock and I colored them by ink blending some of the same colors onto the diecut pieces and then placed them and the truck over and around the piece using varying thicknesses of foam tape.  I had to trim the sides of some of the trees so they would fit a little better, but as you can see, I still let some of the die cuts hang over the edge.  I love the feeling that the scene cannot be contained on that little rectangle and it just goes on...
  9. Finally I just added a few sequins and metal studs that coordinated with the masculine feel of the card.
That's me for today!  Thanks for stopping and I hope you enjoyed it!  Come again soon for some more Rubbernecker inspiration!


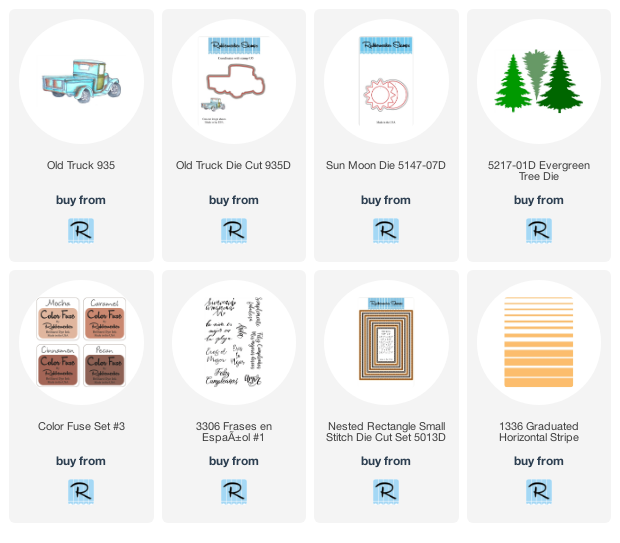
The links below are affiliate links and should you choose to purchase using these links I will receive a small compensation.  And thank you!

Sunday, May 3, 2020

Gracias! - Rubbernecker Stamps


Popping in for a quick post today!  I had some of these rainbow shakers that I made a while ago waiting around to be finished and I decided they'd be perfect with the new Frases En Espanol #2 sentiment set!


For full details on how I created these shakers, see this post here!


I stamped the phrases from the Frases En Espanol set onto white cardstock using my Misti and some Color Fuse Inks.  I made them multicolored by applying the ink to part of the stamp, stamping in that color and then I cleaned the stamp and added ink in another color overlapping the first but not quite to the end and then again with a third... so in this case I inked the pink first, then the purple, and then the blue.


Then I put the phrases through the Scan N Cut to cut them out that would lend themselves to being cut that way.  Anything that was fully connected with little to no spaces will cut well.  Then I just added them to these cards and I love them!

Thanks so much for stopping by today!  I hope you enjoyed it!