Showing posts with label Foil. Show all posts

Friday, June 25, 2021

You'll Fit Right In! - Miss Ink Stamps


Welcome back!  I'm sharing a fun card using the Madness stamp set from Miss Ink Stamps along with the Rabbit Hole stencil along with some Rainbow Deco Foil!


I actually created this rainbow panel a while ago.  I had used the foil with the stencil for this card here and then I used the negative on some Toner Paper and there it sat until this!  I just created a panel with a circle window and popped it up over the rainbow foiled piece.  Then I stamped the We're All Mad Here sentiment in Versamark and heat embossed with some glitter embossing powder and cut it out.  I fussy cut the sentiment out and added foam tape to the part that would hang over the circle for support.  Finally one of the smaller sentiments, a few sequins and done!

That's me for today!  Thanks so much for stopping and hope you'll come again soon!


Monday, June 7, 2021

A Jillian Vance Design - New Release Fun In The Sun!


There is a fun new summer release over at A Jillian Vance Design and I'm up on the blog today with this one using Sweet Sunflower:


I've got lots of details and links over there and hope you'll give us a visit and check it out!

Thanks for stopping!  Come again soon!


Friday, June 4, 2021

Miss Ink Stamps - You Matter!


Welcome back!  I've got a fun one for you today and in June I'm going to be playing with foil and my Minc this month!  You know I've been loving my Gel Press and having a lot of fun with it and I wondered about using it with toner ink and I caught a quick video on IG that made me decide to give it a go!  If you'd like to check out the video, you can find it here!


I used some Distress Oxides with my gel plate to create a circular background and used the floral wave for some movement and then I applied some Toner Ink through the Vintage Keyhole stencil and ran it through my Mink with some Glass Slipper Deco Foil.  It's how I imagine the inside of this guy's brain might look at all times...lol... and it carries the key to the universe... or at least some mad knowledge anyway...lol!


I love the fun images and sentiments on this It's All Relative stamp set!

I'm going to be sharing this technique on the Miss Ink blog next week so stay tuned for more details!


Don't you love that Deco Foil??  I love how it looks kind of matte at some angles and so shiny at others.


Thanks so much for stopping and hope you come back again soon!


Thursday, February 11, 2021

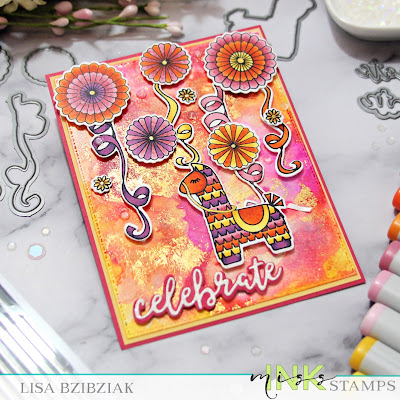
Miss Ink Stamps - Party On A Card


I'm up on the blog over at Miss Ink stamps sharing how I made this alcohol ink background!  I used some more fabulous ETC Papers EVO paper for this one and I'm loving it!  Head on over there for details on how I made this one!


Thanks so much for stopping and hope you'll come again soon!


Wednesday, November 18, 2020

Happy New Year Sneak Peek - Miss Ink Stamps


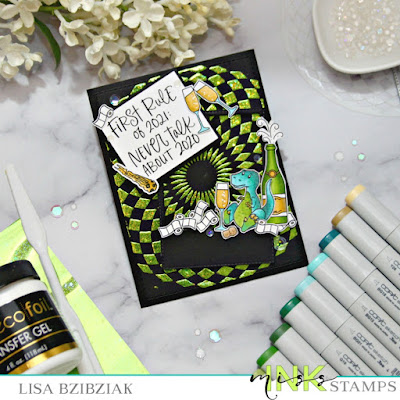
Exciting day today!  It's Day 1 of sneak peeks over at Miss Ink Stamps and I'm sharing a sneak of the new Happy New Year mini set!


I combined mine with the Unstoppable stamp set because... well... I thought it was perfect for this  year!  I mean.. you don't know... we may yet see dinosaurs!

And I foiled my background with some Glittered Green Deco Foil for extra New Year Celebration shine! 


Be sure to head on over to Instagram and check out the release post to see how you could win!  And we'll have more release sneaks this week and Release Day is on Saturday!  Be there or be square!


Friday, May 22, 2020

Coffee Lovers Blog Hop - CASual Fridays Stamps


Hello!  Welcome to the Coffee Lovers Blog Hop!  I have a few posts today and here I'm sharing with you some CAS-ual Fridays Stamps Inspiration!  CAS-ual Fridays is one of the many sponsors offering up awesome prizes for linking up to the hop!  

You just need to create something with a coffee, tea, or cocoa theme and link it up for your chance(s) to win!  (Yup! You can link up multiple new creations for multiple chances!).  For all of the rules and to check out who the sponsors are, link up or just start hopping, check out the main hop post here up on the Coffee Loving Cardmakers Blog!  And for even more fun, if you're not already a member, join us over in the Coffee Loving Papercrafters Group on Facebook here where we share caffeinated inspiration all year long!  (Be sure to answer all of the questions to get added right away!

Here's how I was inspired:


At CAS-ual Fridays we're sharing projects using the newly released Coffee Chips Chipboard!  I had lots of fun with mine today and did some foiling on them!


I started this one by blending inks in a rainbow pattern onto my panel.  Then I laid the By The Beans stencil over it and applied some Translucent Embossing Paste through it.  I sprinkled some glitter over the top.   I wasn't trying to cover the entire embossed area with glitter... whatever stuck was fine and when it was dry I just tapped it off and then ran a wide brush across it to remove the excess... it leaves such a pretty sparkly surface without a ton of glitter... not that there's anything wrong with that!


I took a small paintbrush and applied some transfer gel onto the chipboard pieces.  I was fairly generous but not too heavy handed and made sure to cover the entire surface of them.  I set those aside to dry completely.  Then I cut some white cardstock using the Bubble Box Fri-Dies and secured it in the Misti to stamp the sentiment from the Stay Strong stamp set onto it leaving room for my coffee cups when they were ready.  Once the gel was dry (the jar says an hour... I'll be honest, I left it overnight because I'm impatient and went on to something else...lol!) I placed some Rainbow Deco Foil over the three pieces and ran them through my Minc on the 4 setting.  So pretty aren't they??  And I love that the Coffee word chipboard piece fit perfectly over the Coffee word in this sentiment stamp so I didn't even have to piece the sentiment together!  


I just added a few of my favorite sequins and I was done!

Thank you so much for stopping by today!  Be sure you check out what my teamies have created for you today!

And should you decide to shop, Coffee themed products are 25% off for the hop!  And in addition you can use one of the DT codes for an additional 15% off any products!  Here's mine:


Now get making and link up for your chance to win!  CAS-ual Fridays is sponsoring a $25 gift code and three flash prizes of the Coffee Chips Chipboard packs!!  What are you waiting for?


Thursday, January 23, 2020

Be That Kind of Woman - Rubbernecker Stamps


Lisa here and excited to be sharing with you one of the pretty new florals in the shop!  You'll find step by step directions below.


I used some beautiful Deco Foil Opal Sheets for this one and I just love it.  It allows the color behind it to show through and it's got a beautiful shimmer.
   

And this floral!!  So fun in any colors.  I've been in a mood for spring lately so I used some pinks, oranges, and yellows.  The sentiment was speaking to me today... Are you this kind of woman?  I try  to be... some days it's more like... Oh crap... I'm up...lol!  (Enter my good friend Mr. Coffee)


Here's how I created this card:
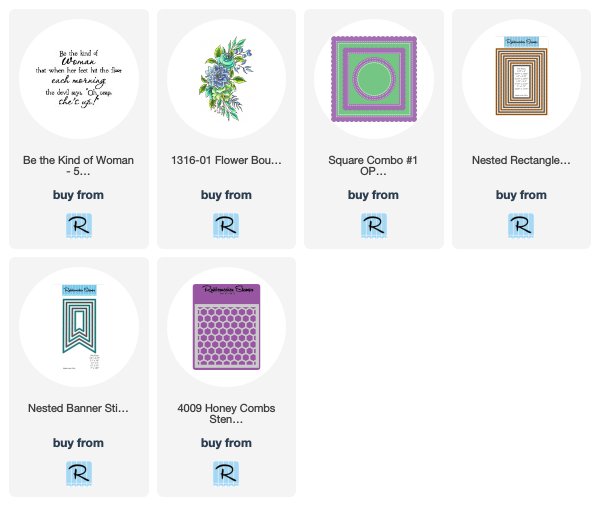
  • First, I cut a panel of the Smoothie colored cardstock using the Stitched Rectangle Dies.
  • I placed the Honey Combs stencil over the panel and used masking tape around the edges just inside the stitched lines on the panel so that my honeycomb pattern wouldn't go right to the edge.
  • I used a spatula to apply Thermoweb Deco Foil Transfer Gel through the stencil; lifted off the stencil and set it aside in a safe place to dry.
  • Once the panel was dry, I placed the foil over the honeycomb pattern, colored side facing up and ran it through the Minc machine.  Once it came through the other side, I pulled the foil off of the top and Voila!
  • While I was waiting for the gel to dry, I colored in my pre-stamped Flower Bouquet image that I cut using the Scan N Cut.  I started with Copic markers and added some detail with a little bit of colored pencil.
  • I cut white cardstock and that pretty plaid using the Square Combo die.  I chose the two frames I wanted to put together and nestled them upside down on my table.  I added some adhesive with my runner to keep them together so that I could easily add foam tape to the underside and then added the combined frame to my foiled base.
  • I stamped that awesome sentiment onto a one of the nested banner dies that I cut from white cardstock and popped that up inside the frame.
  • Finally, I nestled the beautiful floral around the sentiment.
Thank you so much for stopping by today!  I hope you enjoyed it.  Come back soon and often for more Rubberneck inspiration!

These are links to the Rubbernecker products I've used today.  Should you choose to shop using them I will receive a small compensation at no additional cost to you.  And thank you!

Thursday, December 12, 2019

Sending Wishes - Lavinia Stamps


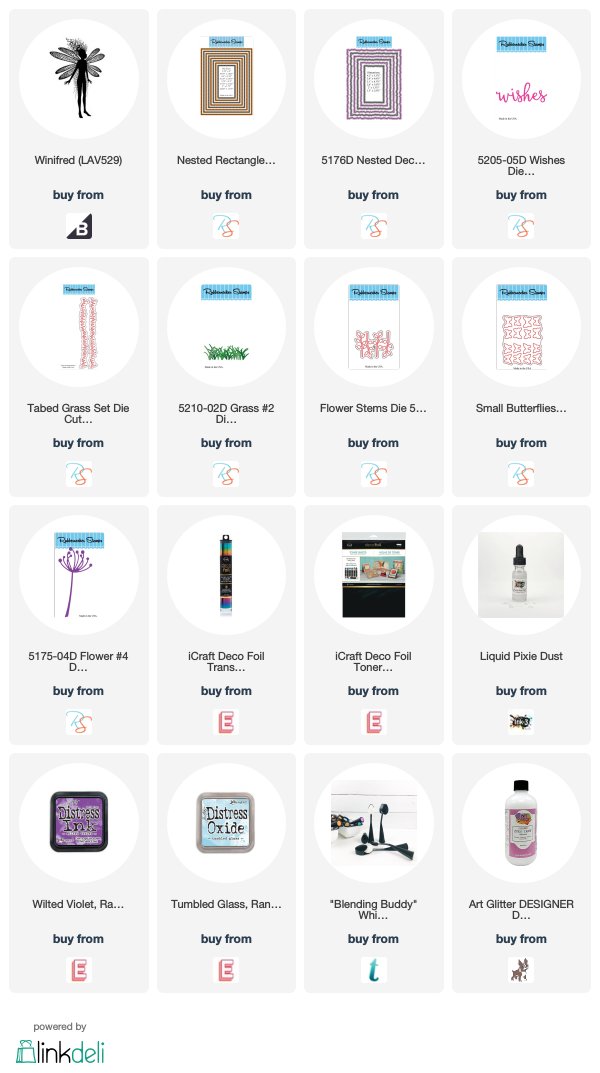
Hello!  Today I'm sharing a card I created using a beautiful stamp from Lavinia Stamps that I won over at the Anything Lavinia Facebook Group along with some of my favorite Rubbernecker dies!  That beautiful fairy, Winifred stole my heart as soon as I received her in my mailbox!

I've incuded links at the bottom of my post for the products I've used today!


She is so sweet right??  I knew she could be found in the early morning twilight hours among the flowers!


I started by using a negative piece of foil from a former Miss Ink project using the Diamond Fade Stencil.  I just laid the negative piece of foil that was made with some beautiful Rainbow Shattered Glass Deco Foil over a piece of Toner Paper and ran it through My Minc and then cut it with a stitched die.

Then I ink distressed a smaller diecut panel; stamped Winifred onto it using my Misti and then sprayed some water over it that is infused with Inkon3 Liquid Pixie Dust.  Then I proceeded to diecut and layer all of the rest of my pieces.  I die cut some butterflies and my sentiment out of another piece of Toner Paper that I foiled using the Rainbow Shattered Glass Deco Foil.


I added a few clear sequins from Pretty Pink Posh and I was done!

I've realized that I need to get over to Lavinia World and take a look around.  In just a short time snooping around the website I saw lots more beautiful stamps and dies!  I feel a new love coming on!

I'm playing along over at Lavinia World's current Challenge #15.  It's Anything Goes and you can find all of the rules details for that here!

Thank you so much for stopping by and hope you enjoyed it.  Come back tomorrow for some Rubbernecker cuteness!


The Rubbernecker Stamps links below are affiliate links.  You do not have to use these links to shop and should you choose to purchase by clicking on these links I will receive a small compensation and thank you!

Monday, December 2, 2019

Warm Wishes With A Jillian Vance Design


I'm up on the A Jillian Vance Design Blog today with this one.  I've used quite a few sets to create this one including creating a stencil using the Knit Stitch Cover Plate.


Check out my post here for all of the details!  Hope you'll join me there!


Sunday, October 20, 2019

Sending Hugs With Miss Ink Stamps


Have some more Miss Ink inspiration for you today featuring the Magnolia Stamp Set and the Diamond Fade Stencil 3.


I love this beautiful Magnolia stamp set!  I colored it up with my Copics and cut it out with the Brother Scan N Cut.


I applied some Deco Foil Transfer Gel through the Diamond Fade 3 Stencil and let it dry while I was coloring the floral.  Then I ran it through my Minc with some Amber Watercolor Deco Foil.  Such a pretty foil... I love it!


And then a simple sentiment from the Everyday Sentiments set was just right.


I'm playing along over at Double Trouble's Masking Challenge!  You should check it out!

Thank you so much for stopping by today!  Be sure to check out my second post for today for some more stencil inspiration!  Come again soon!

Sunday, October 13, 2019

Poe Me A Cup - Miss Ink Stamps


 Hello!  So glad you stopped by today!  I'm sharing a project using the Just Be-Caws set from Miss Ink Stamps just released in September.  I LOVE this set and it's punny sentiments!

I started by creating my background using the Jitters stencil and used it to apply Decofoil Transfer Gel to black cardstock.  Once it was dry, I ran it through my Minc machine with an Opal Decofoil Transfer Sheet.


Love the various positions of the ravens in this set!  The caw-ing ones are my favorite... but I love them all.. 


Not to mention the so punny sentiments!  This is one of my faves for sure!  And the shine of that Opal foil.... it reminds me of a raven's feathers...they are almost irridescent...


So pretty and cool!


I'm playing along over at Double Trouble's Masking Challenge!  And I've met the twist with my beautiful Crow... (well, it's a Raven and they are two different things, but pretty sure they might be found in a pumpkin patch also.. .I'll leave that up to you!)

Thanks so much for stopping!  Hope you enjoyed it!

Be sure to come back tomorrow for Part II of the Pumpkin Background!


Sunday, September 29, 2019

A-maize-ing Fall Wishes with Polka Dot Orchard


So happy to see you again!  I'm sharing some inspiration using a few Polka Dot Orchard digital sets.   Of course there is plaid!  Not to mention a little bit of foil!

Polka Dot Orchard is joining with several other companies in the National Coffee Day Hop that starts at the Coffee Loving Cardmakers Blog today.  In addition, there is a hop up on the Polka Dot Orchard Blog and we're all sharing projects using some of the newest digital sets in the shop-some caffeinated and some not!  I'm using the beautiful and fun Amaize-ing Fall Wishes set (the corn and sentiment), Leaves & Lattes (leaves), and Autumn is Calling (wood slice) sets!


It was fun and easy to color the corn from the Amaize-ing Fall Wishes set.. and isn't that a beautiful sentiment?


And of course I welcomed the opportunity to use some foil with my laser printed images!  And those leaves from the Leaves & Latte set... love them!


That's me for today!  Thanks so much for stopping by!  Now be sure to head on over to the Polka Dot Orchard Blog and see what is going on there!  You'll find links to everyone's projects and information as to how to get chances to win one of the prizes Polka Dot Orchard is giving away!

Thanks for stopping and be sure to check out all of today's posts!

Come back soon!


Tuesday, September 3, 2019

Love and A Starry Night With Rubbernecker Stamps


Have I told you lately how much I love foil?...lol!  Oh yeah... and I love you too!  But me and foil have a thing... and you're just going to have to accept that if this is going to work.  And I love the new stencils at Rubbernecker Stamps!  Today I've used the Stars Stencil.

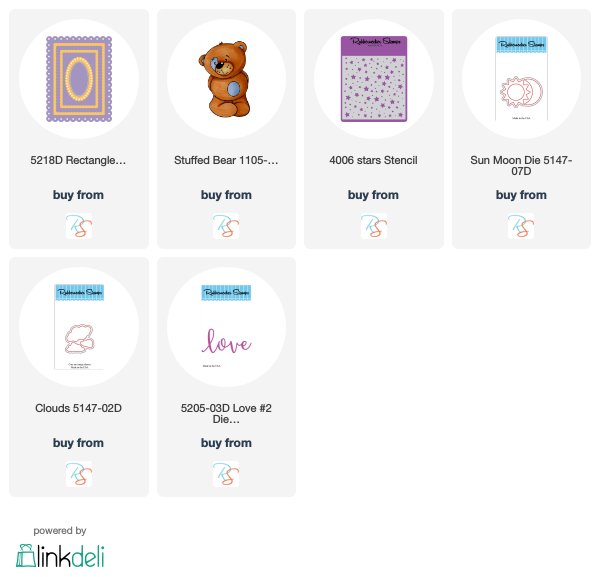
I've also discovered the wonder of the One Piece Combo Dies from Rubbernecker.  These dies are many frames on one solid die.  You cut them all at once with one pass through your cutting machine and then use them however you want.  Today, I used the three largest frames together and popped them up.


I blended some blue and purple distress oxides on the background and then splattered some water onto it and dabbed it with a paper towel.  Then I taped the Stars stencil down over it and added some Decofoil Transfer Gel using a spatula.  Once that was dry, I ran it through my Minc with some Gina K Gold Sequins Transfer Foil.  Then I layered the foiled panel over my base and the popped up frames.


I cut the love from some purple foil paper; the clouds from some Hero Arts Woodgrain Vellum, and the moon from some Decofoil Toner Paper.  Then I added the gold sequins foil to the moon... so cool right??


Don't you just love the shimmer and sparkle??  And then there's the bear...


This adorable bear!  I colored him up during the last 30 Day Coloring Challenge and I've been saving him for something special and I guess this was it!


I've provided Affiliate links below to the Rubbernecker products I've used today.  If you shop using these links, I will receive a small compensation at no additional cost to you.