Showing posts with label Spooky Tree. Show all posts

Wednesday, September 7, 2022

Rubbernecker Stamps Release Day - Pumpkin Dress Up


It's a fun and exciting day today over at Rubbernecker Stamps!  It's Release Day and we've got lots of fun new stamps and dies!


I've used the new Pumpkin Dress Up stamp set along with a bunch of other fun stuff from the shop for today!


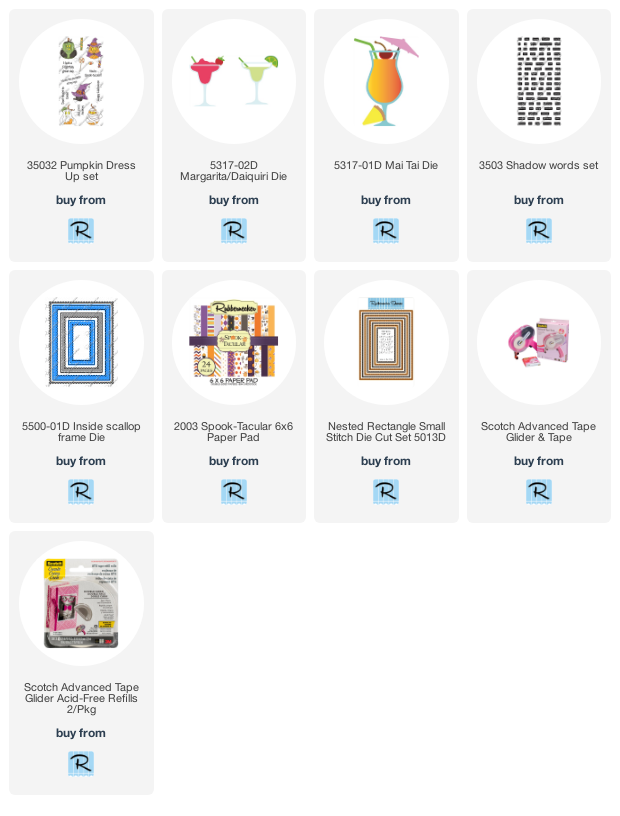
I used the fun candy images from the set on this one along with the fabulous new Halloween paper pack!


This adorable mummy pumpkin!!  I paired him with some fun Halloween die cuts from the shop and more great papers from the new pad.


I can't choose which of these adorable dressed up pumpkins are my favorite!


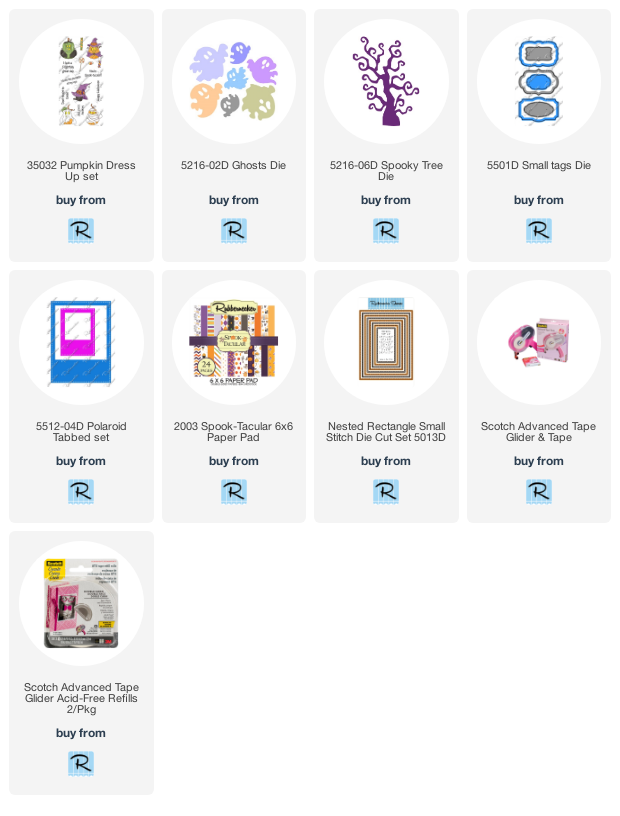
And of course how cute are those ghosts and that curly spooky tree is my favorite Halloween tree!


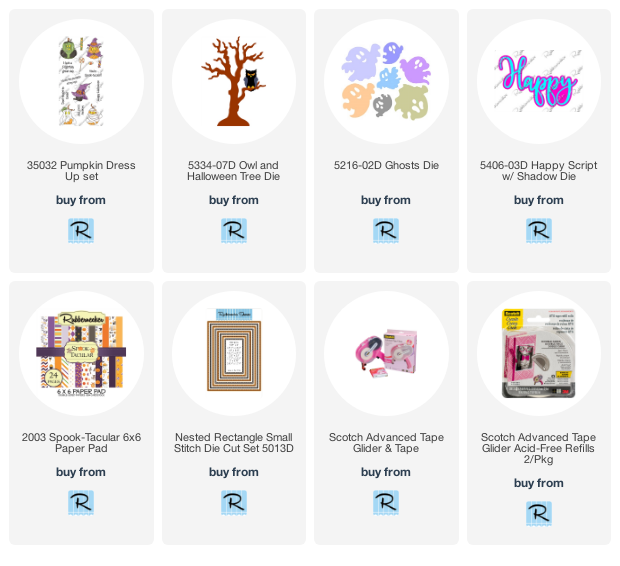
Oh My Gourd! I think of all the monsters, Frankie might be my favorite and so of course I love this one and his stash of Treats!


I've included links below to all of the new and previously Rubbernecker products I used below for all three of these cards.  And don't forget to head on over to the  Rubbernecker Blog for more fun and inspiration!


Thank you SO much for stopping today and please do come again soon!  There is lots going on here this week!


Card 1:
Card 2:
 
Card 3:
Thursday, October 22, 2020

Rubbernecker Stamps - Eek!


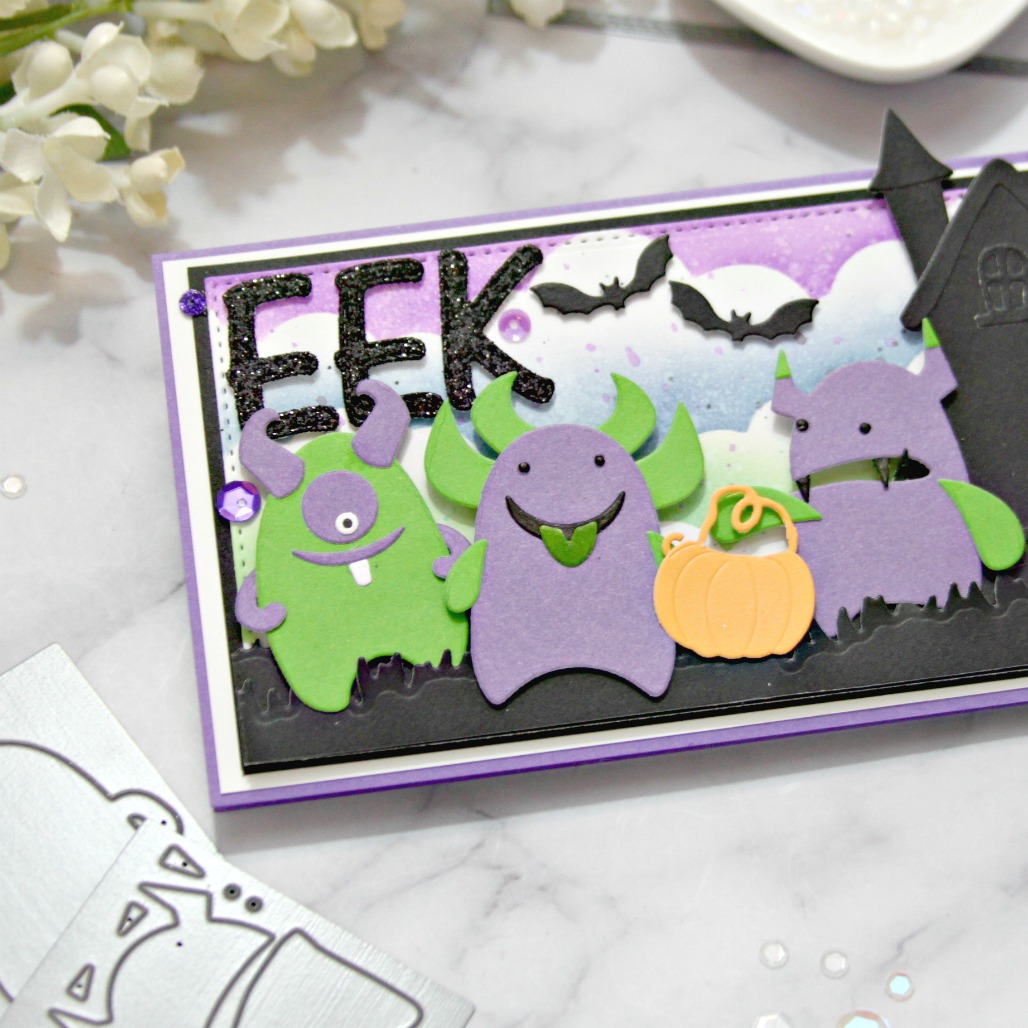
Welcome back!  Today I've got another fun Halloween card for you using some great dies from Rubbernecker Stamps!  I've fallen in love with these monsters!  

  • I started by cutting the Monsters die sets from multiple colors of cardstock like I did last time with the owls and then put a bunch of them together (I've got extras for later!)


  • Next, I cut the largest Slimline Rectangle from white cardstock.
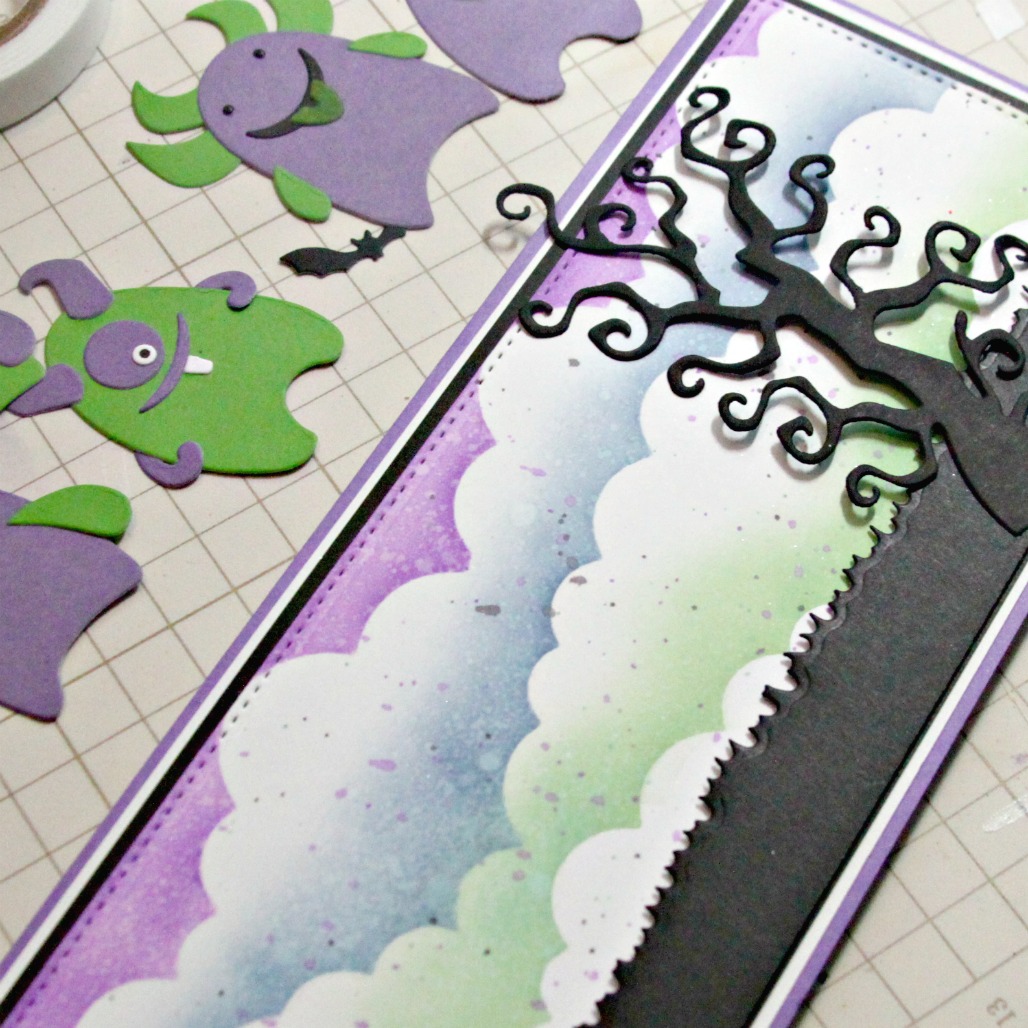
  • I had previously cut some of the Slimline Clouds to use like a stencil or mask and pulled those out to blend some ink around them to create my background in green, blue and purple.
  • Then I splattered on some of the same inks with a waterbrush over the top of the clouds.
  • And finally for the cloudy background, I sprayed on some water and dabbed it off... I love the softer look it gives!


  • Next I started building my scene and cut them competely from black paper.  I used the Slimline Grass dies, Spooky Tree, Haunted House and others so they would just appear as shadows for a kind of silhouette background.


  • After the background was completed, I started adding my monsters with some popup tape in different widths.


  • I made one of the little monsters a pumpkin candy bucket by trimming one of the pumpkin die cuts and used a vine for the handle.
  • I die cut a couple sets of the alphabet die cuts in black glitter.  I will save the letters I didn't use for another project!  But I needed two E's so I cut two sets.
  • I popped up the letters for Eek onto the card as well as a couple bats and the added the owl in the tree!


Don't these little guys look like they are having a good time?!  And somehow I don't think they'll be scared to stop at this spooky house... 


And that's me for today!  I hope you enjoyed it and you'll come again for some more inspiration!


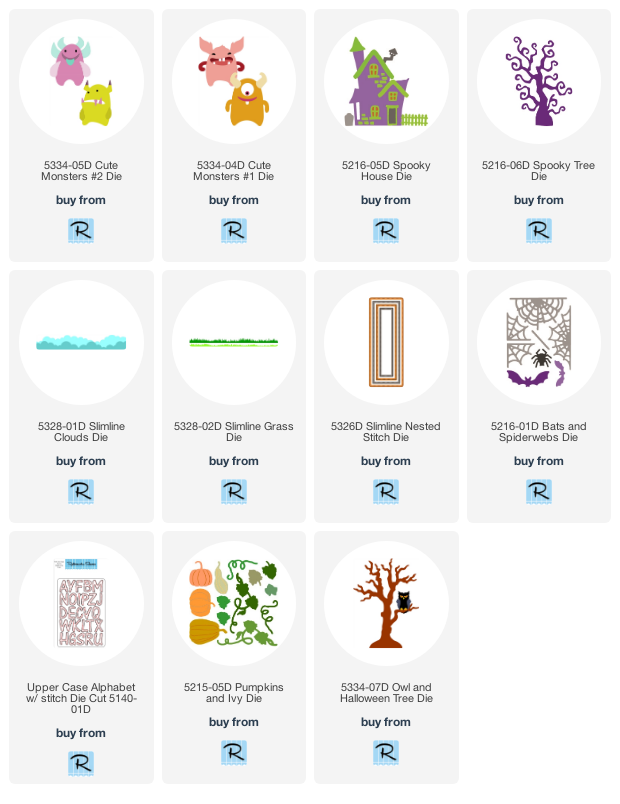
Below are links to the Rubbernecker Stamps products I've used for today's project!  Should you choose to purchase using these links, I will receive a small compensation at no additional cost to you.  And thank you!
 

Thursday, October 8, 2020

Happy H-owl-oween! - Rubbernecker Stamps


Hello all!  I am excited to be sharing a Halloween card today using a bunch of die cuts from the Rubbernecker shop including the new Build An Owl and Owl Halloween Add-On Die Sets (Along with a few other things)!


These die sets are each a one piece die so you cut all of the pieces at once. Easy peasy! 

  • I started by cutting each set multiple times from various colors of card stock.
  • I dumped them into two piles onto a sheet of white scrap paper... one with the owl parts and one with the Halloween parts.
  • I knew I wanted three owls for this card, so I started picking out the colors and pieces I wanted to use.  And as I did that, I started adding the like pieces to separate piles.  All circles in one, all belly pieces in another, etc.

  • Once I had all of the pieces I wanted, I continued to separate the other pieces that were left for easy use.
  • Trees were cut from black cardstock from both the Spooky Tree Die and the new Owl and Halloween Tree Die.

  • Once all of my pieces were cut and sorted, I began assembling my critters using liquid glue and some thin foam tape.
  • I ended up with a lot of eye pieces in various colors that I would normally want to be black.  I simply colored those with a black Copic marker and also did the same with any extra white pieces I was looking for that I wanted to be a different color.

  • With all of my critters completed, I cut a white base using the Slimline Solid Deckle Die.
  • I saved cloud templates I had cut previously and used them to ink blend clouds onto the background using purple, green and orange.
  • I layered that onto an 8 1/8" x 3 1/8" piece of white cardstock.
  • That was layered onto a purple 8 1/4" x 3 1/4" piece of purple cardstock.
  • And all were layered onto a 8 1/2" x 3 1/2" piece of black cardstock.

  • The trees were then added over the clouds.  I added three Owl and Halloween Trees first.  Very thin foam tape was added to the back and they were spaced evenly onto the cloud panel.
  • Next two Spooky Trees were added in between those trees with a foam tape that was just a bit thicker.

  • Next the owls were popped up onto the tree background.


  • Spacing them evenly apart and using foam tape (the most used item in my craft room.


  • I stamped the Happy Halloween onto some purple cardstock with Versamark Ink after wiping antistatic powder over it.
  • Then some white embossing powder was sprinkled over and the excess tapped off.
  • I heated it up and then let it cool.
  • I centered it in the middle of the banner die and taped that in place using washi tape and then ran it through my die cutting machine.
  • I popped it up onto the card.
  • Finally, I added a few sequins.

And that's me for today!

Thank you so much for coming and I hope you enjoyed your visit!  Come again soon for more Rubbernecker inspiration.
 

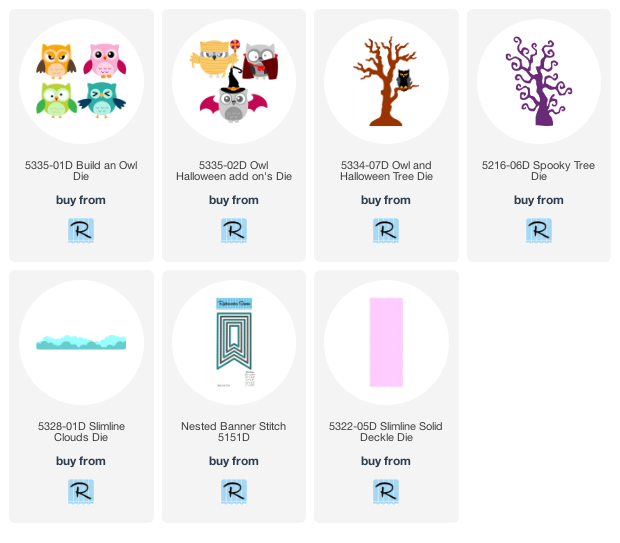
Below are links to all of the Rubbernecker products I've used today!  Should you decide to purchase using these links, I will receive a small compensation at no additional cost to you.  And thank you!