Friday, February 28, 2020

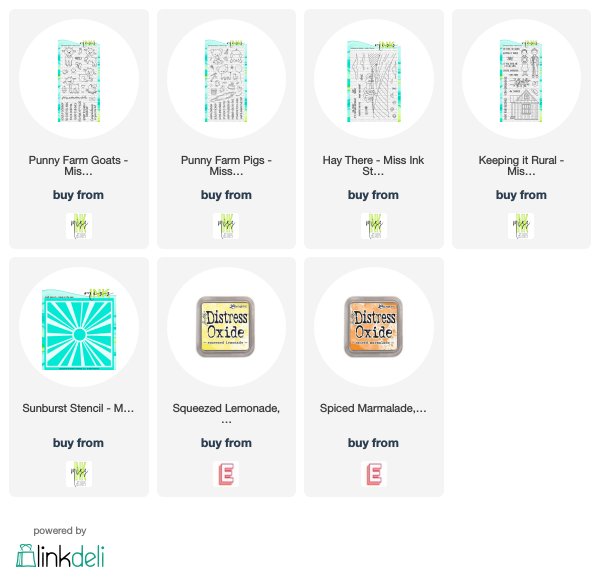
Keeping It Rural - Miss Ink Stamps


Good morning!!  I am so excited you're visiting today because this one had me giggling in my craft room (still chuckling as I look at it).  I hope you enjoy it as much as I do!  I grew up in rural towns and raised my kids in one also and we didn't live on a farm but we were surrounded by them and had many friends who did.  There was even a Tractor Day at the kids' school where the kids who had them would ride in on their tractors!  It was a great place to raise kids for sure... although I did tell my kids to get out and explore before they decided where they would settle... and they did!  And now I'm waiting for them to settle...lol!


Any who... I LOVE these sets and together... extra love!  I had the idea what if this farm couple wanted to have some portraits taken of them and their family... how might that look... and this is what I came up with..lol!


I mean any photographer knows... kids and animals... so hard to work with...lol!  


Photobombs!


I'm playing along over at Double Trouble's challenge which is "It's a Tall Order" this time around!  Make a Tall and Skinny card.  I've also met the twist to stack it up... those chicks have stacked themselves up... looks like they might just be about to take a tumble too (don't worry... they'll be ok!  (They are partnering with Try Stampin' on Tuesday and they have a sketch this week which I didn't follow here... but if you do, you get extra chances to win at Double Trouble!)

Thank you SO much for stopping by!  Ya'll come back again real soon! (I thought that was fitting for today!)


Thursday, February 27, 2020

Be Strong - Rubbernecker Stamps


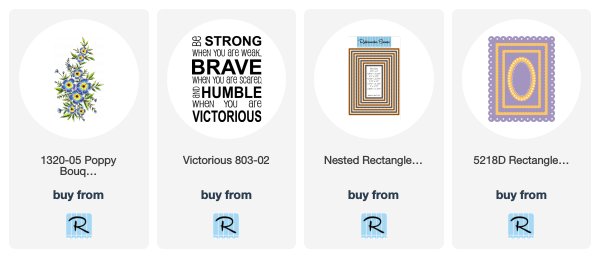
Welcome to some Rubbernecker Stamps inspiration!  Today I'm sharing a card made using the beautiful Poppy Bouquet stamp set except this time instead of eye popping red, I used some soft greens. 


I decided this Victorious sentiment was perfect to go along with it.  (Have I told you how much I love the sentiments available in the shop??)  And since some of the image was covered up by that big bold sentiment, I cut a piece off so I could have it popping out of the upper corner of it.


Here's how I put this one together:

  1. I cut a white base 5 1/2" x 4 1/4".  For the second layer I cut a piece of colored cardstock to coordinate with my design paper 5 3/8" x 4 1/8".  Next I cut the design paper using the largest stitched rectangle and layered them all together.
  2. I used the third and fourth largest frames from the OPC die together by nesting them upside down and adding foam tape to the back and popped it up in the center of my layered base.
  3. I stamped, colored and cut out the Poppy Bouquet image using Copic Markers YG01, YG03, and YG17.  For the flowers I used the Blending Marker to soften the edges of my lightest color since I left a large part of the petals white.  I used a foam tape a little thicker than the one I used for the frame to pop the floral over the frame.
  4. I stamped the sentiment using Memento Tuxedo Black onto white cardstock and trimmed the excess as closely to the sentiment as I could.  Once I decided where my sentiment would be popped up, I cut off part of the image, added the sentiment and inserted the cut leaf under the top right corner of the sentiment to extend the image a bit.
  5. Just a few sequins finished it off.
Thanks so much for stopping by!  Hope you'll come again soon!


Below are links to the Rubbernecker Stamps products I've used today.  Should you decide to shop using these links I will receive a small compensation at no additional cost to you.  And thank you!

Tuesday, February 25, 2020

Crafty Elves' Countdown To Christmas - February 2020 Edition!


Welcome to February 2020 Crafty Elves!  So glad you stopped by!  If you were here last month you konw that we've added a couple Elves to the gang and there are four stops now!  Be sure you stop to see Debra, Michael, and Jessica when you are done here for all of your Christmas card inspiration!  We've all made a pact to create a Christmas Card a week in 2020 so that when December comes we're all ready to mail them!

Here are the Christmas Cards I've made this month:


I've decided to go CAS-Fridays on you this month!  With so many beautiful holiday items it was an easy decision to use them while in the middle of this hectic tax season!

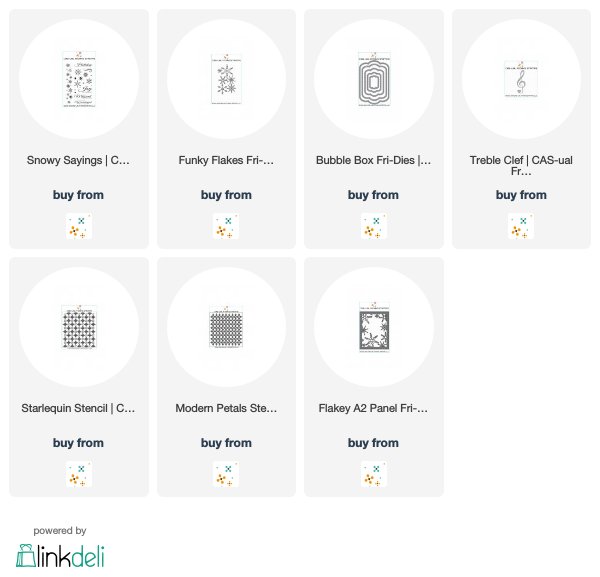
For this one I used the Starlequin stencil, some clear texture paste and Wow biodegradable glitter for my background.  Also, I've gone with some non-traditional palettes for February.  Sometimes it's hard to get inspired by green and red when my mind is headed towards Spring!  So purple and blue it is!  I used the Snowy Sayings stamp set for all of my sentiments and on this one, since the sentiment is the name of a song, I cut the Treble Clef die from purple glitter paper and added one of the Funky Flakes in white.


For this one, I created an ink blended background using some purple and blues and then heat embossed some of the flakes from the Snowy Sayings stamp set onto it.  Then I cut the Flakey A2 Panel from white glitter paper, adhered some acetate to the back and added popup tape.  I poured the sequin mix I wanted in the center of my embossed panel and popped the Flakey panel over it.  Finally that magical sentiment and a few more sequins and lots of sparkly fun!


Well, of course I needed some plaid AND some coffee for you today!  For this one I created a frame for my shaker using two bubble box dies.  I just taped them one inside the other to keep them straight and ran them through my Gemini to create the frame and then created the shaker window the same as above.  The sentiment, snowflake and little coffee cup and I'm all set for a warm winter wish.


I'm playing along with the Wow Embossing Powder Fans February Challenge to use Embossing Glitter/Glintz!  I've used Sparkling Snow Embossing Glitter on the snowflakes here and I'm up on the blog over at CAS-ual Fridays with this one today so if you want to know more details please do hop on over there and check it out!

Thanks so much for stopping and visiting today!  We have a winner from last month to announce:


Amanda!  Please PM me your snail mail address so I can send you some happy mail!

And we're doing it again this month!  Leave me some love for your chance to win a little happy mail from me!  I love your comments and I love to send you things to make you smile!  Thanks so much for stopping!!  Be sure to give my teamies a visit too and see what they've cooked up for you today:


Saturday, February 22, 2020

It's a Time to Celebrate! - CASual Fridays Stamps


Happy Saturday!  This weekend CAS-ual Fridays is the featured Sponsor over at the Crafting of Hue Facebook Group.  If you've never checked it out, you should and you can find it here!

So we're all hopping today and sharing creations with a Celebration theme and I've used some fun CAS-Fridays products on mine for today!


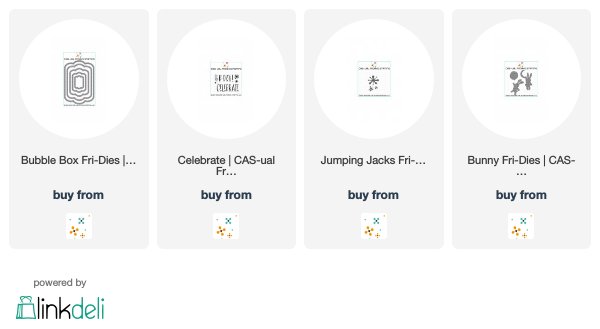
You know I love the Bubble Box Fri-Dies and it's fun to create a label like I did here!   I cut the largest from white cardstock and cut the ends off to tuck underneath my sentiment strip.  I also die cut the balloon die from the Bunny Fri-Dies from Copic friendly paper and colored them... then I added Jumping Jacks in silver glitter paper as well as "strings" for my balloons!  The Celebrate stamp set was perfect for the sentiment... love the size and fun font!


That's what I have for you today!  Be sure to hop on over to the CAS-ual Fridays Blog for all of the details and to find out about some great deals you can get on all of the CAS-ual Fridays products we've all used today!

Thanks so much for stopping and come again soon!

Friday, February 21, 2020

Dazzling Butterflies - Miss Ink Stamps


Don't you just love shaker cards??  I do and once you've made one you realize how easy they are (as long as you remember to put the acetate behind your window BEFORE you put the popup tape on (I may or may not have done this several times).

I knew I wanted a natural palette for this one so I started with a kraft base.  For my next layer I diecut the rectangle pattern; ink blended with Peeled Paint distress ink and then used Mowed Lawn through the Leafy Green stencil.  I wanted the stenciling and background to vary in depth and color so I was lighter in some areas than others.


Next I die cut my smaller rectangle panel, lining it up with the heart die inside and taping it so they would stay in place and my window would be where I wanted it.  The acetate was attached behind my window and I added popup tape to the entire panel but specifically around the heart to keep my bits and pieces contained to just the window.


I cut a smaller panel from the kraft and stamped the Have Heart image onto it with Versamark and embossed using Altenew Rose Gold for the wood slice lines.  I attached that piece to the stenciled layer, arranged my Dazzling Butterflies, some clear sequins and some beads in the center the stamped heart and then popped my window panel over the top.

Next I added my images from Springtime Banners and moved them around until I was happy with the layout.  Then I attached them with varying thicknesses of foam tape.


I stamped a simple sentiment from the Everyday Sentiments set (LOVE the wide variety of sentiments on this set!) onto a kraft piece of paper in Versamark and heat embossed with white embossing powder.  I just popped it up at the bottom and added a few sequins and I was done!

(Check out that color shift in those Dazzling Butterflies!)


And there you have it!  It's been extra warm here in the Desert Southwest and I've been feeling Springy lately... can you tell?

Thanks so much for stopping and hope you'll come back again soon!


Love & Friendship Inspiration Blog Hop With Polka Dot Orchard!


Valentine's Day may be over and done for this year, but Polka Dot Orchard is still celebrating with our Love and Friendship Inspiration Blog Hop!  The Creative Team has amazing creations to share with you featuring some of PDO's newest releases!  We have two $10 gift cards for two lucky winners chosen randomly from the comments.  You have until February 24th at 11:59 pm EST to leave a comment on each of the blogs, including the Polka Dot Orchard blog letting us know that you completed the hop.  We will announce the lucky winners on February 26th on the Polka Dot Orchard Blog.

Here's how I was inspired:


So ... it's a Love and Friendship Blog Hop!  I imagine that Toy Story Style when the interweb is quiet and no one is looking... the gnome couple from the Gnome Matter What digi stamp set get together with their friends from the From Our Gnome To Yours and the Caroling Gnomes digi sets... and of course in this scenario they are having coffee!


And the Chillin' With My Gnomeys sentiment was perfect!  And love the mushrooms from Gnome Matter What... I pulled the mushroom in from the set and copied and pasted it and changed the size on some and flipped some!  The magic of digital stamps!

And then if you know me at all you knew I'd have to use the I Like You A Latte set!


I flipped the cup and made it a cup-ple... see what I did there?


A few hearts and I printed the sentiment, cut it out with a banner die and colored it in with a sparkly pen.  Aren't those cups the cutest??  This is a great set for a quick and fun card!

So now be sure to check out what all of my teamies have created for you today:

Lisa (You Are Here!)

Have fun and good luck!


Wednesday, February 19, 2020

Caffeine Fueled Paper Play - Ode to Sweet Stamp Shop


I'm up on the Coffee Loving Cardmakers Blog today along with my teamie Robyn and we're sharing some projects using Sweet Stamp Shop and saying a Fond Farewell to this long time Coffee Lovers Super Sponsor... hope you'll hop on over there and join us!

Here's a sneak peek of my project for today:


Monday, February 17, 2020

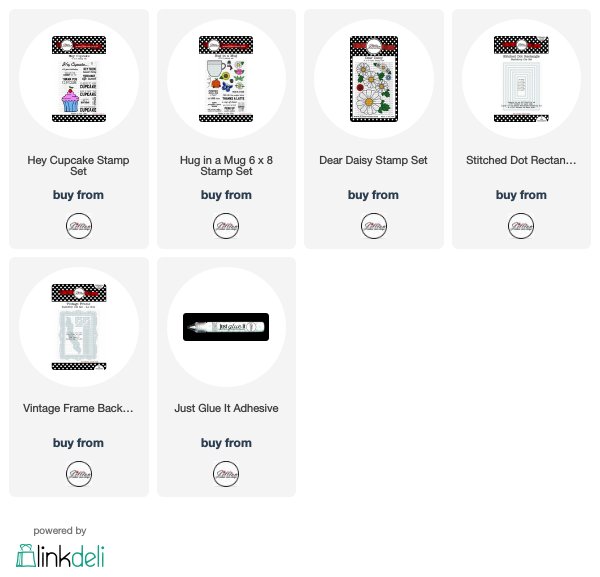
Hey Cupcake! - A Jillian Vance Design


I'm up on the blog over at A Jillian Vance Design and sharing this card... Coffee and Cupcakes... sounds like the perfect breakfast to me!

Hope you'll join me over there!

Saturday, February 15, 2020

You Are So Hot - Paper Smooches


Happy Day After Valentines Day!  I meant to have this one for you earlier, but it's never too late for a card like this.. in fact... I'm pretty sure it's my Anniversary Card for my husband.  He does look a bit like this guy... his hat is a little different...lol... and right now is beard maybe not so long... but yeah... I can see it...


I wanted to let you know that this adorable gnome from Paper Smooches is back in stock!  I used him for one of my Caffeine Fueled Paper Play posts and a few people wanted it, but it was sold out!  So they are in the shop now should you decide you still need to have him... (You Do!).  He's in the Forest Whimsy set and you can find that here!

There is lots of Paper Smooches on this one...the images from Forest Whimsy, the beautiful Linked Hearts Die, those little cups from the Coffee and Tea Dies and that background I made while "helping" Kim in the Photocentric Booth at Creativation using the Flourishes Stencil and the Hot Dot Stencil.  She demo'd the Minc while I played with Distress Inks, Stencils and Nuvo Glitter Paste.


I have the most fun when I mix and match stamps and dies from bunches of my favorite stamp companies!  I built my sentiment using some Honey Bee sentiment stamps (You Are So uses the Perfect Blend and Blah Blah Blah set ... I used the So in Sorry for my sentiment).  The HOT was cut using the A Jillian Vance Design Headline Apha (Perfect size and font) and typed up the rest in Word and printed it!  Another one of those cute cups from Paper Smooches and that lovely little steam from Stamp Simply's Coffee or Tea Die Set.


I love how this one came out!!  Can't wait to give it to him.  I think he'll enjoy it... he makes the coffee every weekday evening and sets it to be ready when he gets done feeding the dogs and I climb out of bed.  (Honestly I lay up there and wait until I know it's ready.  My best boy, Slim comes up and lets me know...)

I'm playing along over at Double Trouble's Again and Again Challenge!  Just repeat one element on your project!  They don't have to be identical! I have two yellow coffee cups on this one.  You should check it out here!  I also have a Critter (cute little snail) and I've used a few things that have been sitting around for a while... that Honey Bee sentiment set has been crying out to me and the beautiful hearts die from PS... so I've met the Twist and I can link up over at Use Your Stuff... you can link up with them here!

I hope you enjoyed your visit as much as I enjoyed making this one up... nothing better than giggling while I work.

Come back soon!

Friday, February 14, 2020

Paint and Glitter and Doodads Oh My-Miss Ink


I'm up on the blog over at Miss Ink Stamps with this one today!  I have lots of photos and details up there and hope you'll give me a visit to see how I created this one!

Here are just a couple more photos:


Thanks for stopping!  See you over there!

Thursday, February 13, 2020

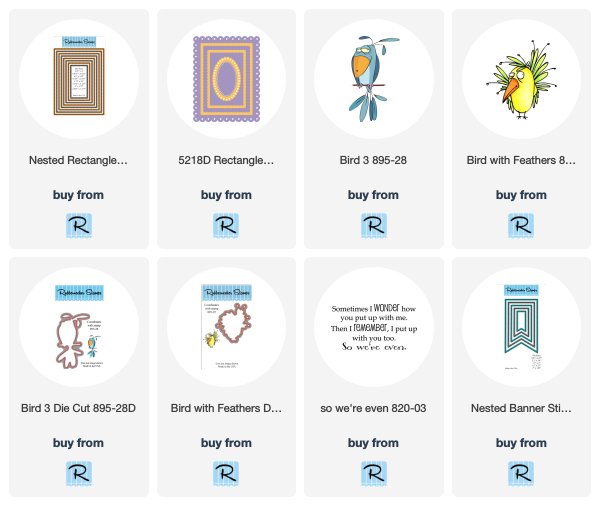
So We're Even! - Rubbernecker Stamps


Lisa here!  I have a fun one for you today!  Absolutely love these quirky Birds!  They are so fun to color up in various colors!  I'm pretty sure I need all of them!


These two were perfect together and it was fun to add one peeking out upside down in the background... looks like trouble to me!


And with this sentiment??  This will be just right for an anniversary card for my husband.  I mean really... the foundation of a successful marriage is being able to "put up with" each others' quirkiness.


And here's how I created this one:
    1. I cut my base layer in white 5 1/2" x 4 1/4".  I had picked out the yellow paper but knew I wanted a little bit of that minty aqua color (think BG0000, BG10, and BG11) so I added a layer of the aqua leaving a very thin border at 5 3/8" x 4 1/8".  Then I cut a layer of the yellow using the largest Nested Rectangle Small Stitch die and they fit together perfectly!
    2. Then I cut a coordinating piece of yellow using the Rectangle Combo OPC #3 and used the 2nd and 3rd largest frames together by laying them upside down on my work surface nested together and adding foam tape to the back covering the seam between the two.  Then layered the frame in the center of my base.
    3. Next I stamped, cut and colored the blue bird using Copic Markers BG0000, BG10, and BG11 as well as YR15, Y11, and Y15 and added a little bit of colored pencil in the nooks and crannies for good measure.
    4. I popped the blue bird up in the center of my frame and slowly started cutting away the yellow one (before I colored it) to play with his placement.  Once I had the look I wanted, I colored him in using the same as the first, but using more yellow than the blue.  Once he was colored, I added thin popup tape and inserted him into his position.
    5. Finally, I stamped that fun (and true) sentiment onto a piece of white cardstock cut using a Nested Banner Stitched Die and popped that up into position.  Just a few acrylic dots and sequins to finish it off!

Thank you so much for stopping by today!  I hope you enjoyed your visit!  Come again soon for more Rubbernecker Stamps inspiration!


Monday, February 10, 2020

To The Moon And Back With CAS-ual Fridays!


Welcome back!  I'm up on the blog over at CAS-ual Fridays and sharing another cloudy background I created using some distress oxides and the Bubble Box die cut that I used on my card from my last post which you can see here if you'd like!  I'm using the adorable Somebunny stamp set again and this is the night time version....


I used some blues and purple distress oxides this time for my night time sky.  I realized after I finished my background that I forgot to leave some space for my moon glow so I decided to try the oxide lift technique.


I figured out about where my moon would be and used a paintbrush to apply water where I wanted to add a yellow glow and then "lifted" color off of the paper using a paper towel.  I repeated this process a couple times and then dried the area with a heat gun.  Then I added in some yellow.


I also added some tiny gold "stars" using a Uniball Gold Gel Pen.  I used the Stars Fri-Dies (still attached to each other) to create these glitter paper star frames.  I'm thinking I may not cut them apart because I love these frames!  I popped them up onto my background and then popped the rabbit hanging from the moon with a slightly thicker foam tape.


And finally a couple of the adorable sentiments from the Somebunny stamp set and a few sequins!


So there we are!  I can't tell you enough how I love these bunnies!

There is a sale going on over at CAS-ual Fridays Stamps!  It's a Valentines Special and there are 7 sets marked at $3 or less right now!  You can check out the specials here and the sale is While Supplies Last through February 14th!

Thanks so much for stopping and I hope you enjoyed your visit!  If you have seen something that you must have from the shop I have this for you:


Come again soon for more CAS-ual Fridays inspiration!  Or why not get it in your inbox!  Sign up in the sidebar to the right so you never miss a post and be sure to sign up for the Newsletter so you get all of the latest information about sales and new products!