Tuesday, March 31, 2020

CAS-ual Fridays Release-Happy Birthday!


It's Day 3 of the CAS-ual Fridays Release and today we're sharing the new Happy Birthday Stamp Set!  All of the new products are available in the shop now!

I started this one by using some Distress Oxides and the Curtis Stencil for the background.  I stamped the Happy Birthday from the set and fussy cut it out and then stamped one of the sassy sentiments onto a strip of black and popped that up beneath it.


A few Jumping Jacks cut from Glitter Paper and sequins and I was done!

Don't you just love the font on all of these cool new stamp sets??  

Be sure to head on over to the CAS-ual Fridays Stamps blog to see what everyone has made!  And should you decide you need something from the shop, I have this for you:


We've got one more day of Release inspiration for you so be sure to come back tomorrow!

Monday, March 30, 2020

Terrific Flowers - CAS-ual Fridays Release!


It's Day 2 of the CAS-ual Fridays Release!  Today we're sharing projects using the Terrific Flowers stamp set!


I've been playing a lot with my Color Bursts lately and I used them here.  I cut my background layer from Watercolor Paper and stamped and embossed the flowers from the set onto the Watercolor paper.  Then I used Ken Oliver Color Bursts to watercolor in the flowers.  I added a little extra color using my watercolor pencils.  Finally I colored the background with more Color Bursts.


After the panel was dry, I added a subtle pattern using the Tin Roof Stencil and some Distress Oxide Inks.  And for my sentiment I cut the Sweet and Friend words out of white glitter paper and twice more from white cardstock and stacked and glued them together before popping them up onto my base.


I stamped and cut out one of the sentiments from Terrific Flowers and added it to the bottom of the card.

And that's me for today!  Be sure to head on over to the CAS-ual Fridays stamps blog and see what everyone has created for you today!  And the entire New Release is available now in the shop here!

And should you decide there is something you must have, I have this for you:


Thanks for stopping!  And come back tomorrow for more Release Inspiration!


Sending Smiles - A Jillian Vance Design


I'm up on the blog over at A Jillian Vance Design and sharing this one using the new Sending Happy Mail stamp set along with some images from Hug In A Mug!  For links and details hop on over there to check it out.

Thanks so much for stopping by!

It's a Spring Time Rainbow - Rubbernecker Stamps


Lisa here!  Excited to be sharing with you a card I made and I used many of the new Color Fuse Ink sets along with a couple new clear stamp sets!


The new Color Fuse inks are perfect with the new layered floral sets!  I used It's Spring Time for my flowers and Spring Meadow for my "leaves".  The leaves were stamped with a green Color Fuse Ink and then I added shading with some colored pencils.


And again, I stamped the Thanks sentiment from Spring Meadow and cut it with the Scan N Cut and then popped it up over the florals


And isn't the Nested Scallop die beautiful?  I used the largest die in the set which cuts the frame and the inside layer that nest together.  I used both here, popping up the frame piece only.  It's such a pretty die!

I'm playing along over at Double Trouble Challenges Something, Anything and Everything Challenge!  You should check it out!

And here's how I made my card:

  1. I stamped the large and small layered florals from the It's Spring Time stamp set.  Using the tip sheet included in the set, I was easily able to determine what the first, second and third layers were.  I used the lightest three colors in each set and stamped the bottom layer in the lightest color, second layer in the next darkest and the third in the darkest of the three.
  2. I fussy cut the flowers which was actually pretty quick and easy.
  3. I cut the frame and bottom layer using the largest die in the Nested Scallop with Holes set.
  4. I laid the frame flat on the card base (with no adhesive) and centered it so that I could then add the inside piece inside of it.  This way I knew the outer edges would be centered.
  5. I added foam tape to my frame and adhered that so that it fit around the inside scalloped piece.
  6. Then I moved my flowers around until I had the look I wanted.  I kept the larger flowers towards the bottom and then the smaller ones diagonally to the top.  Working to keep the colors that were closest to each other separated by other colors.  Once my eyes were happy I started adhering them in place... popping some up with foam tape and laying others underneath flat.
  7. I had stamped and cut out the silhouette images from Spring Meadows and added shading earlier and decided they were perfect as foliage for the florals.
  8. I popped up the Thanks sentiment that was stamped and cut out with the Brother Scan N Cut over the top and added a few sequins.
And that's me for today!  Thanks so much for stopping and be sure to come back soon and often for more inspiration!


I've provided links below for all of the Rubbernecker products I used today.  Should you choose to purchase using these links, I will receive a small compensation at no additional cost to you.  And thank you!

Sunday, March 29, 2020

Miss Ink Stamps Alice In Wonderland Release - Dodo!


So excited!  The Alice In Wonderland Release is now available over at the Miss Ink Shop!  You can find it all right here including an opportunity to get the entire collection at a great discount!!

Today I'm sharing a card made using the Dodo set (and you can get this one for free with a $50 purchase!)


I used some cool Trinity dies to create this scene of the Dodo and Alice talking by the sea.  I started by creating the background using the Scene Builder Stencil.  I added all of my background dies and then my colored and cut images from the Dodo and Alice stamp sets.


The Dodo set has some really cute sentiments too!  How are you Dodoing?  I hope you're all well!


Thanks so much for stopping and hope you enjoyed it!  Be sure to head on over to the Miss Ink Instagram account where you'll find links to everyone who contributed projects for this huge release.  You will find lots of awesome there!


One Hot Mama! - CAS-ual Fridays Release


Hello!  Excited because there is a fun new release over at CAS-ual Fridays Stamps and today we're sharing makes using the new Hot Mama Stamp Set!


Isn't this a fun new set?  And don't you love this font!  It's so funky and retro!  And this was easy enough to stamp and cut out by hand and I love the look.  I stamped it with the Misti so that I could be sure to get a nice sharp black image.


I created the background with the Starlequin Stencil and some Ken Oliver Color Bursts.  And don't you just love that fun sentiment?  I know exactly who this is for!


This stamp set has so many fun sentiments!  

Be sure to head on over to the CAS-ual Fridays Stamps Blog to see what everyone else has created for you today!  And all of the new release items are available in the shop right now!

And should you decide there is something you must have, I have this for you:


Thanks for stopping and hope you enjoyed it!  Be sure to come back tomorrow for more new release inspiration!


Friday, March 27, 2020

In The Dark - Miss Ink Stamps Alice In Wonderland Release


Did you know that Miss Ink Stamps is in the middle of a huge and awesome Alice In Wonderland release?  This is such a complete collection of Alice images and I think you're gonna love it!


Today we're sharing projects using the In The Dark stamp set as well as Wonderland Wisdom, Dodo, and Unbirthday!  I've used the In The Dark set today along with a few other things!  Can you see the subtle touches here?  Behind my quote I stamped in black on the black paper the Mad Hatter image from the Tea Party stamp set.  I do wish he showed up a little more, but I love the look.  It's a little surprise!  I also used black Distress Oxide with the Wonky Checker stencil on black cardstock for the background.


The chair (LOVE that chair) and sentiment are from the In The Dark set and I used the cups from the Tea Party set and sweet Alice from the Alice set!


I just love this set!  That sentiment is one of my faves ... perfect to let a friend know that you are there for them... always.

Now, be sure to head on over to @Missinkstamps on Instagram and enter for your chance to win some fun stuff from the new release!

Thanks so much for stopping and please do come again soon!

Coffee Date With Lisa and Jean!


So excited because today I have a Coffee Date up on the Coffee Loving Cardmakers Blog with my good friend Jean Chaney!  We decided we would both use this Coffee Cup Fold-It Die from Stamps of Life along with any Art Impressions Stamp Set of our choosing!

Here's how I was inspired:


I was so very excited when I found this adorable pup dressed in a bunny outfit on the Howl-oween Stamp Set from Art Impressions.  Immediately I knew I wanted to make a cute Spring themed card with a grumpy sentiment.

Love this coffee cup shaped card from TSOL... it's three pieces... the outline cuts a card base from a folded piece of paper (or just cut it out as an outline if you aren't making a coffee cup shaped card) and then I just cut the cup from three different papers... white, kraft and the pink polka.  It has strategically placed cuts so that with just an easy snip here and there it's so easy to paper piece it.  And the circle for the front is a separate die.  Aren't those Lawn Fawn papers so pretty?? 


He's SO cute, isn't he?  You know how I love to make a Coffee card using sets that aren't necessarily coffee themed.  And with that look on his face, I went right for this sentiment on the Caffeinated Boxer stamp set from The Rabbit Hole Designs!


And that's me for today!  Hope you'll give a visit over at the CLC to meet Jean and then hop on over to her blog to get the details on her amazing project!

Thanks for stopping and hope you come again soon!

Thursday, March 26, 2020

Hi There Hop Stuff - CAS-ual Fridays Stamps!


Hi there!  Lisa here and I'm sharing another shaker similar to one I made for the Crafting of Hue Sponsorship Weekend so I could show you how I made this shaker using the paw die from the Huggable Critters die set!


I started by cutting the Bubble Box layer using the 2nd largest die in the set.  I taped it in place and then took the paw die from the Huggable Critters set and taped it in the bottom left corner so I could run them through together and avoid an extra run through the Gemini.  Then I took that piece and taped the paw die in place again and ran it through.  Then one more time so the paws were hopping across the bubblebox.  Once all three paws were cut out, I ran the entire thing through with a floral embossing folder.


Next I adhered acetate over the back of the die cut paws and added foam tape to create a well around the area I wanted to place my sequins and then additional tape to provide support for the Bubble Box layer.  I filled the well with sequins... using my fine tweezers to flip them over so when the shaker was right side up, most of the sequins would be too!


And finally I placed the design paper that I wanted to show through the shaker windows over the back.  I added adhesive to that and flipped the whole shaker element over onto my card front.


To finish it off, I used this cutie pie bunny from the Little Huggables set that I colored with my Copics.


And I added this cute sentiment also from the Little Huggables set... love all of the punny sentiments on this set!


A few sequins and done!

Thanks so much for stopping today!  Hope you enjoyed your visit and that you'll come back for more inspiration soon!  And should you need anything from the shop, I have this for you:


Miss Ink Stamps Alice In Wonderland Sneak Peeks - Dee & Dum


This week we're sharing sneaks of the awesome new Alice In Wonderland collection from Miss Ink Stamps!  This one uses Dee & Dum and Forest Path!  You'll find all of the details today up on the blog over at the Miss Ink Stamps Blog!  Hope you'll join me over there and then be sure to hop on over to the Miss Ink account on Instagram to check out each day's giveaway!

Sending Some Comfort - Rubbernecker Stamps


Hello all!  Lisa here!  I'm sharing a sympathy card today using one of the beautiful florals from the shop and one of my favorite sentiments for sending love at one of the most difficult times we face.


This gorgeous Flower Bouquet is one of my faves to color up... it's beautiful in any colors you choose!  I find it very hard to make a sympathy card at the time that I need it.  So I find it best to have a few on hand to choose from.


And this sentiment.  It says so much yet not too much.  Just a simple wish of comfort.


Sending peace and comfort to all of you out there!  As always, we will be bringing you as much inspiration to you as we can over the next few weeks to keep your eyes happy and your minds and hopefully your hands busy!

Here's how I made this one:

  1. I cut a panel of white cardstock using the largest of the Nested Rectangle Small Stitch Dies.
  2. I used some distress inks in  yellow to first blend some yellow onto my background and then applied some of the orange through the Bold Rose Stencil.  (I did this before I received my beautiful new Color Fuse inks from Rubbernecker and I can tell you since I got them I have used them in the same way and they worked beautifully!)
  3. Next I cut the Window w/ Pierce from a yellow that coordinated with my background.
  4. I stamped the Flower Bouquet and cut it using the Scan N Cut and then colored it in with my Copics.  I went for a soft look this time with some peaches and yellows for the florals leaving some white space even (it's ok to not color every part of your florals!)  When I leave white, I like to use my blending marker to soften up the edges between the color and the white space.
  5. Next I cut a banner from white cardstock and stamped the sentiment in the center using my Misti.
  6. Finally I assembled all of my pieces and adhered them with various thicknesses of foam tape.  Added a few sequins and done!

Thanks so much for stopping today!  I hope you enjoyed it and you'll come back again for more Rubbernecker Inspiration!


I have provided links below to the Rubbernecker products I used today.  Should you purchase using these links I will receive a small compensation at no additional cost to you.  And thank you!

Wednesday, March 25, 2020

Crafty Elves' Countdown to the Holidays - March 2020 Edition!


Welcome to the March edition of Crafty Elves!  We are in Month three of this years' monthly Christmas card makes and this month was an especially hard one for everyone and for some more than others.  I hope you are all safe and healthy out there and taking care of yourselves!  I've been working from home for a couple weeks now and even though at minimum I'm saving a couple hours of driving every day somehow I don't have any additional time!  But my mind is scattered and I'm not as focused as usual so I guess it makes sense.  Anywho!  I decided this was the perfect month to make some quick and easy cards.  I used a couple really cool dies from Rubbernecker Stamps and a few different design papers and I'm quite happy with how they turned out:


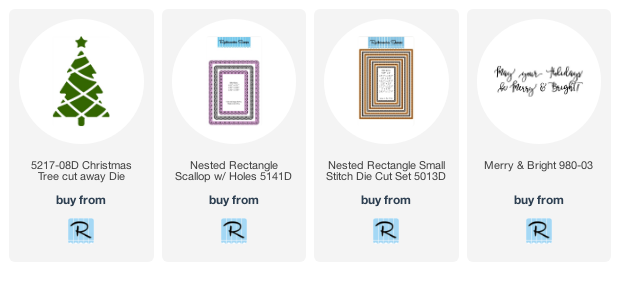
I started with some really bright and cute papers from Sunny Studio!  That Christmas Tree Cutaway Die is SO cool!  It's fun to use for a shaker or not!


Of course I bought the die because my first thought was shaker cards!!  I taped the Scalloped Rectangle die and Cutaway Tree together onto a piece of white cardstock and cut them both at the same time to avoid running the paper through the Gemini twice.  I saved the star and then placed a piece of acetate behind the window the tree left, added foam tape and sequins... easy peasy!  And I colored the star with my Gold Copic marker and then added some Gold Wink of Stella to it.


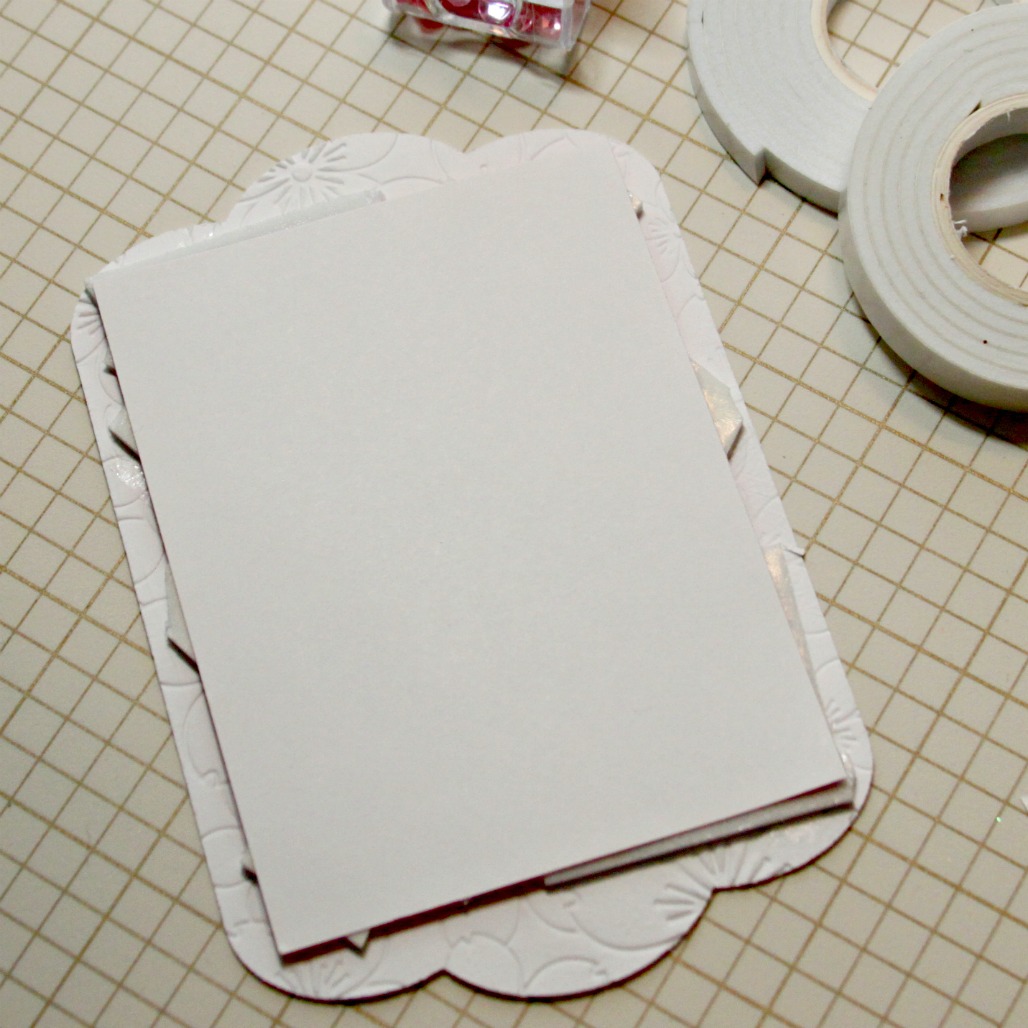
While I was putting my shaker together decided I'd also like to use it like this!  I cut it twice.. .once from white cardstock and once from the green dotted design paper.  When you do this you need to be sure to save those little tiny pieces!  I just placed all of my pieces in a small dish 'til I was ready to put them together.  I find the easiest way to paper piece diecuts like this is to flip it upside down and add the foam tape over the entire opening.  Then flip it back over and attach all of the pieces to the adhesive!  You could also use flat tape too, but I have quite the habit of using foam tape...lol!

Then I decided I'd make a couple using more vintage colors of Christmas papers:


Of course I used lots of plaid... because why wouldn't I?


I intended to make four completely different cards this month and I kind of did!


I used two plaids on this one!...lol!  'cause why not?  I stamped the sentiment and cut out the Merry & Bright part and popped it up on all of these.

Now!  We have a winner of some Happy Mail from last month's post:


Sandi!  Message me your snail mail info so I can send you some mail!

And we're doing it again this month!  Leave me some love and I'll announce the winner in next month's post!

So that's me for today!  Now be sure to hop on over to my cohorts' blogs and see what they have for you today!  Jessica is taking a break this month...  but she'll be back in April!  Be sure to visit Michael and Debra and leave them some love!


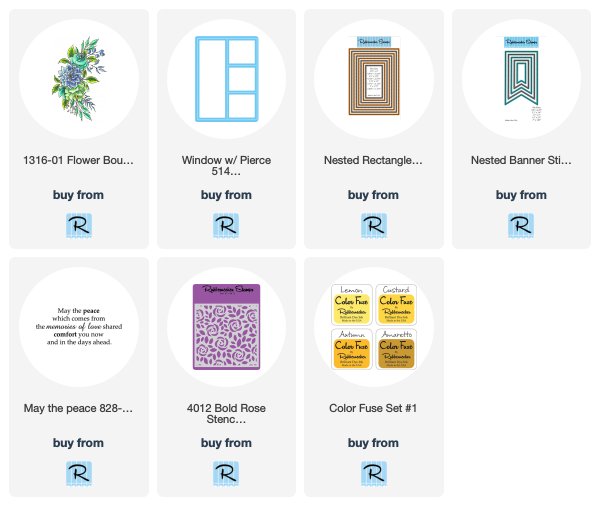
I have links below to the Rubbernecker products I used in this month's cards.  Should you choose to buy using these links, I will receive a small compensation at no additional cost to you.  And thank you!