Friday, October 30, 2020

Miss Ink Stamps - A Haunted Hello Just Be-Caws

Welcome back!  I've got a Haunted Hello for you today!  I just love the Just Be-Caws stamp set with it's fun and punny sentiments (although I used a sentiment from Boo Crew for this one.)


I started by heat embossing a black panel with translucent texture paste and some Wow Bang Embossing Powder.  I stamped cut and colored my images and then popped them all up ... easy.. peasy!


Thanks so much for stopping and I hope you'll come back again soon!


Thursday, October 29, 2020

Boo! - Halloween Fun with Rubbernecker Stamps


Hello and welcome back!  I've got another Halloween slimline for you today using the adorable Build An Owl Die along with the Owl Halloween Add On!


If you remember the last time I used these owls I had cut bunches of pieces out of a lot of different colors of cardstock.  I had fun putting them together while watching TV one night so I could use them on more cards.  You can find that previous post here!


This is how I put this one together:

  • First, cut a white layer of cardstock slightly larger than the Slimline OPC Scallop Die (the die is 3" x 8").  I cut mine at 3 3/8" x 8 3/8".
  • Blend some purple inks over the white panel and then splatter water over the top and soak up the extra with a paper towel.
  • Finally, splatter some inks or paint over the top.  You can use your ink by swiping it onto a plastic piece and then picking it up with a water brush and tapping the brush over your finger onto the panel.


  • Layer the ink blended piece onto a 3 1/2" x 8 1/2" panel of black cardstock
  • Cut the frame die from black cardstock (and be sure to save those little squares from the center because they are great to use on other cards!)
  • Use foam tape to pop the frame up over the ink blended panel.
  • Next, from white cardstock cut multiple panels of letters from the Upper Case Alphabet dies.  I cut it times and set aside 3 B's and 6 O's and saved the remainder in a clear envelope for future use.
  • Stack and adhere your letters together for dimension.  Three layers were used on this one.
  • To add some shimmer and shine to your letters, you can swipe on some Wink of Stella and then cover them with Glossy Accents.


  • Finally, add your owls and sentiment to the card base with various thicknesses of foam tape and glue as well as a few sequins.


That's me for today!  I hope you enjoyed it and will come back again soon for more Rubbernecker Stamps inspiration!


Below are links to all of the Rubbernecker Stamps products I used today!  Should you choose to purchase using these links I will receive a small compensation at no additional cost to you.  And thank you!

Tuesday, October 27, 2020

CAS-ual Fridays Stamps - An Autumn Thank You


I'm up on the blog over at CAS-ual Fridays Stamps with an autumn shaker and an awesome sale plus a discount code!  Hop on over there for more details, links and the coupon!  Thanks so much for stopping and come again soon!


Monday, October 26, 2020

A Jillian Vance Design - You Are Spooktacular!


I'm up on the blog over at A Jillian Vance Design with this Halloween Shaker today!  Head on over there if you'd like details and links!  Thanks so much for stopping and hope you'll come again soon!


Sunday, October 25, 2020

Craft Elves' Countdown to Christmas - October 2020 Edition!


Welcome back!  It's the 25th of the month and time once again for the Crafty Elves to share the Christmas/Holiday cards we've made this month!

After you leave here be sure to visit Debra and Michael to see what they have created!

Here's how I was inspired:


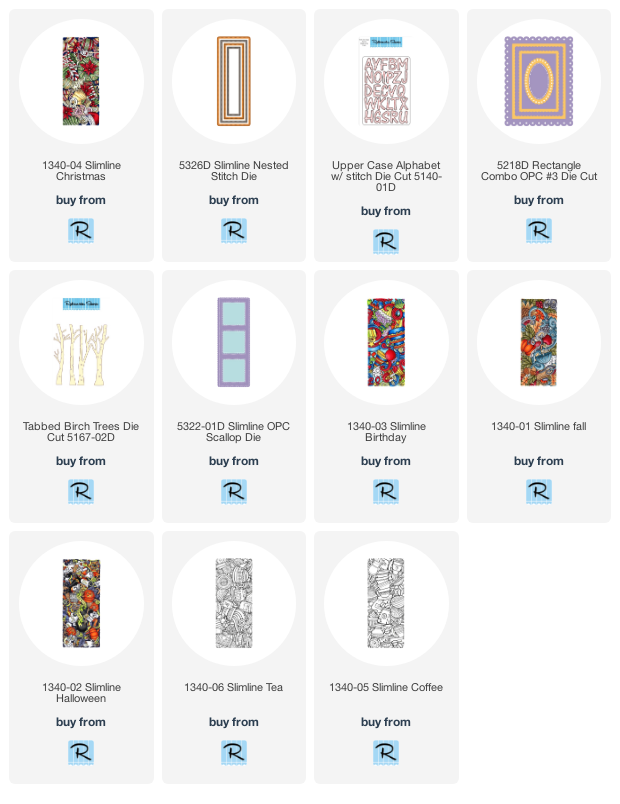
First... and foremost... this!  Have you seen the cool collage style background stamps over in the Rubbernecker Stamps shop??  SO cool!  They are cool whether you color the whole image using markers, pencils, or watercolor or even if you leave them black and white... or spotlight color them... or just emboss them in any color.  You can use just part of it for a smaller card or the whole thing to cover your slimline.  This is the Christmas one but you'll be seeing some of the others and check them all out at the Rubbernecker Stamps shop.  I'll include links at the end of this post.


I colored the entire image and then die cut it using a stitched slimline die.  I used Copics and accented in some areas with a gold gel pen.  To keep it simple and not cover up too much of that fun image, I simply placed some glitter tape across the bottom and used the Alphabet dies for my sentiment!  Easy peasy!

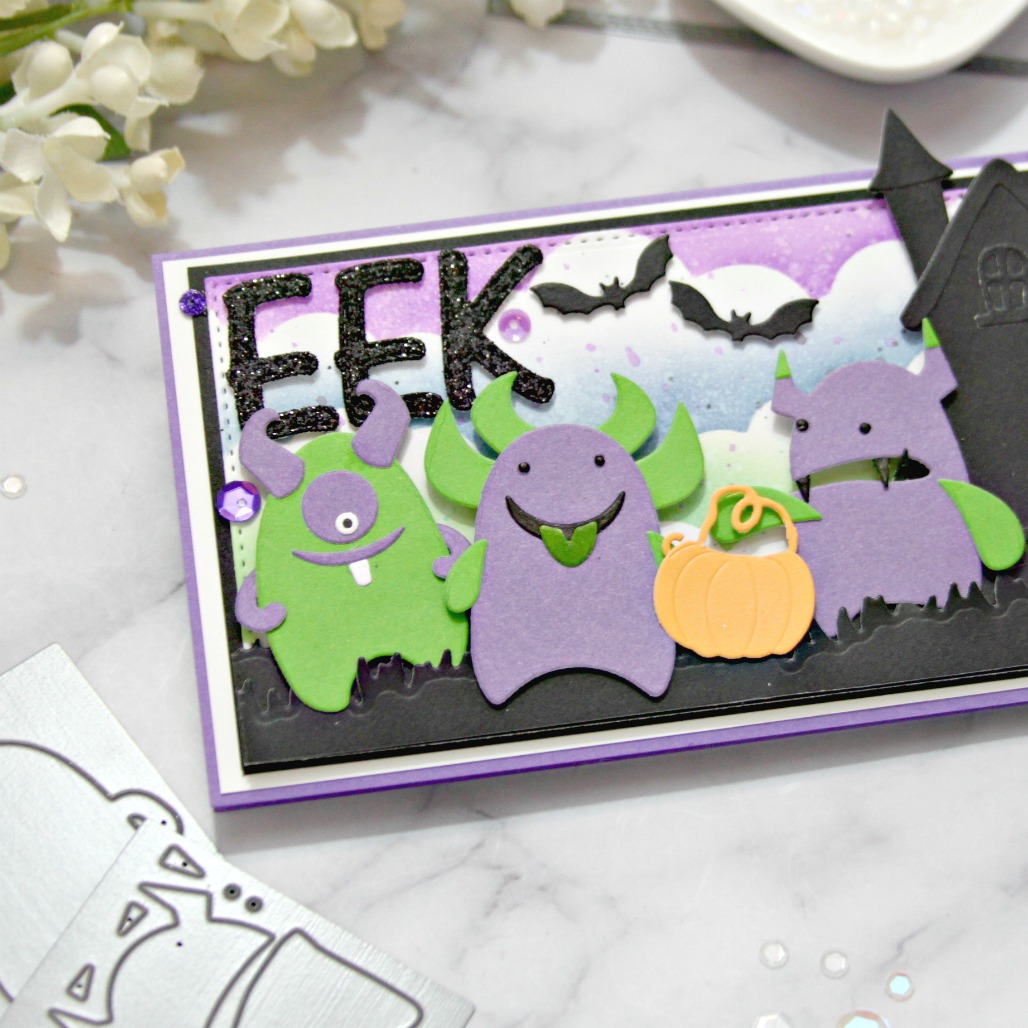
And then I had some extra images from a couple Elizabeth Craft stamp sets left over from prior projects so I decided to make some quick cards with them:


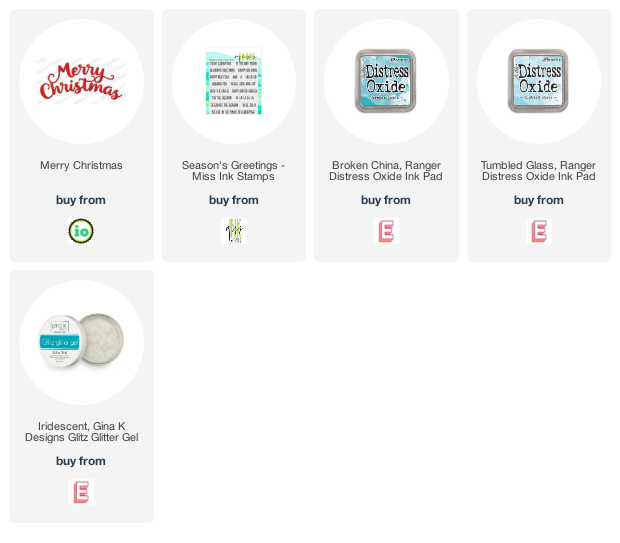
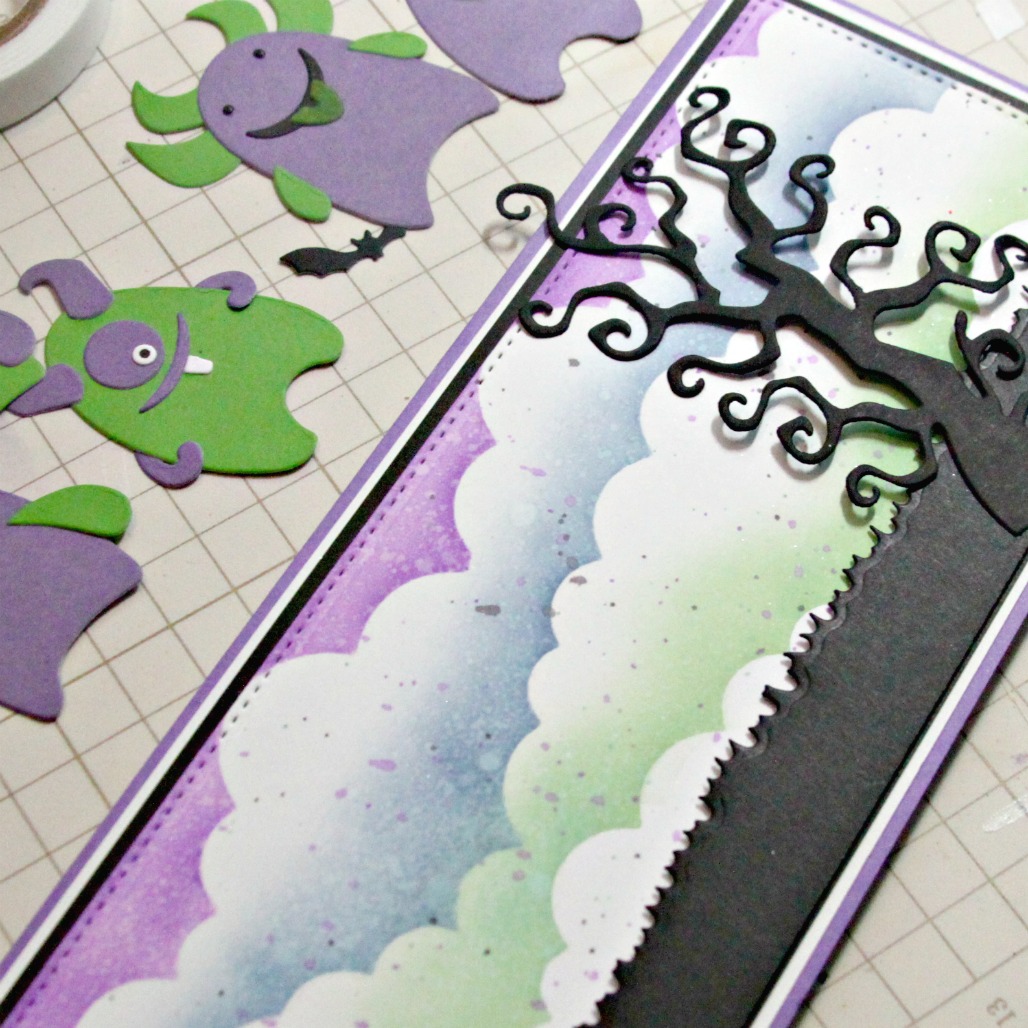
For all of my backgrounds, I blended some Broken China and Tumbled Glass Distress Oxide Inks onto a stitched panel.  Then I splattered some water over the top and dabbed off the excess with a paper towel.  Finally, I used a dotted stencil and applied some Gina K Designs Iridescent Glitz Glitter Gel through it.


I set those aside and colored in the images I had already stamped and die cut.  Then I took various dies from Rubbernecker including those awesome Birch trees and the fabulous One Piece Scalloped Rectangle and cut them out.


For this one, I used the inside squares from the Scalloped Frame Slimline die.  I used the Merry Christmas die from Impression Obsession and the cute little sentiment on the cute penguins from Miss Ink Stamps.

That's me for today!  I hope you had fun!  Have you started your Christmas cards yet?

Before you go... I have a winner from the comments in Septembers post!


Kim!  Please PM me your mailing address so I can get your Happy Mail in the mail to you!

We're doing it again this month... leave me some love and maybe I'll send you some Happy Mail!

Now be sure to head on over to Michael's and Debra's blogs and check out what they've got for you today!


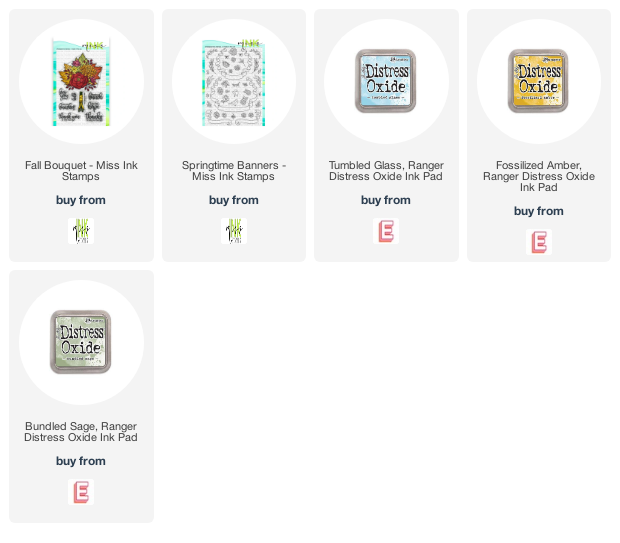
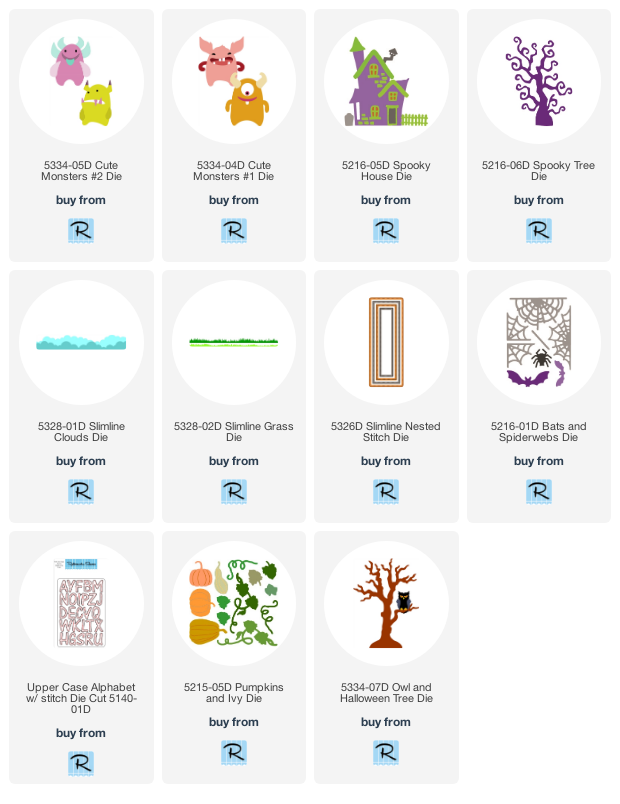
Below are links to the products I've used (including additional slimline stamps from Rubbernecker).  Should you choose to purchase any of the Rubbernecker products using these links I will receive a small compensation at no additional cost to you.  The other products are just links for your ease of use and are not affiliate links.  Thank you!


Friday, October 23, 2020

An Autumn Hello - Miss Ink Stamps


Hello!  Welcome back!  I have some Miss Ink Autumn goodness for you today!

I started with the Fall Bouquet stamp set!  I stamped it using Versamark onto a panel of watercolor paper and embossed it in Wow Gold Embossing Powder.  I lightly blended on a few Distress Oxide Inks and in broad areas... blue for the sky... yellow over the floral and green at the bottom just to lay a base of color.  Then I colored it in using Albrecht Durer Watercolor Pencils and a water brush.  After it was dry, I splattered on some water and soaked up the excess droplets with a paper towel.


In between background layers I stamped, cut and colored my images from the Pumpkin Spice Gnomes stamp set.  I also used the birds from the Springtime Banners set!  I thought they went perfectly with this friendly fellow!

Then I layered all of the images over the background trying to be sure some of it showed giving a feel of the pumpkin house being nestled in the leaves and flowers.


Finally I added a sentiment from the Pumpkin Spice sentiment set... I stamped and fussy cut it out for just a little sentiment that wouldn't take up too much space!

That's me for today!  I hope you enjoyed your visit and that you'll come again soon for more inspiration!


Thursday, October 22, 2020

Rubbernecker Stamps - Eek!


Welcome back!  Today I've got another fun Halloween card for you using some great dies from Rubbernecker Stamps!  I've fallen in love with these monsters!  

  • I started by cutting the Monsters die sets from multiple colors of cardstock like I did last time with the owls and then put a bunch of them together (I've got extras for later!)


  • Next, I cut the largest Slimline Rectangle from white cardstock.
  • I had previously cut some of the Slimline Clouds to use like a stencil or mask and pulled those out to blend some ink around them to create my background in green, blue and purple.
  • Then I splattered on some of the same inks with a waterbrush over the top of the clouds.
  • And finally for the cloudy background, I sprayed on some water and dabbed it off... I love the softer look it gives!


  • Next I started building my scene and cut them competely from black paper.  I used the Slimline Grass dies, Spooky Tree, Haunted House and others so they would just appear as shadows for a kind of silhouette background.


  • After the background was completed, I started adding my monsters with some popup tape in different widths.


  • I made one of the little monsters a pumpkin candy bucket by trimming one of the pumpkin die cuts and used a vine for the handle.
  • I die cut a couple sets of the alphabet die cuts in black glitter.  I will save the letters I didn't use for another project!  But I needed two E's so I cut two sets.
  • I popped up the letters for Eek onto the card as well as a couple bats and the added the owl in the tree!


Don't these little guys look like they are having a good time?!  And somehow I don't think they'll be scared to stop at this spooky house... 


And that's me for today!  I hope you enjoyed it and you'll come again for some more inspiration!


Below are links to the Rubbernecker Stamps products I've used for today's project!  Should you choose to purchase using these links, I will receive a small compensation at no additional cost to you.  And thank you!
 

Wednesday, October 21, 2020

Caffeine Fueled Paper Play - Happy Hoolidays!


Howdy!  I'm up on the Coffee Loving Cardmakers Blog today with some more Elizabeth Craft Designs!  Hope you'll hop on over there for more details and links!

Thanks so much for stopping and hope you'll come again soon!


Monday, October 19, 2020

A Jillian Vance Design - Fringe Flowers


I'm up on the blog over at A Jillian Vance Design with this one.  Hop on over there for more details and links!

Thanks so much for stopping and hope you'll stop again soon!


Friday, October 16, 2020

Miss Ink Stamps - Hope


Hello!  Welcome back!  Today I'm sharing this one using the beautiful Fall Bouquet stamp set from Miss Ink!


I stamped the floral and stems onto mixed media paper with Versamark and embossed it with Wow Gold Embossing Powder.  Then I colored it using my watercolor pencils and a water brush.  I fussy cut both out when they were dry.


For the background, I blended Fossilized Amber, Spiced Marmalade, and Vintage Photo Distress Inks onto the panel and then applied more Spiced Marmalade through the Art Deco Stencil.  Then I splattered some Heidi Swapp Color Shine over it with a paint brush.


Finally I popped the images onto the base after stamping one of the sentiments from the Fall Bouquet set directly onto the background using some Color Fuse Ink.

And that's me for today!  Don't you just LOVE that pretty floral??

Thanks so much for stopping and hope you'll come again soon for more inspiration!


Monday, October 12, 2020

A Jillian Vance Design - Owl You Need is Coffee!


I'm up on the blog over at A Jillian Vance Design with some Hootie The Owl!  If you'd like more details on how I made that background along with links, hop on over there and give us a visit!

Thanks so much for stopping and hope you enjoyed it.  Come again soon for more A Jillian Vance Design inspiration!


Friday, October 9, 2020

Miss Ink Stamps - Squirrel!


Welcome back!  I have some more Miss Ink for you!  Today I used the fun Oh, Nuts stamp set along with the new Stained Glass Floral stencil for a quick card! 


I started by ink blending my background with yellow and orange and then splattered some water over it and dabbed the excess off with a paper towel.  Then I blended more of the same inks over that gorgeous stencil.


I stamped, colored and cut out the images from the adorable Oh, Nuts set and moved my images around on the card until I decided on a layout.  I just love how the cutie pie on the top is about to surprise the other two...lol...


I decided to frame the two at the bottom for fun and popped everything up including that cute sentiment... actually pretty much how I've been feeling lately...lol...


That's me for today!  Thanks so much for stopping and hope you'll come back again soon!


Thursday, October 8, 2020

Miss Ink Stamps - Brewtiful


I'm up on the blog over at Miss Ink Stamps today with this one!  Hop on over there if you'd like more details and links!

Thanks so much for stopping and hope you'll come again soon!


Happy H-owl-oween! - Rubbernecker Stamps


Hello all!  I am excited to be sharing a Halloween card today using a bunch of die cuts from the Rubbernecker shop including the new Build An Owl and Owl Halloween Add-On Die Sets (Along with a few other things)!


These die sets are each a one piece die so you cut all of the pieces at once. Easy peasy! 

  • I started by cutting each set multiple times from various colors of card stock.
  • I dumped them into two piles onto a sheet of white scrap paper... one with the owl parts and one with the Halloween parts.
  • I knew I wanted three owls for this card, so I started picking out the colors and pieces I wanted to use.  And as I did that, I started adding the like pieces to separate piles.  All circles in one, all belly pieces in another, etc.

  • Once I had all of the pieces I wanted, I continued to separate the other pieces that were left for easy use.
  • Trees were cut from black cardstock from both the Spooky Tree Die and the new Owl and Halloween Tree Die.

  • Once all of my pieces were cut and sorted, I began assembling my critters using liquid glue and some thin foam tape.
  • I ended up with a lot of eye pieces in various colors that I would normally want to be black.  I simply colored those with a black Copic marker and also did the same with any extra white pieces I was looking for that I wanted to be a different color.

  • With all of my critters completed, I cut a white base using the Slimline Solid Deckle Die.
  • I saved cloud templates I had cut previously and used them to ink blend clouds onto the background using purple, green and orange.
  • I layered that onto an 8 1/8" x 3 1/8" piece of white cardstock.
  • That was layered onto a purple 8 1/4" x 3 1/4" piece of purple cardstock.
  • And all were layered onto a 8 1/2" x 3 1/2" piece of black cardstock.

  • The trees were then added over the clouds.  I added three Owl and Halloween Trees first.  Very thin foam tape was added to the back and they were spaced evenly onto the cloud panel.
  • Next two Spooky Trees were added in between those trees with a foam tape that was just a bit thicker.

  • Next the owls were popped up onto the tree background.


  • Spacing them evenly apart and using foam tape (the most used item in my craft room.


  • I stamped the Happy Halloween onto some purple cardstock with Versamark Ink after wiping antistatic powder over it.
  • Then some white embossing powder was sprinkled over and the excess tapped off.
  • I heated it up and then let it cool.
  • I centered it in the middle of the banner die and taped that in place using washi tape and then ran it through my die cutting machine.
  • I popped it up onto the card.
  • Finally, I added a few sequins.

And that's me for today!

Thank you so much for coming and I hope you enjoyed your visit!  Come again soon for more Rubbernecker inspiration.
 

Below are links to all of the Rubbernecker products I've used today!  Should you decide to purchase using these links, I will receive a small compensation at no additional cost to you.  And thank you!