

Hello! Today I'm sharing with you a quiet evening near the beach at sunset. Kinda wishing I was there right now!

I used some Color Fuse inks to blend this background and love the way it turned out! I could use a view like this about now!

And when I was trying to decide on a sentiment and thought of this one... I knew it was the one! Pretty much that's how I'd feel if I was there I'm sure.

And I had a lot of fun creating my shadow scene in front of the sunset. I just cut bunches of die cuts from black and layered them on.

And that scallop frame from the OPC Rectangles... one of my very favorites!
Here's how I created this one:
- I started by cutting a panel using the largest of the Nested Rectangle Small Stitch Die Set in white.
- Next from the bottom up I blended some Custard, Apricot and then Nectar inks onto the panel. I knew I'd be covering up the very bottom so I didn't worry about covering the entire piece, but made sure I had enough coverage to where the landscape started.
- I sprayed the panel using some water infused with Liquid Pixie Dust and let a couple fatter droplets land because I love the way it looks.
- I cut a simple circle from white cardstock and used the same inks to blend it.
- I cut a piece of black cardstock to 5 1/2" by 4 1/4" and adhered the ink blended panel to it.
- Another Rectangle was cut using the same die, but in black. Then I taped two of the Stitched Hill dies across the black rectangle panel leaving some room in between so I could layer them on top of one another. I attached the upper hills using some glue and then added some thin popup tape to the bottom hills and popped it up over the first one... overlapping just a bit so there would be no gap.
- I cut some Sea Grass (2), grass from the Grass #2 die, and the chairs from black cardstock and then began building my scene using popup tape and glue depending on where I wanted some depth... the chairs were popped up a bit as well as the sea grass Then I filled in with the smaller grass and trimmed some stems from my second sea grass die cut to stick in here and there as there are always little tiny seagrasses scattered at the beach here and there.
- The blended circle was tucked under one of the hill die cuts to create the sun setting behind the hill.
- I added the largest of the Rectangle Combo OPC #3 frames by adding pop up foam to the top edges that didn't have any diecuts built up underneath it and glue to the parts that would lay on top of the stacked die cuts.
- Then I stamped my sentiment onto black cardstock in Versamark and heated it with some white embossing powder. (When I use black especially I like to brush over it with some anti static powder first if I want a nice sharp look, and I did that here). I trimmed that down and popped it up in the corner of the card.
- Finally, I scattered some sequins... three groups of three... and I used Glossy Accents to adhere them since they were clear. Any glue that dries clear would work fine but since I didn't want to wait for the glue to dry before photographing it, I used glue that was already clear.
And that's me for today! Thank you so much for stopping and I hope you'll come again soon!
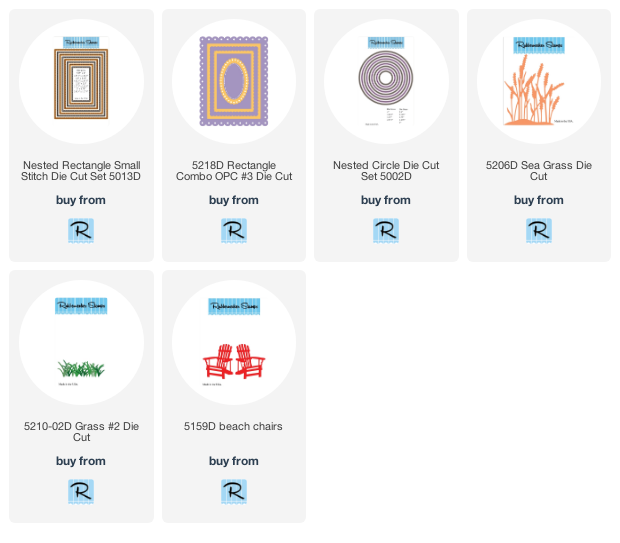
Below are links to the Rubbernecker Stamps products I used today. Should you choose to purchase using these links I will receive a small compensation at no additional cost to you. And thank you!
6 comments:
Wow I love the contrast between those bright colours and the black scene you've cut it's gorgeous. Hugs, María.
So GORGEOUS!!! Loving that background!
That is a beautiful and so inviting scene. I would love to see life from that view too for awhile.
Loving this beautiful card!
That sunset is just amazing. Love the shadow of the black with it. It is an amazing concept
Such a relaxing place to see the sunrise or sunset!
Post a Comment