Showing posts with label Angie Blom. Show all posts

Wednesday, February 21, 2024

Lucky To Have You - Angie Blom's Wordy Mug!


I'm up on the Coffee Loving Cardmakers Blog with some more Angie Blom Digital Designs with a few other things!


Hope you'll join me there for the details!

Thursday, February 15, 2024

Caffeinated Christmas #26 - Be Merry


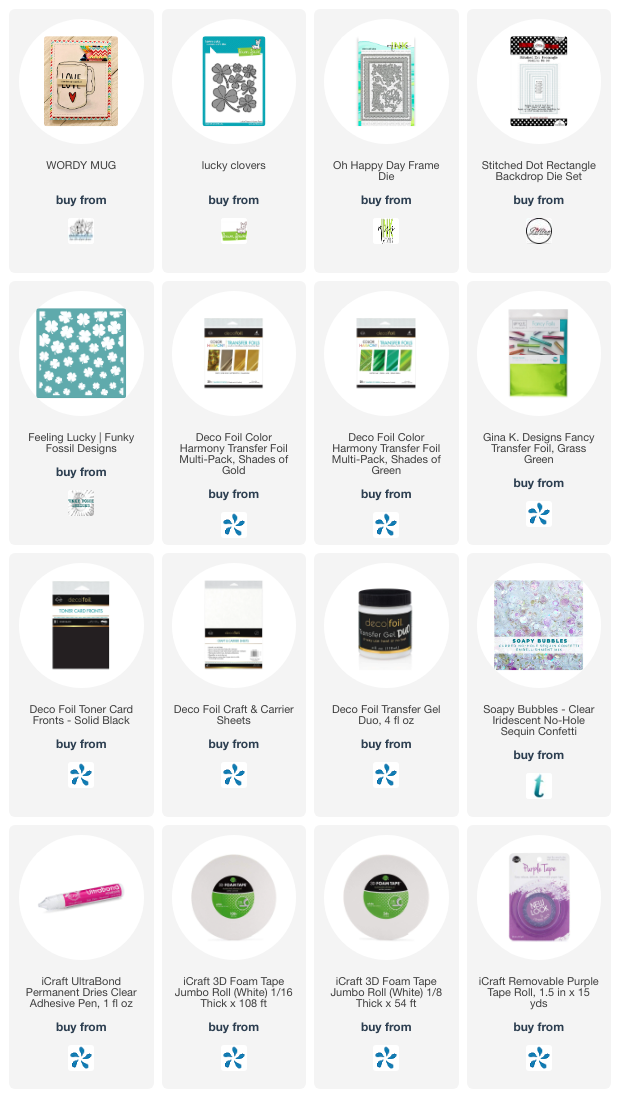
Hello!  It's the 15th of the month and time for a reminder over at the Caffeinated Christmas Card Challenge Blog!  I'm joining my teamies for this one because I'm having tons of fun with the Wordy Mug digital set from Super Sponsor Angie Blom Digital Designs!


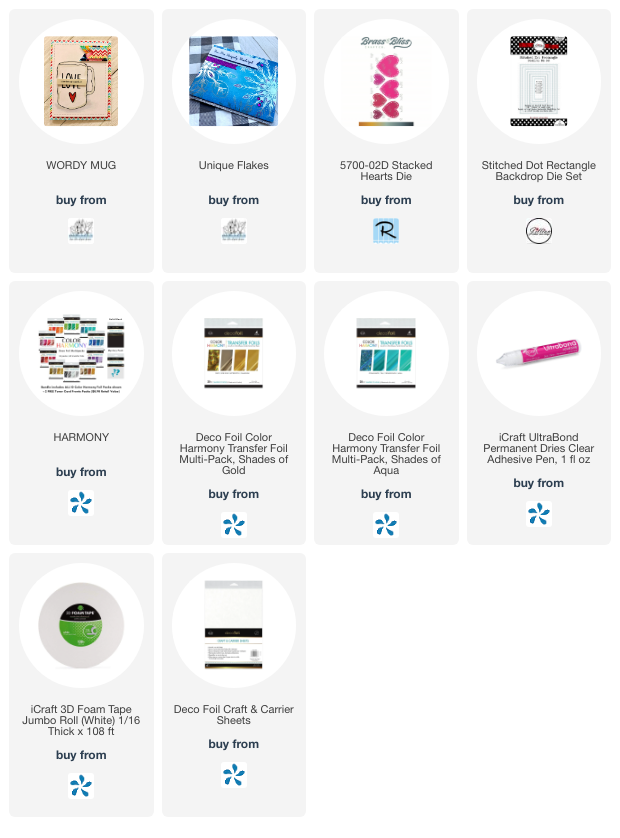
I used another great Angie Blom digi set for the background and Deco Foiled it in blue with the new Deco Foil Multi Packs.


I added the sentiment to the mug from the Wordy Mug set... easy peasy since you get a whole alphabet in that fun font!  I Deco Foiled it in gold.


And I cut some hearts using the Stacked Hearts dies from Brass & Bliss Craft Co from some pretty glitter paper.

That's it!  Easy peasy!  You have until the 25th to play along.  Head on over to the CCCC Blog for lots more inspiration! 

Friday, August 25, 2023

Crafty Elves Countdown to Christmas-August 2023 Edition


Welcome to this month's Crafty Elves Countdown To Christmas!  It's the 25th and the day that my friends and I share the Christmas Cards we made this month!

After you leave here, be sure to head over to Debra, Michael, and our special guest this month, Shalana!  (Misty is taking a break this month!)

I've got four cards for you today!  Here's how I was inspired:


I started with some fun new-ish stamps from Rubbernecker Stamps!  These adorable Laughing Snowmen were released in July and I've been dying to get them on a card!  I created a couple backgrounds with the Snowflake Stencil and cut this one with one of the dies from the Nested Loop dies.


I broke up one of the sentiments from the set and used the You with Shadow die instead.


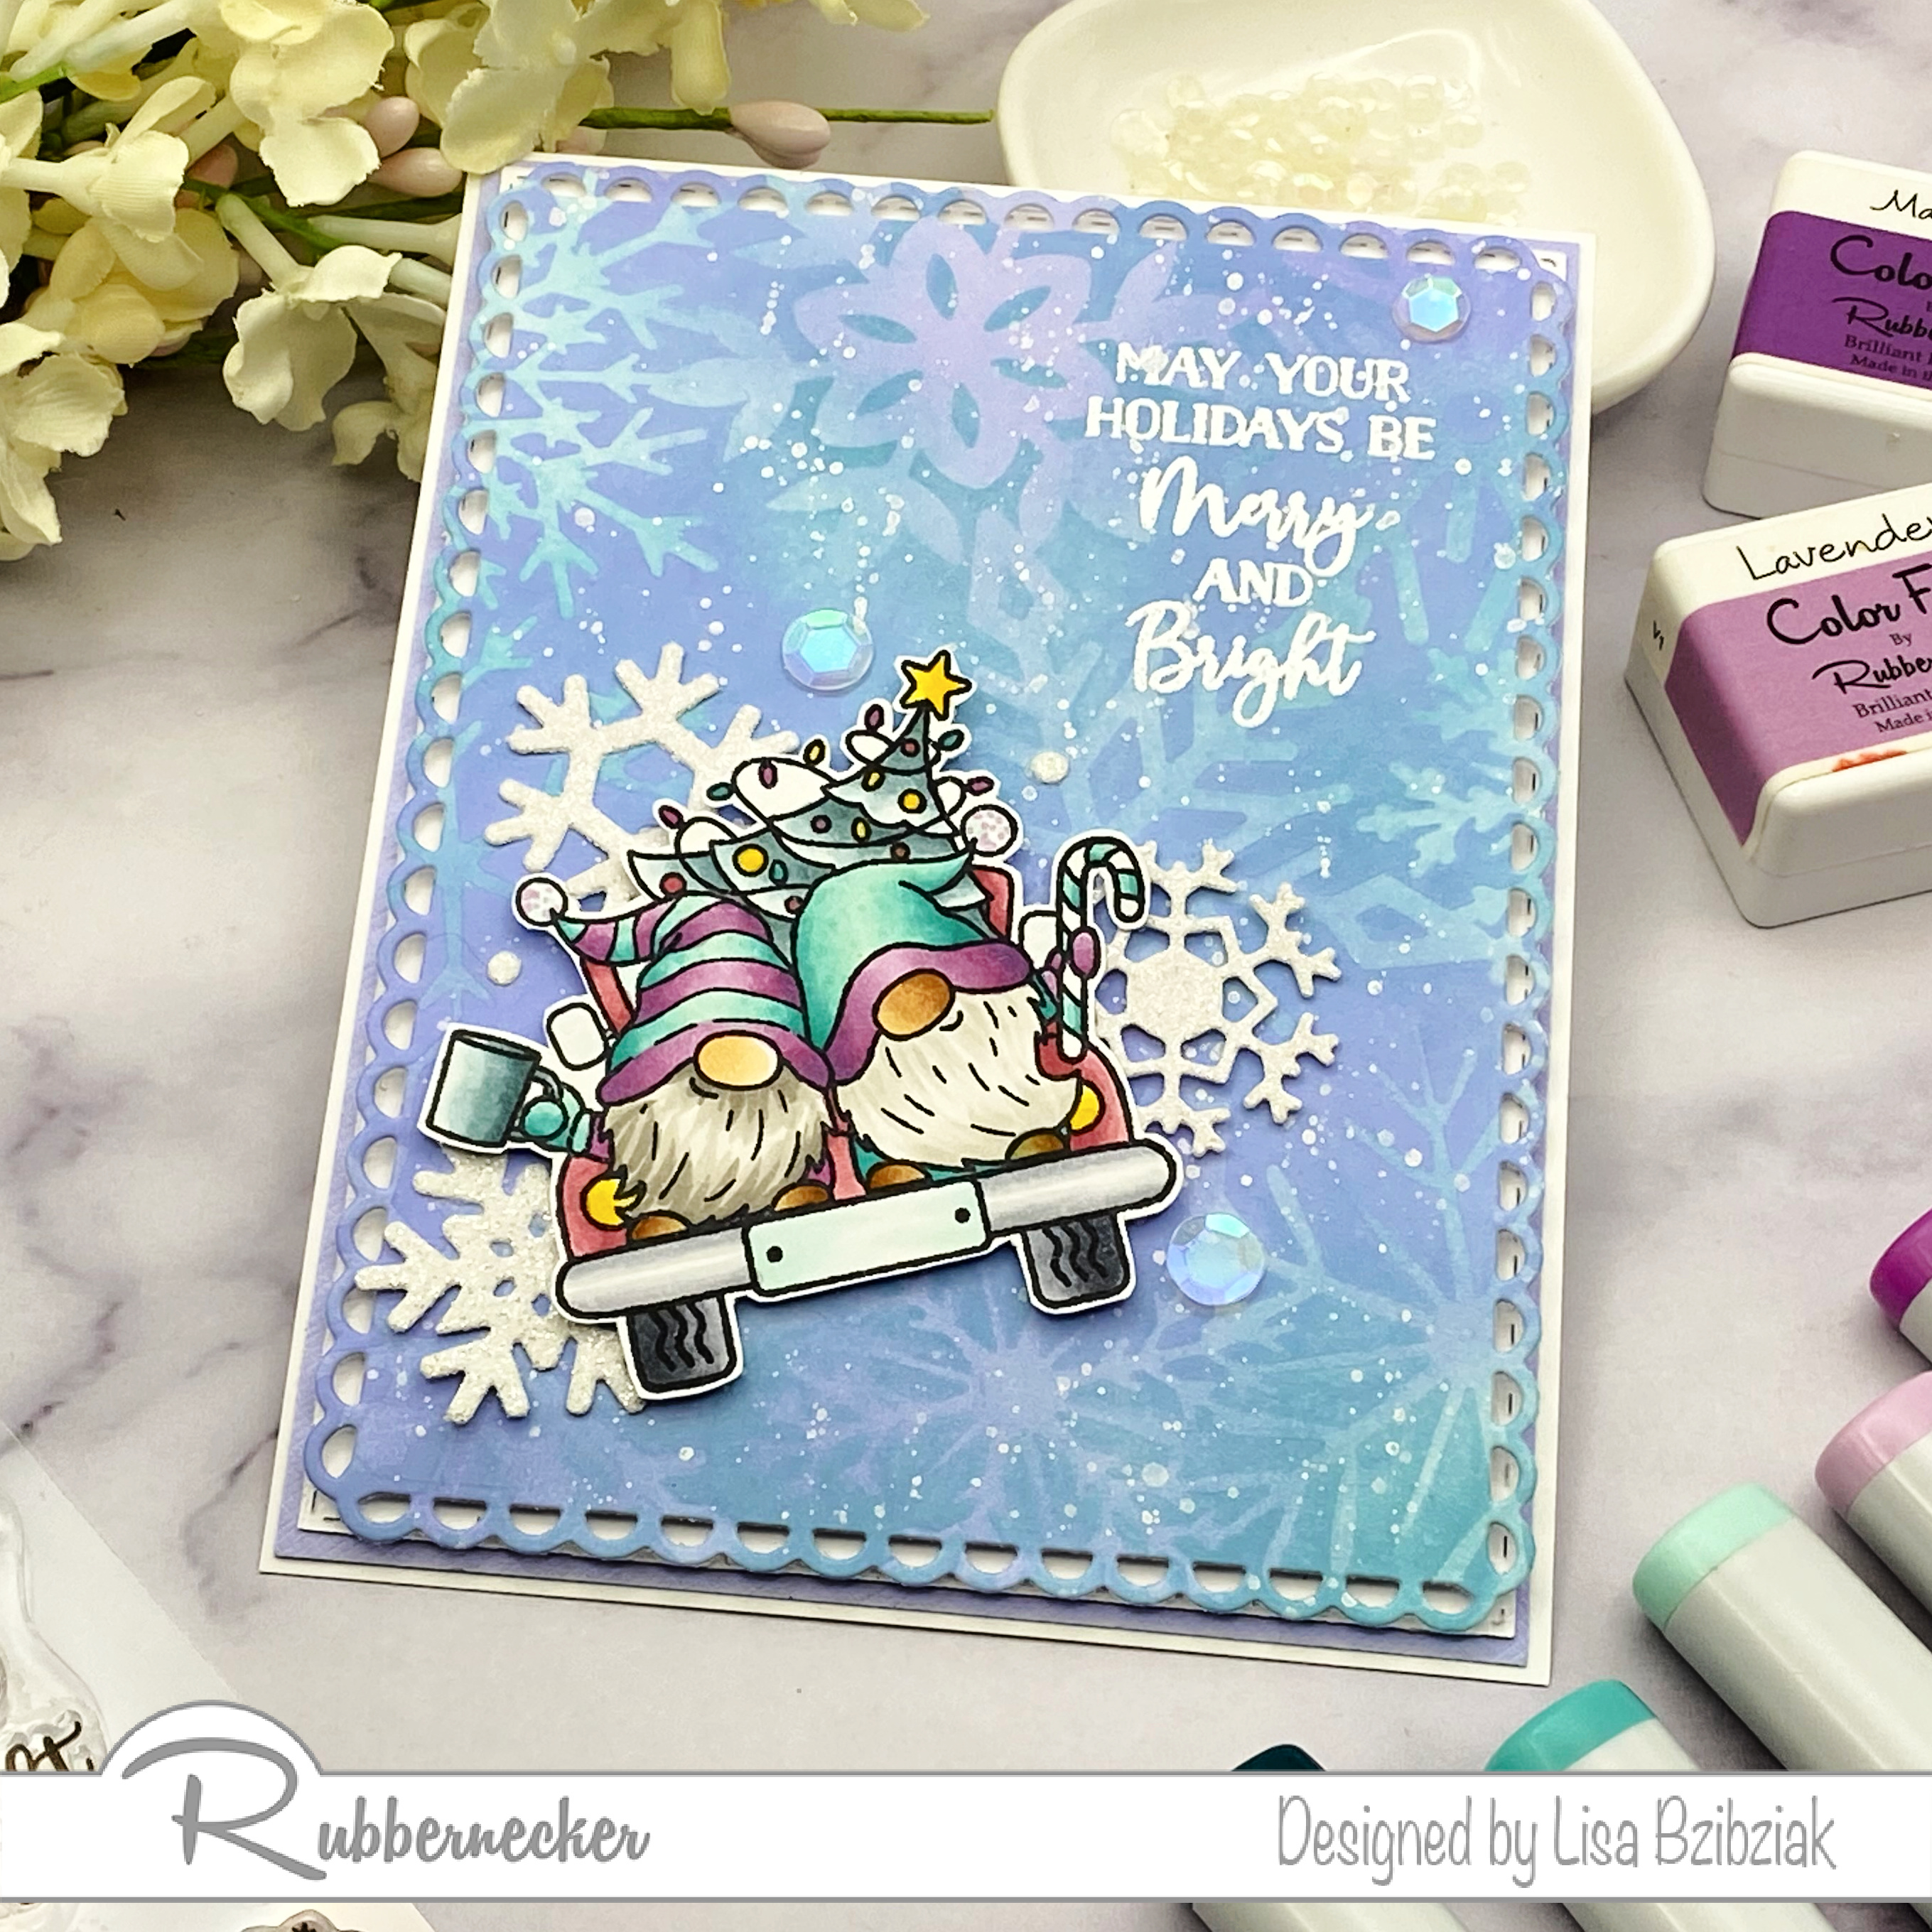
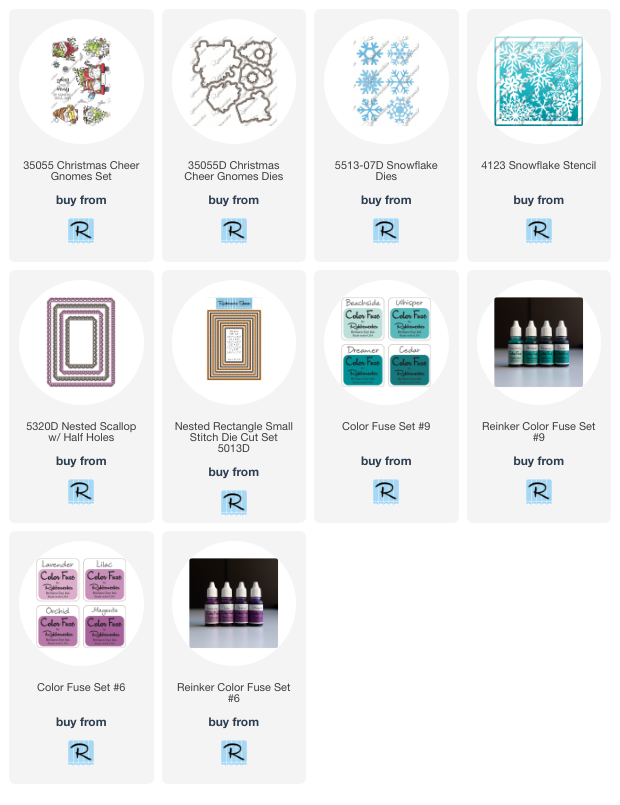
For this one, I used the Christmas Cheer Gnomes!  I used a different die and added some snowflakes to this one.


And heat embossed the sentiment directly onto the background panel.  And check out the cup in the gnome's hand!  Of course he needs some coffee.. there's lots to do!


For the next two I used the Unique Flakes digital set from Angie Blom!  I printed the flakes on some Mixed Media paper for the background and added some inks after and printed some on the clear toner sheet for the window and foiled both.  It was really hard to photo this one and it doesn't do it justice.  I just added the simple Winter Big Scripty Greeting so I didn't cover up too much of the snowflakes.  I used many of the same techniques for this one and the next that I did in this Therm O Web post here if you're interested.


You can really see those gorgeous snowflakes on this one!  All of the papers I used for these two foiled designs were from my latest Your Paper Insider box including that awesome purple metallic.


That's me for today!  I haven't done this in a while but I'm gonna start it up again!  I'll pick a winner from the comments on this post and on my Instagram for these four cards to get some Happy Mail!

Thanks so much for stopping and don't forget to visit the rest of the Crafty Elves!


Monday, August 7, 2023

Therm O Web-Clear Toner Sheets and Mixed Media Paper with Printables!


I'm up on the blog over at Therm O Web sharing two cards using Deco Foil with Clear Toner Sheets, Mixed Media Sheets and more!


Of course I made a shaker!


And I used some fab images from Angie Blom... I'm in love with this Camel digi!!


Hope you'll join me over there for links and details!
 

Tuesday, April 25, 2023

Crafty Elves Countdown to Christmas - April 2023 Edition


Welcome back!  It's the 25th of the month and time for the Crafty Elves to share the Christmas cards we made this month!

After you see what I have for you here, be sure to visit Debra and Michael to see what they have for you today!  Misty is taking a break this month!

Here's what I created this month:


IDK about you but when I create, I always have extras left over!  When I print digis, I print the images in a few different sizes because I'm not sure what I'm going to want when it comes time to create my cards.  Both images I used today along with almost everything else on these cards was left over from previous projects like this adorable Tree Cup Gnome from The Cat's Pajamas!


I created that gel print a while ago and cut it for a previous project but didn't use it so I used it here!  It's funny because the pink of that great Avery Elle Wonky Square frame was much redder and the red in the gel print was much pinker while I was creating... but I don't mind... I kind of like the contrast.  The Gel Print was created using the Lumberjack Plaid Stencil from Miss Ink and has some Iridescent Foil over it from Therm O Web.


And of course I have tons of extra snowflakes in my workspace so I chose this Bold Snowflake from AJVD as an accent.


I'm playing along with the BYSHC Spring Into Christmas 2023 Holiday Linky Party!  You have until the 28th to create a Christmas Card and link up for a chance to win prizes from some fabulous sponsors!  And be sure to join them over on Facebook where you'll have lots of chances to win stuff and you'll find tons of Christmas Card inspiration all year long!


For this one, I had printed some fabulous Unique Snowflakes from Angie Blom onto Gel Prints a while ago and then foiled it.  That's when I discovered that foil sticks to the Acrylic Paint as well as the toner from the printed image..lol... so they didn't come out as clear as I'd hoped and had a bit more foil on them, but I knew I'd use them some day and this was the day!  It's really a fab set of snowflakes that I think I'm gonna print up and use next month again!  So stay tuned for that.


I did cut that loopy panel for this one because I just love it!!  It adds such a fun detail to a card.  And idk how it's taken me so long to talk about that adorable Yeti from LTTS Doodles!!  Also an extra digi I printed from a previous project.  I added some treelights to his horns and a couple gifts from an adorable Pawsome Stamps set that I stamped and die cut previously and they were perfect with this digi!


I used a sentiment from MFT stamps along with a banner that I cut previously... when I'm cutting extras, banners of all sorts are a great go to to fill up the space on my large die cutting machine!

That's me for today!  I've been kind of lax with the prizes during tax season but I am going to start that up again!  If you were a winner and I didn't send you a prize, please do let me know!!  And I apologize.  Although I think I did get past prizes sent out, I know there is always a chance something gets by me.

This month I'm giving away a packet of slightly used or new stamps and/or dies as I'm trying to destash a bit.  Some will have packaging and some not.  If you are interested in being in the drawing, follow me and comment here or on one of my two posts on Instagram for these two cards and let me know!  If you would rather not be in the drawing, feel free to still leave me some love and just let me know not to include you.  Comment in all three places for three chances to win.  I'm not sure what days I'll be posting on Instagram, but it will be sometime in the next week or two.

Thanks so much for stopping and don't forget to visit my fellow Crafty Elves.

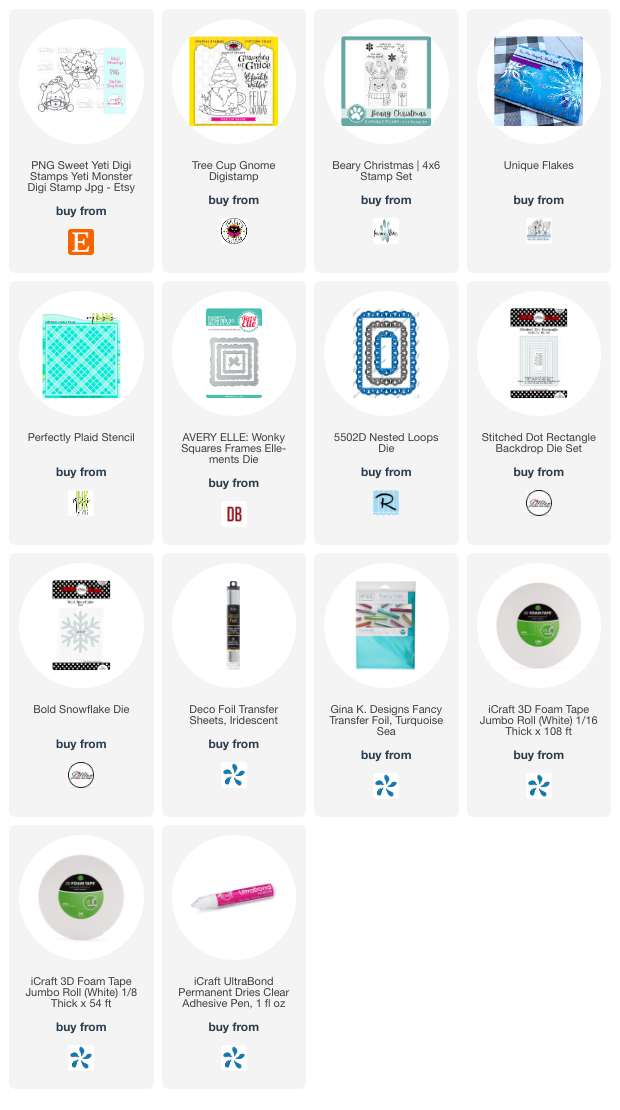
I've included links below to the products I used for these two cards.  Some are affiliate links and some are not, but I like to include links to everything in case you're feeling shoppy!

Happy Hopping and Shopping!  
 

Monday, April 25, 2022

Crafty Elves Countdown to Christmas - April 2022 Edition


It's the 25th of the month and time for the Crafty Elves to share the Christmas Cards we made this month!  I've been playing with foil all month.. mostly with my gel prints and acrylic paint.  For today I've used foil with acrylics and some good old Transfer Gel from Deco Foil because sometimes you just want some good, solid, dependable shine!

So here we go!


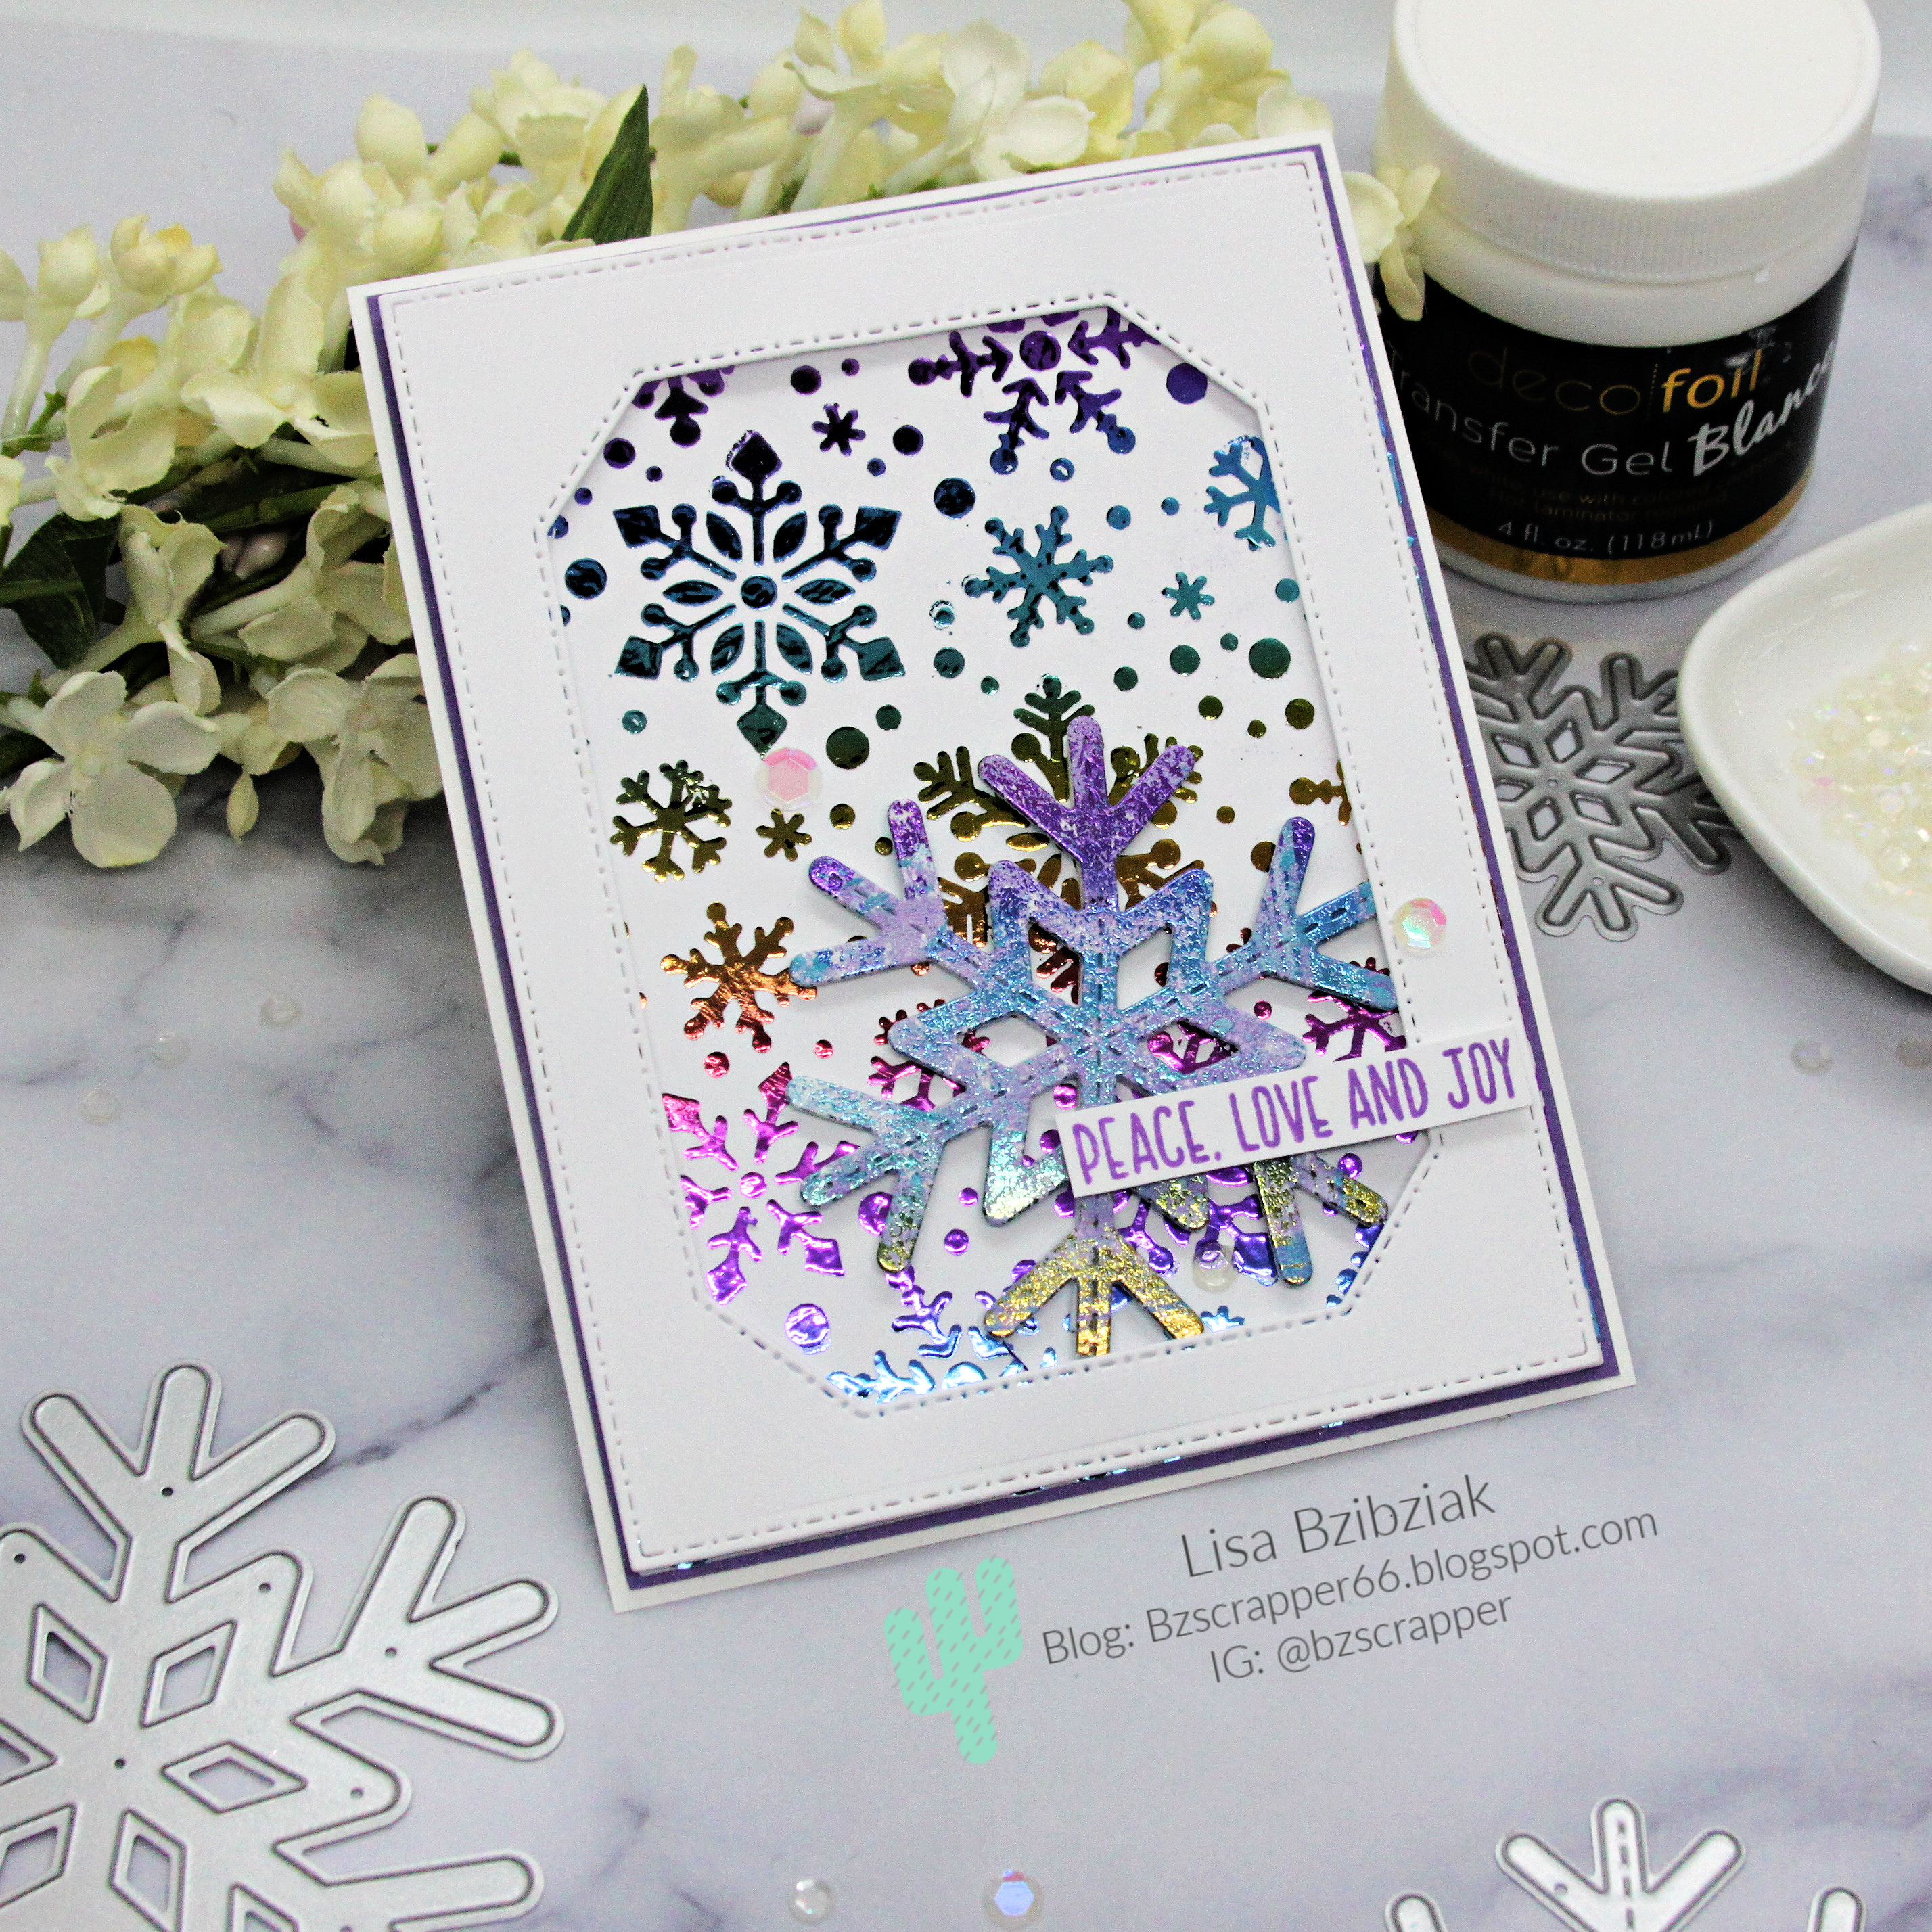
I made this background using a Newton's Nook stencil and applied some Deco Foil Transfer Gel Blanco... blanco because that's what I grabbed... could have used the clear.. but either way, I let it dry and ran it through my Minc... 


And bam!  Look at that pretty rainbow snowfall!

Here's how I made these first two backgrounds:


Just some good old fashioned foiling using a Snowflake Stencil from Newton's Nook and some Thermoweb Transfer Gel and Rainbow Foil!


The snowflakes I'm using this month were gel prints that I decofoiled with some used foil sheets and cut with dies from A Jillian Vance Design and Lawn Fawn.

Here's how I did that:


So pretty, right!?


The thing about foiling on a gel print is it's always unexpected... and some won't turn out the way you want, but you can always use them for die cutting!


I used the same stencil for this one, but just a simple inked background.... one of the beautiful foiled snowflakes that fit perfectly in the center of that cool MFT Happy Holidays die.  I don't think that one is around any more but you can get a Merry Christmas one here!


I think I must have a thing for purple and aqua for Christmas this year....


And this one... well... a digi printed on a very old gel print and then foiled in rainbow... yeah.  The Unique Snowflake digi from Angie Blom ... one of my very faves...


I just added the die cut Merry, cut from foil cardstock and stacked to the front and that was that!

And finally...


We colored this cutie from Paper Nest Dolls at Copic Bootcamp last December and decided it was time to get him on a card.  So I foiled a snowy background using the Tiny Snowfall stencil from Miss Ink.


I threw a few of the foiled snowflakes around for a fun and simple card.

And that's me for today!

Be sure to head on over to Michael and Debra's places to see what they've created for you today! 

And before you go, let's see who has won some Happy Mail from last month's post:


Sue D!   Snail mail me your address to bzscrapper66 at gmail dot com so I can get something in the mail to you!

Thanks so much to everyone who stopped and left some love!  See you again next month!


Wednesday, August 25, 2021

Crafty Elves Countdown to Christmas - August 2021 Edition!


Welcome!  It's time for the Crafty Elves to share the Christmas Cards we've made this month!  And we have a new elf joining us this time around.  Misty Lavigne is joining us and be sure to head on over to her YouTube channel while you're hopping!  While you're at it don't forget to stop and see Debra and Michael!  Lots of fun and inspiration!  But before you go, stay a while and see what I've for you today:


I had printed this adorable digi from Angie Blom last month and didn't have time to do anything with it then so I colored it up for August.  I added it to an alcohol inked background that I added a snowflake border to using a stamp from Rubbernecker and some alcohol lift ink.  It's a nice flat card great for mailing and I just love that image with the adorable pup driving.  The set is called Joyful Christmas Ride.


These are the Copic Markers I used for that one.

The rest of my cards are using images from an adorable Colorado Craft Company set called Christmas Presents! It's just one of the many adorable Anita Jeram sets over there and I love it!


I love this image from the set with that pup on top of the presents!  I used the birdhouse from AJVD as a dog house and some of the Gingerbread accessories to dress it up!


And for this one I made another alcohol inked panel:


I tried a little alcohol lift on this one too, but it didn't quite workout.  I think I waited too long to buff them... so I decided instead to use the snowflake stencil from CAS-ual Fridays to add some snowflakes with Gina K Glitz Glitter Gel.  I added vellum to the back of the window, and put a few snowflakes behind it and popped the whole thing up.  And then that little patient pup waiting to open his presents... 


When I made the background above and was using the Alcohol ift Ink, I stamped off the snowflakes onto another piece of cardstock for a light snowflake background.  (As you're lifting the ink, there is some ink on the stamp that can then be stamped off onto another panel):


This one is about as clean and simple as I ever get... I added some snowdrops with the glitter gel and then popped up a photo frame over it and added the bunny from the C3 set!


That's me for today!  I hope you enjoyed it and you'll come again soon!  Be sure to head on over to Misty, Michael, and Debra's places!  The links are at the top.  And before you go let's see who won some Happy Mail from last month's post:


Cheryl!  Please email me your snail mail at bzscrapper66 at gmail dot com!

And we're playing again so leave me some love and come again soon!