Showing posts with label Sequins. Show all posts

Sunday, September 11, 2022

You're So Fabulous - Rubbernecker Stamps


I have this one up on the blog over at Rubbernecker Stamps!


I just love this Unicorn set and all of the fun sentiments!  I hope you'll head over there for links and details!


Thanks so much for stopping!  I hope you'll come again soon!


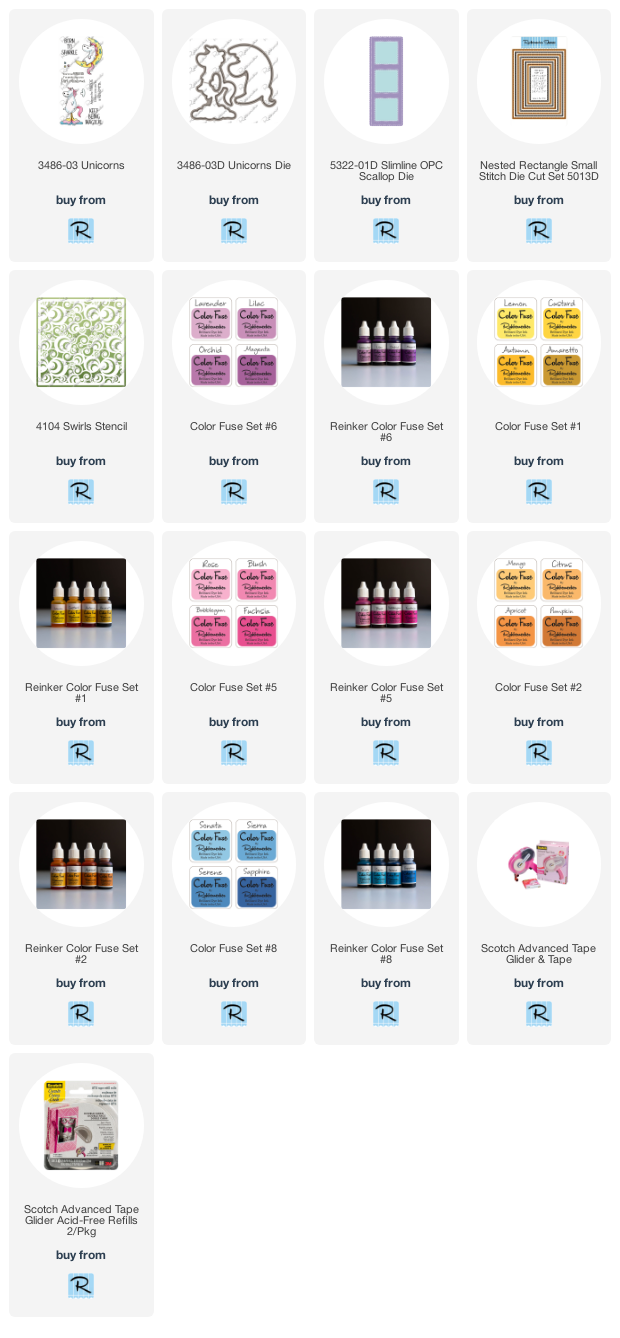
 I've included links below to all of the Rubbernecker Stamps products I used today.  Should you choose to purchase using these links, I will receive a small compensation at no additional cost to you.  And thank you!

Tuesday, October 27, 2020

CAS-ual Fridays Stamps - An Autumn Thank You


I'm up on the blog over at CAS-ual Fridays Stamps with an autumn shaker and an awesome sale plus a discount code!  Hop on over there for more details, links and the coupon!  Thanks so much for stopping and come again soon!


Wednesday, June 17, 2020

Caffeine Fueled Paper Play - Stamplorations Joy In A Cup


I'm up on the Coffee Loving Cardmakers Blog and playing along with some challenges over at Stamplorations!  Head on over there for more details and links if you'd like them!  Thanks so much for stopping and hope you'll come again!


Friday, May 8, 2020

You're The Best - Miss Ink Stamps


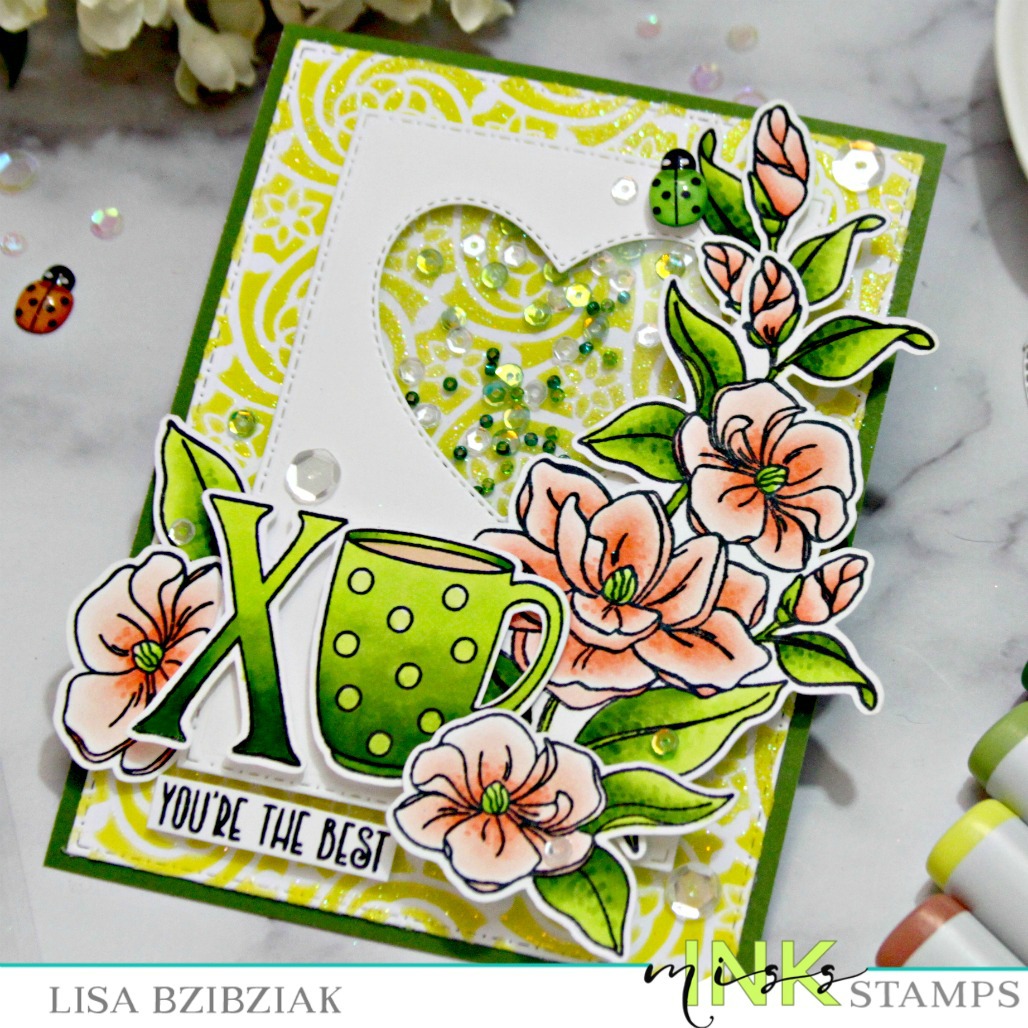
Welcome to some Miss Ink Stamps inspiration!  I am sharing a card for someone very special today!  Someone who is the best!

I started with the background.  I used the Mouse Flower Stencil to apply some Color Fuse Inks in a couple different greens.  I rinsed and dried the stencil before placing it back over the ink blended background and added some Ranger Gloss Translucent Texture Paste.  Then while it was wet I sprinkled just a little bit of glitter over it.. not evenly because I didn't want a totally glittered background but just some sparkle here and there and I figured whatever stuck... stuck!  I set it aside to dry.


I stamped, cut and colored all of my images from the Gardenia and Brewtiful stamp sets ahead of time and colored them... the flowers using some Copic in R000, R00, R01, and R02.   For the leaves I used YG01, YG03 and YG17.    

I cut a rectangle panel with a heart window by placing both dies in place at the same time and taping them in place with some washi.  That way I only had to run it through the Gemini once.  I added acetate to the inside of this panel and then foam tape around the heart and then as support to the rest of the panel.  I eyeballed where the panel would go and added some sequins to that area... just a few so that my stenciled part would still show through.


I colored the "XO" from the Brewtiful stamp set in an ombre style using the same colors as for the leaves of the flowers.  Then using varying thicknesses of foam tape, I added all of my pieces parts to the card and this sentiment from the Everyday Sentiments set!


I almost forgot about that sweet green ladybug up in the top right!  Isn't that so fun and cute!?  You can get those in the shop too right here and they come in a few different colors!

And that's me for today!  Well, no... I'm not going to tell you who it's for...lol!  But she's pretty special and I think she'll like it ok...lol!

Thanks for stopping and hope you'll come again soon!

Tuesday, April 28, 2020

You're Owlsome! - Funky Fossil Designs!


Popping in quick to share this one using some new stuff I recently got over at Funky Fossil Designs!


Well, of course I had to get the Quirky Owls Stamp Set!  Did you ever doubt I would?  If you love artist Kimma Parish's designs, you should definitely check out the offerings over at Funky Fossil!  And of course this one with the glasses is my favorite...lol!


And while you're in the shop check out all of the awesome stencils!  And for the month of April (you still have a couple days left!) you can receive this Words of Friendship stencil free with any order!  I created this background using Kraft paper and some Wendy Vecchi Gold Embossing Paste while making all of my Christmas card backgrounds last week!  I used the cute frame die from A Jillian Vance Design to highlight the "You" word in the stencil.  (I love that the Instant Photo Frame set comes with a larger and this mini sized photo frame as well as a couple other dies including speech bubbles! And of course I scattered some of my favorite sequins from Trinity Stamps!


That's me for today!  Thanks so much for stopping by and do be sure to check out the Funky Fossil Shop!  This shop is in the UK and I am in the US... I ordered these items sometime after lockdowns started happening and waited patiently for this oh so Happy Mail to arrive in my mailbox.  It really didn't take that long and it was SO worth it.  If you've never ordered before you should give them a try!

And as always in these difficult times, please be patient with and support our friends that are running their small businesses through it all!

Come again soon!

Thursday, March 12, 2020

A Layered Floral Shaker and New Inks From Rubbernecker Stamps!


Happy Thursday!  Lisa here and today I'm sharing lots of exciting new stuff available over in the Rubbernecker shop!

There's a new ink in town... have you seen the beautiful rainbow of colors in the Color Fuse Dye Ink palette??  And I love how they come in sets of four beautifully coordinated colors... perfect to use with the new layering stamps and lots of other stuff!


I used the Spring Meadow stamp set for my border along with the beautiful shades of green in Color Fuse Set #11 and the Fragrant Bloom stamp set with the gorgeous pinks in the Color Fuse set #4!  And that thanks sentiment in the Spring Meadow set... perfect for cutting out on the Scan N Cut or by hand if you want!


Don't think I didn't hesitate after I had my border created... I decided it would be cool to cut out the inside and make a shaker, but that first cut... scary!  Finally, I just poked through the  center carefully so as not to bend or wrinkle my paper and cut away large chunks first and slowly got closer to cut the detailed areas.  It really didn't take me very long... sometimes positioning my hand underneath and coming up through the center and sometimes coming in from the top.  And I'm so glad I took the chance!


And those pink flowers... with all of that beautiful green I love the pop of pink to draw your attention to the sentiment.

I'm playing along with Double Trouble Challenge's Go Green... use green on your project and link it up for a chance to win!  Extra chances if you use the twist to add gold (I'm sorry Thing 4... didn't get the gold in which is shocking!).  AND they're partnering with the Heart2Heart Challenge this week which is Put Your Green On!  You should check them out!

Here's how I created this one:

  1. I started by cutting the second largest stitched rectangle die from white cardstock.
  2. I find it best to "season" my stamps first.  My Adhesive Eraser works perfectly for this.  I just rubbed it across the stamp surface before I used it the first time to remove any film left over from manufacturing.
  3. The rectangle die cut was placed into my Misti and began with the darkest green ink.  I chose the image from Spring Meadows that I would use for the border; inked it up and stamped it around the outside edge of the rectangle changing the position each time and leaving space in between for more stamping.
  4. Then I chose the next lightest green and did the same..not afraid to stamp over the other images... I love the shadows this creates.. perfect if you're looking through a cluster of leaves or flowers!  I did the same with each color I used until the border was covered.
  5. Finally, I used a blending sponge and added some of the lightest green around the edges.  I was curious as to how the inks would blend and it was smooth and easy.  I love the way it brought all of the colors together.
  6. I cut a few extra images out to use with the florals and added a little dimension using my Prismacolor pencils... this was fun and I'll definitely do that again!
  7. The Thanks sentiment was stamped (quite a few times) along with a few of the smaller sentiments from the Spring Meadows set that have no breaks or open areas and cut them all out using the Scan N Cut... I've got lots saved for future projects and LOVE the look of this beautiful font cut out!
  8. Next I grabbed the Pink inks and began layering the Fragrant Blooms.  I used the lightest to stamp the solid base and with each layer went a little darker.  For this one I used three of the pinks... the darkest and then the two lightest for contrast.. knowing I'd use a brown for my center stamens.  Again I used the Misti but these can easily be lined up without.  I will admit... layering stamps have literally brought me to tears (sad but true...lol!)  These were easy peasy for me!  It was easy for me to see what direction each layer should go in and on my second try I had the look I wanted and there's no looking back now!
  9. I layered a 5 1/2" x 4 1/4" base in green and a white piece cut using the largest rectangle die and layered them together.  
  10. On a separate white piece of cardstock that I cut sightly smaller than my shaker element, I stamped a few more of the Spring Meadows images, closer toward the center so that they would show past my cut out window to create some depth and attached that to my bottom two layers right in the center.
  11. Acetate was adhered to the back of my cut out window and then pop up tape around the entire rectangle for stability.  I also added extra foam tape along the bottom of my border to any areas that stick up... that keeps the sequins from "hiding" behind those areas.  I didn't worry about going around the sides and top with the extra foam tape.
  12. I popped my shaker window over the sequins and then layered on the florals, extra green "foliage" and the thanks with varied thicknesses of foam tape.
  13. Finally, as I always do, I added some sequins around the outside as if they've escaped from my shaker.
That's me for today!  I hope you enjoyed it and I've inspired you in some way for the day!  Thanks for stopping and come back soon for more Rubbernecker inspiration!


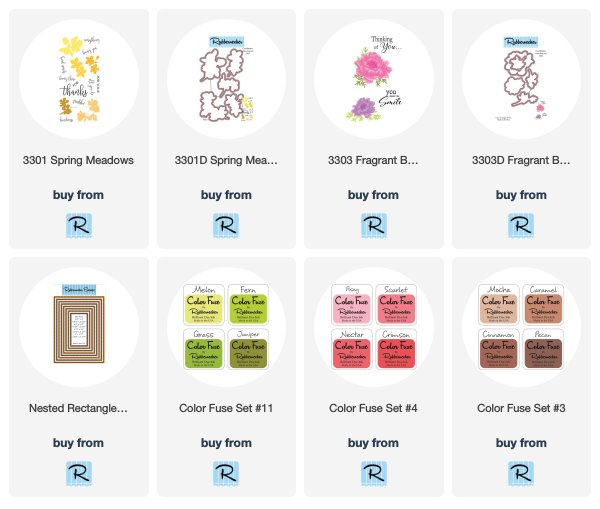
I've included links below to all of the Rubbernecker products I've used today.  Should you choose to purchase using these links I will receive a small compensation at no additional cost to you.  And thank you!

Saturday, March 7, 2020

A Rainbow Shaker Explosion - Rubbernecker Stamps


Warning: Sunglasses are suggested for this post; but not required!

I've had these floating around in my head for quite a while and am so excited that I finally made them!  I will admit...when I first saw that one piece frame die, I thought... hmmm... do I want to cut all those frames at one time?  Will I use them?  Do I need it?  (Yes, you do, you will and you do!)


I use the frames all of the time... some more than others, but I save any extras for future projects and it's become one of my very favorite dies.


And on these, I used every single one of them and then some.. there is a trick to lining up those inside layers underneath the shaker layer and I'll share that with you below!


And those flowers and leaves and butterflies!  These die sets are each on one plate also and it's perfect!  I don't have to worry about losing the individual dies and honestly... when I buy dies like these, I don't cut them apart anyway because I never cut just one.  I like to cut flowers and leaves and butterflies and the like in multiples and I put any extras in clear bags to be used later.


Love the sweet word dies also!  They were perfect for this design because they didn't take up a lot of real estate and cover up too much of my "background".  Do you see the shaker on this one?  It's in the area where the second and third largest frames are!  I'll have a future post just for this shaker design with pics to show how I make it.  It was tricky for me to work it out in my head so I'll share it with you in case your brain works like mine!

So here's how I created these:

  1. I started by choosing 7 different colors of paper.  Yours doesn't have to be a rainbow... I'm looking forward to doing this again with some pretty coordinating design papers!
  2. Once I had my papers picked out, I took the Rectange Combo OPC Die and cut one from each of the 7 colors.  As I removed the diecuts I layed them out in the order I wanted to use the colors (i.e. purple, pink, red, orange, yellow, green, blue).
  3. I cut 7 bases from white cardstock 5 1/2" x 4 1/4".
  4. Next I started assembling my cards.  For most of these, I started with the largest frame the first color and added popup tape before centering it on the base.  The next two largest layers I nested together and just added adhesive to the back to they would be layered directly on the base.  For each frame I went right down the row, left to right - if you do it this way, you'll have enough to make 7 cards and you can add the shaker elements or not!  You can add the popup tape or not!
  5. For the the next two layers (this would be the one with the oval window and the frame around the outside of it), I also nested together.  These I used for most of my shaker fronts.  I added adhesive to the back of the two nested frames and layered onto the back a piece of acetate to cover the window.  Then I added foam tape around it to enclose my sequins and other shaker pieces.  
  6. Here is the trick!  I struggled a bit lining up the last two layers (the scalloped oval frame and inside oval) in the exact right place to line up with the shaker layer which I had to add last.  So I cut an extra Rectangle OPC in white and added the two frames that were the same as the shaker window (the oval window with the frame that has the foam tape) and layered those inside the first three frames that were already adhered to the base.  These would be covered up by the shaker, but left me with a wonderful place to insert the center pieces and they lined up perfectly!  Yes, it left me with a bunch of extra white frames, but believe me... these are the most used by me and I placed them right in a clear bag for future use.
  7. Once I had my innermost pieces attached, I piled in the filling... I was lucky and had some extra rainbow butterflies from a previous project and added a few of those in each, along with some rainbow and white circles and clear sequins in different sizes.  You can fill yours with anything you'd like!  Maybe put a sentiment in there?  Or an image?  I just keep my pile within the limits of that scalloped oval and it's easy to finish it off.
  8. Once I had all of my fillings in place, I popped the shaker piece over the top, lining the window up around the scalloped frame!
  9. All that's left is to decorate however you wish.  I cut some flowers and leaves in a few of the rainbow papers and added those.  I like to put very thin foam tape in between my flower layers for more dimension between the petals.
  10. I cut each of the word dies three times - once in white glitter paper and twice from white cardstock and then stacked them together for dimension.  I attached the word where I wanted it by cutting foam tape very thin and adding it to the back of the word in a few places.  This way it was easy to layer it over and through my flowers and leaves.
  11. Finally, a few sequins and butterflies... as if they escaped from the shaker!
A note: I did vary the layers where I added the shaker a little bit and I love them all!  Picture #1 and Picture #3 are the ones that fit the instructions above exactly.  And I will be back again with a photo tutorial of the shaker window frame since for me that was a bit of a mind bender.

Thank you so much for stopping by today and hop you enjoyed your stay!


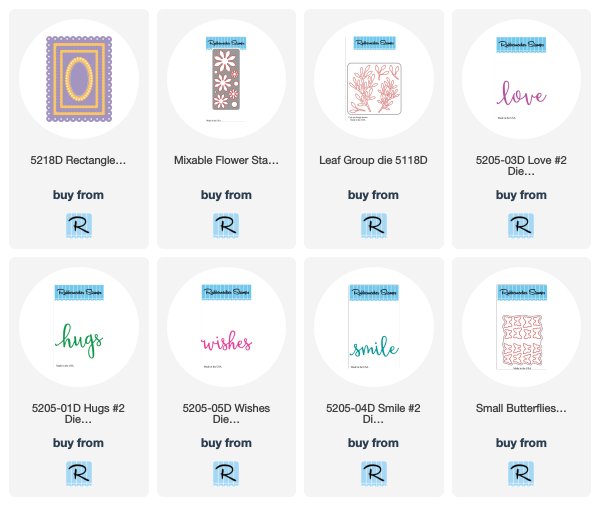
Below are links to the Rubbernecker products I've used today.  Should you decide to shop using these links I will receive a small compensation with no additional cost to you... and Thank You!
Friday, January 3, 2020

Happig Birthday - Miss Ink Stamps!


Hello!  Excited to be back today with this oh so cute piglet from the Punny Farm Pigs stamp set!  Today we're wishing someone a Happig Birthday!

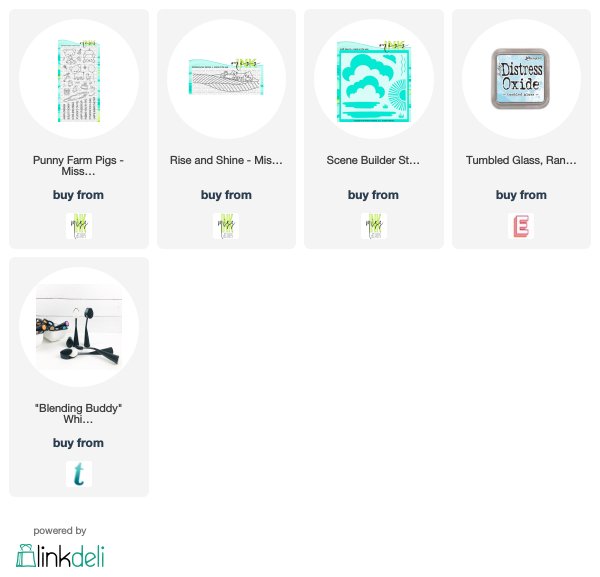
I started by stamping the Rise and Shine Scenery stamp along the bottom of the panel and colored it in with Copics.  Then I used the Build A Scene stencil to add some clouds to the sky.


I stamped a bunch of balloons and streamers from the Punny Farm Pigs set and cut them out on my Scan N Cut.  I love to use coordinating dies for stamp sets, but when I want to cut a bunch of one image, I turn to my Brother... Scan N Cut that is...lol!  My actual brother would be no help at all!

I colored my images and I'll share my combos for some of my images here because they are some of my faves.  For the Pigs I like to use R000, R00, R01, and R02.  My favorite green combo is YG01, YG03, and YG17.  For blue blue my go to is B21, B24, and B26.  And for the yellow I used Y11 and Y15.


I just love the adorable punny sentiments from this set!  I used the Happig from this one for my New Years sentiment from last week's card (you can see that one here if you'd like).


So there you are!  Looks like fun floating around with those balloons, doesn't it??  It was a lot of fun to create it for sure.

I'm playing along with the Simon Says Stamp Monday Challenge which is Party this week!

Thanks for stopping!  Come again soon!

Wednesday, October 30, 2019

CAS-ual Fridays 7 Years Release - Hearty Horse!


Welcome to Day 4 of the CAS-ual Fridays Anniversary Release!  Today we're sharing projects using the Hearty Horse stamp set!  Isn't he a cutie??

I created another Deco Foil background using the Tin Roof Stencil, Deco Foil Transfer Gel and some beautiful Amber Waterfall Deco Foil.


I just love this cutie pie!  I decided to make my Hearty Horse brown.  I created a shaker frame using the second and third largest Bubble Box dies.  Then I attached the horse to the inside of the frame and glued some acetate over the back of the frame including the horse.  I added some pop-up tape and sequins and there you go!  I created my own mix of sequins using some browns and golds and clear sequins and beads.


Isn't that Deco Foil gorgeous???  Ok... I love the Tin Roof stencil too... it's also my favorite...lol!


I chose Hooray as my sentiment so that I could use the card for a variety of reasons... encouragement, birthday, congrats... and added a few of the single hearts, colored in gold and added some Liquid Glass over them.


Hooray!

Thanks for stopping!  Be sure to hop on over to the CAS-ual Fridays Blog to check out what everyone has created for today!  Find out there how you could win some free stuff!

All of the new products are available in the shop now!  We'll be sharing more inspiration through Friday and should you see some things you must have, you can use this if you'd like:


Come back tomorrow for more release inspiration and don't forget, Friday is the start of the Fall/Winter 2019 Coffee Lovers Blog Hop!!  CAS-ual Fridays is a sponsor again!  Be there or be square!

Monday, October 21, 2019

The Cutting Cafe Inspiration-Autumn/Halloween


It's kind of an Anything Goes share for us today over at the Cutting Cafe... we chose from tons of Autumn/Halloween themed files for today's post.  I chose the Fall/Thanksgiving Window Boxes to work with, but I used them in a different way... with a little help from my mom!


I pulled the file in with these boxes and kept only the layer that fits on the top of the box in Design Space.  Then I resized each of these layers to 5x5.


I knew I was going to create shaker cards with these, and I wanted to be able to layer another color over just the sentiment.  I could have just cut a second square and trimmed the word out with scissors, however, I enlisted the help of my mom to trim away the edges within Design Space!  She says I taught her about the Slice feature, but apparently I've forgotten because she had to teach me!


She cut these for me, but when we got together again, she showed me how to use the Slice feature and I'm looking forward to testing it out again in the near future!


Before I added the clear acetate to the window layer, I did trim off a quarter inch from each of the edges because I knew I wanted my card to be five by five, but still wanted some of the printed paper to peek out around the edges of the shaker window.  My card base is 5 x 5, the design paper layer is 4.75 x 4.75, and the window is 4.5 x 4.5 after trimming off the edges.


In this file there is also a cutie pie turkey along with some layers.  After I resized this window, I layered each of the pieces... wings, body head and beak over the top in Design Space and re-sized them so they'd fit correctly over the turkey shadow attached to the window.


There is also a Gobble Window that we sliced this sentiment out of and re-sized it small.  I didn't create a shaker card for today using the Gobble window, but you'll be seeing that soon!

I hope you enjoyed your stop today!  I know I really enjoyed creating these shaker cards from the Window Box file!  Be sure to check out the Cutting Cafe Blog to see what everyone has created for you today and comment there for your chance to win three files of your choice!

Come back soon... Wednesday I'll be sharing a card I made using the Gobble window!


Sunday, July 7, 2019

I Love 'Roo and Kat Scrappiness IG Hop!


Excited to be hopping along with the Kat Scrappiness Design Team today over on Instagram!  We're showing off some awesome Kat Scrappiness Sequins!  I've created a shaker today and used one of the newer Kat Scrappiness Stamp Sets, Hoppy For You!  Here's how I was inspired:


As soon as I saw this set, I knew I needed it!!  That sweet mama and baby 'roo and the so pretty flowers included in the set and adorable sentiments!

I started with the background and stamped the various flowers and leaves in a random pattern in Versamark on a piece of watercolor paper and heat embossed using Wow Opaque Bright White Super Fine Embossing Powder.  Then I used the gorgeous Paul Rubens Glitter Watercolors that Graciellie made me buy to cover the panel with a couple different pinks.  Once it was covered to my liking, I went back in with some colors and a tiny brush to add some more color and make the images pop a little and splattered the whole thing with the pinks and some gold.  While I let that dry, I colored up these two:


SO cute, right... I just love these two!  I colored them with my Copics and added detail with my Prismacolor pencils along with some of the pretty flowers and then cut fussy cut them out.


I cut a heart from some pink glitter paper using the CASual Fridays Heart Board Fri-Dies and created a shaker.  I filled it with the so sweet and so beautiful Hollow Gold Heart Confetti Mix. 


I decided this simple saying from the Hoppy For You set was just right and I love a good punny sentiment!  I also scattered a few of the gold discs from the Chocolate Sprinkles Sequin Mix... 'cause I could!  And sparkly things make me happy.


Thank you so much for visiting me here today!  Now!  Head on over to Instagram and hop along with us for your chance to win one of two prizes!  Good luck!!  I hope you win!

If you're here looking for my CAS-ual Fridays post for today, it's right here and if you are looking for some Cutting Cafe Inspiration, you can find that here!  I think you might want to check them both out!...lol!  See you again soon!