Showing posts with label Stitched Hills. Show all posts

Sunday, November 13, 2022

Rubbernecker Stamps - Joy


I have this one up on the blog over at Rubbernecker Stamps.


Hope you'll hop on over to there for links and details!

Thank you so much for stopping!  I hope you'll come again soon!


 Below are links to all of the Rubbernecker Stamps I used for today's project.  Should you choose to shop using these links I will receive a small compensation at no additional cost to you.  And thank you!

Tuesday, July 27, 2021

Deck The Owls - Rubbernecker Stamps


I've got some fun for you today!  I've used these adorable owls from Rubbernecker Stamps along with the Christmas Add-On set!  They are so much fun to dress up!


You'll find lots more photos along with details of how I put this one together up on the Rubbernecker Blog here!

Also, I'm playing along at the BYSH Cardmakers Christmas In July Linky Party (you have a couple more days), Double Trouble Challenge Blog's Christmas In July Challenge and Heart2Heart challenges Christmas in July!  You should start your Christmas cards and play along too!  It's a win win!


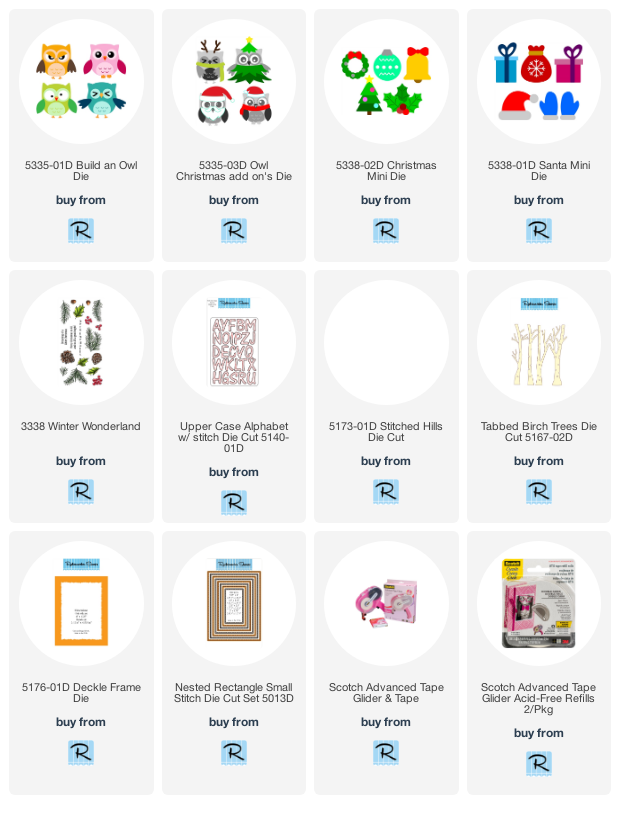
Below are links to the products I've used for today's card!  Should you purchase using these links I will receive a small compensation at no additional cost to you... and thank you!! 

Saturday, April 10, 2021

Rubbernecker Stamps - Friends Forever


Welcome back!  I had so much fun putting this Side Stair Step card together with bunches of Rubbernecker Stamps stamps and dies and a pre-cut and scored card base from the Paper Cut, also available in the Rubbernecker shop!


If you'd like details of how I put this one together you can visit this post up on the Rubbernecker Blog here!

I also have links to the products I used up on the Rubbernecker blog and below for your convenience should you see something you'd like!

Thank you so much for stopping and hope you'll come again soon!


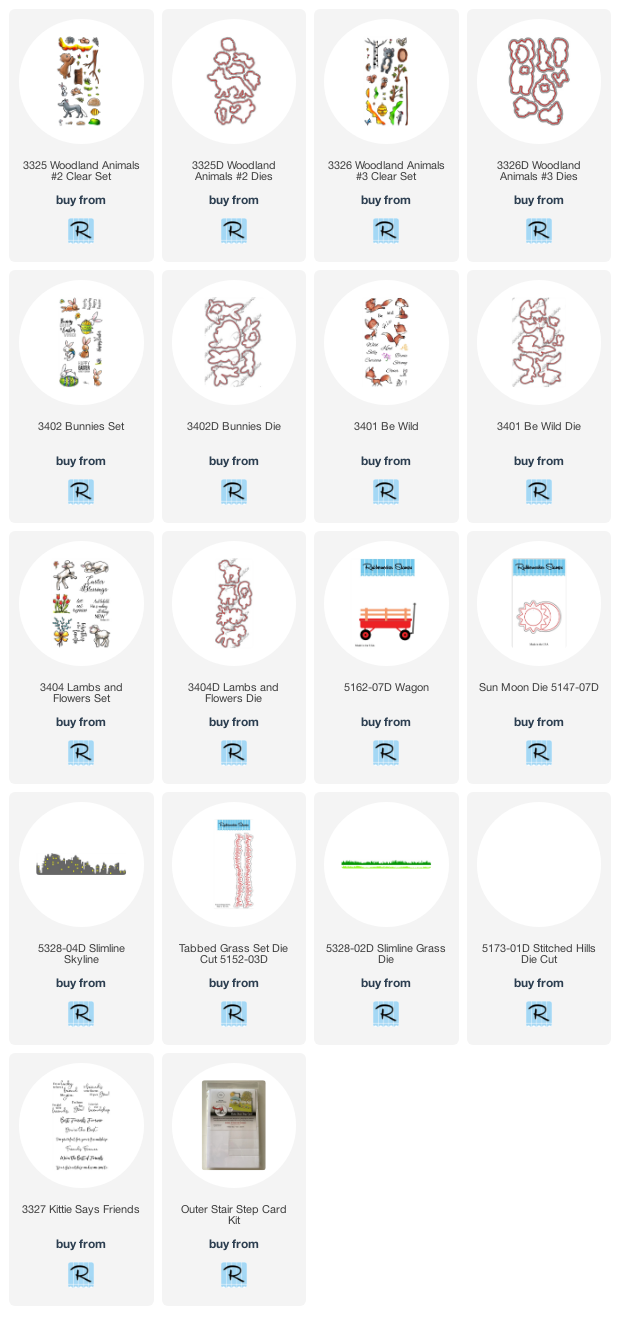
Links are provided below and if you choose to purchase using these links I will receive a small compensation at no additional cost to you!  And thank you! 

Thursday, December 10, 2020

A Wintery Christmas Wish - Rubbernecker Stamps


Welcome!  I've got one for you today using one of the great new clear stamp sets in the Rubbernecker shop along with a few other very cool products!


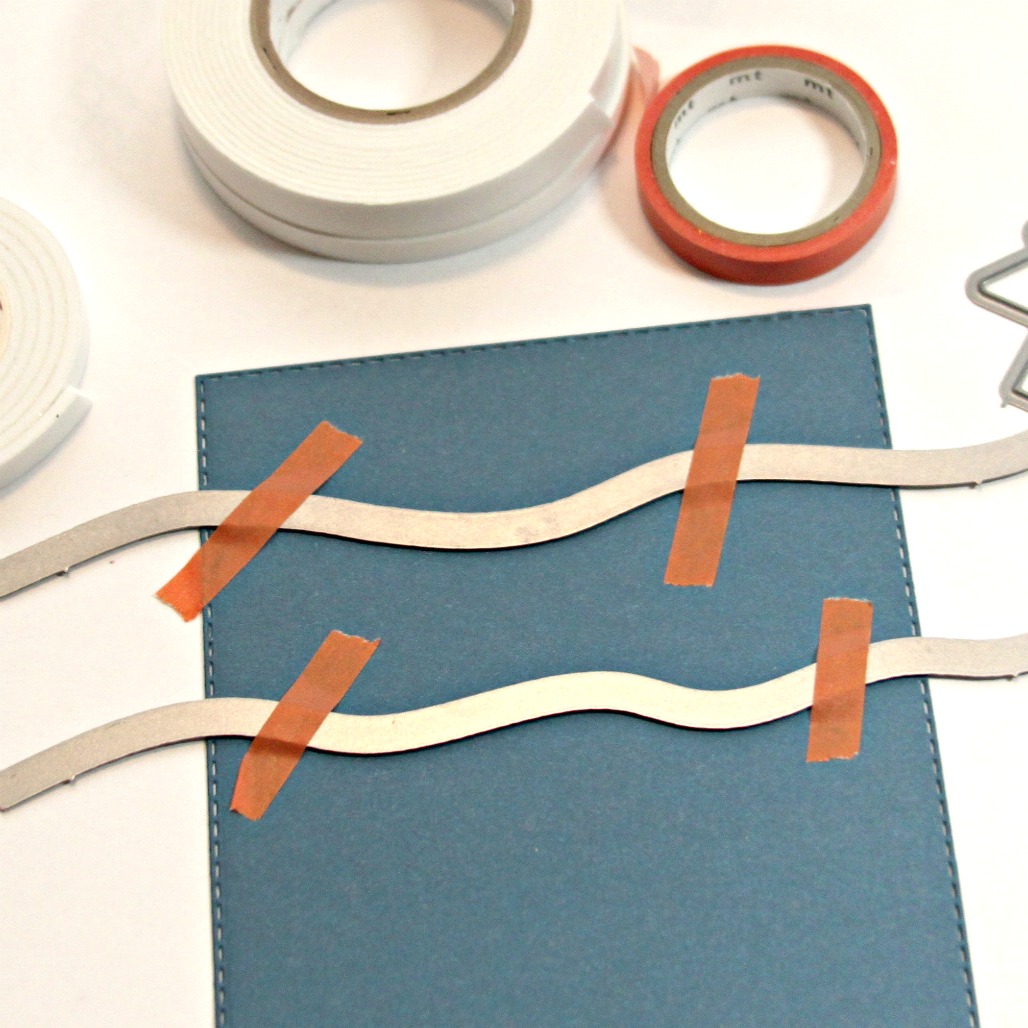
  • The front window panel was cut using the largest of the Small Stitch Rectangle dies and Winter Trees In Circle die by placing both together onto a panel and using washi tape to hold them in place.

  • Another panel was cut from white cardstock  larger than the stitched panel.
  • Inks in blue, purple and black were blended onto the panel.
  • A heat gun was used to dry the panel and then anti static powder was wiped over it.
  • The Field of Stars background was stamped onto the inked area in Versamark.
  • White embossing powder was sprinkled over and heated.
Tip:  Usually I will stamp and emboss the background first and then add the ink to avoid extra powder sticking to the background.  Sometimes drying it first will avoid that.  This time, however, I still had a lot of stray powder stick to the background.  I blew some of the extra off and decided to heat it up the way it was and I liked the look of the extra sprays of white.  I thought it looked either like more clusters of a stars in the sky or snow falling!  One of those times a mistake worked out!


  • The starry panel was trimmed down smaller than the window panel and attached to a base of 5 1/2" x 4 1/4".
  • Clouds were cut from some glitter paper using the slimline cloud die, trimmed down and two layers were added at the bottom of the starry panel making sure that it was in the right position for the window creating some snowy hills.
  • The window panel was popped up over the background.

  • Before the critters were added, another stitched rectangle panel was cut and then the hill dies were used to cut hills for the front of the panel.
  • The hills were attached to the front of the card below the window.

  • The stamped, die cut and colored critters were added to the front of the card with varying thicknesses of foam tape.
  • The sentiment from the Wintery Friends set was stamped and heat embossed with white onto the same blue used for the front panel.
  • Each word of the sentiment was cut separately and then popped them up in a straight line at the top of the card.
  • Finally, sequins were added!
That's me for today!  Thanks so much for stopping and hope you'll come again for some more Rubbernecker Stamps inspiration!

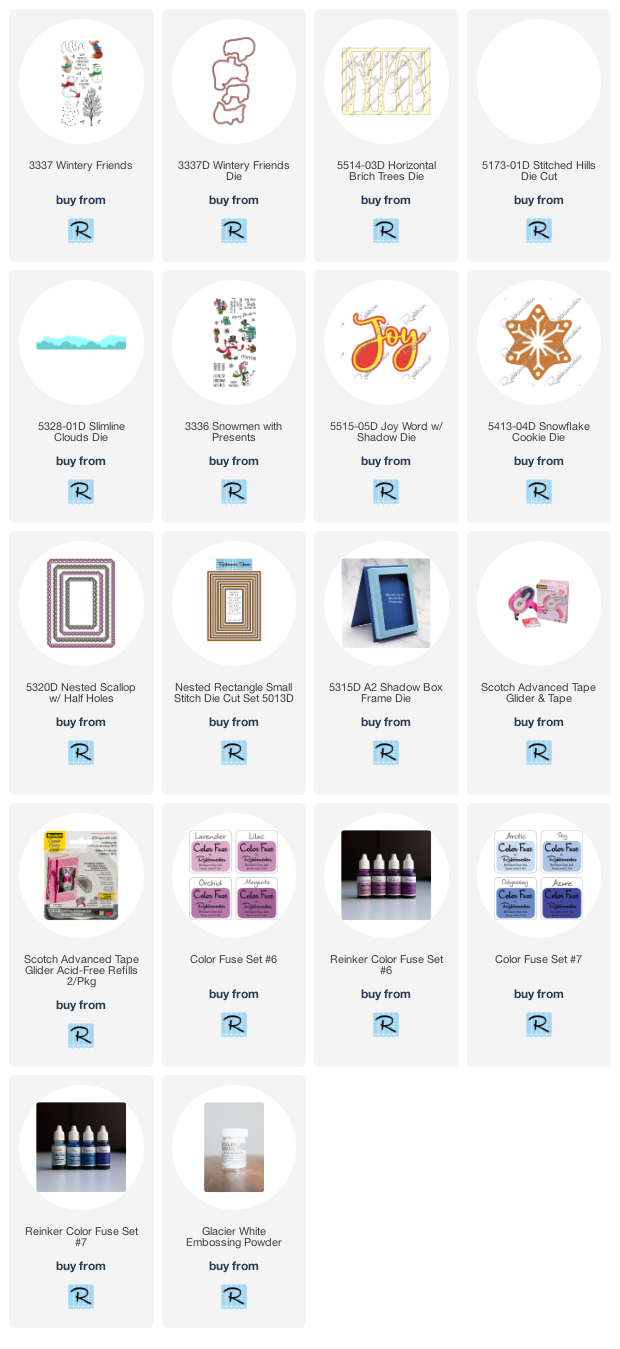
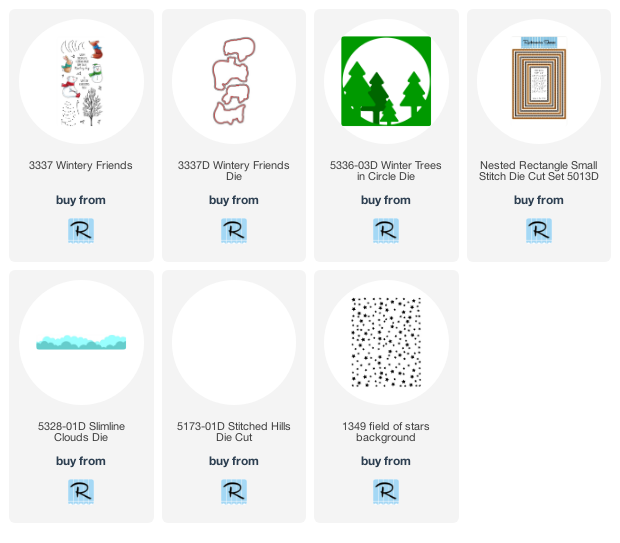
I have provided links below to all the Rubbernecker products I used today.  If you purchase using these links I will receive a small compensation at no additional cost to you.  And thank you!

Wednesday, November 25, 2020

Crafty Elves' Countdown to Christmas - November 2020 Edition


Welcome to this month's Crafty Elves' Countdown to Christmas!  We pledged to make a card a week for the year and every 25th of the month my crafty friends and I share the Christmas cards we made that month!  Be sure when you leave here you check out what they have for you today:


Now!  Here is how I was inspired:


There's a new release over in the Rubbernecker shop and I LOVE it!  This one is using the new Christmas Inchies stamp set!  And I used the cool Shadow Box die to create a 3-D card.  You know how much I love dimension and layers!


I love this Shadow Box die and these inches are perfect for creating a cute holiday scene in it!  I was able to easily create layers for it by using the die to cut a second box from printed paper and then just cut on the embossed fold lines and trimmed the pieces a tiny bit smaller.  This one fits on a 5 1/2 x 4 1/4" base but you'll need to present it in a box because it definitely won't fit in an envelope.


I used the Inchies again for a slimline... I just love these adorable little images!!  And those Christmas lights are awesome.  I had fun with a non traditional color scheme too.


My sentiments on both of these Inchies cards are stacked sentiments on the set, but I needed them to be long so I just stamped them and then cut them apart!


And then I turned to the adorable Snowmen With Presents set.  I decided to use a couple of the critters from Wintery Friends on both of these... they were perfect!


For this one I used some design paper for my background and stitched hills to cut glitter paper for my snow.


For this one, I used a die cut from the slimline clouds to create this background along with some Color Fuse Ink.  The Christmas lights from the Inchies set came in handy for this one and the bunny is from Wintery Friends.


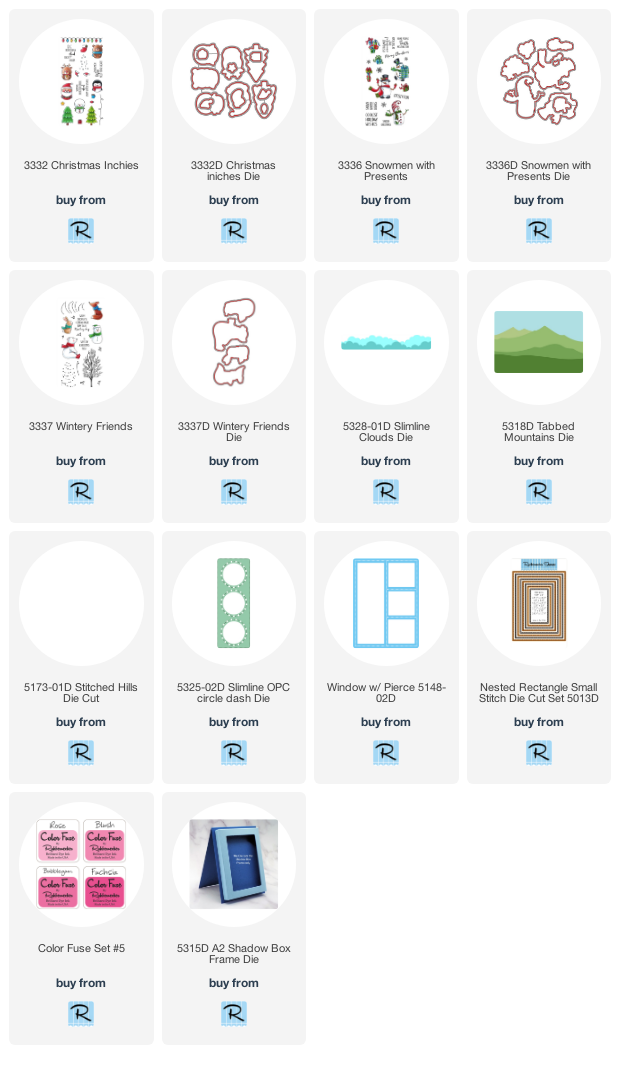
And that's me!  I have links below to all of the Rubbernecker products I used for today.

Don't forget to head on over to my crafty friends' places and see what they've created, but before you go I have a winner from the comments of last month's post:


Verna!  Send me your snail mail so I can drop you some happy mail!

We're playing again this month!  Leave me some love and I'll pick a name and send you some Happy Mail.

Thank you so much for stopping by today and hope you enjoyed it!  We have something special planned for next month's posts too so be sure to come back again!