Showing posts with label Owls. Show all posts

Wednesday, March 5, 2025

The Owl Got Lost - Miss Ink Stamps


I've got a simple card for you using some of the latest release from Miss Ink Stamps!


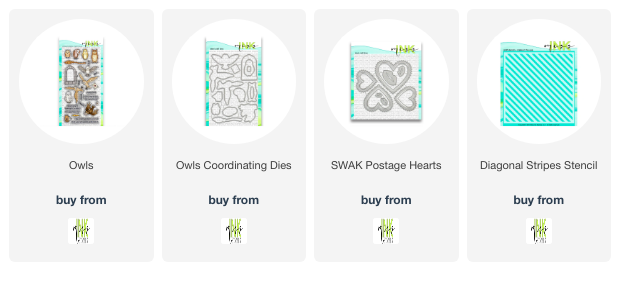
I love owls and this owl stamp set has to be one of my favorites!  I used the Diagonal Stripes for the background (gel print), SWAK Postage Hearts, Owls and the Scene Builder Cloud stencil!

Thanks for stopping.. come again soon!


Thursday, May 28, 2020

Coffee Lovers Blog Hop - Day 7 With Rubbernecker Stamps


Hello all!   Lisa here and today I'm sharing a card for the Coffee Lovers Blog Hop!  Did you know that Rubbernecker Stamps is a Super Sponsor for the hop?  You can find the Rubbernecker Hop Post here and check out all of the DT makes for Day 1 of the hop!  You have until end of day tomorrow to link up a newly created Coffee, Tea or Cocoa themed project for a chance to win one of many prizes!

There is lots of caffeinated goodness in the Rubbernecker shop and I used a couple of my faves today!  Here's how I was inspired:


I just love the owls available over in the shop!  And Campbell here is having his Monday morning coffee... he looks like he needs it right?


And of course I used this Graduated Horizontal Stripe background!  I've been playing with it all month and if you'd like you can see how I used it on this post here and this one here!  For today I used Lemon, Citrus and Apricot Color Fuse Inks to create a sunrise feel.


Isn't he a cutie!?  I added a few die cuts and a sun for the feel of a scene without creating a full scene.


This is one of my very favorite sentiments in the shop!  I love the font and it's a great wish for any of your coffee loving besties!


I had a lot of fun creating this one and here's how I did it:

  1. I started with a 6x6 piece of white cardstock and placed it in my Misti butted right up to the corner.   Since this a cling mounted rubber stamp, I took the extra pad out of the Misti before putting the paper it into place.  Also,  using a larger piece of cardstock and stamping before you die cut your panel makes it easy to use the magnets to keep the piece in place while you stamp the background.  Then using the lightest color first I started inking up the stamp.  This time I used a sponge to apply the ink and it took a little bit longer and a few more impressions, but I like how the the ink blended in more smoothly.  Once I had the Lemon ink as solid as I wanted, I used the Citrus ink overlapping the Lemon a bit and then the Apricot and let that overlap the Citrus.
  2. Once the background was complete, I used the largest of the Nested Deckle Rectangle Dies to cut my stripey panel.  I placed the die onto the paper and used some washi tape on the outside edges of the die to keep it in place.  Then I attached that to a white base cut 5 1/2 x 4 1/4".
  3. I used the Misti again to stamp my sentiment onto a white piece of cardstock and then cut it with the largest of the Nested Banner Stitch dies again holding the die into place with some washi.  I place it on the outside edges when I can in case the washi sticks a little too good to the paper so it doesn't tear the fronts of my die cuts.
  4. I attached the banner to the front of the card offset to leave room for Campbell and used some foam tape to give it some dimension.
  5. I stamped, die cut and colored Campbell with my Copics and popped him up next to the sentiment. 
  6. I die cut the sun, grass and flowers from cardstock and design papers in the colors I wanted and then placed them around Campbell to create my mini scene... popping up some parts and using glue for others.  I love that the sun die cuts the inside circle out separately so I can pop the center up higher than the outside rays!
  7. I just added a few sequins to finish it up.
Hope you'll join us over at the Coffee Lovers Blog Hop!  I can't wait to see what you create!


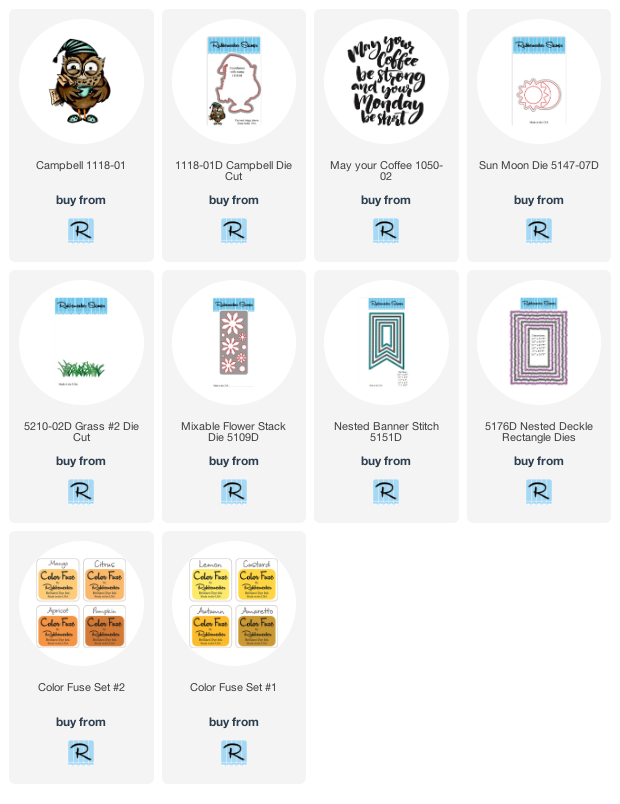
Below are links to all of the Rubbernecker Stamps products I've used today.  If you choose to purchase using them, I will receive a small compensation at no additional cost to you... and thank you!

Saturday, July 6, 2019

The Cutting Cafe Inspiration-"Ugly" Sweaters!


Welcome to some Cutting Cafe Inspiration!  This time around we're playing with the Ugly Sweater file.. it's not just for Christmas!  I've created four cards today using this awesome shaped card file along with some fun old papers, dies and stamps from my stash.


It was so fun to put these together and once I started getting ideas I just couldn't stop!


I'd buy that sweater!  You know... here in Arizona... Summer IS sweater weather... I don't leave the house without a sweater (for the air conditioning) and a bottle of water (because...well... the desert!)


For this one, I used some old stickers that coordinated with the paper and the sentiment is from the From Owl of Us Stamp Set from The Cutting Cafe Shop, which in itself is owldorable!.


I like owls... ya know?  I used dies to put together this one, but there is a cool Owl Shaped Card here in the shop that would work too!

Thanks for stopping and I hope you enjoyed it!  Be sure to head on over to the Cutting Cafe Blog and check out what everyone else has done with this cool file!  And while you're there, comment for your chance to win three files of your choice!

Come back here soon!


Tuesday, June 25, 2019

Crafty Elves' Countdown to Christmas-June 2019 Edition!


Welcome to the June edition of Crafty Elves' Countdown to Christmas!  This is a monthly post where my friend Debra Davison from Meticulosity and I share the Christmas cards we make each month of the year.  We agreed to do this so that by December, all of our cards will be done and all we have to do is drop them in the mail!  And it gives me a chance to use some of the awesome stamps and dies that I purchased around the holidays, instead of making them wait a whole year!

Here's how I was inspired:


I love pink and aqua for Christmas!  So I got out some old papers and some really cute stamps I hadn't used yet and used them!


You may or may not be familiar with the artwork and stamps by Andrea Gomoll and if you're not, you should become acquainted... you can find her here!  Of course I had to have the Wintertime stamp set that had a Coffee flavor... and guess what... lots of sets including this one are on sale right now!  

I decided all she really needed was a beautiful frame and this one from Paper Smooches was perfect!  And the Merry was cut using a die from Pretty Pink Posh... you can find that one here!


And then these sweet owls from My Favorite Things Warm and Feathered Hugs stamp set.  I decided it was the perfect time to play along with the MFT Wednesday Sketch Challenge!

I cut the top using a border die from Lil' Inker, the Border Builders Die set is here!


I created three cards using the sketch... sometimes it's nice to have a place to start!  I decided to use the leftover top piece from the first card on this one... it was a twofer!  And that double stitched circle is from MFT...it may not be available any more.. which would be silly because it's one of my faves!  And those cool Slanted Sentiment Strips from MFT were perfect for the sentiments with the stamp set!


That pink tree paper was my favorite one from the pack... I've been hoarding it 'til now...lol!

And here is the sketch:


So thanks for stopping by today!  I hope you enjoyed my Christmas cards!  And be sure to head on over to Debra's place and see what she's got for you!

Oh!  And I have a winner from last month's post!


Denise, send me your snail mail address and I'll shoot you some Happy Mail!

We're playing again!  Next month I'll draw a name from all of the comments on this post and send that person a small gift!


Monday, May 6, 2019

Rubbernecker Stamps - Coffee Is My Blankie!


I'm up on the Rubbernecker Blog today with my friend Granger here!  Isn't he the cutest??

I started with the largest of the Nested Rectangles cut from blue cardstock and then a coordinating Gingham print for the next smaller size.  Because of the sentiment, I wanted a bedtime feel for this card so I embossed the gingham paper with a knit embossing folder.


I also felt that those pretty scalloped circles made the white cardstock feel like linens so I used those to layer under Granger and to stamp my sentiment on....


Perfect, right??  And then I stamped and die cut a few coffee beans from the Coffee Blanket stamp and die sets.  Scattered around a few sequins and done!


And that's me for today!  Hope you enjoyed your stop!

Did you know that Rubbernecker Stamps is a Super Sponsor for the Spring/Summer 2019 Coffee Lover's Blog Hop?  Rubbernecker has offered up two gift certificates as prizes and there are tons of sponsors and tons of prizes.  All you have to do for chances to win is link up a new project with a Coffee, Tea or Cocoa and Spring/Summer theme (basically no snowflakes, Santa, Halloween... you get the idea)!  See the main Coffee Hop post here for all of the information and rules!  I'm playing along with this cutie for sure!
Thanks for stopping and hope you'll come back again soon!  I'll be here caffeinating all week!

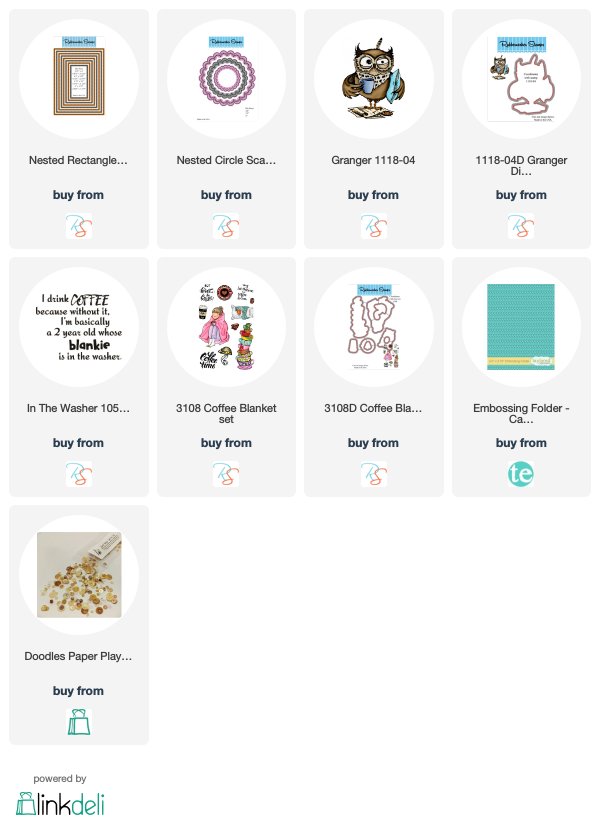
Below are links to all of the Rubbernecker products I used today along with a couple other items.  The Rubbernecker links are Affiliate Links at no additional cost to you.
Sunday, November 11, 2018

You Are One Cool Chick!


Hello!  Today I'm playing along with a couple challenges... over at Paper Smooches you'll find a gorgeous Mood Board Challenge for November and Word Art Wednesday is Anything Goes!  I've used some pretty paper from Pink & Main's Pumpkin Spice Paper Pad and lots of stamps and dies from Paper Smooches as well as that cool Stitched Speech Bubble from Pretty Pink Posh to make this cute autumn themed card.

I was inspired by the autumn feel of the mood board including the colors and the leaves.  I inserted an owl instead of a fox.. because .. well... I love owls!


I'm linking up to the 30 Day Coloring Challenge over at The Daily Marker too!  I colored this cutie pie from the My Peeps stamp set over at PS with my Copics and then some extra detail using my Prismacolor Pencils.  And I love to add some liquid glass to their eyes.  

Kim has SO many adorable owls in her shop... and I own quite a few of the sets that have them.  Paper Smooches stamps are perfect when you want to sit down and color with lots of room to do some shading and other techniques... love love love these stamps!  This set is adorable with lots of different birds and some really cute sentiments...like this one:


I love to keep my cards kind of open so when I decide who I'll give them to I can stamp the inside with something more specific... or not... could just be a quick hello!  And don't you love those leaves from the Leaves 2 Dies??  I love that I can mix and match the inside and outside outline.  


And the same for this tree from the Summer Tree Die set... ha!  Summer... it's good for almost any season!  And those Curly Clouds... so sweet!  Perfect to bring out the little bit of blue in that gorgeous plaid!


And there it is...lol!  This was a fun one to make today... hope you'll play along with these challenges!

Come back tomorrow for some more Fall goodness!


Tuesday, November 6, 2018

The Cutting Cafe-Thankful Inspiration!


Welcome to some Cutting Cafe Inspiration!  Today we're using a couple Printable Stamp Sets from the Cutting Cafe, the So Thankful Circle Word Set and the Thanksgiving Day Huge Word Circle Set.  I'm using the So Thankful set today!

I started with some more printable paper from Cute N Crafty Mommy shop on Etsy.  Love the texture that burlap print paper gives!  I combined it with some pretty patterned paper from Prima.  Love the contrast of the two papers together!  I printed one of the circle sentiment pages from the set and cut out my favorite sentiment with a scalloped circle die and then two more circles to fit in the center of the large circle.


Then I cut a bunch of leaves from the 3D Pumpkin File... love these leaves because they have stitching on them.  It takes a while for my Cricut to cut out a bunch, but I just set them to cut and went about my business until it was done.  After they were cut, I spritzed them with water and then added some watercolors using Prima Metallic Accents and set them aside to dry.  And don't think I made enough so I'd have extras to use on other projects!


And I've been participating in Kathy Racoosin's 30 Day Coloring Challenge!  I have colored every day, but missed sharing one day because I had what I was coloring on a card that I couldn't share yet before I remembered to take a photo...lol!  These cuties from the From Owl of Us clear stamp set from The Cutting Cafe Shop were colored with Copics the other day and today I added some shading and detail with my Prisma colored pencils... a page from Kathy's book and I've fallen in love with this technique!  She said it was addicting and it is!!  So I'm linking this one up over at Kathy's blog for today's coloring.


Look at the shimmer on those leaves... love it!

I'm also playing along with the Cupcake Inspirations Challenge 457!  It's a beautiful inspiration photo:


Just love this fun way to add a beautiful sentiment to a card!  You should definitely try out these printable sets and there are lots of other cool printables in the CC shop that have circle sentiments too!

Now be sure to check out what all of my teamies have made for you using these printable stamps!  Head on over to the Cutting Cafe Blog; comment there for a chance to win three sets of your choice; and then check out what everyone has created!

And don't forget about this:


Sunday, September 23, 2018

Giving Thanks and a Fun Meet!


I wanted to play along one more time with the Monthly Mix Challenge from Gina K Designs over at StampTV.  This is a Ning Site and you do have to join, but it is SO worth it for all of the fun and inspiration!  I was very excited to meet Gina K at the latest Stamp & Scrapbook Expo in Mesa last weekend too!  A very sweet and nice person and generous sponsor and supporter of the Coffee Loving Papercrafters!  Here we are with my good friend Mare, Gina and myself:


It was a good day and I got to meet a few of our awesome sponsors that day... I'll be sharing more pics with you in some upcoming posts!


And this challenge... using colors that remind you of Autumn... well, right now I'm all about the Autumn colors.  In fact I have a gorgeous Prima Amber Moon paper pad I've challenged myself to use up.  It's a tall order, but it's so beautiful it's really not hard to make myself use it..lol!  If it wasn't for my Misti I wouldn't be able to have such a nice crisp image stamped on this beautiful paper!  I was able to stamp it Saddle a couple times to get a nice deep color that stood out even on the printed paper.  (Thanks again Mom!)


I was so excited to finally ink up this wonderful Give Thanks stamp set from Gina K!  I purchased it at the end of last Autumn season and although this isn't what I'm supposed to be doing today, I thought of it and knew I needed to get it out!!  And I'm so happy I did.  All of these images are stamped from that set.  And while I didn't buy this stamp set last weekend, I did pick up some other awesome stuff including the Gina K Designs Amalgam Ink which is a hybrid that works well with Copics, colored pencils, water based markers... anything I guess... and I can attest to the Copic so far!  Awesome ink!  So awesome it's hard to get your hands on, but she had some at the show and I was excited to find it there!


Love acorns... I don't know why, but I do!


And I wanted you to be sure to see these leaves!  I cut these with an SVG file the other day when I was creating my Autumn projects for the Cutting Cafe for my 3D Pumpkin!  I didn't use them on that one but I knew I would use them ... I love that Regina set them up so that they have stitched lines.  I had cut them in this Goldrush color along with my pumpkins.  For this one, I spritzed them with water and crumpled them up.  Then I took some distress inks and watercolored them randomly with those and then pulled out my Gansai Tambi Starry Colors Water Based Pigment ... all different golds in this set.. and splashed a few of those colors over them.  Once dry, I sponged some Saddle ink on the edges.  LOVE the shimmer the Gansai Tambi pigments gives them!


One more peek... now I better get back to what I originally set out to do!

Thanks for stopping!  I'm also playing along over at Double Trouble Challenges which is to Use At Least 3 Colors and a Stamped or Digital Image and they are partnering with Brown Sugar Challenge which is Creatures Great and Small!  Also playing along with The Outlawz In The Garden Challenge!  You really should check them ALL out!