Showing posts with label Transfer Gel. Show all posts

Tuesday, October 14, 2025

Miss Ink Stamps - You're Still Hot


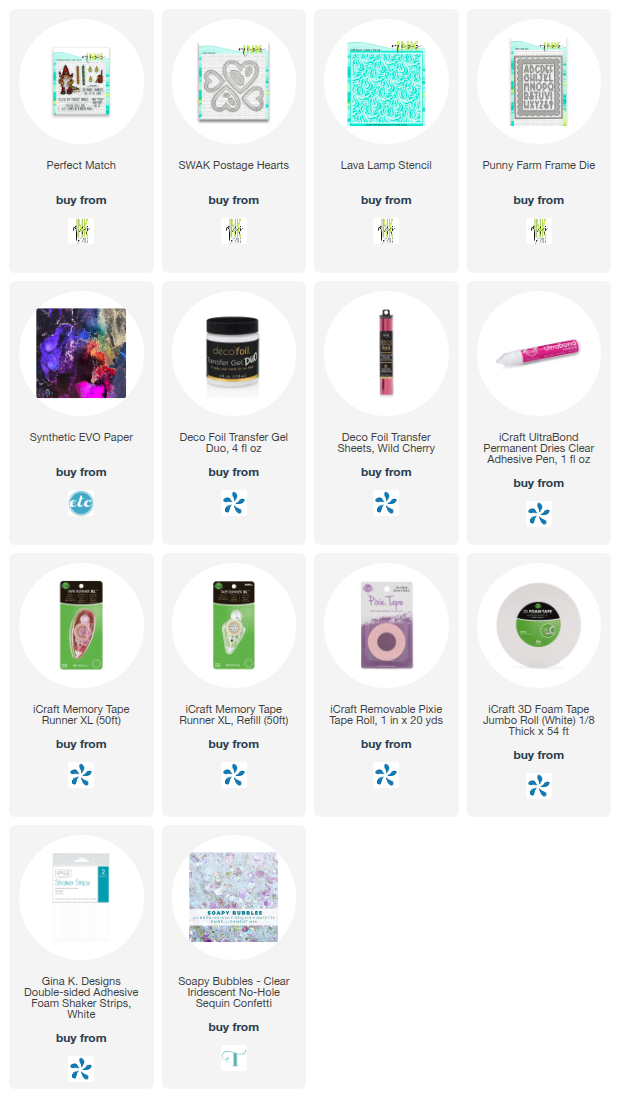
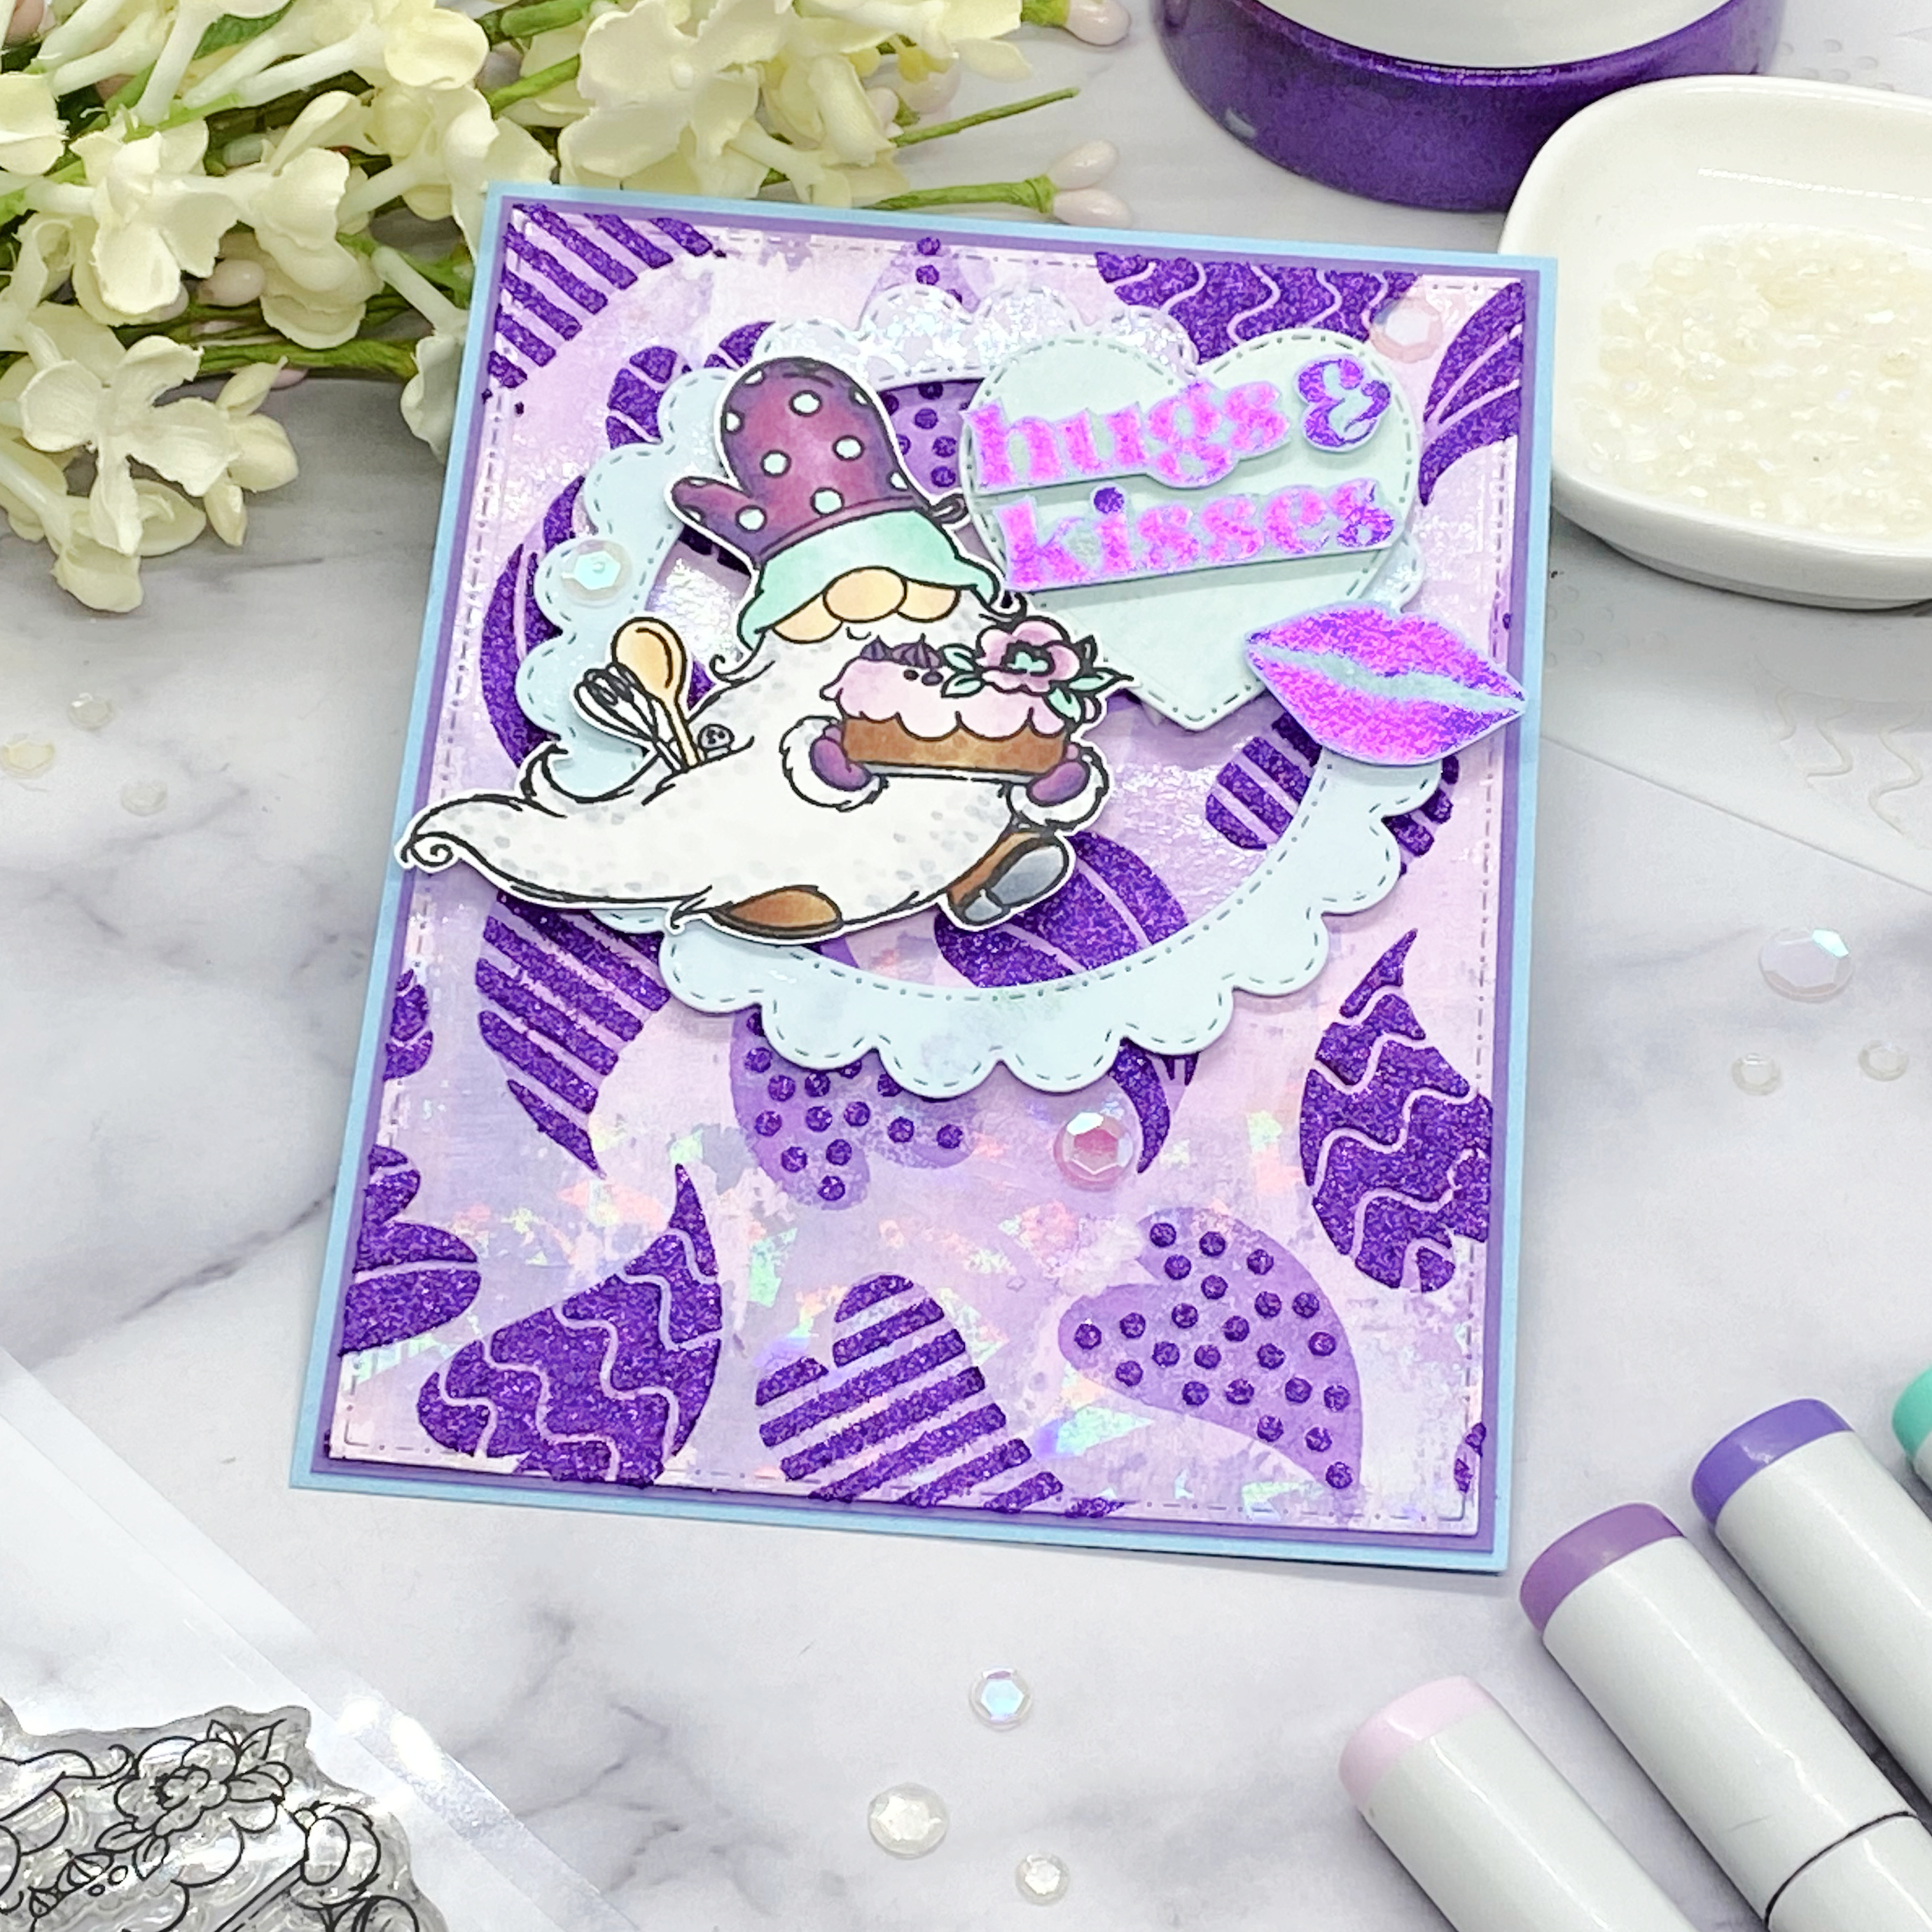
Made a cool background with some EVO Paper, Alcohol Inks and added foil with Transfer Gel Duo and the Lava Lamp Stencil.


To this fiery background I added a heart and lips from Postage Hearts and a sentiment from the Perfect Match set!

Thanks for stopping!  come again soon. 

Thursday, August 10, 2023

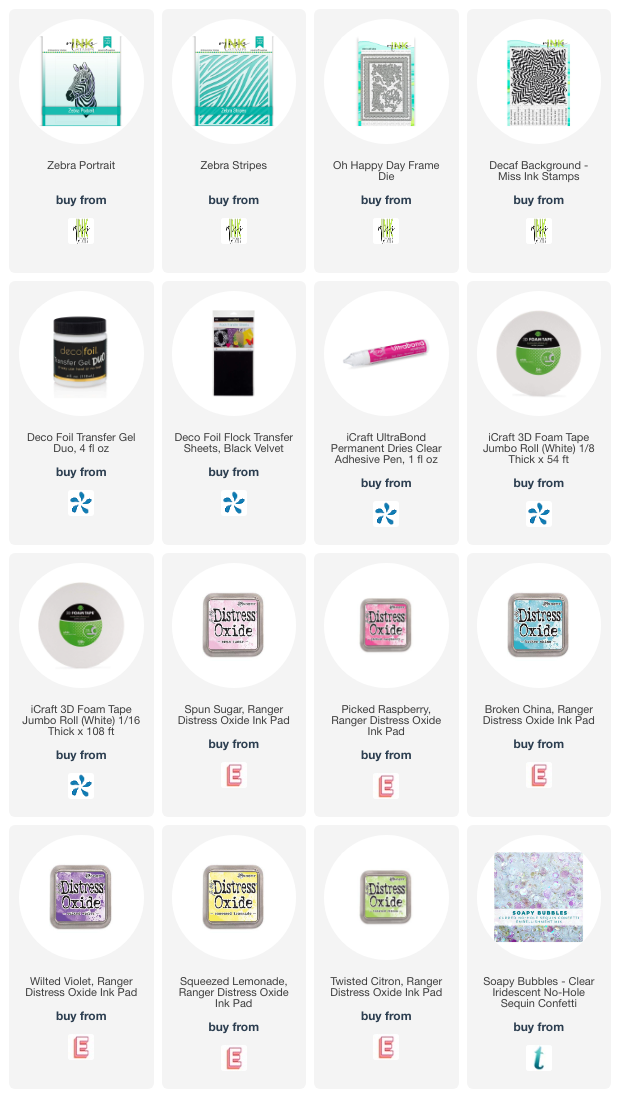
Miss Ink Stamps - Flying Zebra


I have this one up on the blog over at Miss Ink Stamps!


I created another wild butterfly, but this time I added lots of dimension!


Hop over there for the details!

Thanks for stopping!  I hope you'll come back again soon!


Monday, January 23, 2023

Therm O Web Bake Me Happy Week with Rubbernecker Stamps, Trinity Stamps and Gina K!


Welcome back!  We've got some delicious inspiration up on the Therm O Web blog this week!  It's time to Bake Me Happy!


If you know me at all, you know that cake is my favorite!  I've used this great cake die from Rubbernecker Stamps...


As well as this adorable cake loving gnome from Trinity Stamps.  Pair them with a couple Gina K Designs stencils and lots of yummy Therm O Web Deco Foil and Glitz Glitter Gel and ... well... makes me want to break open a can of frosting.


I hope you'll join me over there for links and details!

And with this one I'm playing along over at Double Trouble Challenge Blog!  I've used stitches and met the twist with a magical gnome (honestly I'd say the cake is more magical than the gnome but whatever...lol) and I'm also playing along with their partner this time around, The Fairy and The Unicorn Challenge! Be sure to head over and play along with both for extra chances to win!


Thank you so much for stopping!  I hope you'll come again soon!


Friday, January 20, 2023

Hey Wild Thing - Miss Ink Stamps


Happy Friday!  I'm back with another background I made using the A2 Masking stencils ... this time along with the Zebra Stripe stencil!  This time I added some Transfer Gel and Deco Foiled in Magical Shattered Glass... I LOVE it!


I didn't want to cover up too much of my background because I love it!  So I just made a big sentiment using the alpha from the EI EI O Dies along with a sentiment from Jingle Friends and added some flowers.


Thank you so much for stopping!  Come again soon for more inspiration!


Monday, December 12, 2022

Let It Snow - A Jillian Vance Design and Deco Foil


I am up on the blog over at A Jillian Vance Design with these two!


A card and a tag with lots of foil-alike yet different!


Hope you'll join me over there for links and details!

Thank you so much for stopping!  Please do come again soon!


Friday, April 29, 2022

A Lumberjack Plaid Sunset! - Miss Ink Stamps


Happy Friday!  I've got some more jungle fun for you but this time I've paired it with a fun plaid sunset...lol!  I used the Lumberjack Stencil with some Transfer Gel over one of the watercolor panels I created the other day and foiled it in a Dazzling Orange!


I die cut a circle as a backdrop to my cute little jungle animals and stamped the Jungle Ruins scene onto it.  Then I decided to blend inks in the same colors that I used for that watercolor background and then popped my jungle animals over it.


That adorable Gorilla and the plants are from the Jungle Kids stamp set and the little monkey and ruins are from Jungle Ruins.

Thanks so much for stopping today! I hope you'll come again soon!


Friday, January 28, 2022

One of a Kind Fine Lines - Miss Ink Stamps


I'm in love with the Fine Lines Stencil!  The lines are so... well... fine!  And it makes for a striking background.  I highly suggest using Pixie Spray with this one to make your life simpler.


I created this background using a black cardstock panel and applied some Thermoweb Transfer Gel through the stencil and let it dry.  Then I ran the panel through my Minc with some Glittering Green foil and Voila!


Finally I stamped cut and colored the Gardenia stamp set images and then popped them up on the card as well as a sentiment from Lovely Unicorns and a few sequins!


That's me for today!  Hope you enjoyed your visit and that you'll come again soon!


Thursday, September 9, 2021

An Elegant Halloween With Miss Ink


I'm up on the Miss Ink Stamps Blog today with this Elegant Halloween card using a few sets from the shop.


It was fun to use some foil for this background and then use the negative for my dark moon.


Join me over there for links and details!


Thanks for stopping here and I hope you'll come again soon!


Wednesday, August 18, 2021

On The Couch With My Dog


I'm up on the blog over at CAS-ual Fridays with some Deco Foil fun!  I hope you'll hop on over there and join me for links and details!

Thanks so much for stopping and I hope you'll come again soon!


Saturday, July 24, 2021

CAS-ual Fridays Stencil Release - Jewish Stars Stencil!


Welcome back!  It's Day 2 of Stencil Release over at CAS-ual Fridays Stamps!  Today we're sharing projects using the new Jewish Stars Stencil!


I used the stencil to create a strip of stars by applying some Deco Foil Transfer Gel through the stencil and when it was dry running it through the Minc with some pink Deco Foil.


Then I cut the Star of David from pink cardstock with the smaller star placed inside the large star and then adhered all of the pieces in place for an inlaid look and popped it up onto the card.

I embossed the sentiments from the Mazel Tov Stamps and fussy cut the Mazel Tov! sentiment and popped it up over the star and cut the "Be Blessed" sentiment into a strip and popped it up on the bottom.


Friday, July 2, 2021

Miss Ink Stamps-ThermOWeb Collaboration - Glimmering Gold Fancy Foils


I'm up on the blog over at Miss Ink Stamps today for a special post!  We're collaborating with ThermOWeb this week and both companies have two posts a day up on our blogs and you have chances to win at both!


I have two cards up over there with just a touch of beautiful sparkly foil!


With all of the links and details and hopefully some inspiration!


Thanks for stopping and hope you'll come again soon!


Friday, June 18, 2021

Miss Ink Stamps - Neon Flock Daisies


Hello!  Welcome back!  Today I'm playing with some Fun Flock which is like foil... but fuzzy!  lol!  I made this panel with my Gel Press with some acrylic paints and the Oopsy Daisy stencil Then when it was dry, I placed the stencil back over the top and applied some Deco Foil Transfer gel through just a portion of it.


I stamped, colored and cut the images from the Say Cheese stamp set while I waited for it to dry.  Then I got out the Rina K Designs Neon Flock in Poppin' Pink and ran it through the Minc to apply it.  I'd say that pink is poppin'!


Then I just added the photo frame and all my images with popup tape.  The sentiment is from Everyday Sentiments... one of the best all around sentiment sets.


Thanks so much for stopping!  I hope you enjoyed it and you'll come again soon!


Thursday, June 3, 2021

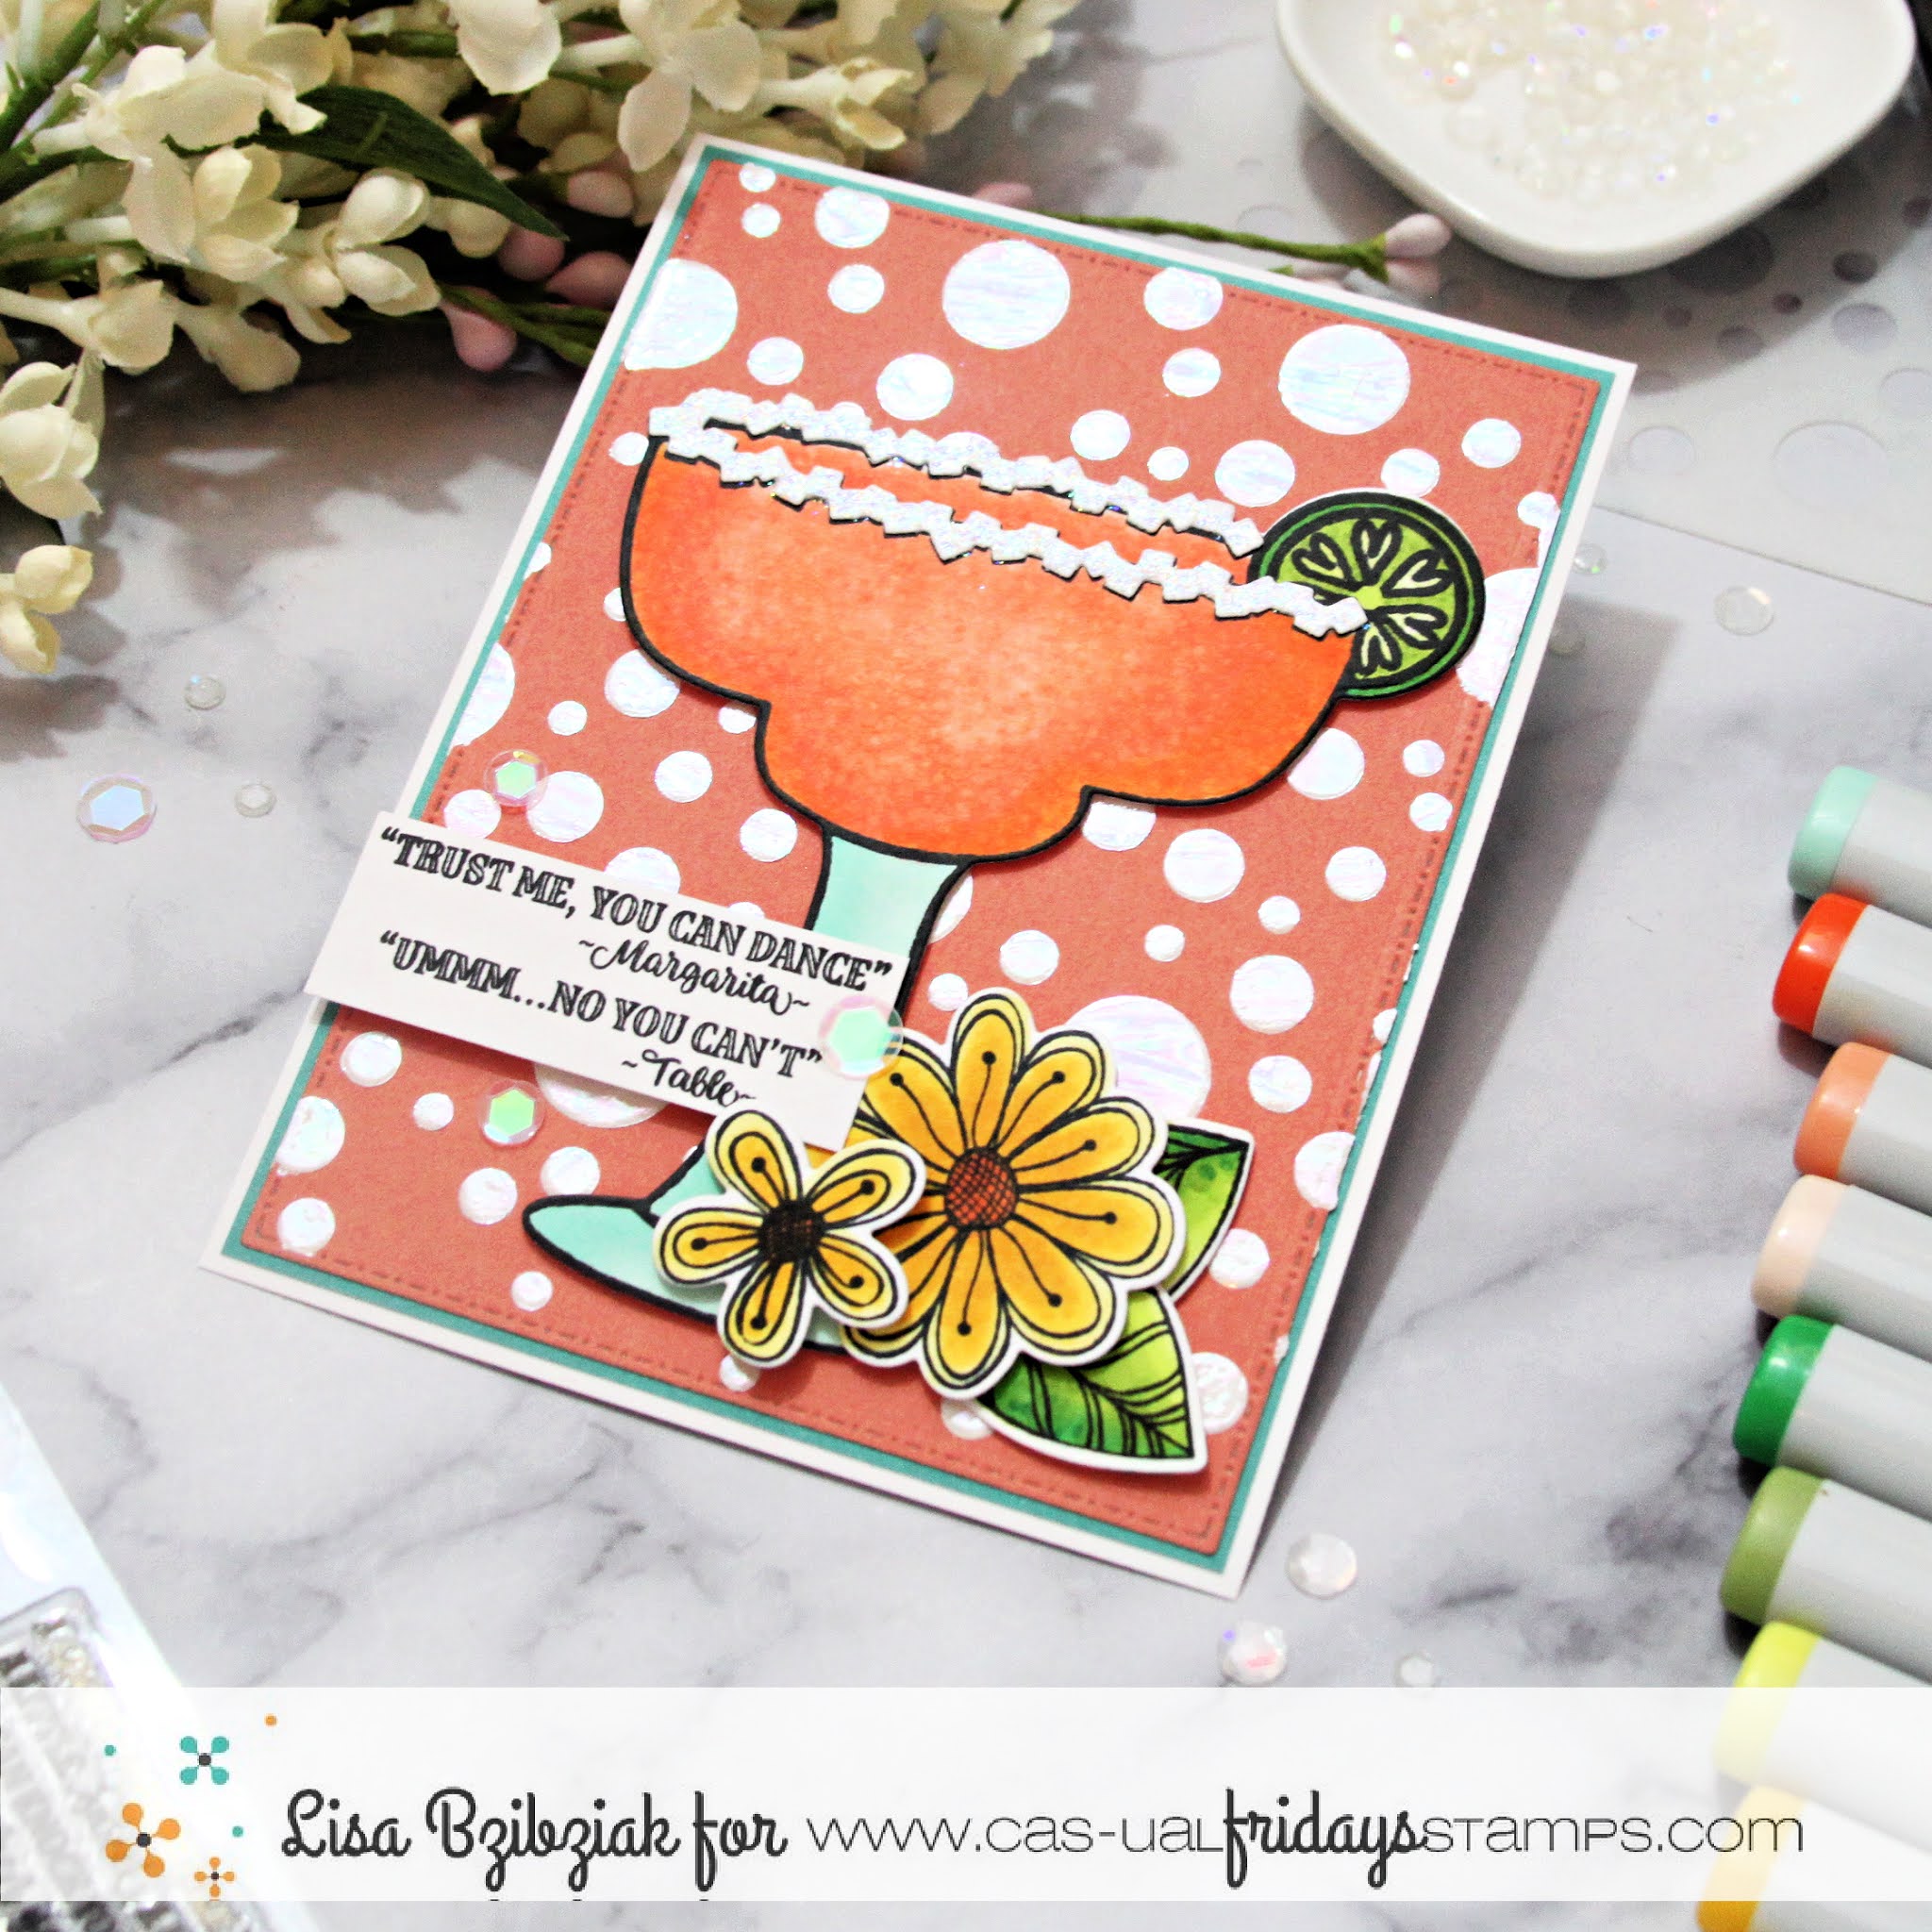
CAS-ual Fridays Stamps - You Can Dance


I'm up on the blog over at CAS-ual Fridays Stamps having some fun with foil and some sassy stamps.  Hope you'll hop on over there and give me a visit for links and details.

Thanks so much for stopping!  Hope to see you again soon!


Saturday, July 11, 2020

Thinking of You - CASual Fridays Crafting of Hue Sponsorship!


Welcome back!  Today is a fun day because CAS-ual Fridays is sponsoring over at the Crafting of Hue Facebook Group (Be sure to check that out) again and this time around we're featuring Stencils!  AND all stencils are $5 through Sunday, July 12th!  (AND... shhhhh... you may or may not find some items in the shop marked down to a low... loooowwww price of $.99!!  YES.  Ninety-nine cents.  And don't forget my discount code at the end of this post!)  AND one lucky commentor from all of the hop stops will win a $50 gift code to the shop!  So be sure to visit and leave some love at all of your stops!

Now!  On with our stencil inspiration:


Oh... I'm sorry... forgot to tell you to put on your shades!  I've made a bright and cheery card today using some Neon Pop Flock, Transfer Gel and the fun and pretty Bold Flower Stencil from the CAS-ual Fridays shop!  (Along with a couple other items!)


I started with that bright yellow cardstock and applied some Deco Foil Transfer Gel through the Bold Flower Stencil and set it aside to dry.   While it was drying I cut the Hello from glitter paper with a die from the Sweet Friend Die set and then again from white cardstock and a third time from orange.  Then I stacked them together with the orange at the bottom and offset it just a bit to give the Hello a bit of an orange "shadow".


I stamped the sentiment from Pretty Posies in orange.  At this point, I still had some drying time to go so I started on another card for tomorrow!  Once the gel was completely dry, I laid the Neon Pop Flock sheet over the stenciled cardstock (flock side touching the dried gel) and ran it through my Minc after heating it up on the 4 setting.  It came out perfectly and I assembled all of the pieces of my card along with some clear sequins.


And that's me for today!  IDK why but I've been all about the yellow lately.. feeling kind of sunshiny I guess!  And it's so fun to feel the texture on these flocked flowers.. just love it!!

That's me for today!  Check out the hop list below for your next stop!  Get ready to be inspired by all of the stencil techniques!  And be sure to come back here Monday because I'll have some more CAS-ual Fridays stencil inspiration for you!  But if there are some stencils you want, grab them at $5 by tomorrow, Sunday, July 12th!  And don't forget, I've got this for you:


And don't forget to see what you can get at $.99!!!

And here are links to all of the goodness from my teamies:


Lisa Bzibziak (That's me!)

Thank you for stopping and come again soon!


Tuesday, May 26, 2020

Love You A Latte - Coffee Lovers Blog Hop Day 5!


Welcome back!  Today I'm sharing a card for the Coffee Lovers Blog Hop and I've used the new Coffee Chips Chipboard along with a few other things! 


I started by applying some Deco Foil Transfer Gel onto my base panel using the By The Beans stencil and a spatula.  When it was dry, I layed the rainbow foil over the top and ran it through my Minc.

 For this one, I added white glitter to the chipboard and thought I'd share with you how I like to glitter chipboard:


When I add glitter to brown chipboard I like to paint or color the chipboard first to make sure the glitter color is nice and solid without any spots that show through.  So for this one, I started by using some white acrylic paint and painted the pieces I wanted to use.


Once that was dry, I used my cleaned paint brush and painted on some glue... sometimes chipboard can bend or warp when you add glue so I like to apply it with a paintbrush so I can get nice even coverage, yet not over apply it.


While the glue was still wet, I poured the glitter over the top of the chipboard.  I find my fine tweezers from the shop really help with this whole process and to move the chipboard around without ruining anything with my fingers.  I do like to turn it over and press it into the glitter as well to be sure I get as much as possible to stick and then I tap it off and set it aside to dry.  Once it's dry, and before I add it to my project, I'll take a fine brush and brush off the excess onto a scrap piece of paper.


I love the sentiments on the Coffee'isms Stamp Set!  And they are perfect to use along with the Coffee Chips because you can easily substitute the chipboard version of the Coffee words instead of the stamp with some easy masking or with this sentiment, the Love You A is separate completely... so... easy peasy!  I just cut the pieces of the To Go Cup and heat embossed the Love You A onto the wrap and then once my Latte word was dry, I added that underneath it.  Then popped the whole thing onto the rainbow background!

Fun, right?

I'm linking this one up to the Coffee Lovers Blog Hop which has over 600 entries as I type.  There are close to 80 sponsors for the hop and CAS-ual Fridays is one of them.  You can check out the CAS-ual Fridays Day 1 post here for more information and lots of ideas for the new Coffee Chips Chip Board and the main Coffee Hop post here to link up!

And the Coffee/Tea section of the shop is on sale now!


And since there is no code needed, you can also use one of the DT codes... mine is below!  Each of the DT has one and be sure to use the code for who inspired you for an additional 15% off!


That's me for today!  I hope you enjoyed your stop and come again soon for more CAS-ual Fridays Inspiration!