Showing posts with label Wonderland Wisdom. Show all posts

Sunday, January 11, 2026

The Hurrier I Go - Miss Ink Stamps


Just a little Alice with a fun shaving cream background.


Thanks for stopping!  Come again soon!


Friday, September 1, 2023

Miss Ink Stamps - Graffiti Madness


Hello!  Happy Friday!  I have a fun one for you today!

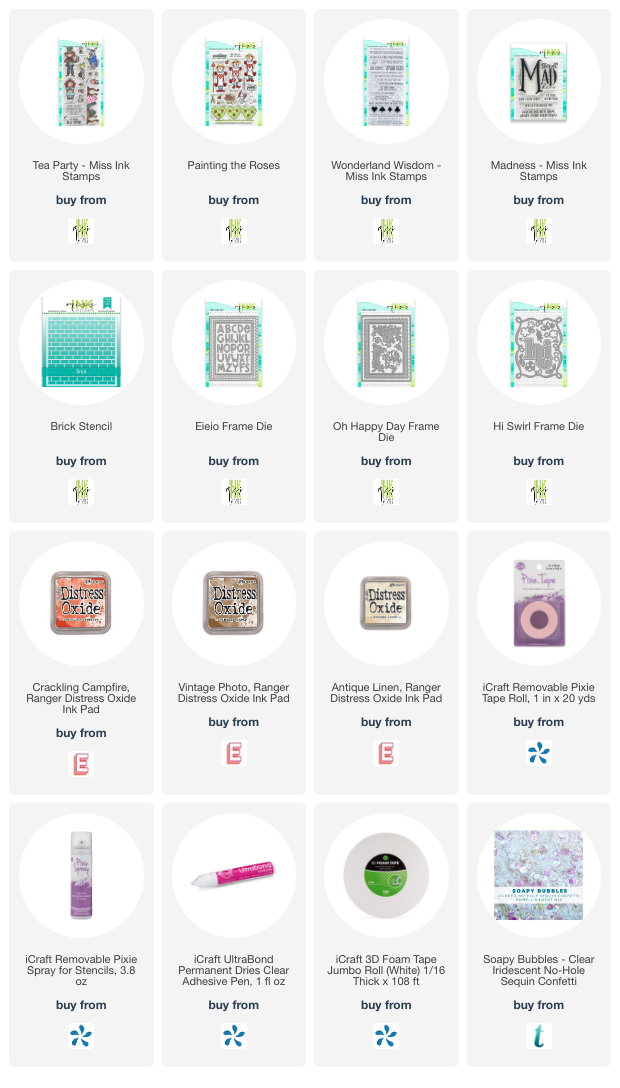
When I was looking at this Brick Wall stencil, I decided I wanted to make something that looked like graffiti... so I was going through my Miss Ink Stamps sets and came across the Madness stamp and knew it was the one!


I started by stamping the sentiment onto a white piece of cardstock with Wow Embossing Ink and heat embossed it with white embossing powder.  Then I stamped the Cheshire Cat face from Wonderland Wisdom over it and embossed that as well. Next I laid the stencil over the entire panel and blended some Crackling Campfire Distress Oxide Ink.  The color is a little orangey so I added Vintage Photo over the top.  Then I removed the stencil and blended some Antique Linen over the entire panel.  Finally I splattered paint over the top, masking off the sentiment a little and then wiped the ink off of the sentiment with a napkin.


I added a little scalloped border to the bottom by cutting a panel with one of the dies from the EIEIO die set and then trimmed off the edge and popped it up onto the bottom of the brick wall.  I cut a bunch of flowers and leaves using dies from Oh Happy Day and Hi Swirl Frame die sets and arranged them inside my little scalloped fence.  And then it hit me!  Who would do such a thing!?  The Mad Hatter of course!  I stamped the top half of the image and then positioned him on the card to decide where to cut him so he could be peaking in from the edge.  I colored him in and where I trimmed the cups that he was holding from his hand, I was trying to decide what I'd put there... perhaps some flowers... maybe a cup... and then I remembered there was a paint can and paint brush on the Painting The Roses set and they were the perfect size!

Finally I added a sentiment from Wonderland Wisdom and a few sequins as well as Nuvo drops for flower centers.

This one is really making me giggle... I'm so happy with how it turned out!

Thank you so much for stopping!  I hope you'll come again soon!
 

Friday, July 8, 2022

Deco Foiled Leafy Green Background


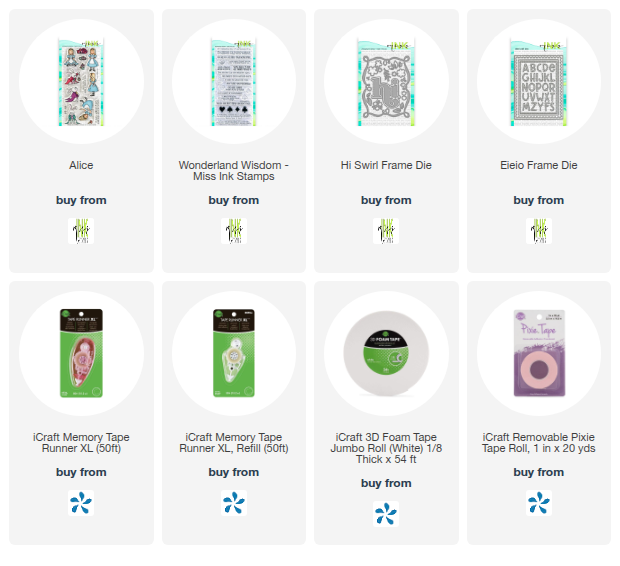
Hello!  I have a fun one for you today using some of the Alice Collection from Miss Ink Stamps!

I started with an alcohol ink background that I added some Deco Foil Transfer Gel Duo using the Leafy Green Stencil, let dry for a day and then added some Deco Foil to it by covering it with a used sheet and applying pressure with the Stencil Pal.  I'll add a quick video below!


Finally I die cut a circle scalloped frame from Paper Smooches and arranged my stamped, colored and fussy cut images from the Smokin' Caterpillar stamp set around inside and outside of it.  I stamped a sentiment from the Wonderland wisdom set onto a diecut strip and added the smoke rings and a few sequins around it.


Totally feeling that sentiment... It would be nice, wouldn't it?


I used lots of markers for this one!

Thanks so much for stopping!  I hope you'll come again soon!


Friday, September 11, 2020

If Something Made Sense-Miss Ink Stamps!


Welcome back!  Today I've got some more Miss Ink Stamps and Ranger Distress Embossing Glazes!

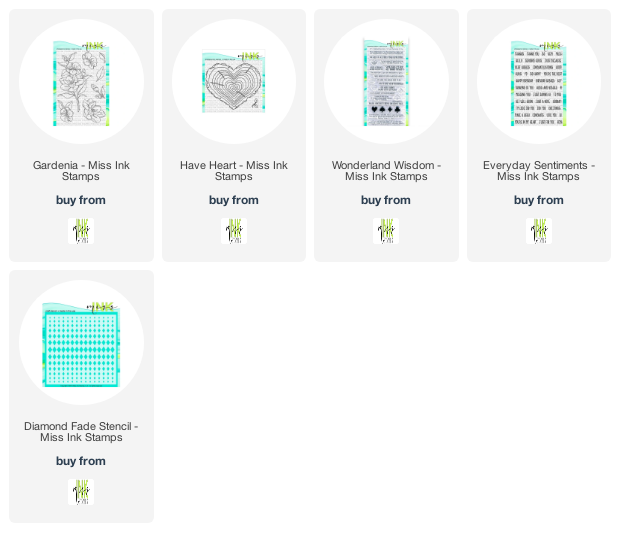
I started this one ink blending some Fossilized amber and a little Vintage Photo onto a die cut panel.  I stamped the Gardenia images onto the paper using some Espresso Distress Oxide Ink.  I had meant to use the Archival Ink, because I knew I'd be watercoloring the floral images, and the ink did run a little when I did that, but it all just added to the vintage distressed look I was going for.  I used Vintage Photo to color in the petals, Fossilized Amber to color in the flower center, and Bundled Sage for the leaves.  I just took a scrap piece of plastic like from packaging and smoosh some ink from the pad onto it and then use a water brush to pick up the ink.


Next I added some more of the inks through the Diamond Fade Stencil using a blending brush and over that added some texture paste.  I did clean off the stencil in between the ink and texture paste to keep from getting ink in my texture paste jar as I applied it and it was easy to line it back up. Then while the paste was wet, I used my fingers to sprinkle on some Embossing Glaze in Fossilized Amber and Peeled Paint.  I heated that up and once it cooled, I used a paint brush to brush on some more embossing ink in each corner swiping upwards.  (I just put a few drops onto the plastic from my refill bottle and applied it with a paint brush.)  Then I sprinkled on more Embossing Glaze in Vintage Photo.  When I heated that up it was a little darker than I wanted so I took a Ranger Embossing Dauber and dabbed on some more ink lightly everywhere and then very lightly sprinkled on some Gold Embossing Powder to add a little light and sparkle.  Whew!!  It took some work but I finally got it where I wanted it.


I decided with the darker colors that the Have Heart wood slice image would be perfect to add my sentiment.  I stamped it with Memento Ink, cut it out and then colored it with some brown Copics.  I decided to tone it down by blending on some Distress Ink in Antique Linen over the entire piece and then Vintage Photo around the edges.  Then using my Misti I stamped the sentiment from the Alice Collection Wonderland Wisdom stamp set in Versamark ink and heat embossed it in gold.  Just a subtle sentiment that is probably going through a lot of our heads right now "It would be nice if something made sense for a change".  I added the main sentiment heat embossed in white and popped it up underneath.   Finaly, a few paper flowers from my stash from Prima and some sequins and I was done!


That's me for today!  Thank you so much for stopping by and hope you'll visit again soon!