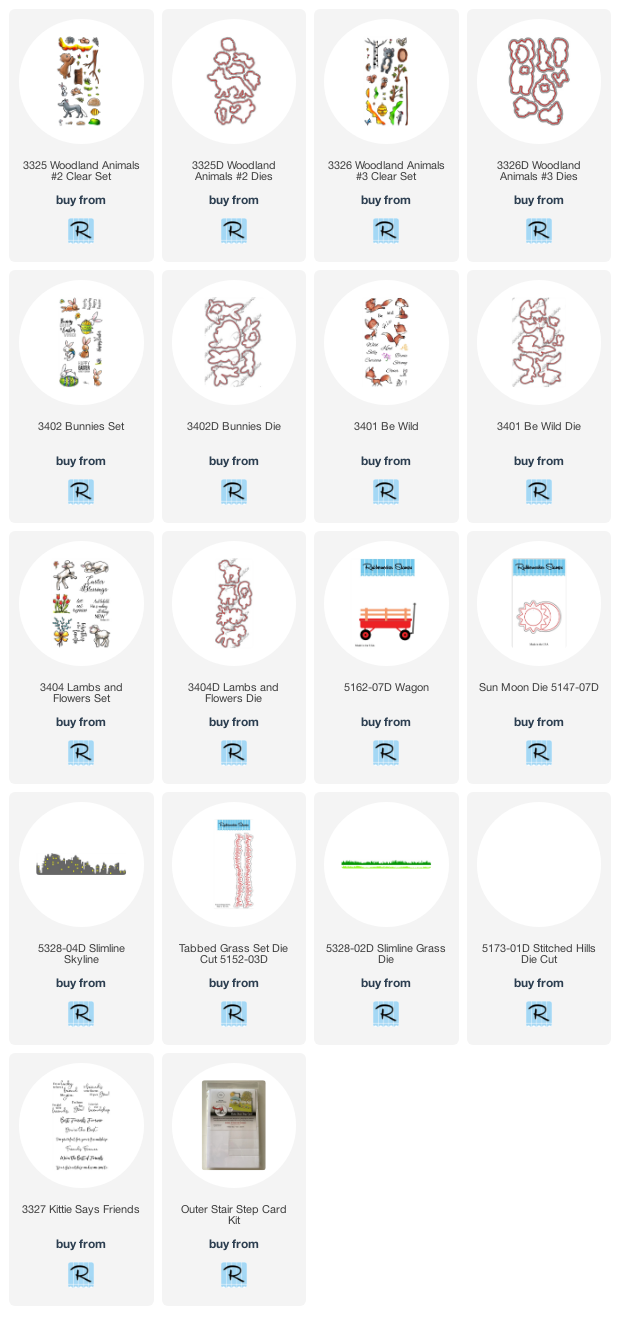
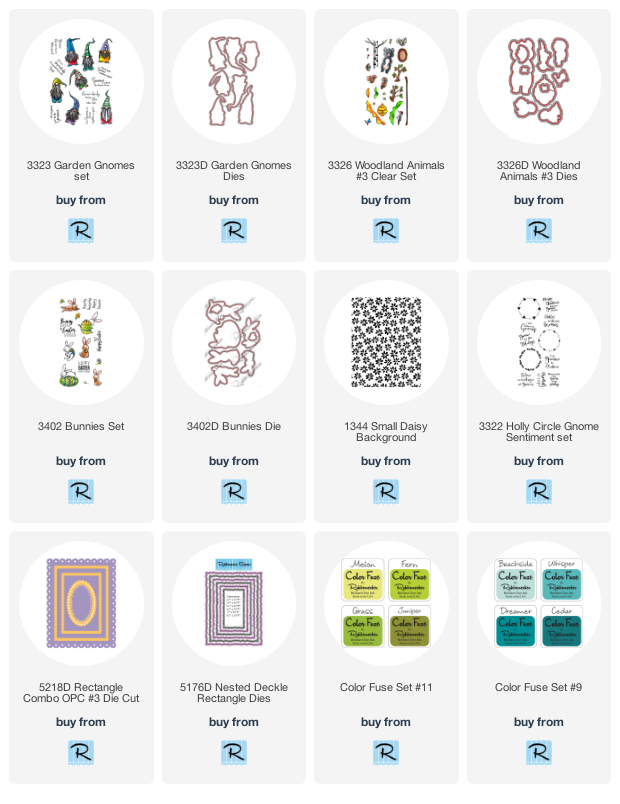
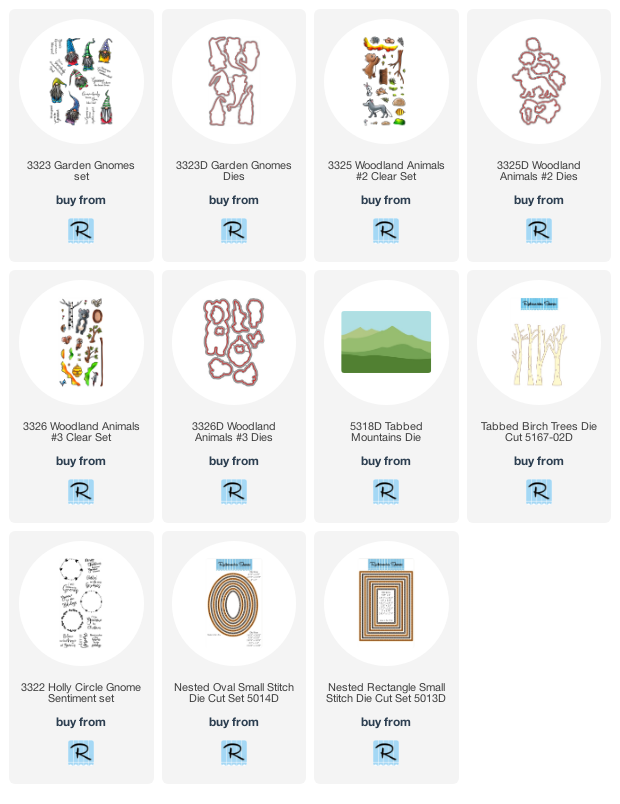
Welcome back! I'm excited to be sharing some new stamp sets available in the shop! I've used the new Garden Gnomes, Woodland Animals #2, and Woodland Animals #3 and I decided this gang of images would be perfect for a box card! If you love box card, but hesitate to make them because it seems hard, then I've got a secret for you! (They're not!) Especially if you use one of the pre-cut and pre-scored kits from The Paper Cut. And I've got a few tips for you too!

The kits come with all the pieces you need for the base of the box card and it's easy to cut the layers you want to use because it comes with a sheet of measurements.
- Lay the box base flat on your table and choose the papers you wanted to use on the outside of the box and cut them to size per the instructions included in the kit.
- Adhere each piece with your favorite adhesive.
- Note that if you're using a paper that has a continuous pattern such as a plaid and even this woodgrain, you may want to be careful to keep them in order so that the pattern flows smoothly around the bottom. It doesn't have to be perfect, but some patterns are more random and easier to use with less planning.

- Next flip the base over and lay it flat and repeat the steps to layer on whatever papers you choose to use. Note that for the inside of the base, the top pieces will show when the box is open and the bottom pieces won't show because they will be inside the box so you don't need to decorate those.
- The back of the box will not be scored and should not be folded. It will serve as your backdrop and remains straight from flat to popped up.
- Once you have all of your panels decorated, just apply adhesive to the tab and fold it into a box shape.

- Take three of the tabbed strips included in the kit and you can if you'd like attach some papers to them. You could just decorate the flat piece with decorative paper, or I usually like to add grass, waves, hills, snowy or otherwise when I'm creating a scene type box card. I chose grass for this one and it was so easy to use the Slimline Grass dies because I was able to cut them in my die cutting machine once and then just trim pieces to the size I needed.
- Once the strips are ready, fold the tabs and adhere the strips to the inside of the box at equal spacing, near the top of the box.
- Use all of your favorite images and dies to decorate your box!
I like to really layer it up and although you can't always see all of the details from the front of the box card, there are surprises to be found when you look closely:
I mixed and matched images from the four stamp sets and used lots of different thicknesses of foam tape, liquid adhesive and double sided tape. Some were attached right to the grass but it's really fun to make some images "float". (And by the way.. .aren't these stamp sets just the cutest??)
I save my clear plastic packing for just such an occasion. I attached the bees, butterflies, birds and even the jumping bunny but cutting strips of the plastic and then attaching the image to the top of the strip with liquid adhesive like Glossy Accents and then position it and attach the bottom part either directly to one of the strips on the base, or to the back of one of the other images.
And here are some of those hidden treasures I talked about... way in the back.. an adorable little owl.... and what's really cool is these box cards fold "flat"... I mean... mine are never totally flat...lol! But this one does fit in an envelope for a standard A2 card... and sometimes if I need a little extra room, I just make my own envelope or put it in a larger envelope.
You can decorate the outside too if you'd like... and then... as it's opened....
Bam! Surprise!
I do like to decorate at least the front flap with a sentiment for when the box is open and standing because of course that's how it will be for a while once it's opened by the recipient!
For this one, I used one of the squares from a Slimline die that of course I always save for use in the future.
And there you have it! Thanks for sticking with me! This was such a fun project and hope it's inspired you to give one a try!
And you don't have to buy a pre-cut kit... there are lots of instructions out there on the interweb on how to make your own... lots of measuring, cutting and scoring. But I love how easy these are!