Showing posts with label Rectangle One Piece. Show all posts

Sunday, January 30, 2022

Rubbernecker Stamps - You Matter


I have this one up on the blog over at Rubbernecker Stamps!


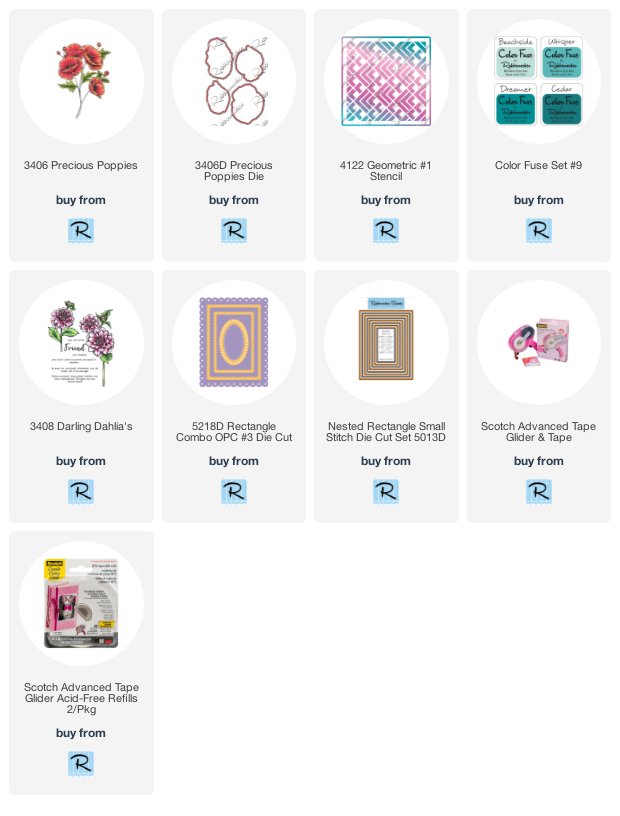
Love these Precious Poppies and that Geometric Stencil!!  Hop on over there for links and details about how I made it.


Thanks so much for stopping!  Hope you'll come again soon for more inspiration!


 I've included links below for all of the Rubbernecker Stamps products I used for this one.  Should you choose to purchase using these links I will receive a small compensation at no additional cost to you.  And thank you!

Friday, January 28, 2022

One of a Kind Fine Lines - Miss Ink Stamps


I'm in love with the Fine Lines Stencil!  The lines are so... well... fine!  And it makes for a striking background.  I highly suggest using Pixie Spray with this one to make your life simpler.


I created this background using a black cardstock panel and applied some Thermoweb Transfer Gel through the stencil and let it dry.  Then I ran the panel through my Minc with some Glittering Green foil and Voila!


Finally I stamped cut and colored the Gardenia stamp set images and then popped them up on the card as well as a sentiment from Lovely Unicorns and a few sequins!


That's me for today!  Hope you enjoyed your visit and that you'll come again soon!


Sunday, January 16, 2022

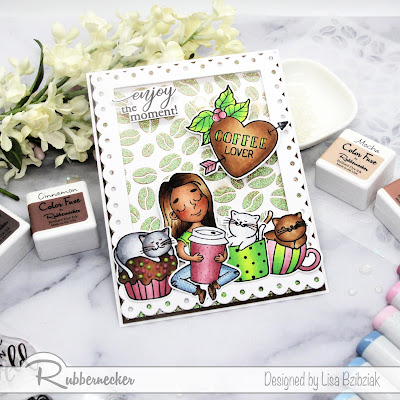
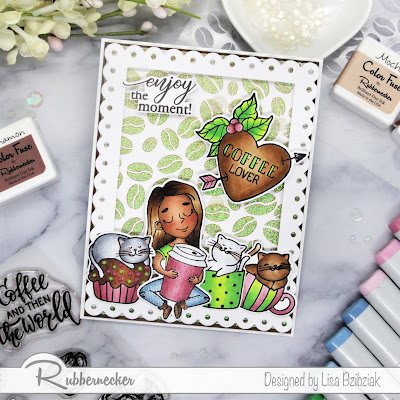
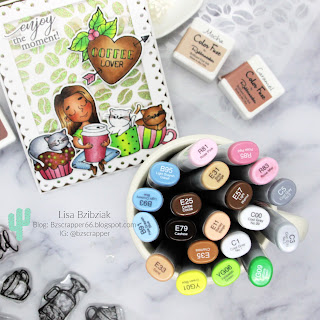
Rubbernecker Stamps - Coffee Lovers


I have this one up on the blog over at Rubbernecker Stamps with some caffeinated fun!  We're celebrating coffee this week on the blog!


Hop on over there for links and details!  Thanks so much for coming and hope you'll come again soon!


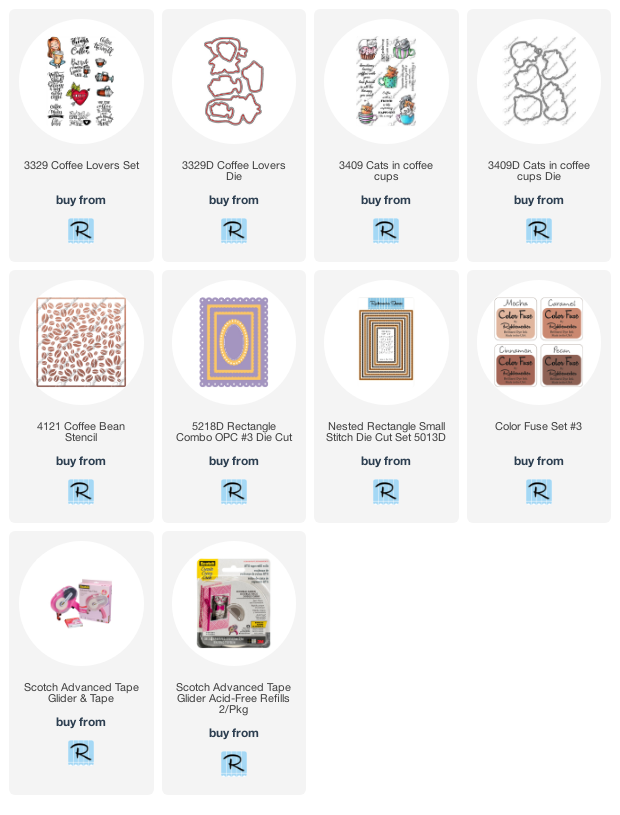
 I've provided links below for the Rubbernecker Stamps products I used for this project.  Should you choose to purchase using these links I will receive a small compensation at no additional cost to you.  And thank you!

Saturday, September 11, 2021

Autumn's Glorious Color and Extras


I have this one up on the Rubbernecker Stamps Blog and I'm sharing how I created it using lots of extras from previous projects.


I did add a few new things also and am excited how well it all came together!


Hope you'll head on over there for links and details!


Sunday, March 28, 2021

Rubbernecker Stamps - Just Chillin'


Hello!  I'm excited to share this one with you today!  I am in love with all of these adorable images and I had a play with some alcohol inks and Alcohol Lift Ink!


I've used bunches of stamp sets along with this beautiful background stamp!

My step by step process is up on the blog and you can find it here if you're interested! 

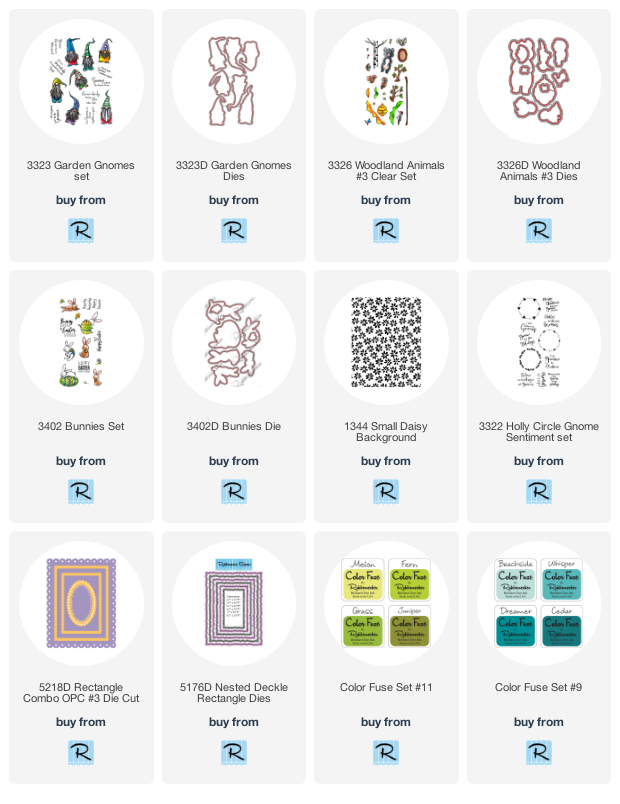
I'm playing along over at Double Trouble's Magical challenge!  Gnomes are pretty magical and I've used lots of dies on this one, so I've also played along with the Twist!  Today is the last day to play along, but if you miss out, be sure to check out the new challenge that starts on Monday!


I just love looking at this one with all it's cuteness!  And love how these pretty flowers are so subtle in the background with the green and blue.. giving the feeling of earth and sky.

Thanks for stopping and if you'd like more details and additional process photos then please do hop on over to the Rubbernecker Blog!

Thanks so much for stopping and hope you'll come again soon!


Thursday, December 24, 2020

Rubbernecker Stamps - To All A Good Night


Welcome back!  I'm using a beautiful new Rubbernecker Stamps clear stamp set, Winter Wonderland!  I love that the images on this set are all separate so I can combine them in whatever way I want.  Here's how I made it:


  • A white piece of cardstock was cut about 6 x 4 1/2" (big enough to place into the stamp positioner and place magnets and still be able to stamp the 'Twas The Night background.
  • After taking out the extra foam piece, the white cardstock was butted up to the corner of the Misti and held in place with magnets.
  • Anti static powder was wiped over the front of the cardstock.
  • The background stamp was positioned onto the cardstock and then stamped in Versamark ink.  
  • Rose Gold embossing powder was sprinkled over the stamped area and then heated to a beautiful shine. 

  • The frames were cut using the Rectangle Combo OPC #3 die.
  • The two largest frames were flipped upside down onto the work surface.
  • Thin foam tape was applied over the seam of the two frames to adhere them together.

  • The embossed piece was trimmed down to fit inside the window but not cover the holes of the scalloped frame.
  • The protective layer was peeled off of the two sided foam tape.
  • The embossed script panel was turned upside down and adhered to the frame, making certain that the words were straight when flipped over.
  • Addition adhesive was applied to the back side and then adhered to a 5 3/8" x 4 1/8" panel of gold cardstock.
  • The gold cardstock was adhered to a 5 1/2" x 4 1/4" panel of white cardstock.

  • The images were stamped using the Misti and then colored with Copics and fussy cut.
  • Next the images were arranged in the corners of the frame and when the position was right, adhered with varying thickness of foam tape.
  • This sentiment from Winter Wonderland was perfect!  It was stamped using the Misti and some Color Fuse Ink.
  • The sentiment was trimmed down with scissors and popped up on the card.

All that was left to do was add a few sequins!


Have I told you how much I love this stamp set??

Thank you so much for stopping!  I hope you enjoyed it and you'll be back again soon!

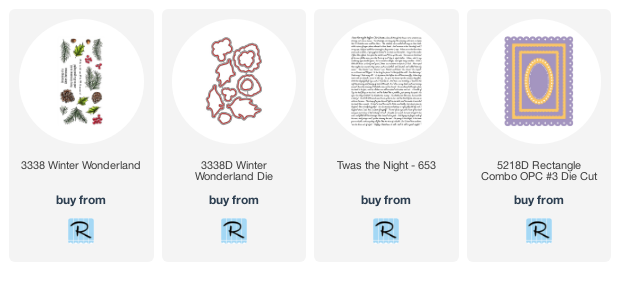
I have links below to all of the Rubbernecker Stamps products I used for today's card!  Should you choose to purchase using these links I will receive a small compensation at no additional cost to you.  And thank you!

Wednesday, August 26, 2020

My Somebunny - Paperie Ink


Welcome back!  Today I'm sharing a card using an adorable stamp set I got a little while ago and finally had a chance to play with while I was on vacation!  Have you checked out Paperie Ink's offerings??  SO adorable!


This set is called My Somebunny and I used some butterflies from the Magical Unicorn set because... well... I picked that one up too!...lol!

I used the Miss Ink Sunburst Stencil for my background and that great scalloped frame from Rubbernecker!


That's it!  I had so much fun coloring these images up.  If you've never checked out the Paperie Ink Shop out I highly recommend.  In fact, I'm heading over there as soon as I finish this up because I saw some more adorable that I'm pretty sure I need!

Thanks for stopping!  Hope you'll come again soon!


Thursday, August 13, 2020

Autumn Fire - Rubbernecker Stamps


Hello all!  Lisa here!  I'm so excited to be sharing one of the beautiful new layered florals available in the shop today!


The gorgeous Autumn Fire floral set ... this one is SO beautiful.  I stamped it in the colors suggested on the included stamping guide for this one which were perfect.  They really do look like they are on fire, don't they?

Here's how I made this one!

The flowers:
  • I started by following the guide included in the stamp set.  Each of the stamps is numbered on its sheet (ex: 1A, 1B, 1C, 1D).   And the guide also includes suggested colors.. in this case for the flowers I used Lemon, Citrus, Apricot, and Crimson.
  • I placed stamp 1A into my Misti and stamped it onto my white cardstock using the lightest color, Lemon.
  • Next, stamp 1B using Citrus; 1C using Apricot, and 1D using Crimson.
  • Each consecutive stamp needs to be lined up over the one before it.  If you have a stamp positioner this is the easiest in case you need or want to stamp a layer more than once for a deeper color.
  • A trick I like to use is to add a dot in permanent marker onto what I choose as the top of the stamp (once to the stamp and once to the paper I'm stamping on).
Just place the stamp onto the paper as you want to position it and then place the dot onto the back of the stamp at the top and then another onto the paper aligned with the one on the stamp.  This will be where you line the stamps up each time.


I do this once the first time I use the set to the stamp and then you only need to mark the paper the next time you use it.  It's not perfect... I still need to adjust it a bit once I lay the next layer over it but for this brain, it's SO much quicker!

I do this for each subsequent stamp in the series:


It also helps if your first positioning of the stamp matches the position on the guide because it will help you line it up the first time more easily.  I just usually look for a distinctive feature of the stamp and start there!

After lining it up the first time, with the dots each time after is a breeze even if you don't pick it up again for a while!

A note: make sure you let the marker dry because it will rub off on your Misti, which I know because this happened to me, however it was easy enough to take it off right away with my finger.

Another Note: If you are stamping directly onto your panel and not die cutting and popping up you could use a very light pencil mark that can be erased after stamping!  Or no mark at all!  If you put the dotted area on your stamp to the top, then you will end up in just about the right position easily still each time and after that lining up is easy peasy!


The leaves:
  • I stamped the two layers of leaves in the same fashion as the flowers first stamping the lightest color and then lining up the darker color over it.  The colors used for the leaves are Moss and Basil.
  • Next the banner was cut using the third largest Nested Stitched Banner.
  • Again using the Misti, I stamped the sentiment onto the banner so that I could be sure to have a nice, crisp, dark sentiment.

Assembly:
  • I started with a white base cut 5 1/2" x 4 1/4".
  • I die cut the wood grain design paper using the largest of the Nested Rectangle Small Stitch dies and adhered it to the white base.
  • When I cut the OPC dies I always save my extra frames so I had handy in my stash the two rectangle frames and nested them together and added pop up foam tape to the back and attached it to the center of the woodgrain.
  • Next the florals and leaves were added with foam tape.
  • Then I cut the banner down so that it would fit in the space I had, added foam tape and slid the top underneath the frames and weaved it in between the florals.
  • Finally a few sequins in autumn colors and I was done!
Thanks so much for stopping today!  I hope you enjoyed your visit and you come again soon for more Rubbernecker Stamps inspiration!

And if you'd like more inspiration and awesome tips on the new layering stamps, please do checkout the release video up on the blog today!


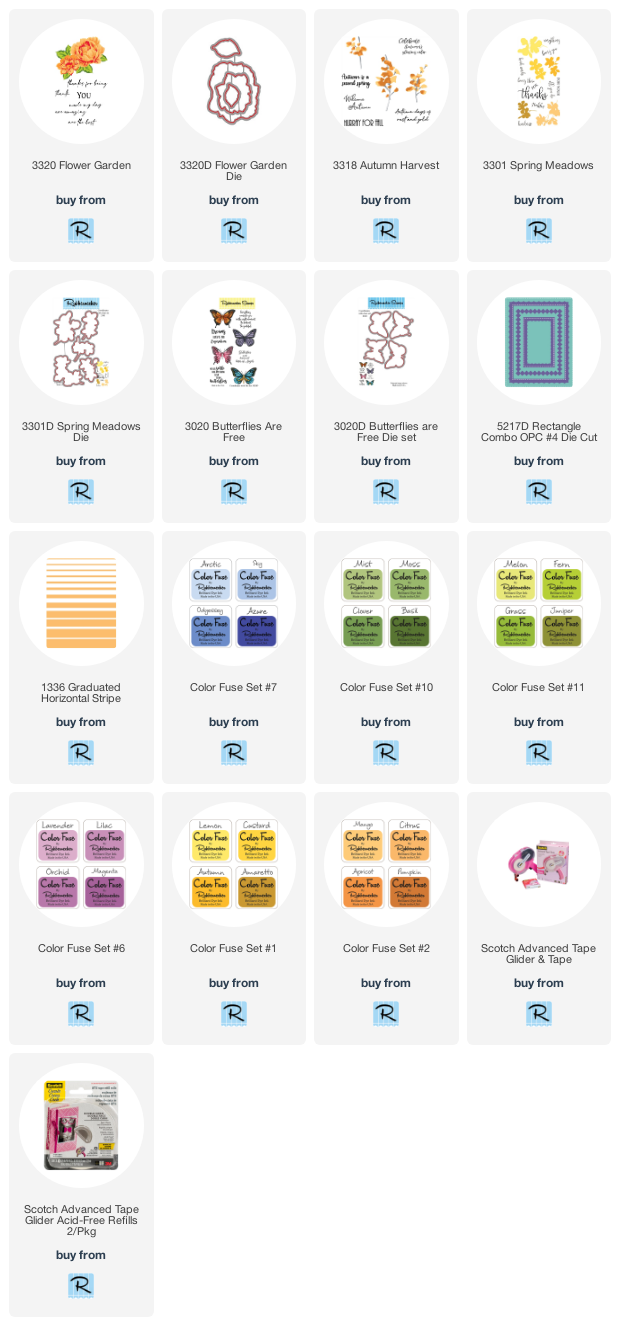
I've included links below for all of the Rubbernecker products I used today.  Should you decide to purchase using these links I will receive a small compensation at no additional cost to you.. and thank you!
Thursday, June 11, 2020

Life Is Good - Rubbernecker Stamps


Hello! Today I'm sharing with you a quiet evening near the beach at sunset.  Kinda wishing I was there right now!


I used some Color Fuse inks to blend this background and love the way it turned out!  I could use a view like this about now!


And when I was trying to decide on a sentiment and thought of this one... I knew it was the one!  Pretty much that's how I'd feel if I was there I'm sure.


And I had a lot of fun creating my shadow scene in front of the sunset.  I just cut bunches of die cuts from black and layered them on.


And that scallop frame from the OPC Rectangles... one of my very favorites!

Here's how I created this one:

  1. I started by cutting a panel using the largest of the Nested Rectangle Small Stitch Die Set in white.
  2. Next from the bottom up I blended some Custard, Apricot and then Nectar inks onto the panel.  I knew I'd be covering up the very bottom so I didn't worry about covering the entire piece, but made sure I had enough coverage to where the landscape started.
  3. I sprayed the panel using some water infused with Liquid Pixie Dust and let a couple fatter droplets land because I love the way it looks.
  4. I cut a simple circle from white cardstock and used the same inks to blend it.
  5. I cut a piece of black cardstock to 5 1/2" by 4 1/4" and adhered the ink blended panel to it.
  6. Another Rectangle was cut using the same die, but in black.  Then I taped two of the Stitched Hill dies across the black rectangle panel leaving some room in between so I could layer them on top of one another.  I attached the upper hills using some glue and then added some thin popup tape to the bottom hills and popped it up over the first one... overlapping just a bit so there would be no gap.
  7. I cut some Sea Grass (2), grass from the Grass #2 die, and the chairs from black cardstock and then began building my scene using popup tape and glue depending on where I wanted some depth... the chairs were popped up a bit as well as the sea grass  Then I filled in with the smaller grass and trimmed some stems from my second sea grass die cut to stick in here and there as there are always little tiny seagrasses scattered at the beach here and there.
  8. The blended circle was tucked under one of the hill die cuts to create the sun setting behind the hill.
  9. I added the largest of the Rectangle Combo OPC #3 frames by adding pop up foam to the top edges that didn't have any diecuts built up underneath it and glue to the parts that would lay on top of the stacked die cuts.
  10. Then I stamped my sentiment onto black cardstock in Versamark and heated it with some white embossing powder.  (When I use black especially I like to brush over it with some anti static powder first  if I want a nice sharp look, and I did that here).  I trimmed that down and popped it up in the corner of the card.
  11. Finally, I scattered some sequins... three groups of three... and I used Glossy Accents to adhere them since they were clear.  Any glue that dries clear would work fine but since I didn't want to wait for the glue to dry before photographing it, I used glue that was already clear.
And that's me for today!  Thank you so much for stopping and I hope you'll come again soon!


Below are links to the Rubbernecker Stamps products I used today.  Should you choose to purchase using these links I will receive a small compensation at no additional cost to you.  And thank you!


Thursday, April 9, 2020

Clean & Simple Layered Anniversary Card - Rubbernecker Stamps


Welcome back!  For today, I've made a Clean and Simple but layered card.


And I used one of the frame dies in a different way to add a decorative border on the sentiment strip.


And I used that beautiful Flower Bouquet #1 that is so beautiful when you color it, but turns out it's beautiful when it's left in black and white as well!  You don't like to color?  It doesn't mean you can't buy some of the beautiful florals that are available!

Here's how I created this one:

  1. I cut a black base to 5 1/2" x 4 1/4" using my paper trimmer.
  2. Then a red layer was cut to 5 3/8" x 4 1/8" and adhered to the black base.
  3. A white piece of cardstock was cut using the largest of the Nested Rectangle Small Stitch dies.
  4. I cut a white strip 5 1/2" x 1 1/2" (or as wide as  you need the strip to be to fit your sentiment).
  5. A plaid design paper strip was cut 5 1/2" x 1 1/4" wide (or 1/4" less than your white strip)
  6. A black piece of cardstock was cut to 5 1/2" x 1 1/8".
  7. Finally I cut a black piece of cardstock using the Rectangle Combo Opc #3 die.  We're going to use the third largest frame with the scallop inside and out and you can save the rest for later use!
  8. I used the black strip to help decide where to stamp my flower bouquet by placing the white die cut layer into my Misti.  I laid the black strip across the white layer and played with the positioning of the stamp over the top of it so that I knew the image would fit where I wanted it to, with the strip about where I wanted it.  Once I had it in place and the stamp was in position, I removed the black strip and stamped the image using my Memento Tuxedo Black Ink.  (In case you didn't know, you can easily use your Misti with a cling foam mounted rubber stamp simply by removing the black pad included with the Misti!)
  9. I cleaned the stamp and again positioned the black strip where I wanted it and then repositioned the stamp upside down and underneath the strip.  Underneath where the strip is positioned, the images did overlap in order to get the look I wanted, but since it's covered up by the black strip, no worries!  Also keep in mind if you make a mistake and perhaps some of your doubled up image that's supposed to be hidden shows,  don't start over!  You can always cut a new slightly wider black strip and just have a bit more black border underneath your design paper.
  10. Next I placed the white cardstock strip into the Misti and stamped my Happy Anniversary sentiment onto it.
  11. Finally you will layer all of your pieces together!  The black base first, then the red piece, and next your white die cut floral stamped piece.
  12. Then your strips!  Black first, then whatever design paper you choose.  Before adding the white stamped piece, I cut the longest sides from the black scalloped frame apart and adhered them to the top and bottom backside of the white strip and trimmed them down to the same length as the white strip using my scissors after they were adhered leaving a decorative scalloped border on either side of the sentiment strip and then adhered that strip to the design paper strip.
  13. Finally I adhered the assembled sentiment strip over the top of the floral images in the center and added a few sequins.
And that's me for today!  Thanks so much for stopping and hope you enjoyed your stay!


Below are links to the Rubbernecker Stamps products I've used today.  Should you decide to purchase these items using the links below, I will receive a small compensation at no additional cost to you.  And thank you!