Showing posts with label Interactive Cards. Show all posts

Sunday, October 17, 2021

Blessed to Have You - Rubbernecker Stamps


I am so very thankful to have you all.  I appreciate how you've stuck with me over the years and especially these last couple as we've all been struggling.  Just felt the need to say that.

I created a very fun interactive card using one of the fabulous card kits in the shop by The Paper Cut!  It's a Z Fold Box Card and you'll find details about how I created it (using almost all Gel Press prints!) in this post here!


I spent a lot of my life in Western New York and while here in AZ you can drive up north and catch some colorful foliage in the Fall... it's nothing like the spectacle back in WNY that happens for about a two week period each fall... it's beautiful for a lot of the season, but for that week or two window it is truly amazing... and that's not hyperbole.


Hope you'll join me up on the Rubbernecker Blog for all of the details!

Thanks so much for stopping and I hope you'll come again soon!


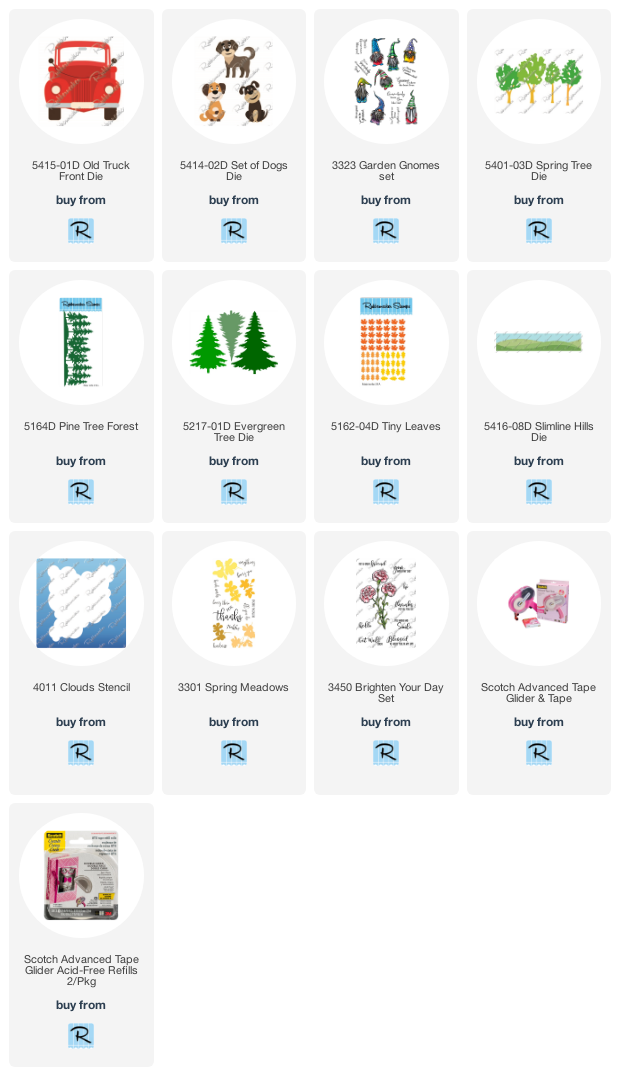
 Below are links to all of the Rubbernecker products I used for this one!  Should you choose to purchase using these links I will receive a small compensation at no additional cost to you.  And thank you!

Thursday, September 24, 2020

Chillin' With My Gnomies - Rubbernecker Stamps

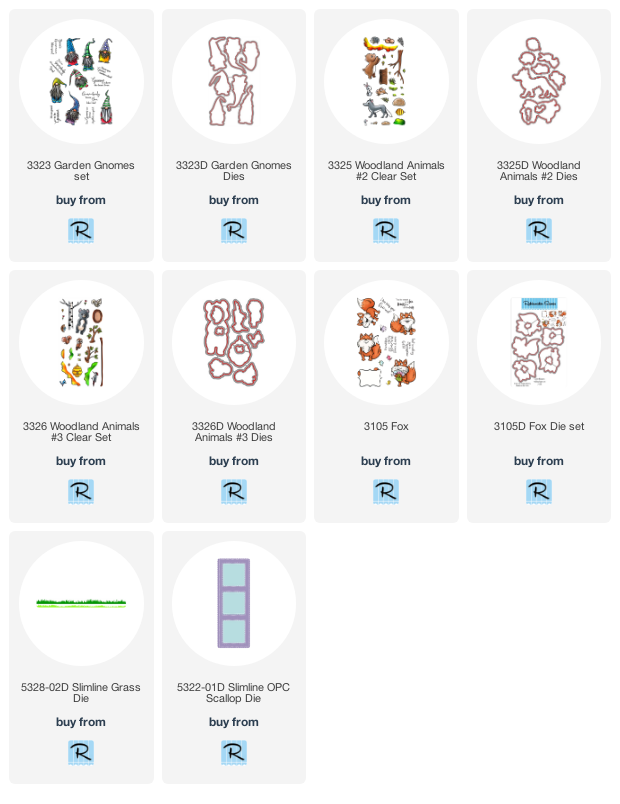
Welcome back!  I'm excited to be sharing some new stamp sets available in the shop!  I've used the new Garden Gnomes, Woodland Animals #2, and Woodland Animals #3 and I decided this gang of images would be perfect for a box card!  If you love box card, but hesitate to make them because it seems hard, then I've got a secret for you!  (They're not!)  Especially if you use one of the pre-cut and pre-scored kits from The Paper Cut.  And I've got a few tips for you too!

The kits come with all the pieces you need for the base of the box card and it's easy to cut the layers you want to use because it comes with a sheet of measurements.  

  • Lay the box base flat on your table and choose the papers you wanted to use on the outside of the box and cut them to size per the instructions included in the kit.
  • Adhere each piece with your favorite adhesive.
  • Note that if you're using a paper that has a continuous pattern such as a plaid and even this woodgrain, you may want to be careful to keep them in order so that the pattern flows smoothly around the bottom.  It doesn't have to be perfect, but some patterns are more random and easier to use with less planning.

  • Next flip the base over and lay it flat and repeat the steps to layer on whatever papers you choose to use.  Note that for the inside of the base, the top pieces will show when the box is open and the bottom pieces won't show because they will be inside the box so you don't need to decorate those.
  • The back of the box will not be scored and should not be folded.  It will serve as your backdrop and remains straight from flat to popped up.
  • Once you have all of your panels decorated, just apply adhesive to the tab and fold it into a box shape.

  • Take three of the tabbed strips included in the kit and you can if you'd like attach some papers to them.  You could just decorate the flat piece with decorative paper, or I usually like to add grass, waves, hills, snowy or otherwise when I'm creating a scene type box card.  I chose grass for this one and it was so easy to use the Slimline Grass dies because I was able to cut them in my die cutting machine once and then just trim pieces to the size I needed.
  • Once the strips are ready, fold the tabs and adhere the strips to the inside of the box at equal spacing, near the top of the box.
  • Use all of your favorite images and dies to decorate your box!

I like to really layer it up and although you can't always see all of the details from the front of the box card, there are surprises to be found when you look closely:


I mixed and matched images from the four stamp sets and used lots of different thicknesses of foam tape, liquid adhesive and double sided tape.  Some were attached right to the grass but it's really fun to make some images "float".  (And by the way.. .aren't these stamp sets just the cutest??)


I save my clear plastic packing for just such an occasion.  I attached the bees, butterflies, birds and even the jumping bunny but cutting strips of the plastic and then attaching the image to the top of the strip with liquid adhesive like Glossy Accents and then position it and attach the bottom part either directly to one of the strips on the base, or to the back of one of the other images.


And here are some of those hidden treasures I talked about... way in the back.. an adorable little owl.... and what's really cool is these box cards fold "flat"... I mean... mine are never totally flat...lol!  But this one does fit in an envelope for a standard A2 card... and sometimes if I need a little extra room, I just make my own envelope or put it in a larger envelope.


You can decorate the outside too if you'd like... and then... as it's opened....


Bam!  Surprise!


I do like to decorate at least the front flap with a sentiment for when the box is open and standing because of course that's how it will be for a while once it's opened by the recipient!

For this one, I used one of the squares from a Slimline die that of course I always save for use in the future.


And there you have it!  Thanks for sticking with me!  This was such a fun project and hope it's inspired you to give one a try!

And you don't have to buy a pre-cut kit... there are lots of instructions out there on the interweb on how to make your own... lots of measuring, cutting and scoring.  But I love how easy these are!


Sunday, August 11, 2019

Lawn Fawn - Happy Birthday Dance!


I have found myself with some free crafty time to play and decided to play along over at the Lawnfawnatics Interactive Challenge #58.  I haven't made a box card in a while and I started this one while I was on vacation so I decided it was time to finish it!  I used the Scalloped Box Card Pop-Up that I got at my LSS Scraps of Love.  And I decided I was quite lacking in Lawn Fawn sentiments and that I needed the Happy Happy Happy Stamp Set and coordinating dies and I was right!  This is one awesome set!  I picked mine up at Ellen Hutson when it was sold out at Lawn Fawn.

This is the front of my card and when I send it this is how it will come out of the envelope.  


And this is the inside with two flaps down.  Sure... I could measure and score and build my own popup box, but I love how easy the die set makes it to create one of these!


And here it is standing up.  I added some grass  with a grass die from CDD and those adorable costumed kids and flowers from the Easter Party Stamp Set and Dies... I picked these up at my LSS The Paper Collage.  It was kind of a group effort, don't you think?


I had these baby animals, the pig, sheep and chicks already colored and cut out from a previous project so I added them as well.


And a friend had her butterfly punch out, so I thought why not!  I punched out a few and added them to acrylic strips so they could fly.


It's quite the sweet Birthday dance party, don't you think?


I can't say enough about the Happy Happy Happy set!


So that's me for today!  It feels good to finish this one up!  You should check out the Lawnfawnatics Challenge and play along!


Wednesday, August 1, 2018

Caffeine Fueled Paper Play - Lawn Fawn


I'm up on the Coffee Loving Cardmakers Blog today and playing along with Lawn Fawn's Fund Fold Challenge!  Hope you'll hop on over there and visit with me!  Here's a sneak peek of today's project!


Monday, April 16, 2018

Lawn Fawn Addicts 5K Giveaway Challenge


Super quick post this morning to share a Gatefold Card I made for the Lawn Fawn Addicts Facebook Group 5K Giveaway!  I promised my Coffee Lovin Teammate Robyn I would try to create something... the challenge ends today so here it is!


All of the stamps and dies I used are from Lawn Fawn except for the mountains which are CDD (I've added links later in this paragraph)!  This is my belly band...  I cut the base pieces according to the sketch and measurements we were given (I placed a copy below) and then I built my scene onto the belly band.  Layering each piece ... the mountains, the grass, the trees, the road and my cute little camper and sentiment!


And here is the inside!  The sentiment here is an old retired CTMH stamp and the scalloped and straight stitched rectangles are from CDD.  I created a little scene using the Happy Trails stamp set from Lawn Fawn and drew in a simple little background.

Thanks so much for stopping by! Be sure to come back Wednesday!  See you again soon!

OH!  and here's the sketch I used: