Showing posts with label Dies. Show all posts

Monday, June 15, 2020

#BESTDAD - A Jillian Vance Design


I'm up on the blog over at A Jillian Vance Design with this cutie patootie Hootie!  Hop on over there for more pics and details if you'd like them!

Thanks so much for stopping!  Come again soon!

Thursday, February 6, 2020

Never Regret - Turner Syndrome Awareness Blog Hop Reminder!

I'm back with a quick reminder that you have until tomorrow, February 7th to hop and comment for your chances to win one of many awesome prizes!  We're hopping to raise awareness of Turner Syndrome, a genetic disorder that affects females.  Get some beautiful inspiration and learn about Turner Syndrome and maybe win some stuff!  You can find the main hop post here if you'd like to check it out!

I'm sharing with you some Rubbernecker inspiration today:


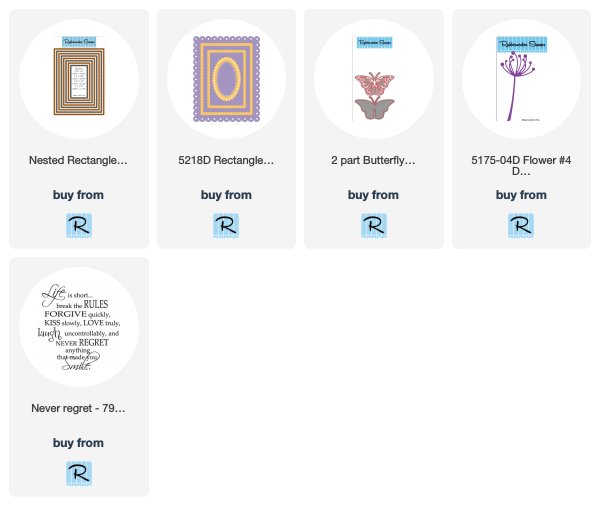
I had started this card with a different plan, and when that went in a new direction, I needed to use this framed background with that beautiful design paper!  I pulled out one of the many inspirational sentiment stamps from Rubbernecker and a few dies and it was done!


There is so much awesome over in the Rubbernecker shop and the sentiments are no exception!  Just a quick and encouraging reminder for a friend... 


And the flower die and butterfly are two of my favorite from the shop... not to mention the scalloped frame!!  I love that the die cuts so many frames that you can use together or apart.  I save my extras for mixing and matching on future projects.


And that's me for today!  Now get out there and Break Some Rules!

Come back tomorrow for some glitter fun!


Tuesday, September 10, 2019

Happy Halloween - Rubbernecker Stamps


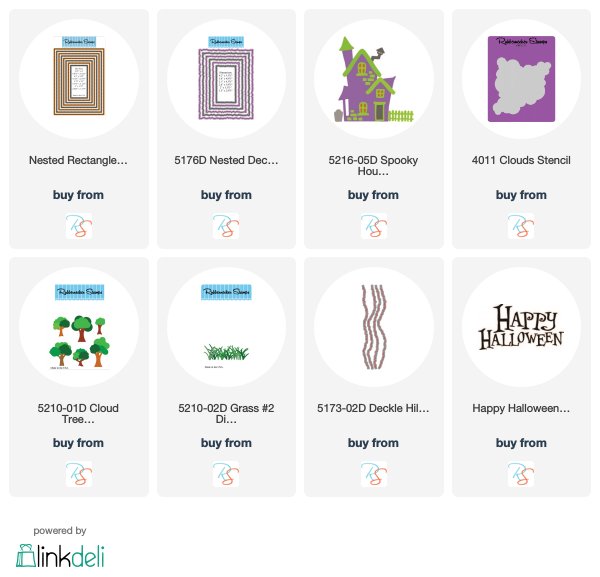
Welcome to some Rubbernecker Stamps Halloween Inspiration!  I've finally turned the corner and I'm dipping my toe in Autumn.  It's still pretty much Summer here in the desert Southwest, but in my mind I can smell the leaves turning and hear them crunch under my feet!   And of course I'm full on Pumpkin Spice right now!  I love to make Autumn cards... and Halloween cards are so fun!  As soon as I saw the Spooky House die I knew I had to have it!  Not to mention the Clouds stencil!


This Spooky House is SO easy to put together.  I just used my fine tweezers for the little window pieces and the bricks.   This is a one piece die so all of the pieces cut at once.   I cut the die from black, purple, orange and green cardstock and just kept little piles of all of the pieces so I could mix and match my colors however I wanted!  I created my frame using two of the Deckle Rectangle Dies... I placed one inside the other and held them with some washi tape to run them through my machine.  I used the tree trunks from the Cloud Tree dies and the headstones and fence cut with the Spooky house.


To start, I used yellow, orange, purple and blue Distress Oxides to create my colorful cloud background using a blending brush and the Clouds Stencil and layered the cloudy panel over my design paper background.  Then I built my landscape, popped the frame up over it and added the house to the front.  Finally a simple Happy Halloween sentiment to finish it off.


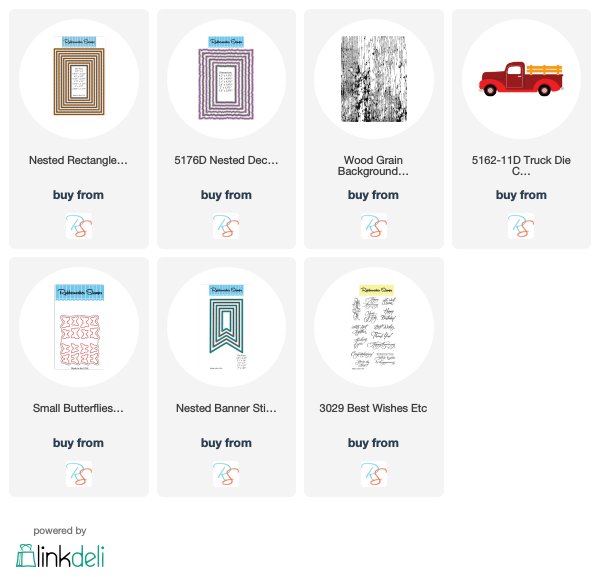
That's me for today!   Hope you enjoyed your stop and you'll come again soon for more inspiration!  I've included links below to all of the Rubbernecker products I've used today should you decide there is something you need to have!  (I think you might need that Spooky House...lol!)


Monday, September 9, 2019

Paper Smooches Wavy Pattern - Take 3


If you've been hanging out with me you know at the beginning of the month I created a card using the Wavy Pattern Die and Wavy Wishes Stamp Set for the Paper Smooches monthly challenge.  It was a bit of a rainbow and I had cut the Wavy Pattern die a few times out of a bunch of colors and was left with quite a few leftover pieces.  So I put together a bunch of backgrounds and I'll be sharing them all month!


I've also been having fun with the Posh Planters stamps and dies not to mention Sunnyville and I chose these images for my yellow card... and of course I added some plaid!


I love how easy it is to accurately stamp these Wavy Wishes sentiments onto the Wavy Pattern die cuts!


And that's my quick card for this morning!  I'm playing along over at Simon Says Stamp's Monday Challenge which is Stamp It AND Simon Says Stamp's Wednesday Challenge which is also Stamp It!  You should check them out!

Thanks for stopping and be sure to come back soon!

Thursday, September 5, 2019

Paper Smooches Wavy Patterns - Take 2!


You may have seen my card for this month's sketch challenge over at Paper Smooches a few days ago.  I used the Wavy Pattern die and Wavy Wishes stamp set to create a sunny card with a rainbow of Wavy Patterns. (You can check that out here if you'd like!)  I had cut the Wavy Pattern die out of a few different colors of cardstock and one white to create that card and found myself with a whole bunch of extras... I could have just tossed them, but instead I had a lot of fun making all kinds of cool backgrounds and I'll be sharing cards all month using those "leftovers".  I only cut one more white one to use for my sentiments in various places on these cards and in the end I had around 3 extra pieces!

For this one it made me very happy to ink up the Posh Planters stamp set... one of my new faves!!


This stamp set does make me SO happy...lol!  Isn't that little van adorable??  This Posh Planters set is full of adorable images and the die sets even cut out the sentiments included in the set!  I'll be using this one a lot this month as well!


I'm playing along over at Simon Says Stamp's Wednesday Challenge which is Stamp It - use a clear or red rubber stamp-no digis.   And I'm playing along at Word Art Wednesday's current Anything Goes Challenge.  Check them both out!


And here's a pic of all of my backgrounds using my "leftovers"... you'll be seeing these throughout the month!

Thanks for stopping and please do come again soon!

Monday, August 19, 2019

May The Peace - Rubbernecker Stamps


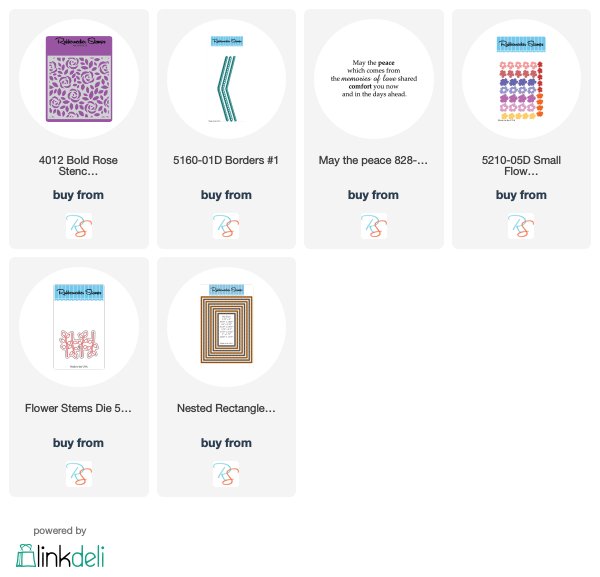
Welcome back!  Did you know that Rubbernecker Stamps now has stencils?  Today I've used the beautiful Bold Rose stencil to create the background for this card.


I taped the stencil down over my base and used a small square of cardstock as a mask.  I slowly started blending inks... a couple greens for the leaves and a couple purples for the flowers... covering the flowers when I colored the leaves and covering the leaves as I colored the flowers.  When I was done, I used a sponge and a little bit of water to add some Nuvo Gold Mousse randomly.  My mousse dried up pretty quickly, but I've found that it's fun to use this way... I just take a wet sponge and swipe it over the dried mousse a few times and then apply it where I want it using the sponge.  A paintbrush works nicely too!  Finally, I added some translucent texture paste for shine and texture.  Then I lifted the stencil and set it aside to dry.


I cut the top piece using the Borders #1 die and ink blended that with the same purples.  Then I blended a couple more pieces of cardstock with the purples and greens to die cut my flowers and leaves from.... adding some of the gold mousse as well.


Finally I cut one of the smaller rectangles and stamped this beautiful sentiment in Versamark and then heat embossed it with Wow Superfine Metallic Gold embossing powder.  I used another strip of ink blended cardstock to ground the sentiment and added my flowers, leaves and sequins.


It was fun to color this stencil pattern using ink blending brushes and distress oxides and pretty easy just using a small piece of paper as a mask!

Thanks so much for stopping and hope you'll come again soon!


Below are affiliate links to all of the Rubbernecker products I've used today.  If you use these links to make a purchase I will receive a small compensation at no additional cost to you.
Monday, August 5, 2019

Rubbernecker Stamps-Never Regret


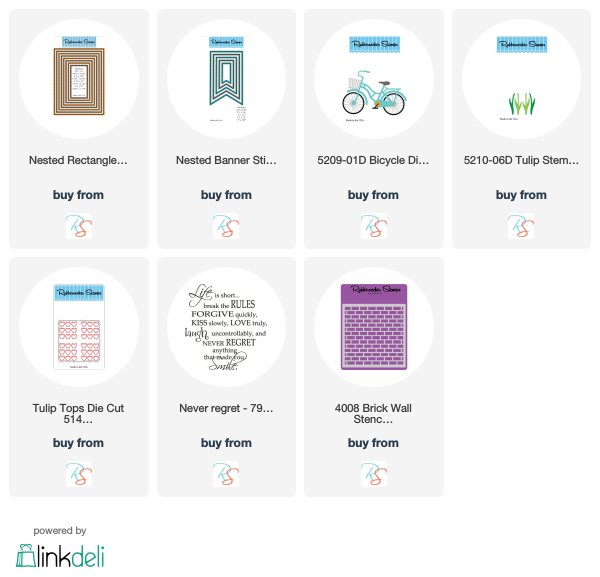
Exciting news over at Rubbernecker!  You can now get stencils in the shop!  I used the Brick Wall stencil on this one with some Old Paper Distress Ink.  It makes the perfect subtle background for that awesome Bicycle die cut!


Isn't it just the sweetest??  I'd love an aqua bicycle with a pretty floral seat!  Not to mention a basket of tulips!  I don't do much bike riding any more (aka none), but if I did, this would be my bike now.


And this sentiment... love!


That's it for this one!

I'm playing along over at Simon Says Stamp's Wednesday Challenge which is Anything Goes!  You should check it out!


Monday, July 29, 2019

A Truck Full of Butterflies-Rubbernecker Stamps


Welcome back to some more Rubbernecker Rainbow Inspiration...lol!  I hope you're not sick of my Butterfly Kaleidoscopes yet because I'm not nearly done!

This truck!!!  I love this die... it's so easy to put together and for this one I just cut one out of each of the rainbow colors and I've got enough leftover to make many more rainbow trucks!  How many rainbow trucks does one need?  I'd say you could never have enough....


Fun, right??  I mean.  Your truck doesn't have to be rainbow colored, but then again, why wouldn't it be?  #Idbuythattruck


I kept my sentiment simple like I often do so I can send it to anyone for almost any reason!


I'm joining in the Monday Challenge over at Simon Says Stamp which is Bright and Cheerful!  You should check it out!

Thanks so much for stopping by today!  Come again soon!


Below are affiliate links to all of the Rubbernecker products I've used today.  If you choose to purchase through these links I will receive a small compensation at no additional cost to you.  Thanks so much for stopping!

Monday, July 22, 2019

Another Kaleidoscope of Butterflies with Rubbernecker Stamps


Happy Monday!  Or hopefully after stopping here maybe it will be a little happier anyway!  I've got another Kaleidoscope of butterflies for you today!  I mentioned that after cutting the Small Butterflies die from all of my rainbow papers, I had lots of leftovers and had made a few more cards.  Here is one of those!  I just can't think of anything that I wouldn't want a swarm of butterflies flying out of!


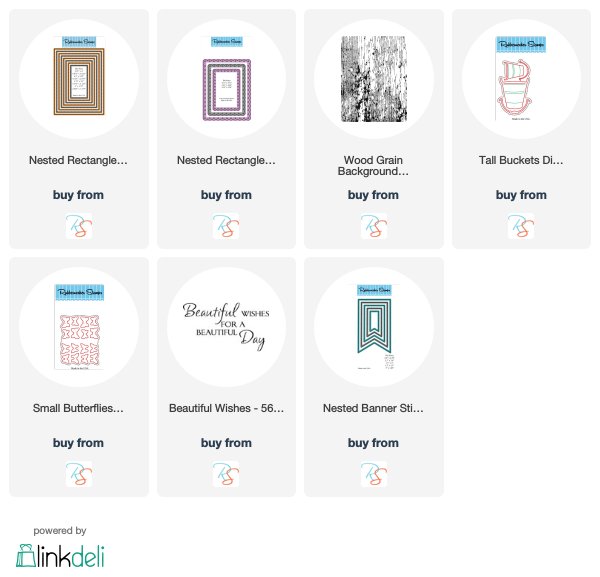
And the Tall Bucket die is perfect!!  I'd love a bucket of butterflies!  Love the details on these bucket dies... it was fun to cut it from silver, but it's also great to cut it and make it look old and distressed... I'm imaging it being full of all kinds of good things!


I love the pretty font of this sentiment and it's good for so many occasions... I could put whatever I want on the inside of this card... oh... and I used that awesome Wood Grain background stamp again for a little texture... this time on the front panel and in white... just a whisper of something there... I love it!

I'm playing along with the Embossing Challenge over at Die Cuttin' Divas!  You should check it out!


And that's it!  So simple and so pretty... with all of those layers the background is interesting but clean and really let's the bucket of butterflies pop... idk... it's made my Monday better anyway.

Thanks so much for stopping and allowing me to indulge my Rainbow Butterfly sensibilities again!  Come again soon!


Below are affiliate links to all of the Rubbernecker products I've used today.  If you choose to purchase and click through these links I will receive a small compensation at no additional cost to you.

Monday, July 15, 2019

Beautiful Wishes With Rubbernecker Stamps


Well hello there!  I'm excited to be sharing with you this multi-layered rainbow card I created using some of my favorite Rubbernecker dies!

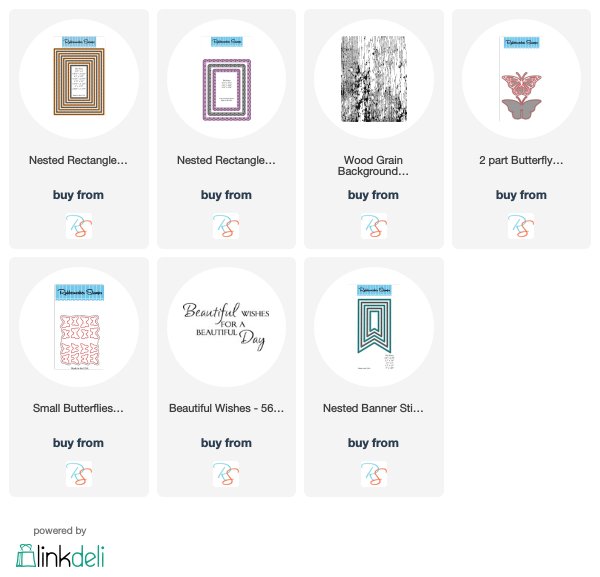
I started by cutting my layers from white cardstock using the Nested Rectangle Small Stitch Die Set and the Scallop w/Holes Die Set.  Then I heat embossed my largest layer using the Wood Grain Background Stamp Set and some Wow City of Angels Embossing Powder.  Then using various foam tape sizes, I layered all of the rectangles... I love the look of that scallop barely peeking out from behind the rectangle!


I found this great rainbow pad of paper at Walmart of all places!  I stumbled upon it and was so happy I snatched it up because when I want to create a rainbow like this it's perfect!  I cut some purple with this 2 Part Butterfly Die #3... I love these 2 Part Butterflies... they are SO pretty!


I cut the plate of small butterflies from each color...(and I have all kinds of extra butterflies to use on more projects which you'll be seeing over the next four Mondays!).  Then I layered them on the card to create a "kaleidoscope" of butterflies... which is actually one of the names for a large group of butterflies and is perfect for this particular one I think!


I finished it off with a stitched banner carrying this sweet sentiment which I thought was just right!


Once I got started creating with this rainbow of die cuts, I had a hard time stopping!  So come back for next Monday to see another kaleidoscope!  

That's me for today!  Hope you enjoyed your stop!  Please do come again soon!


I've provided affiliate links below to the Rubbernecker products I've used today.  If you purchase through these links I receive a small compensation at no additional cost to you.