Showing posts with label Spring Meadows. Show all posts

Sunday, October 17, 2021

Blessed to Have You - Rubbernecker Stamps


I am so very thankful to have you all.  I appreciate how you've stuck with me over the years and especially these last couple as we've all been struggling.  Just felt the need to say that.

I created a very fun interactive card using one of the fabulous card kits in the shop by The Paper Cut!  It's a Z Fold Box Card and you'll find details about how I created it (using almost all Gel Press prints!) in this post here!


I spent a lot of my life in Western New York and while here in AZ you can drive up north and catch some colorful foliage in the Fall... it's nothing like the spectacle back in WNY that happens for about a two week period each fall... it's beautiful for a lot of the season, but for that week or two window it is truly amazing... and that's not hyperbole.


Hope you'll join me up on the Rubbernecker Blog for all of the details!

Thanks so much for stopping and I hope you'll come again soon!


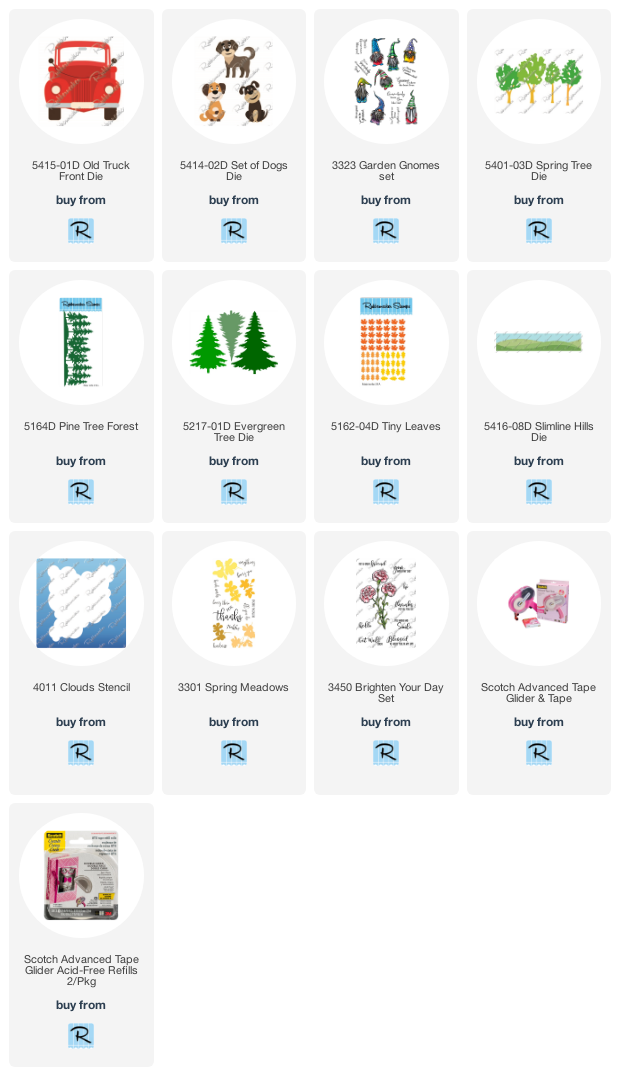
 Below are links to all of the Rubbernecker products I used for this one!  Should you choose to purchase using these links I will receive a small compensation at no additional cost to you.  And thank you!
Thursday, November 12, 2020

Rubbernecker Stamps - A Month of Gratitude


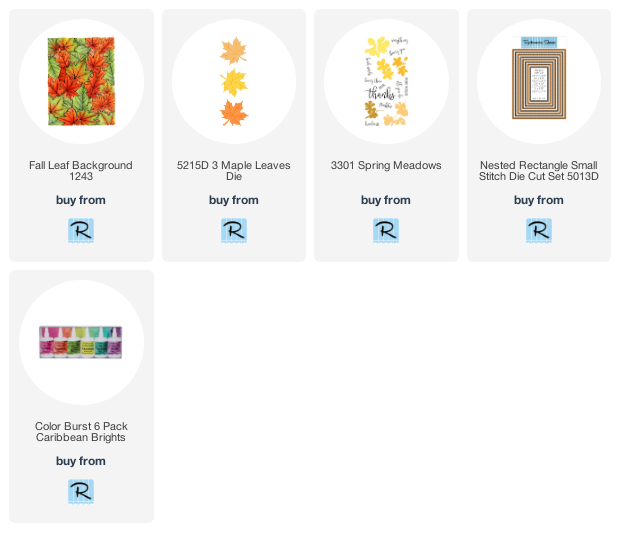
Welcome back!  We're celebrating a Month of Gratitude over at Rubbernecker stamps and today I'm playing with some Ken Oliver Color Burst today and one of the awesome background stamps available in the shop!

Here's how I created this one:


I just love this Fall Leaf Background!  There are so many beautiful background stamps in the shop!
  • The foam piece was removed from the stamp positioner so that the foam mounted red rubber background stamp would be able to be used in it.
  • A sheet of watercolor paper was cut slightly larger than the background stamp so that there would be room to place the magnets to hold down the paper and the paper was swiped with anti static powder.
  • The stamp was placed in the center of the watercolor paper and then stamped with Versamark Ink.
  • Leaving the paper and stamp in place and making sure that the paper stayed butted up against the corner, it was stamped a couple more times to be sure there was good coverage of ink.

  • The ink was covered with gold embossing powder and the extra was tapped off leaving the image only covered in powder.
  • The powder was heated and set.
  • Two colors of Color Burst Powders, Fuchsia and Tangerine were sprinkled lightly over the top of the embossed image.

  • Water was spritzed over the powder generously.
  My favorite part of Color Burst is watching the colors mingle together and normally I let them do their thing, but this time I wanted full coverage on my background so...

  • A water brush was used to fill in any blank areas that didn't get a lot of color being careful to not mix the colors too much so that there was variation.


  • To not let any of those beautiful colors go to waste, another smaller piece of water color paper was flipped over on top of the wet color burst to soak up the excess


  • If needed, extra powders can be added along with some additional water to color up the extra piece of watercolor paper.
  • Once both panes were dry, the stamped background was cut using the stitched rectangle die and leaves were cut from the solid watercolored sheet.
  • Some gold color shine was splattered over the background and leaves and then dabbed with a paper towel.

  • A panel of white cardstock was cut to 5 5/8" x 4 3/8"
  • A panel of black cardstock was cut to 5 1/2" x 4 1/4"
  • A panel of gold cardstock was cut to 5 3/8" x 4 1/8"
  • The three layers were adhered-black on white, gold on black, and stamped die cut panel on the gold.
  • A strip of white cardstock was cut to 2" x 4 3/8"
  • A strip of gold was cut to 2 1/4" x 4 3/8"
  • A strip of black was cut to 2 3/8" x 4 3/8"
  • The three strip layers were adhered-gold on black, white on gold.
  • The layered strips were adhered to the front of the card leaving a bit of the watercolored panel showing at the bottom.
  • The three leaves were popped up onto the strip using a very thin foam tape.


  • The sentiment pieces were stamped onto white cardstock and Thanks and Kindness were fussy cut.  For Your was trimmed to a small rectangle.
  • The sentiment pieces were popped up onto the top right-hand corner of the card front with thin foam tape.
  • Sequins were scattered around and adhered using Glossy Accents.


And that's me for today!  This was so much fun and it's inspired me to keep my Color Burst out for a while and play some more!

Be sure to check out all of the cool background stamps available in the shop!

Hope you enjoyed your visit and you come again soon for more Rubbernecker Stamps inspiration!


Monday, March 30, 2020

It's a Spring Time Rainbow - Rubbernecker Stamps


Lisa here!  Excited to be sharing with you a card I made and I used many of the new Color Fuse Ink sets along with a couple new clear stamp sets!


The new Color Fuse inks are perfect with the new layered floral sets!  I used It's Spring Time for my flowers and Spring Meadow for my "leaves".  The leaves were stamped with a green Color Fuse Ink and then I added shading with some colored pencils.


And again, I stamped the Thanks sentiment from Spring Meadow and cut it with the Scan N Cut and then popped it up over the florals


And isn't the Nested Scallop die beautiful?  I used the largest die in the set which cuts the frame and the inside layer that nest together.  I used both here, popping up the frame piece only.  It's such a pretty die!

I'm playing along over at Double Trouble Challenges Something, Anything and Everything Challenge!  You should check it out!

And here's how I made my card:

  1. I stamped the large and small layered florals from the It's Spring Time stamp set.  Using the tip sheet included in the set, I was easily able to determine what the first, second and third layers were.  I used the lightest three colors in each set and stamped the bottom layer in the lightest color, second layer in the next darkest and the third in the darkest of the three.
  2. I fussy cut the flowers which was actually pretty quick and easy.
  3. I cut the frame and bottom layer using the largest die in the Nested Scallop with Holes set.
  4. I laid the frame flat on the card base (with no adhesive) and centered it so that I could then add the inside piece inside of it.  This way I knew the outer edges would be centered.
  5. I added foam tape to my frame and adhered that so that it fit around the inside scalloped piece.
  6. Then I moved my flowers around until I had the look I wanted.  I kept the larger flowers towards the bottom and then the smaller ones diagonally to the top.  Working to keep the colors that were closest to each other separated by other colors.  Once my eyes were happy I started adhering them in place... popping some up with foam tape and laying others underneath flat.
  7. I had stamped and cut out the silhouette images from Spring Meadows and added shading earlier and decided they were perfect as foliage for the florals.
  8. I popped up the Thanks sentiment that was stamped and cut out with the Brother Scan N Cut over the top and added a few sequins.
And that's me for today!  Thanks so much for stopping and be sure to come back soon and often for more inspiration!


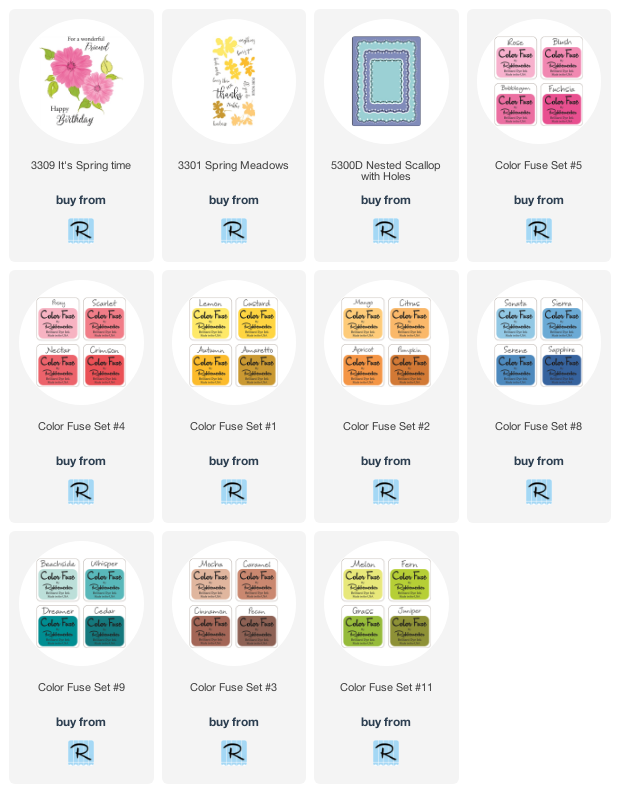
I've provided links below for all of the Rubbernecker products I used today.  Should you choose to purchase using these links, I will receive a small compensation at no additional cost to you.  And thank you!

Thursday, March 12, 2020

A Layered Floral Shaker and New Inks From Rubbernecker Stamps!


Happy Thursday!  Lisa here and today I'm sharing lots of exciting new stuff available over in the Rubbernecker shop!

There's a new ink in town... have you seen the beautiful rainbow of colors in the Color Fuse Dye Ink palette??  And I love how they come in sets of four beautifully coordinated colors... perfect to use with the new layering stamps and lots of other stuff!


I used the Spring Meadow stamp set for my border along with the beautiful shades of green in Color Fuse Set #11 and the Fragrant Bloom stamp set with the gorgeous pinks in the Color Fuse set #4!  And that thanks sentiment in the Spring Meadow set... perfect for cutting out on the Scan N Cut or by hand if you want!


Don't think I didn't hesitate after I had my border created... I decided it would be cool to cut out the inside and make a shaker, but that first cut... scary!  Finally, I just poked through the  center carefully so as not to bend or wrinkle my paper and cut away large chunks first and slowly got closer to cut the detailed areas.  It really didn't take me very long... sometimes positioning my hand underneath and coming up through the center and sometimes coming in from the top.  And I'm so glad I took the chance!


And those pink flowers... with all of that beautiful green I love the pop of pink to draw your attention to the sentiment.

I'm playing along with Double Trouble Challenge's Go Green... use green on your project and link it up for a chance to win!  Extra chances if you use the twist to add gold (I'm sorry Thing 4... didn't get the gold in which is shocking!).  AND they're partnering with the Heart2Heart Challenge this week which is Put Your Green On!  You should check them out!

Here's how I created this one:

  1. I started by cutting the second largest stitched rectangle die from white cardstock.
  2. I find it best to "season" my stamps first.  My Adhesive Eraser works perfectly for this.  I just rubbed it across the stamp surface before I used it the first time to remove any film left over from manufacturing.
  3. The rectangle die cut was placed into my Misti and began with the darkest green ink.  I chose the image from Spring Meadows that I would use for the border; inked it up and stamped it around the outside edge of the rectangle changing the position each time and leaving space in between for more stamping.
  4. Then I chose the next lightest green and did the same..not afraid to stamp over the other images... I love the shadows this creates.. perfect if you're looking through a cluster of leaves or flowers!  I did the same with each color I used until the border was covered.
  5. Finally, I used a blending sponge and added some of the lightest green around the edges.  I was curious as to how the inks would blend and it was smooth and easy.  I love the way it brought all of the colors together.
  6. I cut a few extra images out to use with the florals and added a little dimension using my Prismacolor pencils... this was fun and I'll definitely do that again!
  7. The Thanks sentiment was stamped (quite a few times) along with a few of the smaller sentiments from the Spring Meadows set that have no breaks or open areas and cut them all out using the Scan N Cut... I've got lots saved for future projects and LOVE the look of this beautiful font cut out!
  8. Next I grabbed the Pink inks and began layering the Fragrant Blooms.  I used the lightest to stamp the solid base and with each layer went a little darker.  For this one I used three of the pinks... the darkest and then the two lightest for contrast.. knowing I'd use a brown for my center stamens.  Again I used the Misti but these can easily be lined up without.  I will admit... layering stamps have literally brought me to tears (sad but true...lol!)  These were easy peasy for me!  It was easy for me to see what direction each layer should go in and on my second try I had the look I wanted and there's no looking back now!
  9. I layered a 5 1/2" x 4 1/4" base in green and a white piece cut using the largest rectangle die and layered them together.  
  10. On a separate white piece of cardstock that I cut sightly smaller than my shaker element, I stamped a few more of the Spring Meadows images, closer toward the center so that they would show past my cut out window to create some depth and attached that to my bottom two layers right in the center.
  11. Acetate was adhered to the back of my cut out window and then pop up tape around the entire rectangle for stability.  I also added extra foam tape along the bottom of my border to any areas that stick up... that keeps the sequins from "hiding" behind those areas.  I didn't worry about going around the sides and top with the extra foam tape.
  12. I popped my shaker window over the sequins and then layered on the florals, extra green "foliage" and the thanks with varied thicknesses of foam tape.
  13. Finally, as I always do, I added some sequins around the outside as if they've escaped from my shaker.
That's me for today!  I hope you enjoyed it and I've inspired you in some way for the day!  Thanks for stopping and come back soon for more Rubbernecker inspiration!


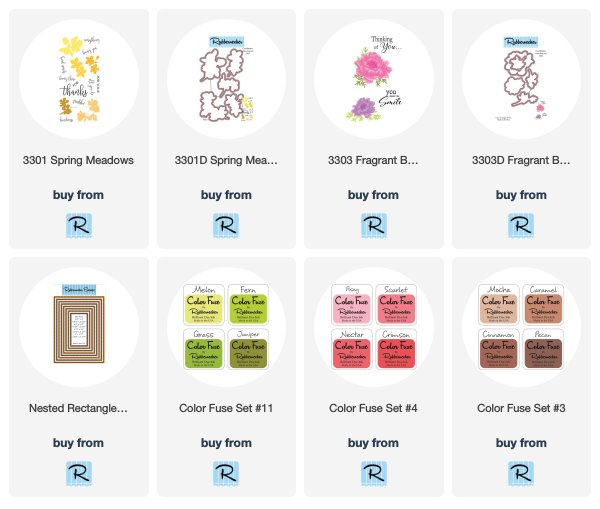
I've included links below to all of the Rubbernecker products I've used today.  Should you choose to purchase using these links I will receive a small compensation at no additional cost to you.  And thank you!