Showing posts with label Blooming Brushes. Show all posts

Saturday, July 20, 2024

Clean Fingernails - Miss Ink Stamps


My fingernails are very rarely free of paint, ink, and other crafty residues!


I started with one of my favorite gel prints and added Transfer Gel Duo over it through the Bluet Burst stencil.  Once it was dry to tacky I added Magical Shattered Glass Deco Foil.  It's such a gorgeous shiny background!


I stamped, cut and colored images from Blooming Brushes and added a frame from the Punny Farm Frame die.

Thanks for stopping!  Come again soon!


Friday, June 28, 2024

Inspirational Magnolias - Miss Ink Stamps


Hello!  You inspire me!


I've got some more Magnolia Frame flowers for you today!  I just couldn't love these flowers more!  All on a Deco Foiled Gel Print with the Art Deco Stencils.


And a sentiment from Blooming Brushes!

Thanks for stopping!  Hope you'll come again soon!


Thursday, May 16, 2024

Miss Ink Release Sneaks - Happy Thoughts


It's Day 1 of Sneak Peeks over at Miss Ink Stamps Stencil Release!


This fabulous stencil!  The mini masking piece is perfect if you want to color your images separately... and I did and it was so easy and quick!


Be sure to head on over to Instagram for lots of New Release inspiration and a chance to win at the Miss Ink Stamps account.


Saturday, February 17, 2024

Crafty Friends - Miss Ink Stamps


Hello!  I've got some more Bee-autiful Blooms from Miss Ink Stamps for you today!


I used Distress Oxides to watercolor the background.  I let it dry completely and then embossed the floral onto it.  Normally I do the embossing first, but I forgot!  I do that a lot.  Then I added more color to the flowers with Zig Real Color Brush Markers.  Finally I splattered some gold ink over the top.


I stamped a simple sentiment and die cut it with a circle die and then layered it over the center from a previously cut Magnolia Frame.

Thanks so much for stopping!  Come again soon!


Thursday, January 11, 2024

Hi-Love You Lots


I'm up on the blog over at Miss Ink Stamps with this one.


Join me over there for links and details!

Thanks so much for stopping.  Come again soon!


Friday, August 4, 2023

Wild Butterfly - Miss Ink Stamps


It's Friday and time for another wild butterfly!


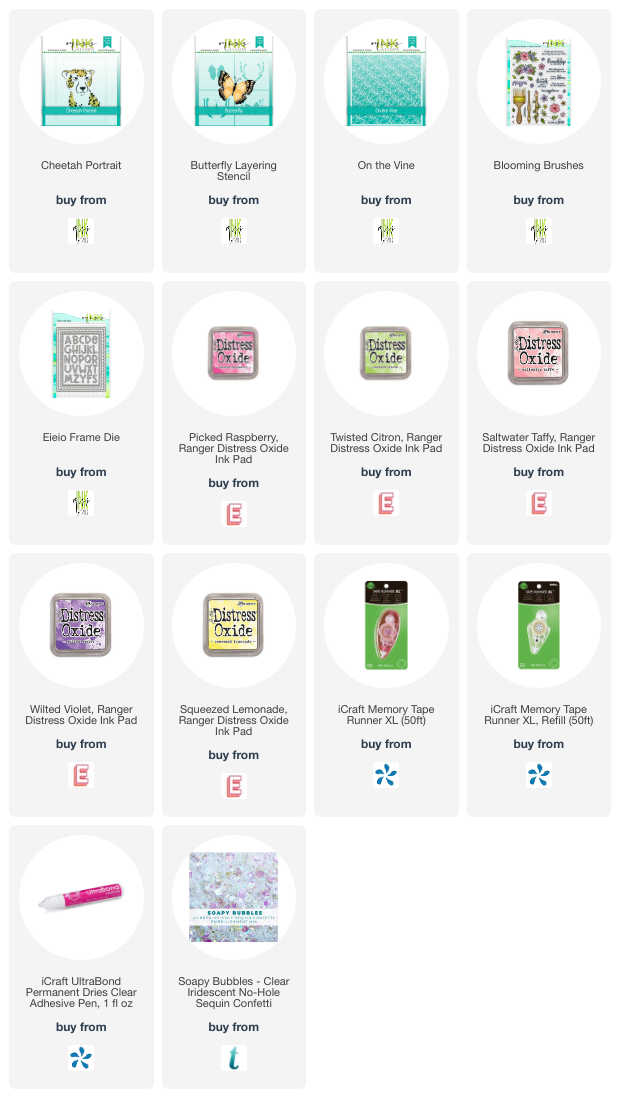
This time I used the Cheetah Portrait stencil along with the Butterfly Layering Stencil and then On The Vine for the background.


I finished it off with another sentiment from Blooming Brushes!

Happy Friday!


Friday, January 20, 2023

Hey Wild Thing - Miss Ink Stamps


Happy Friday!  I'm back with another background I made using the A2 Masking stencils ... this time along with the Zebra Stripe stencil!  This time I added some Transfer Gel and Deco Foiled in Magical Shattered Glass... I LOVE it!


I didn't want to cover up too much of my background because I love it!  So I just made a big sentiment using the alpha from the EI EI O Dies along with a sentiment from Jingle Friends and added some flowers.


Thank you so much for stopping!  Come again soon for more inspiration!


Friday, January 13, 2023

Miss Ink Stamps - A Fine Art


Welcome back!  I had a play with the A2 Masking Stencil set again!  This time I used it along with the Art Deco Stencil for a fun rainbow background.

 I finished it off with some images and a sentiment from the Blooming Brushes set.  I kept all of the colors soft and this time I've included both the Copic colors and Distress Oxide colors that I used.

And I have a video for you:


Fun, right??


That's me!  Hope you enjoyed it!


Come again soon!


Friday, May 27, 2022

Not A Daisy Goes By - Miss Ink Stamps


Happy Friday!  I'm back with some more alcohol ink, Transfer Gel and Deco Foil all on a crisp white panel of EVO paper!


I created the alcohol inked panel and while it was still sticky added a little bit of foil sparkle.  Then I used the Bluet Burst Stencil from Miss Ink to apply Deco Foil Transfer Gel Duo.  Cool thing about this is it's clear and you can let it dry a little or a lot and then either apply foil while it's a little sticky or run it through your Minc or laminator!  I let it dry a long time and then added foil without the Minc because I didn't want a solid transfer and I LOVE how it turned out!


I just needed enough foil to bring out the pattern from the stencil, but still wanted the alcohol inked panel to show through... so cool!

Here's a quick video to show you how I did it:


I added some images and a sentiment from the Blooming Brushes stamp set and done!

That's me for today!  Gonna be using this technique a bunch more I think!


Hope you all have a great weekend!  Thanks for stopping!


Friday, April 15, 2022

Miss Ink Stencil Week - Blooming Creativity


It's stencil week over at Miss Ink Stamps!


Welcome back!  I've got more new stencil from Miss Ink Stamps along with some acrylic paint and foil!

I started by creating the paint swatches with a paint brush and acrylic paint.  Here's how I made it:


Fun, right??  I've been playing with foil and acrylic paints all month... lots more to come! 


I love the actual brush strokes created with the paint!

I laid the stencil over the top and gently added those pretty wavy lines using the new Modern Waves stencil and some Squeezed Lemonade Distress Oxide Ink.


And the images from the Blooming Brushes set were perfect with it!


Thanks so much for stopping!  I hope you enjoyed your visit and that you'll come again soon for more inspiration!  Be sure to visit the Miss Ink Stamps IG account to see how you could win!


Friday, February 18, 2022

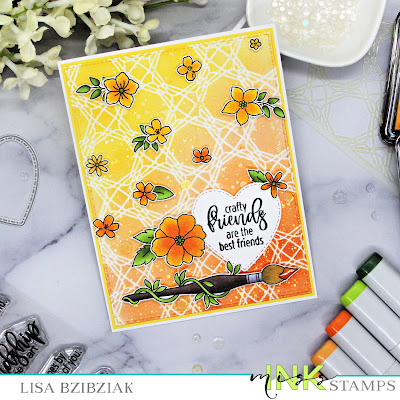
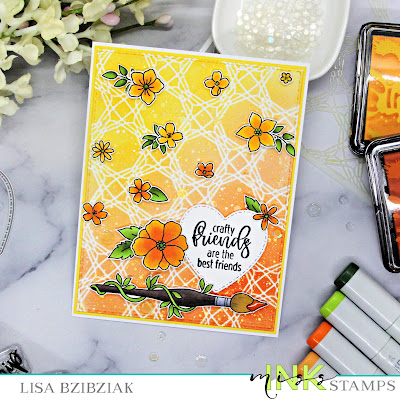
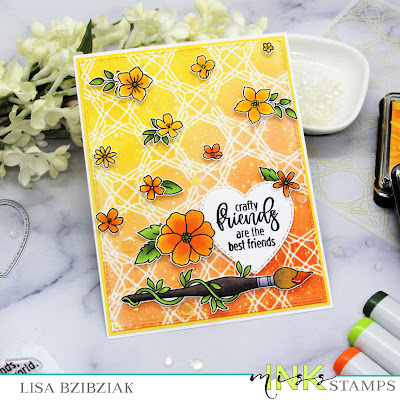
Miss Ink Stamps - Crafty Friends Are the Best Friends


Welcome back!  Have you seen the beautiful Blooming Brushes stamp set over at Miss Ink Stamps??  I was thinking about all of the beautiful single wildflowers in the set and had this idea!


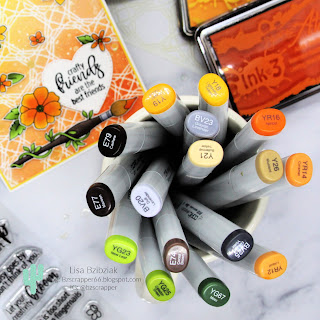
I started with the Basket Case stencil and blended some Ink On 3 Atelier Inks through it.  Then I splattered some water infused with Ink on 3 Liquid Pixie Dust, White paint and Gold Color Shine over the top of it.  I stamped, cut and colored all of my images and moved them around on the background until I had the look I wanted.


All of the images were popped up onto the panel.  Next I stamped one of the great sentiments from the Blooming Brushes set onto white cardstock and then die cut it with a heart shaped die and popped that up.


That's me for today!  Thank you so much for stopping by!  Hope to see you again soon!


Friday, August 20, 2021

Do What You Love - Miss Ink Stamps


Welcome back!  Have I told you how much I love the Blooming Brushes stamp set from Miss Ink???  So beautiful with sentiments just as lovely.


And this Ins and Outs stencil was perfect for the backdrop.  I will say if you are going to use texture past on your center window for the Ins and Outs you will want to do your outline first in something flat if you're going to use it.  My first try ended up a bit of a mess because the outline stencil wasn't flat up against the panel.  However, the happy accident was that I cut out the center piece and popped it up in the center of this gold frame and I LOVE it!


Add to it that beautiful large brush and pretty flowers and I love this combination!


That's me for today!  I hope you enjoyed your visit and come again soon!


Friday, July 30, 2021

You Inspire Me - Miss Ink Stamps


Have you seen all of the new sets over at Miss Ink??  This is one of my faves (besides Slim of course)... Blooming Brushes is the name and inspiration is the game.  It's got beautiful florals... paint brushes... paint drips, fabulous sentiments and lots of options.


I used the Heirloom Blooms stencil for the background.  This set has lots of beautiful images and sentiments.  Thanks so much for stopping!  Hope you'll be back again soon!