Showing posts with label Winter Bouquet. Show all posts

Sunday, December 12, 2021

Rubbernecker Stamps-Merry & Bright


Welcome back!  I have this one up on the Rubbernecker Blog!  I created these poinsettias with a cool Rubbernecker die and a couple Gel Press prints .. add a little gold splatter and perfect!


You can head over there for details and links and some tips as to how I made it!

Thanks so much for stopping and hope you'll come again soon!


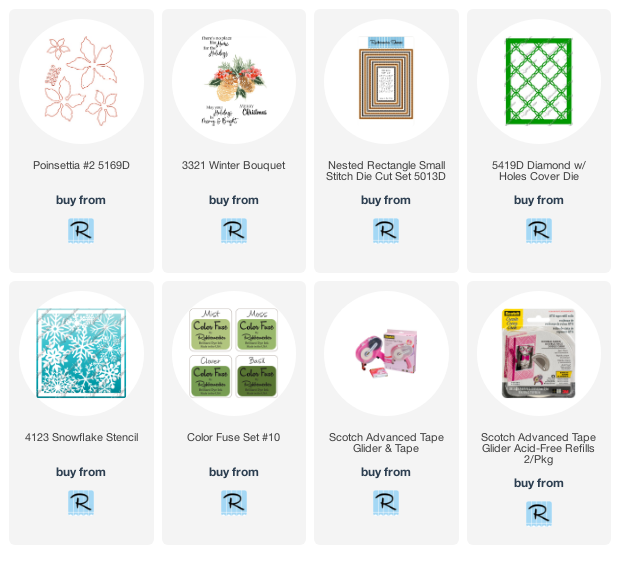
Below are links to all of the Rubbernecker products I used on this card.  Should you choose to purchase using these links I will receive a small compensation at no additional cost to you. And thank you! 

Tuesday, August 25, 2020

Crafty Elves' Countdown to the Holidays - August 2020 Edition!


It's the 25th of the month and time for the Crafty Elves to share our holiday makes for August!  We've all committed to creating a Christmas/Holiday card a week for the year and today is the day we show you what we've made.  After you leave here, please do be sure to visit my cohorts at their places to see what they have created!


Be sure to stick around 'til the end to see who is getting some happy mail from me!

Now here's how I was inspired this month!


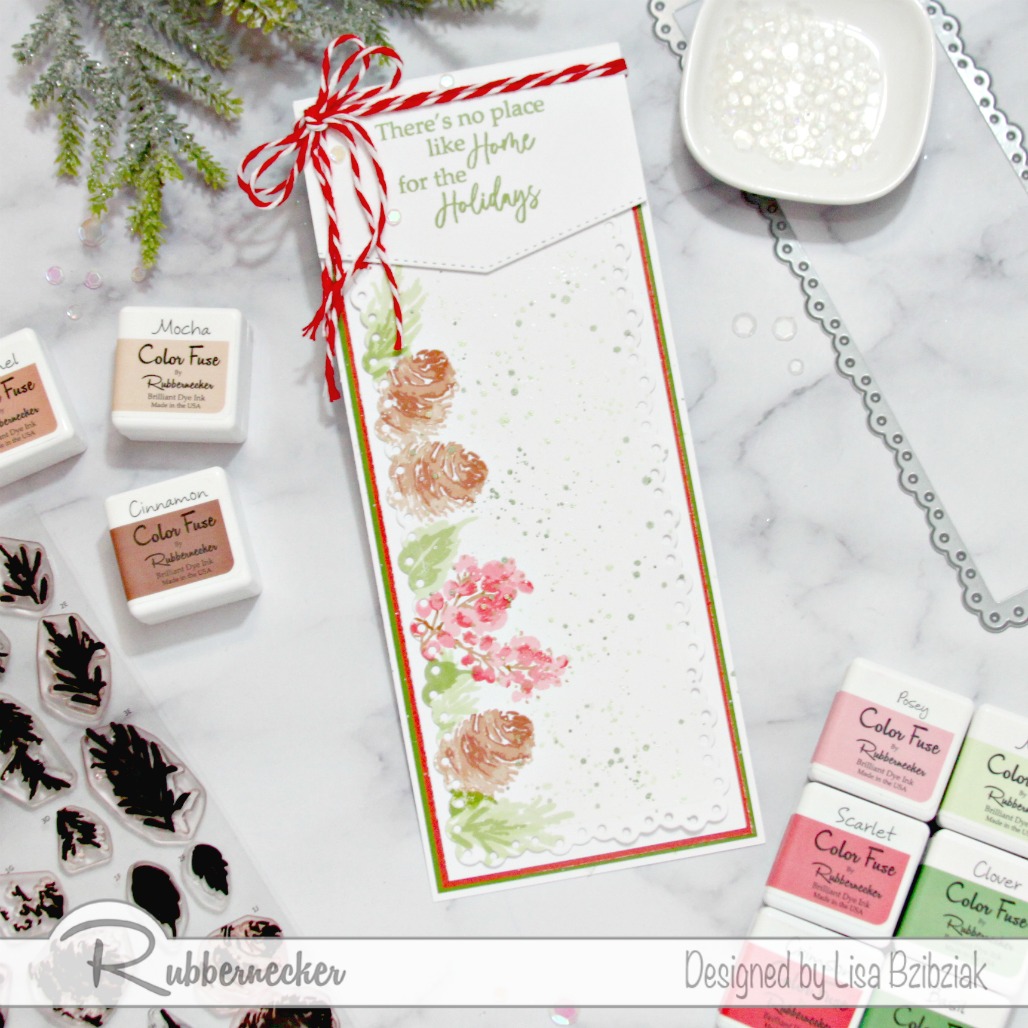
Over at Rubbernecker Stamps there is a new layering stamp set called Winter Bouquet.  I LOVE it!  Pinecones, sprigs, berries and leaves... it's gorgeous and perfect for some pretty Christmas Cards!


I stamped them with some Color Fuse Inks and paired it with some of the beautiful dies from Rubbernecker.  For this one I stamped directly onto that pretty scalloped slimline die cut and added some splatters.


For this one I used the scalloped background along with the lattice die to create a shaker window because.. well... shaker!


And for this one I used one of the banner dies to "hold" my bouquet for me.

And that's me for today!  Now for last month's winner of Happy Mail!


Suzanne!  (Or as I like to call her, mom!)... message me if you want your prize!

We're playing again this month so leave me some love for your chance to win.  Sounds like bribery?  It is!...lol!  Plus I love to send you Happy Mail!

Thanks so much for joining us this month and be sure to check out my crafty buddies' places (links are above) to see what they have for you this month!


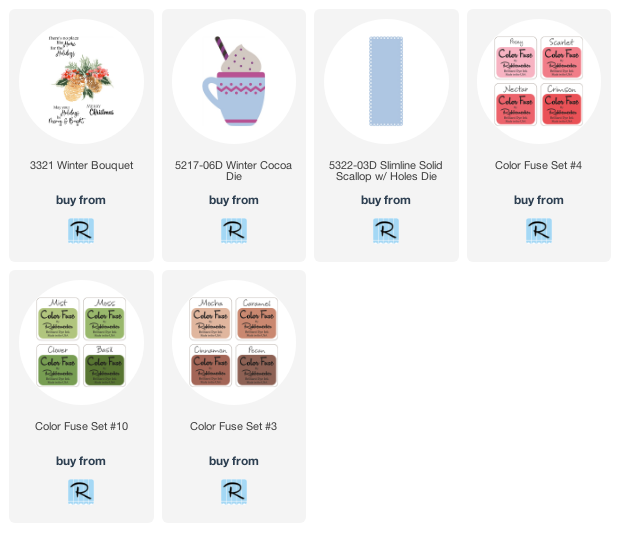
I've added links below to all of the Rubbernecker Stamps products I've used today!  Should you choose to purchase using these links, I will receive a small compensation at no additional cost to you.  And thank you!
Friday, July 31, 2020

Christmas In July - Rubbernecker Stamps!


Welcome back!  Today up on the Rubbernecker Blog we're celebrating Christmas In July!  We're sharing holiday projects that are not cards and you are gonna find some fantastic ideas!

I've used one of the new Slimline dies and a few other things from the shop including that beautiful new Winter Bouquet layering stamp set to create a gift card holder that could hang on a tree!


  • I simply cut one of the scalloped slimline dies from white cardstock and scored it a little over halfway... when you fold it you can leave a little bit of a lip at the top like I did (or you don't have to).  I thought it might make it easier to have the gift card sit how I wanted. 
  •  Before attaching the two halves, I marked where the card would need to sit in order to stick up a bit and then used two sided tape at that point and down to where the score mark was so that when it was attached the gift card wouldn't slide down past that point making it easy for the recipient to take it out.  
  • Then I added glue to the scalloped edges and folded it in half and applied pressure to be sure it was attached.  (Again you want to be careful where you place your glue to leave room for the card to slide in... for this one I just added the glue to the scalloped edges).


  • I stamped the images from the Winter Bouquet set using my Misti and cut them out.
  •   Then I diecut my cup pieces (being sure to keep track of all the smaller pieces) all from white cardstock.  I stamped more winter bouquet images onto the edge of the cup... these weren't completely lined up which I thought gave it even more of a watercolored look for my pretty Christmas mug. 
  • Next I added some Antique Linen Distress Oxide Ink to the edges of the cup.
  • The stripe pieces were glued onto the candy cane... lining them up first and then adding glue to each piece.  Fine tweezers are perfect for this job.  
  • Then I colored the strips with my Copic marker.  
  • I stamped the sentiment using some Color Fuse ink and cut it out and then attached all of my decorations to the front of the gift card holder using varying thicknesses of foam tape.
  • Finally I added a gingham bow; some rope was tied through a scallop hole for hanging and scattered a few sequins!
Thanks so much for stopping!  If you'd love more holiday crafty inspiration head on over to the Rubbernecker Stamps Blog!

And through the end of today, July 31st there's a Christmas in July Sale!  You can save 15% on anything in the Christmas in July section!


Use code RUBBERNECKERJOLLY!

Come back again soon!


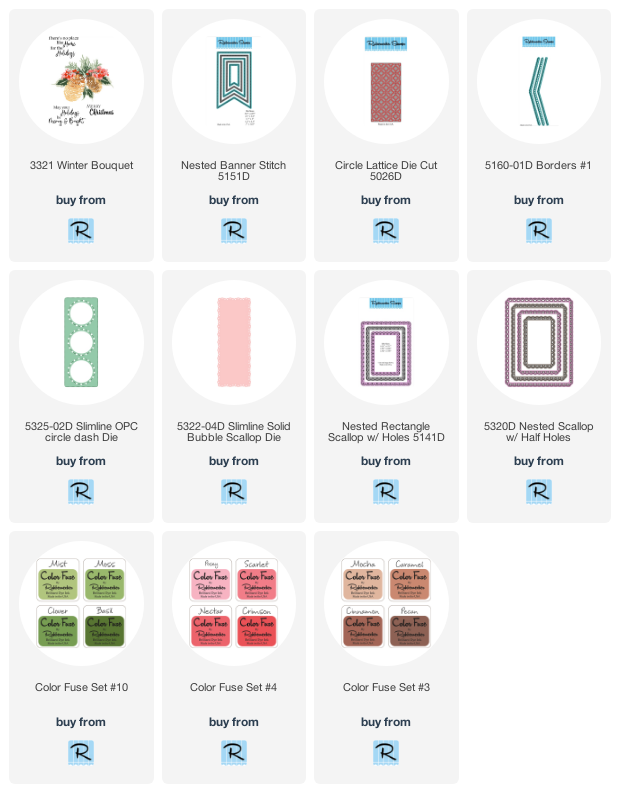
The links below are to all of the Rubbernecker Stamps products I used today!  If you choose purchase using these links I will receive a small compensation at no additional cost to you... and thank you!!: