Showing posts with label Autumn Harvest. Show all posts

Monday, October 14, 2024

Sunday, December 11, 2022

Rubbernecker - Thank You For Your Kindness


I have this one up on the blog over at Rubbernecker Stamps!


I used one of the great paper pads from the shop along with some dies, cardstock, and a gel print to create this homey scene.


Hope you'll join me over there for links and details!  Thanks so much for stopping.  Come again soon!


Thanks so much for stopping.  Hope you'll come again soon!


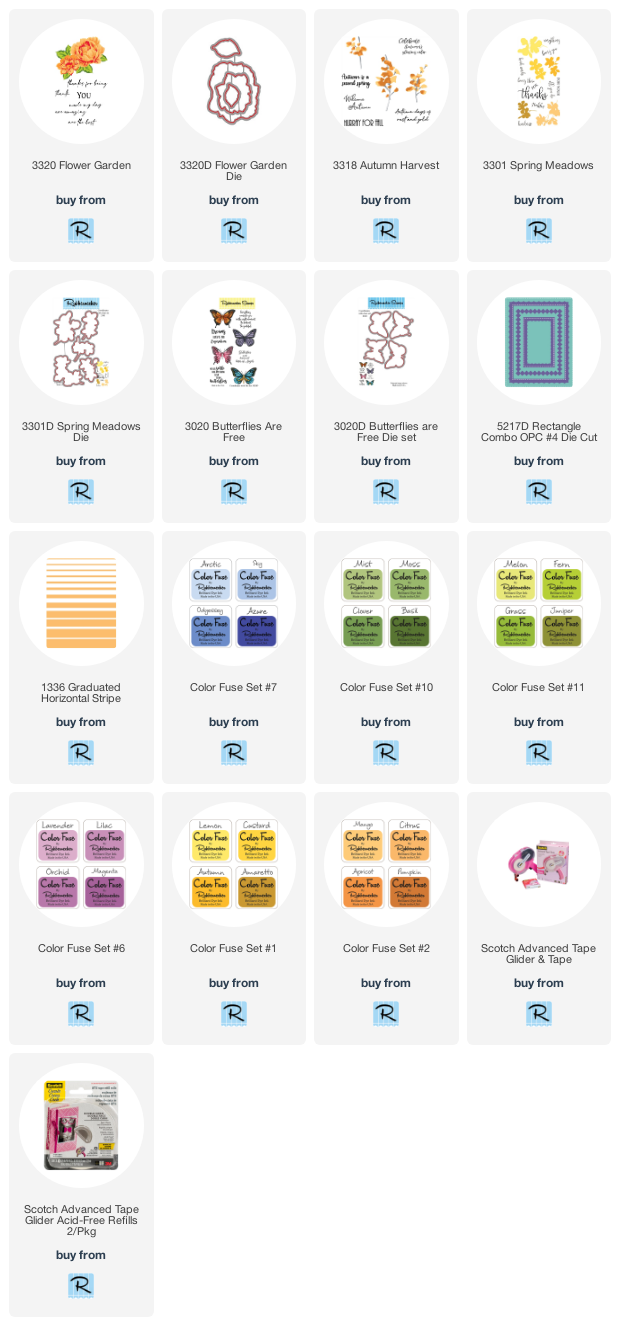
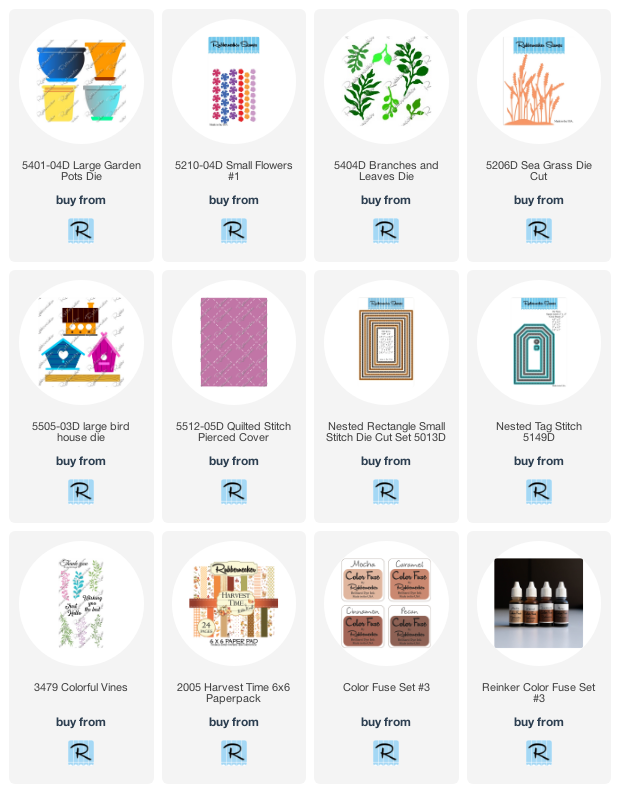
 Below you'll find links to all of the Rubbernecker products I used for this project.  Should you choose to purchase using these links, I will receive a small compensation at no additional cost to you.  And thank you!
Monday, October 24, 2022

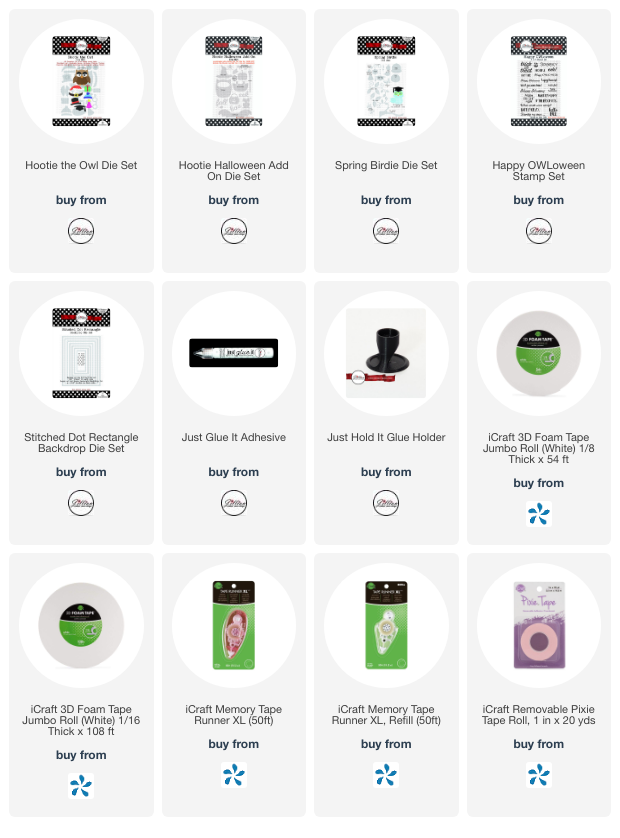
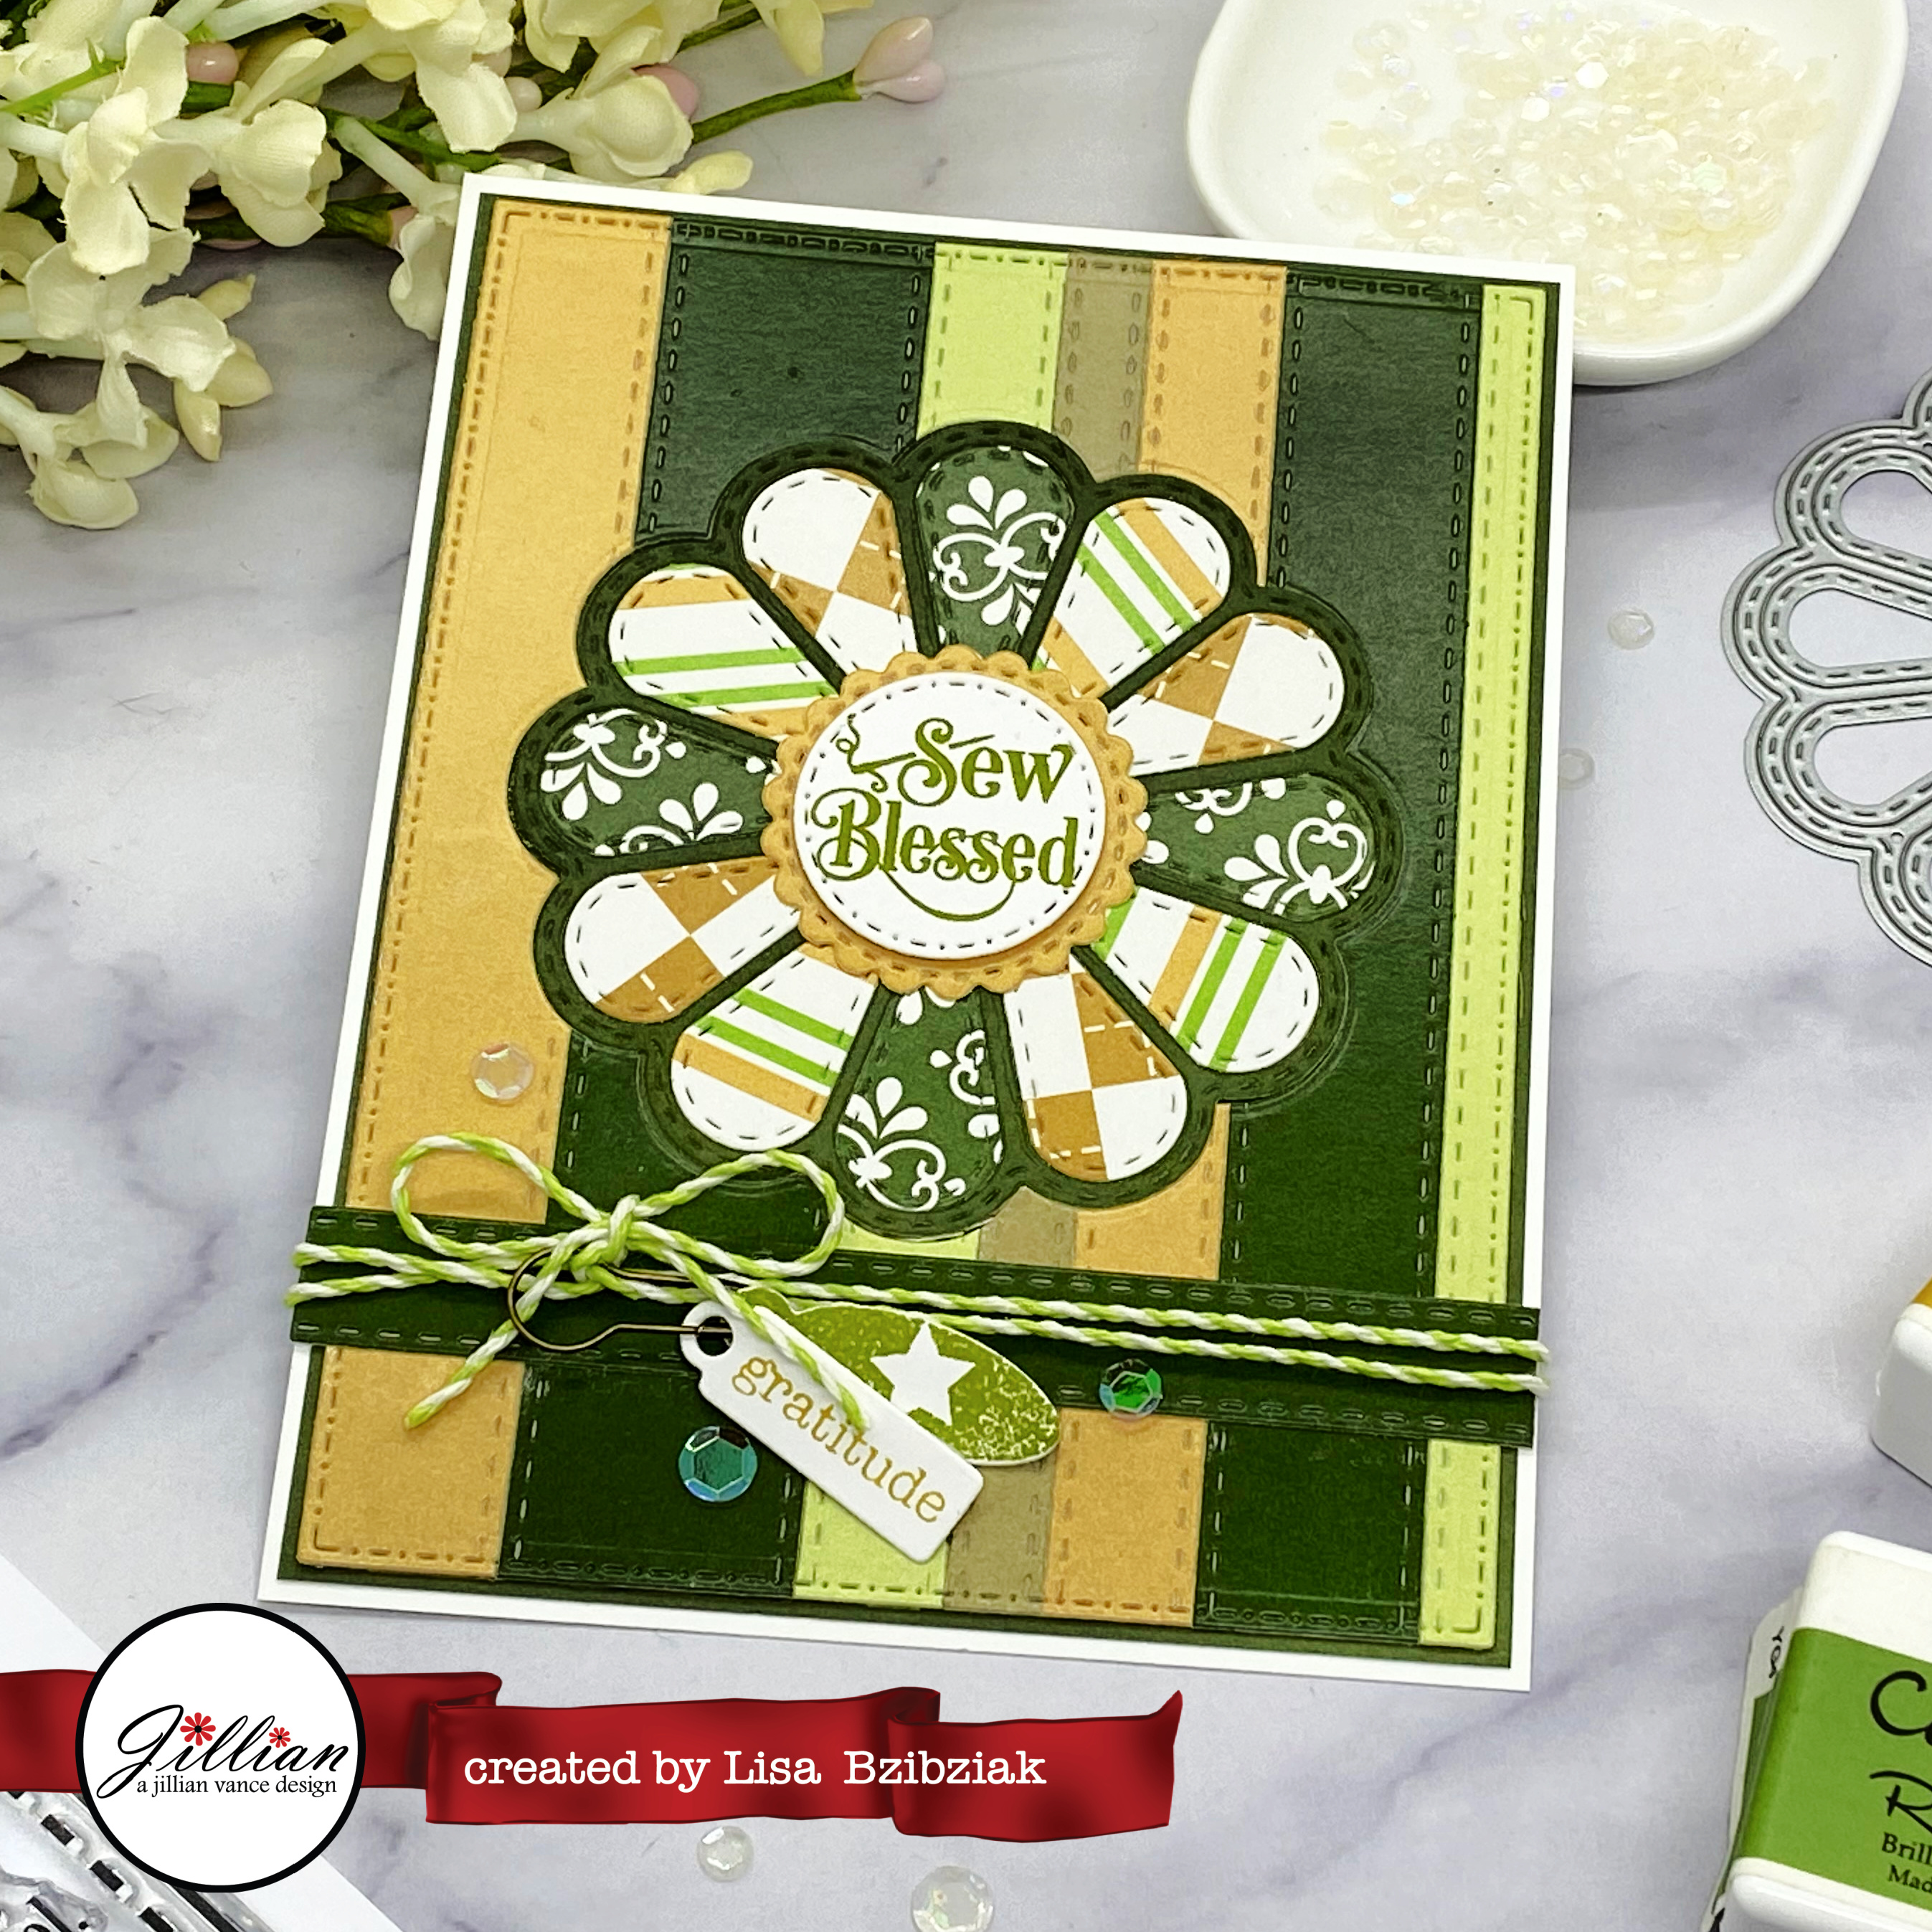
A Jillian Vance Design - Gratitude


I'm up on the blog over at A Jillian Vance Design with this one!


Hope you'll visit me there for links and details!

Thanks so much for stopping!  I hope you'll come again soon!

Sunday, August 14, 2022

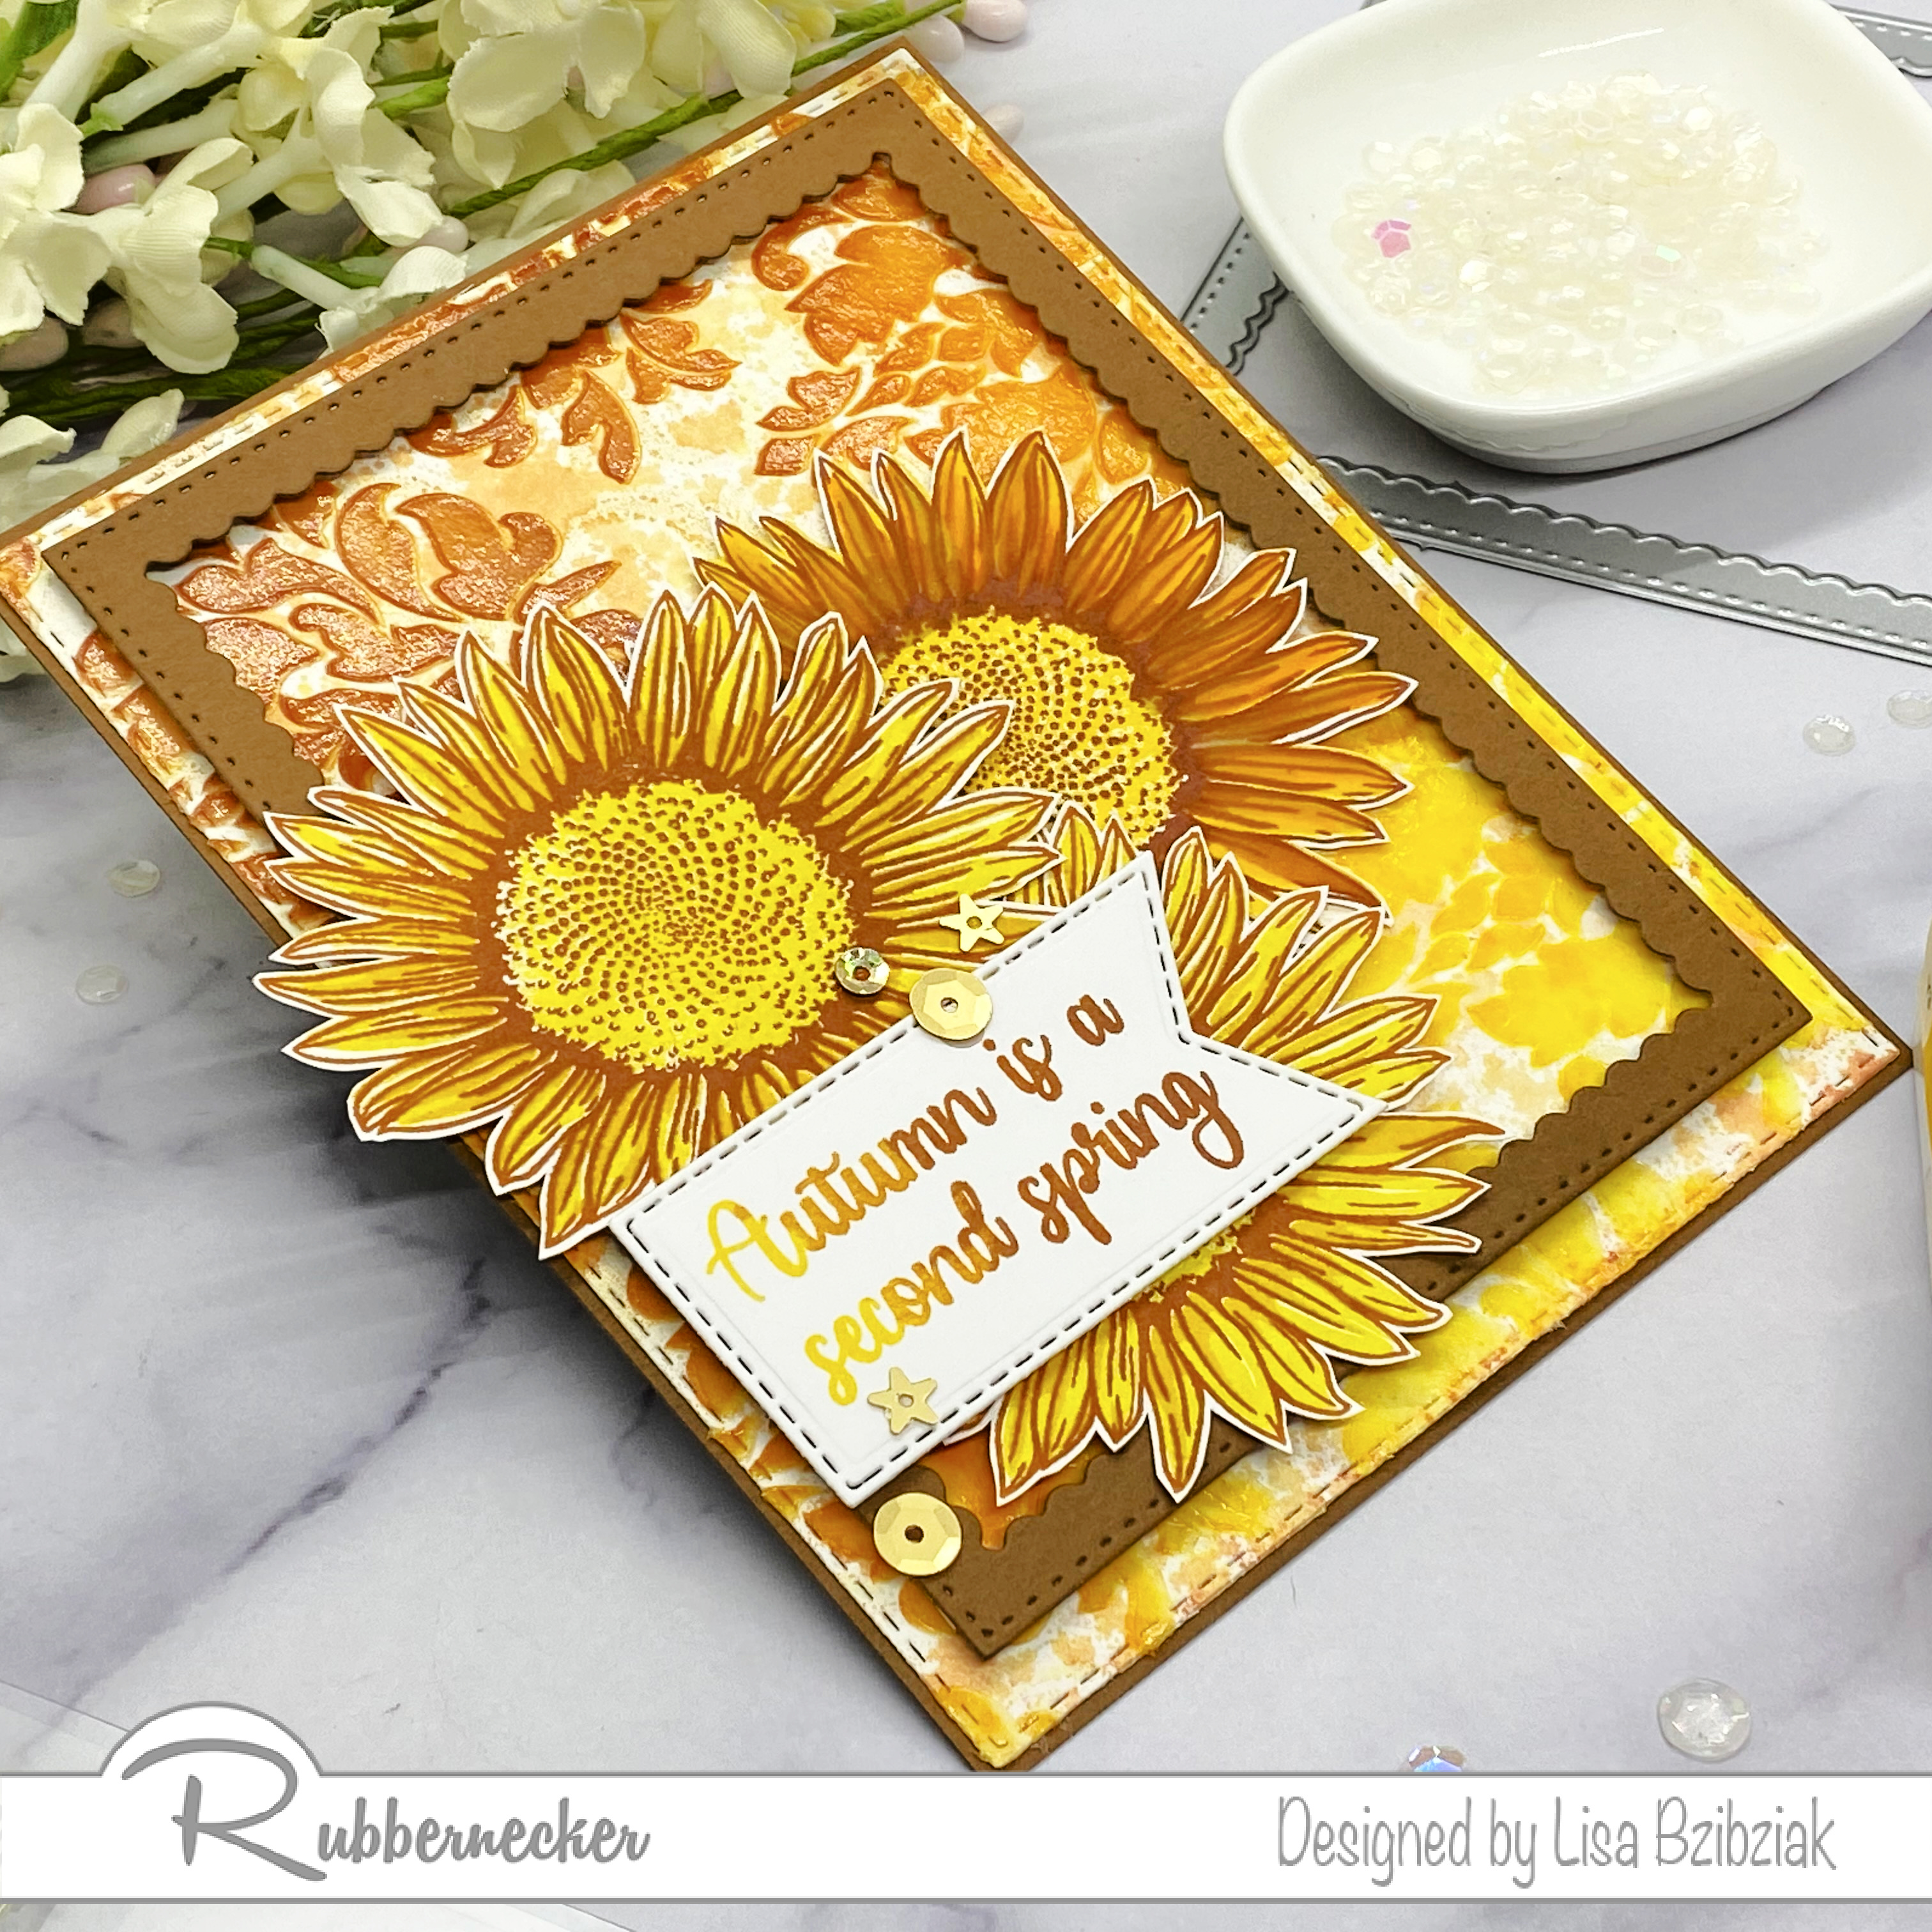
Rubbernecker Stamps - Second Spring


I have this one up on the blog over at Rubbernecker Stamps!


Hop on over there for links and details for this one.


I've got a couple tips on using these layered stamps if you're layered stamp challenged like I am!

Thanks for stopping and please come again soon!


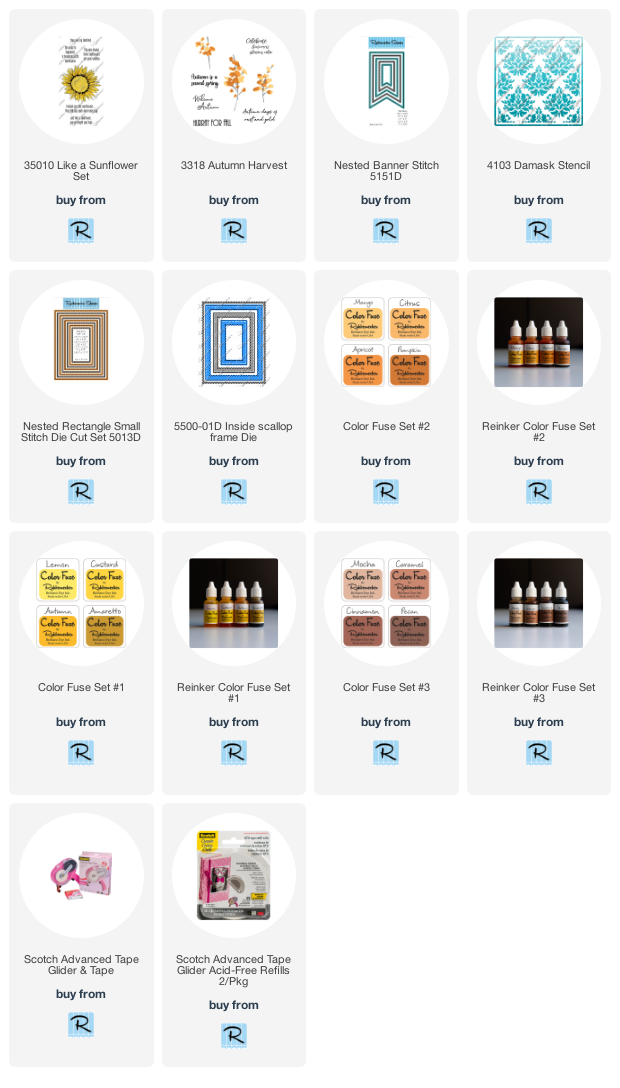
I've included links below for the products I used for today's project.  Should you choose to purchase using these links I will receive a small compensation at no additional cost to you.  And thank you!

Tuesday, September 28, 2021

Hurray for You - Rubbernecker Stamps


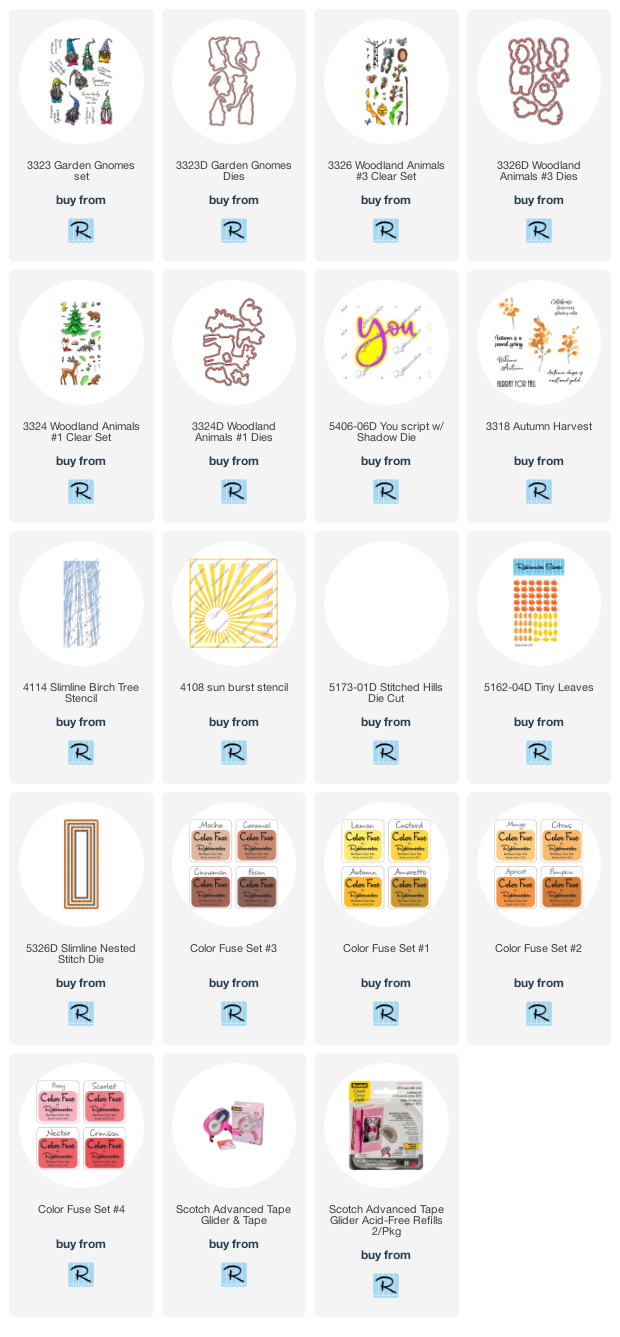
I'm up on the blog over at Rubbernecker Stamps with this autumn slimline sharing how I used multiple stencils together to create this background with the new Birch Trees layered stencil set.


And love these cut critters from a few different sets not to mention that adorable gnome!


Hope you'll join me over there for links and details!


Saturday, September 11, 2021

Autumn's Glorious Color and Extras


I have this one up on the Rubbernecker Stamps Blog and I'm sharing how I created it using lots of extras from previous projects.


I did add a few new things also and am excited how well it all came together!


Hope you'll head on over there for links and details!


Wednesday, September 9, 2020

Autumn's Glorious Color - Rubbernecker Stamps


Welcome back!  Today I'm sharing a colorful bouquet using a couple of the new layered floral stamps from the Rubbernecker shop!  Here's how I made it!

The Base:

  • I started this one with a purple base of a pre-cut card from The Paper Cut shop.  These are great pre-cut and scored bases that make it so easy to create a slimline card!  
  • My second orange layer is also from The Paper Cut Slimline Layers.  
  • And then I cut the plaid layer to fit with a slight orange border around it (8 3/16 x 3 3/16)
  • On top of the plaid, I popped up a panel of white cardstock cut using the scallop slimline die from the shop.
Next I created a layer of clouds to be the backdrop for my bouquet.


  • I cut a panel using the 2nd largest rectangle from the Slimline Nested Stitch Die.
  • Then I used the Slimline Clouds Dies to cut some cloud shapes from scrap cardstock.
  • I laid one of the cloud die cuts horizontally onto the rectangle panel and applied some Color Fuse Ink with a blending brush.

  • I kept moving the die cut(s) up the panel and also moving it horizontally so that the cloud lines would vary at each level.

  • All the way to the top!  Then I attached this panel over the scalloped layer.

The Bouquet:
  • I stamped the florals onto white cardstock and cut them out.
  • I cut the cup using the Coffee Cup base from some design paper that I thought looked a bit like a cup of water or a pretty blue vase.
  • I popped the cup up onto the cloudy base leaving room where I knew my sentiment would go.
  • Next the florals were added using various thicknesses of foam tape just like I would arrange flowers in a base.

The Sentiment:
  • I cut two banners using the second largest die from the banners set.  One from white and one from the same plaid I used on my base.
  • The sentiment from the Autumn Harvest set was stamped onto the white banner using a Misti in Magenta Color Fuse Ink.
  • The plaid banner was adhered to the card under the vase of flowers and the white was popped up and offset from the plaid.
  • Finally a few sequins and I was done!

I wish this bouquet was sitting on my table right now!  I'm not sure what Autumn flowers are purple, but there should be some because I love purple and orange together...lol... so it definitely should be a thing... and today, it is!

Thank you so much for stopping and I hope you enjoyed it!  Come again soon for some more inspiration!


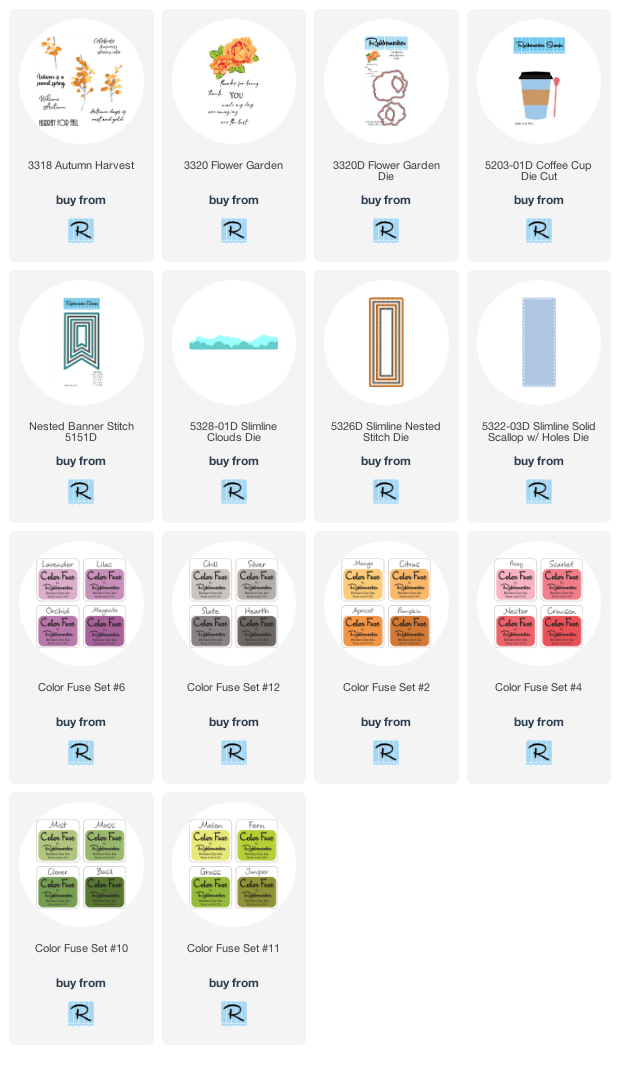
I've included links below to all of the Rubbernecker products I used for today's card.  Should you choose to purchase using these links I will receive a small compensation at no additional cost to you.  and thank you!