Showing posts with label Heidi Swapp Color Shine. Show all posts

Thursday, December 8, 2022

Woodcut Floral Season's Greetings - Miss Ink Stamps


I'm up on the blog over at Miss Ink Stamps with this one!


Hope you'll join me over there for links and details!

Thanks so much for stopping!  I hope you'll come again soon!


Monday, December 5, 2022

Collage of Leftovers - A Jillian Vance Design


I'm up on the blog over at A Jillian Vance Design with this one.. made almost entirely with leftovers from previous projects!


I hope you'll join me over there for links and details!

Thanks so much for stopping!  Come again soon!


Friday, June 11, 2021

Miss Ink Stamps-Hola!


Hello!  I've got some more Miss Ink and some more foil for you today!  I used quite a few things on this one!

I started with a mini slimline panel and blended some Abandoned Coral and Spiced Marmalade Distress Oxides through the Ins and Outs: Hollywood stencil.  Then before removing the stencil I placed the Chevron stencil over the top and blended more Abandoned Coral over the entire area leaving a very faint chevron stripe.


Again leaving the Ins & Outs stencil over the base, I placed them both into the Misti and used a small brayer and some Heidi Swapp Toner Ink to add the ink to the images from the Pinata stamp set and stamped them onto the panel.  I also stamped the pinata image onto some white cardstock.  Then I foiled both the panel and individual pinata using Thermoweb Summer Rainbow Deco Foil and my Minc!  Finally, I splattered some Heidi Swapp Gold Color Shine over the top with a paint brush.


Finally, I cut the Hola letters out of some previously alcohol ink and foiled paper that happened to be just the right colors and a white strip.  The EI EI O dies make a few different words and I love that font!   I assembled the card, added a few sequins and done!

Thanks so much for stopping by today!  Hope you'll come again soon!


Monday, January 11, 2021

A Jillian Vance Design and A Cool Friend


I'm up on the blog over at A Jillian Vance Design with this cool guy!  Hope you'll hop on over there for links and details!

Thanks so much for stopping and hope you'll come again soon!


Monday, November 16, 2020

Season's Greetings - A Jillian Vance Design


I'm up on the blog over at A Jillian Vance Design with this one!  Hop on over there if you'd like more details and links!

Thanks so much for stopping and hope you'll come again soon!


Thursday, November 12, 2020

Rubbernecker Stamps - A Month of Gratitude


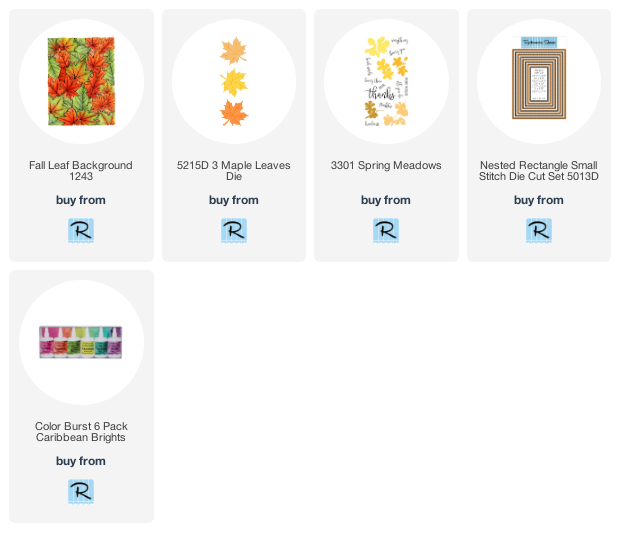
Welcome back!  We're celebrating a Month of Gratitude over at Rubbernecker stamps and today I'm playing with some Ken Oliver Color Burst today and one of the awesome background stamps available in the shop!

Here's how I created this one:


I just love this Fall Leaf Background!  There are so many beautiful background stamps in the shop!
  • The foam piece was removed from the stamp positioner so that the foam mounted red rubber background stamp would be able to be used in it.
  • A sheet of watercolor paper was cut slightly larger than the background stamp so that there would be room to place the magnets to hold down the paper and the paper was swiped with anti static powder.
  • The stamp was placed in the center of the watercolor paper and then stamped with Versamark Ink.
  • Leaving the paper and stamp in place and making sure that the paper stayed butted up against the corner, it was stamped a couple more times to be sure there was good coverage of ink.

  • The ink was covered with gold embossing powder and the extra was tapped off leaving the image only covered in powder.
  • The powder was heated and set.
  • Two colors of Color Burst Powders, Fuchsia and Tangerine were sprinkled lightly over the top of the embossed image.

  • Water was spritzed over the powder generously.
  My favorite part of Color Burst is watching the colors mingle together and normally I let them do their thing, but this time I wanted full coverage on my background so...

  • A water brush was used to fill in any blank areas that didn't get a lot of color being careful to not mix the colors too much so that there was variation.


  • To not let any of those beautiful colors go to waste, another smaller piece of water color paper was flipped over on top of the wet color burst to soak up the excess


  • If needed, extra powders can be added along with some additional water to color up the extra piece of watercolor paper.
  • Once both panes were dry, the stamped background was cut using the stitched rectangle die and leaves were cut from the solid watercolored sheet.
  • Some gold color shine was splattered over the background and leaves and then dabbed with a paper towel.

  • A panel of white cardstock was cut to 5 5/8" x 4 3/8"
  • A panel of black cardstock was cut to 5 1/2" x 4 1/4"
  • A panel of gold cardstock was cut to 5 3/8" x 4 1/8"
  • The three layers were adhered-black on white, gold on black, and stamped die cut panel on the gold.
  • A strip of white cardstock was cut to 2" x 4 3/8"
  • A strip of gold was cut to 2 1/4" x 4 3/8"
  • A strip of black was cut to 2 3/8" x 4 3/8"
  • The three strip layers were adhered-gold on black, white on gold.
  • The layered strips were adhered to the front of the card leaving a bit of the watercolored panel showing at the bottom.
  • The three leaves were popped up onto the strip using a very thin foam tape.


  • The sentiment pieces were stamped onto white cardstock and Thanks and Kindness were fussy cut.  For Your was trimmed to a small rectangle.
  • The sentiment pieces were popped up onto the top right-hand corner of the card front with thin foam tape.
  • Sequins were scattered around and adhered using Glossy Accents.


And that's me for today!  This was so much fun and it's inspired me to keep my Color Burst out for a while and play some more!

Be sure to check out all of the cool background stamps available in the shop!

Hope you enjoyed your visit and you come again soon for more Rubbernecker Stamps inspiration!


Friday, October 16, 2020

Miss Ink Stamps - Hope


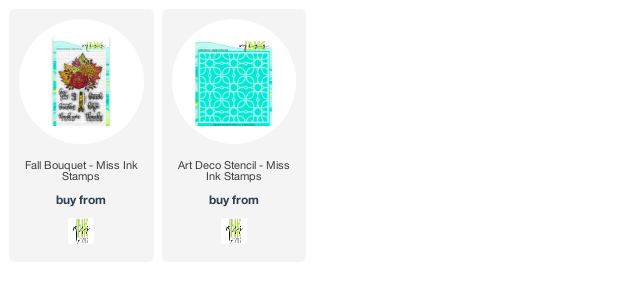
Hello!  Welcome back!  Today I'm sharing this one using the beautiful Fall Bouquet stamp set from Miss Ink!


I stamped the floral and stems onto mixed media paper with Versamark and embossed it with Wow Gold Embossing Powder.  Then I colored it using my watercolor pencils and a water brush.  I fussy cut both out when they were dry.


For the background, I blended Fossilized Amber, Spiced Marmalade, and Vintage Photo Distress Inks onto the panel and then applied more Spiced Marmalade through the Art Deco Stencil.  Then I splattered some Heidi Swapp Color Shine over it with a paint brush.


Finally I popped the images onto the base after stamping one of the sentiments from the Fall Bouquet set directly onto the background using some Color Fuse Ink.

And that's me for today!  Don't you just LOVE that pretty floral??

Thanks so much for stopping and hope you'll come again soon for more inspiration!


Monday, September 14, 2020

A Jillian Vance Design - A Fall Hello

 Here's one of two cards I have up on the blog over at A Jillian Vance Design!  Hope you'll hop on over there and give us a visit!  

Thanks so much for stopping by and come again soon!


Wednesday, June 3, 2020

Caffeine Fueled Paper Play - Stamplorations!


I'm up on the blog over at the Coffee Loving Cardmakers with a new challenge for June, last month's winner and I'm playing along with a couple challenges over at this month's feature Sponsor, Stamplorations!  Hope you'll give us a visit and maybe even play along!