Welcome back! Today I'm sharing a masculine card that would make a great Father's Day card!
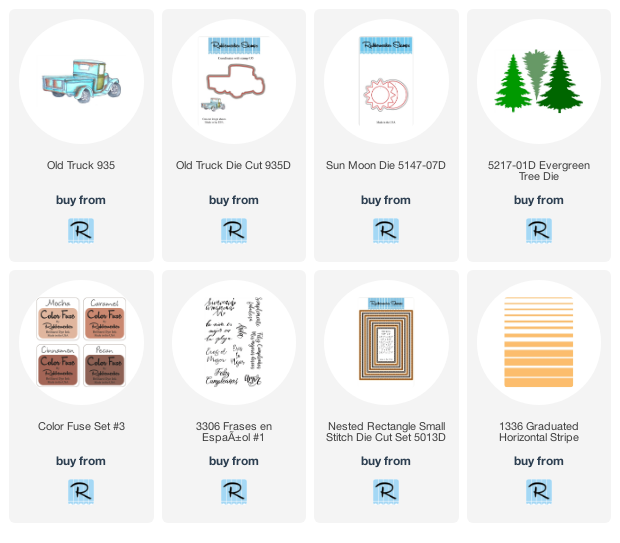
I just love this Old Truck stamp! It's fun to color up and it's great for any man card. And how about that great stripey background! I love the Graduated Horizontal Stripe Background stamp... it's such a great simple but bold background and depending on the colors you choose it can be used for any kind of card. I'll be using it quite a bit this month!
And the Frases En Espanol #1 stamp set! I just love the fonts and it contains a bunch of great sentiments. This one says You're The Best. Perfect, right?
I very rarely create masculine cards, but I really enjoyed making this one!
Here's how I created it!
- I cut a piece of white cardstock approximately 6x6. Usually I'll die cut my panel first, however it was easiest to stamp the stripey background using a larger piece because I was able to place the cardstock in the corner and still use the magnets to hold it into place leaving room for the stamp and so I could stamp more than once to get a nice solid stripe.
- To give a sort of Ombre effect, all four of the browns in Color Fuse Set #3 were used. I started with the lightest and inked up the first three skinny stripes or so and stamped... I didn't worry about overlapping so that the varying colors would have a bit of a transition and blend. I cleaned off the stamp and repeated the process with next few wider stripes using the next darkest ink in the set and then twice more with the two darkest colors. I did go over in the same fashion a second time again to blend the colors better.
- Once my striped background was complete, I used the largest of the Rectangle Small Stitch Dies and taped it into place with some washi tape placed on the outside of the die to be sure my stripes would be straight and ran it through the Gemini to cut the panel. (I like to place the tape on the outside when I can in case the washi decides to stick so I don't tear my panel at all).
- I stamped, die cut and colored the truck using YG61, YG63 and YG67 and just a bit of E15 for the rust.
- Next a smaller stitched panel was cut and the background was ink blended with green, yellow, orange and red Distress Oxides.
- Then using the Misti to be sure of a good impression, I stamped the sentiment using Memento Tuxedo Black Ink.
- I adhered the ink blended piece to a piece of brown (the same color as my base would be) and cut it down leaving a slight border. I added the striped background to the 5 1/2 x 4 1/4" base and then popped up the smaller rectangle onto the center.
- Some trees and the sun were cut from white cardstock and I colored them by ink blending some of the same colors onto the diecut pieces and then placed them and the truck over and around the piece using varying thicknesses of foam tape. I had to trim the sides of some of the trees so they would fit a little better, but as you can see, I still let some of the die cuts hang over the edge. I love the feeling that the scene cannot be contained on that little rectangle and it just goes on...
- Finally I just added a few sequins and metal studs that coordinated with the masculine feel of the card.
That's me for today! Thanks for stopping and I hope you enjoyed it! Come again soon for some more Rubbernecker inspiration!
The links below are affiliate links and should you choose to purchase using these links I will receive a small compensation. And thank you!