Showing posts with label Leafy Green Stencil. Show all posts

Thursday, April 13, 2023

Iguana Say Happy Birthday Miss Ink Stamps


I'm up on the blog over at Miss Ink Stamps with this birthday card!


I'm going to be playing all month with the Ins and Outs stencils..head over there to see how I made this one.

Thanks so much for stopping!   Hope you'll come again soon!
 

Thursday, November 10, 2022

Miss Ink Stamps - Love you Bunches (of Bananas)


I'm up on the blog over at Miss Ink Stamps!  I'm sharing this one using the Wavy Masking Stencil!  It's a lot of fun and used it along with a couple other stencils from the shop.


Hope you'll hop on over there and join me!

Thanks so much for stopping!  Come again soon!


Friday, July 8, 2022

Deco Foiled Leafy Green Background


Hello!  I have a fun one for you today using some of the Alice Collection from Miss Ink Stamps!

I started with an alcohol ink background that I added some Deco Foil Transfer Gel Duo using the Leafy Green Stencil, let dry for a day and then added some Deco Foil to it by covering it with a used sheet and applying pressure with the Stencil Pal.  I'll add a quick video below!


Finally I die cut a circle scalloped frame from Paper Smooches and arranged my stamped, colored and fussy cut images from the Smokin' Caterpillar stamp set around inside and outside of it.  I stamped a sentiment from the Wonderland wisdom set onto a diecut strip and added the smoke rings and a few sequins around it.


Totally feeling that sentiment... It would be nice, wouldn't it?


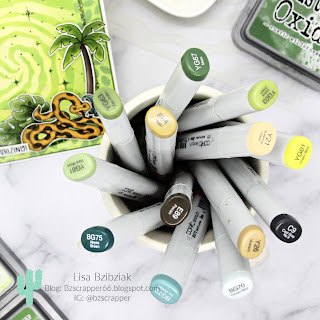
I used lots of markers for this one!

Thanks so much for stopping!  I hope you'll come again soon!


Friday, March 11, 2022

Miss Ink Stamps - Jungle Friends and More Stencil Layers


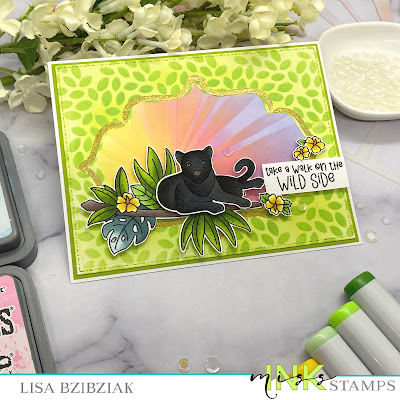
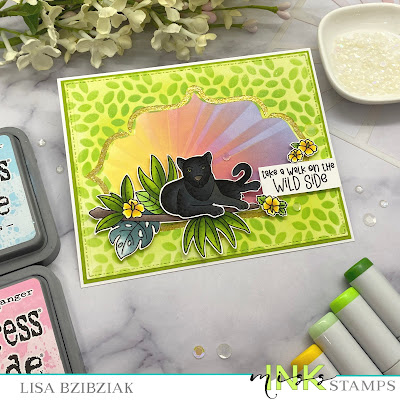
Did you catch yesterday's post and the video showing how I made the background?  Well, this one was a reject while creating that one, but I found it was perfect for today's card.  It was a reject because I lined up the stencils incorrectly and it was a little uneven on the sides, but I saved it because with some creative placement, it was still very usable!


I thought it was perfect for having this beautiful creature from the new Jungle Friends set along with some florals and that branch from the Pretty Bird set!  Check out all of the new products here!

And in case you missed it, here's the video showing how I created yesterday's background (and this one too)


Thanks so much for stopping and hope you'll come again soon!


Tuesday, March 8, 2022

Miss Ink Stamps Release Day-Jungle Friends Dazzle


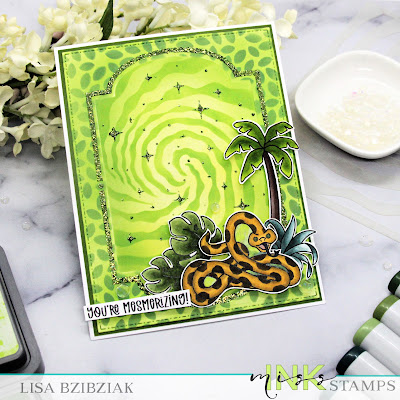
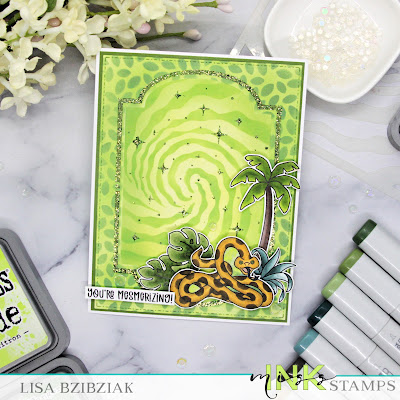
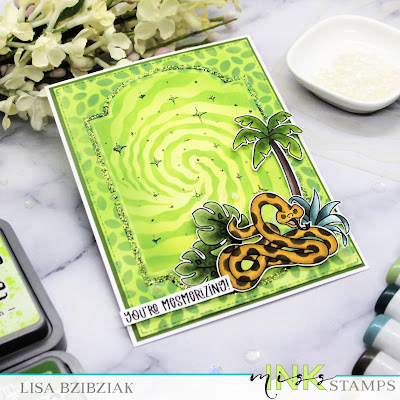
Hello!!  Well, it's here!  It's Release Day over at Miss Ink Stamps and all of the new stuff is available in the shop!  Today I'm using images from the Jungle Friends (the Snake), Jungle Kids (The plants) and Jungle Ruins (the palm tree) along with FOUR stencils; Rabbit Hole,Ins and Outs Hollywood,Leavy Green and Sparkles!


I used some of the Lucky Leprechaun Dazzle Dust for the outline and sparkles by mixing it with some Glossy Accents to make a glitter past.


The Rabbit Hole stencil just seemed perfect for this layout and sentiment.  Now be sure to head on over to Instagram and the Miss Ink's Pad Facebook group for more inspiration and then head over to the shop and check out all of the new sets!


Thanks so much for stopping!  Come again soon!


Friday, August 6, 2021

Squirrel! - Miss Ink Stamps


Welcome back!  I've got some Slim's Whims for you today!  Because you can never have enough Slim!


I needed to get this one out of my head... inspired by that silly sentiment from the set!  I love all of the sentiments on this set... some punny, some snark, some silly and all fun!  And I knew this little squirrel from the Oh Nuts stamp set was perfect for this one.

I started this one with a gel print background and used the Leafy Green stencil and applied some Deco Foil Metallix Gold Gel through it.  I stamped, cut and colored the images and then used the frame and speech bubble together and added the first part of my sentiment at the top and then the "punchline" at the bottom with the SQUIRREL!


I think Slim is quite handsome in all of the different color combos I've seen him in so far!  I used E40-44 for this one.


Here are all of the colors I used on this one!

I'm playing along over at Double Trouble Challenge Blog, Are You Kitten Me (any cute animal will do) and 2 Crafty Critter Crazies, where It's All Critters All The Time!  You should check them out!

And here is Slim:


You can follow Slim on Instagram @slim_knows and you can follow me @bzscrapper... you know ... if you'd like.  We're not the boss of you.


I'm also linking up to the special challenge to post a pic of yourself and your cat or dog furbaby!  I didn't have one with both of my boys, so my mom edited one for me and I think it turned out so cute...lol


You should play along too for your chance at $50 of Close To My Heart product!  You can check both out here!


Thanks so much for stopping!  I hope you'll come again soon!


Friday, February 21, 2020

Dazzling Butterflies - Miss Ink Stamps


Don't you just love shaker cards??  I do and once you've made one you realize how easy they are (as long as you remember to put the acetate behind your window BEFORE you put the popup tape on (I may or may not have done this several times).

I knew I wanted a natural palette for this one so I started with a kraft base.  For my next layer I diecut the rectangle pattern; ink blended with Peeled Paint distress ink and then used Mowed Lawn through the Leafy Green stencil.  I wanted the stenciling and background to vary in depth and color so I was lighter in some areas than others.


Next I die cut my smaller rectangle panel, lining it up with the heart die inside and taping it so they would stay in place and my window would be where I wanted it.  The acetate was attached behind my window and I added popup tape to the entire panel but specifically around the heart to keep my bits and pieces contained to just the window.


I cut a smaller panel from the kraft and stamped the Have Heart image onto it with Versamark and embossed using Altenew Rose Gold for the wood slice lines.  I attached that piece to the stenciled layer, arranged my Dazzling Butterflies, some clear sequins and some beads in the center the stamped heart and then popped my window panel over the top.

Next I added my images from Springtime Banners and moved them around until I was happy with the layout.  Then I attached them with varying thicknesses of foam tape.


I stamped a simple sentiment from the Everyday Sentiments set (LOVE the wide variety of sentiments on this set!) onto a kraft piece of paper in Versamark and heat embossed with white embossing powder.  I just popped it up at the bottom and added a few sequins and I was done!

(Check out that color shift in those Dazzling Butterflies!)


And there you have it!  It's been extra warm here in the Desert Southwest and I've been feeling Springy lately... can you tell?

Thanks so much for stopping and hope you'll come back again soon!


Friday, January 17, 2020

I'm Here For You - Miss Ink Stamps


Hello!  I'm back with some more new Dazzle Dust from Miss Ink Stamps!  This time I'm playing with the Lucky Dazzle Dust and added it to some Glossy Accents to create a paste!


So pretty, right??


I added some of the Lucky Leprechaun Dazzle Dust to a jar and then squirted some glossy accents in, stirred with a spatula and tweaked it by adding a little of each until I had a consistency a little like embossing paste.  Then I placed the Leafy Green Stencil over the top of my tag and masked off the area I wanted to apply the paste to.  Using a spatula I applied the paste through the stencil and then removed the stencil.

While the paste was drying I colored my images from the Gardenia stamp set and dipped a wooden heart covered in Glossy Accents into the same glitter.


Finally the sentiment from Everyday Sentiments set and a few sequins and put it all together.

I'm playing along over at Simon Says Stamp's Wednesday Challenge which is Use A Stencil this week!  I'm also playing along over at Simon Says Challenge on Instagram "Something New"... creating glitter paste is a new technique for me!  I've never done it before, but I can tell you I am definitely going to do it again! #SSSIGCHALLENGE

I'm loving this Dazzle dust... this one goes from a beautiful gold to a deep green.  Which color will you try first??

Thanks for stopping!  Hope you'll come again soon!