Showing posts with label Masculine. Show all posts

Thursday, May 14, 2020

You're The Best! - Rubbernecker Stamps


Welcome back!  Today I'm sharing a masculine card that would make a great Father's Day card!


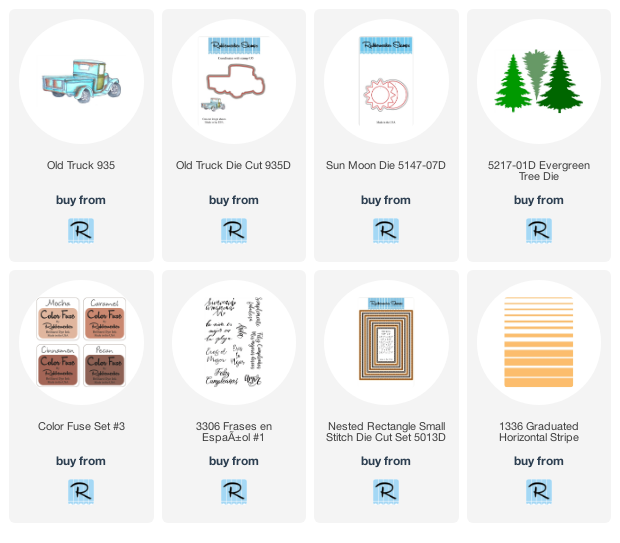
I just love this Old Truck stamp!  It's fun to color up and it's great for any man card.  And how about that great stripey background!  I love the Graduated Horizontal Stripe Background stamp... it's such a great simple but bold background and depending on the colors you choose it can be used for any kind of card.  I'll be using it quite a bit this month! 


And the Frases En Espanol #1 stamp set!  I just love the fonts and it contains a bunch of great sentiments.  This one says You're The Best.  Perfect, right?


I very rarely create masculine cards, but I really enjoyed making this one!

Here's how I created it!

  1. I cut a piece of white cardstock approximately 6x6.  Usually I'll die cut my panel first, however it was easiest to stamp the stripey background using a larger piece because I was able to place the cardstock in the corner and still use the magnets to hold it into place leaving room for the stamp and so I could stamp more than once to get a nice solid stripe.
  2. To give a sort of Ombre effect, all four of the browns in Color Fuse Set #3 were used.  I started with the lightest and inked up the first three skinny stripes or so and stamped... I didn't worry about overlapping so that the varying colors would have a bit of a transition and blend.  I cleaned off the stamp and repeated the process with next few wider stripes using the next darkest ink in the set and then twice more with the two darkest colors.  I did go over in the same fashion a second time again to blend the colors better.
  3. Once my striped background was complete, I used the largest of the Rectangle Small Stitch Dies and taped it into place with some washi tape placed on the outside of the die to be sure my stripes would be straight and ran it through the Gemini to cut the panel.  (I like to place the tape on the outside when I can in case the washi decides to stick so I don't tear my panel at all).
  4. I stamped, die cut and colored the truck using YG61, YG63 and YG67 and just a bit of E15 for the rust.
  5. Next a smaller stitched panel was cut and the background was ink blended with green, yellow, orange and red Distress Oxides.
  6. Then using the Misti to be sure of a good impression, I stamped the sentiment using Memento Tuxedo Black Ink.
  7. I adhered the ink blended piece to a piece of brown (the same color as my base would be) and cut it down leaving a slight border.  I added the striped background to the 5 1/2 x 4 1/4" base and then popped up the smaller rectangle onto the center.
  8. Some trees and the sun were cut from white cardstock and I colored them by ink blending some of the same colors onto the diecut pieces and then placed them and the truck over and around the piece using varying thicknesses of foam tape.  I had to trim the sides of some of the trees so they would fit a little better, but as you can see, I still let some of the die cuts hang over the edge.  I love the feeling that the scene cannot be contained on that little rectangle and it just goes on...
  9. Finally I just added a few sequins and metal studs that coordinated with the masculine feel of the card.
That's me for today!  Thanks for stopping and I hope you enjoyed it!  Come again soon for some more Rubbernecker inspiration!


The links below are affiliate links and should you choose to purchase using these links I will receive a small compensation.  And thank you!
Monday, June 17, 2019

You're The Best-Rubbernecker Stamps


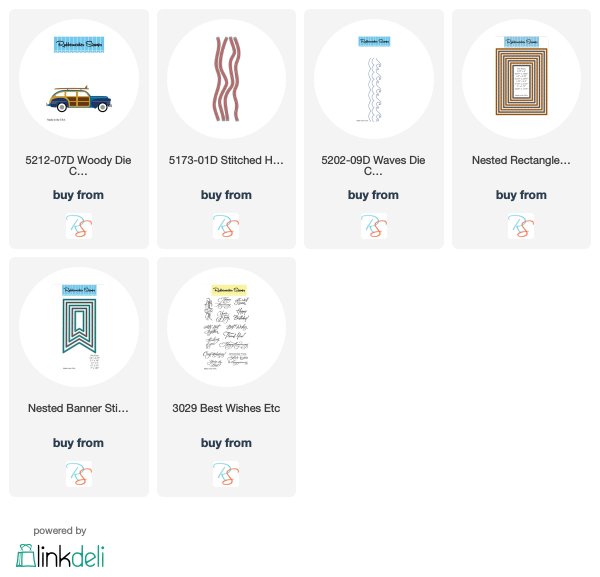
It's time for some Rubbernecker Stamps Inspiration!  I have a difficult time when it comes to making masculine cards usually, but when I saw this fantastic Woody Die I got SO excited... the possibilities are endless!

I started with my fave first layer, the Nested Rectangle Small Stitch Dies.  I chose some great masculine papers from Authentique.  Then I layered on a couple of banners from the Nested Banner Stitched dies.


I created my "background scene" by cutting one of the smaller stitched rectangles from some kraft paper and another pattern from the Authentique pad.  Then I cut a couple layers using the Stitched Hills and Waves.  I layered them together adding a little thin foam tape between the two wave pieces so there would be a bit more contrast... I LOVE these waves dies!!


And then I cut and assembled my Woody car.  Those lines are small, but boy is it worth keeping track of them!  I didn't add the included surfboard for this one, but I love that it's in the set.  These die blades are all attached on one metal plate.  I just cut one set out of white and one out of the woodgrain.  It was great to have a set of both colors so I could play around with which pieces I wanted where.  For the wheels and the little metal pieces on the bumpers and hitch, I just used a small cardstock piece of the colors I wanted on that section of the plate.. and it's on one end so I didn't have to run the whole plate through... easy peasy!  I put a little foam tape under the front and rear fenders (um?  I think that's the right term...lol!).  I absolutely love this die!!  


And that's me for today!

I can't wait to use this die again and the color combinations are endless.. I've got lots of ideas running through my head!

I'm playing along with the Transport It Challenge over at Simon Says Stamp's Monday Challenge!  I'm also playing along at Double Trouble's Embossing Challenge (my sentiment is embossed) and at Pile It On's Transportation/Vacation challenge!  You should check them out!

Come back again soon!  Thanks for stopping!


Saturday, June 9, 2018

Papertrey Ink Make It Monday #324: Lots O' Dots


Popping in with a "quick" card I made for the Make It Monday challenge over at Papertrey Ink which is Lots O' Dots this week!  I had to make a birthday card for a co-worker's husband.  He's turning 70 this year and he is always baking for us at work!  Yes... he bakes.. and he's quite awesome at it!

So, I knew I wanted to use my new Shape Shifters Circle 1 Die and I knew it had to be manly and figured I'd use my Kat Scrappiness Condensed Number dies for a 70 and that's about it.  And when I saw the pretty butterfly in the inspiration video for this challenge, which I just happen to have (also new) it made me sad I couldn't use it..lol!  And I didn't really have any man stamps that would lend themselves to polka dots... in fact, I really don't have much in the way of man stamps at all... what can I say?  I loves me some girly papercrafting stuff.  I scrapbooked boy pages for almost a decade before I discovered cardmaking.

So, I pulled out my Authentique "Rugged" man paper and just started cutting things!


Isn't that Shape Shifter die pretty cool?  I placed a solid blue piece behind it in a dark blue so that the design still showed up, but wasn't too distracting.  I also had a blue diecut behind it and offset my top piece just a bit and popped up the top piece.

I cut the numbers once from the design paper and then three more times from cardstock and stacked them.  I just love the way it adds so much dimension.  Then I took the flames from some candle dies and added them to the top to make them number candles.


Then I cut my sentiment using the Boho Rounds Sentiments but didn't die cut the entire sentiment... all I needed was the word Enjoy.  I added it to the card and added some liquid glass to it.  I decided my dots would just be scattered dots on the paper.  I am not happy with the performance of these gold Nuvo Drops.  They didn't keep their shape and some ended up more flat than I wanted.  Note to future card making self.  But for these purposes, it'll work.  I also added some to the top left corner to balance out the card a bit.

There.  Done.  I need two other man cards this week and thank goodness I already have them made because this one took a lot out of me....lol!  I really do need to get better at this.  Maybe I'll try another soon.

Thanks for stopping and please do come back soon!

Tuesday, April 18, 2017

Fishing on Phantom Lake with JessicaLynnOriginal


There's a new stamp set being released over at JessicaLynnOriginal called Fishing on Phantom Lake.  If you're like me and most of the sets you buy are pretty or cute or adorable or beautiful, then you may struggle when it comes time to make a man card.   This is a fantastic set to have in your arsenal for just such an occasion.  I made mine for a nephew's birthday who loves to fish.


Love the images on this set... it includes two perch images.. one smaller and one larger (this is the smaller of the two), a Bluegill, a lure, a tackle box and some great sentiments.... oh!  And those cute little water bubbles!  They make me happy... it's the little things with me... 


This sentiment however is from the Live the Life You Dream About set.  I added a little bit of silver thread because I thought it might look a bit like fishing line and a few metally embellishments to finish it off.

Thanks for stopping by and be sure to check out my teamies' blogs to see what they've created for you-we'll be taking turns sharing again this week until the new set is released on Saturday:

Lisa Bzibziak (You are Here!)

And you can get this set discounted by $2.65 until Saturday evening!  Jessica does this instead of the free shipping so that even International customers can take advantage of the discount too!

Come back tomorrow for some more fishes...