Showing posts with label Rainbow Builder Stencil. Show all posts

Friday, February 3, 2023

Miss Ink Stamps - A Mid Mod Rainbow


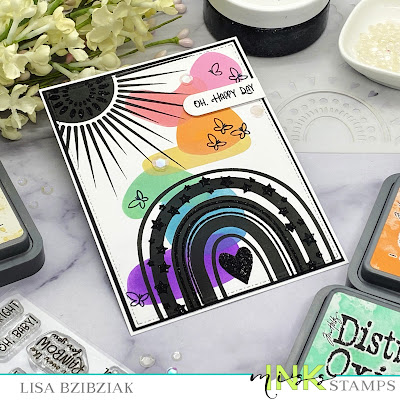
Welcome back!  How about some Mid Mod for your Friday?!  I'm playing with the Artsy Abstract Stencils in February and for today, a rainbow of sorts.


I started with a rainbow of Distress Oxides using the Artsy Abstracts small shapes.  I used Pixie Tape to mask off the stencil shapes I wasn't using.  Then I used the Rainbow Builder stencils and Black Soot Distress Oxide to add the rainbow and then the sun from the Rainbow Sky Stencil Set.


I added some accents with Black Glitz Glitter Gel to both the rainbow and the sun.  And finally some simple butterflies from the Say Cheese stamp set and a few sequins.  A simple sentiment from Sunshine and Rainbows was just right.

Here are some of the pics that inspired me for this one:


Cool, right?  It might not be my favorite art style, but it sure is growing on me.

Thanks so much for stopping!  I hope you enjoyed it!  And stay tuned for lots more Artsy Abstracts!


Friday, June 17, 2022

One of a Kind - Miss Ink Stamps - Happy Pride!


Welcome back!  Over at Miss Ink Stamps we're celebrating Pride Month this week and sharing some of the fun Rainbow products in the shop in support of all of our LGBTQ+ friends!


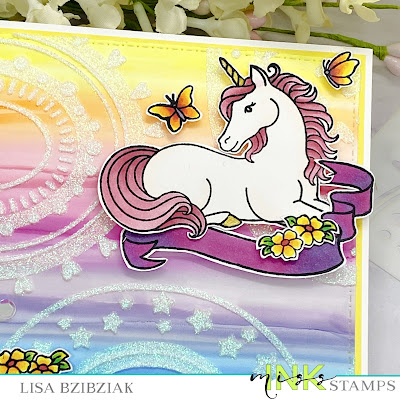
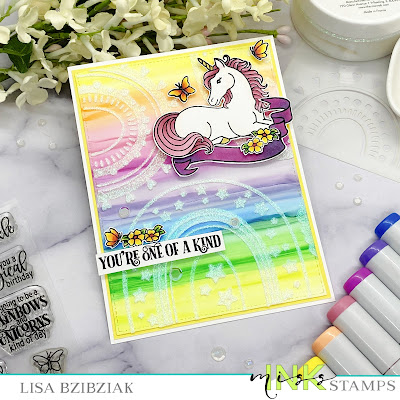
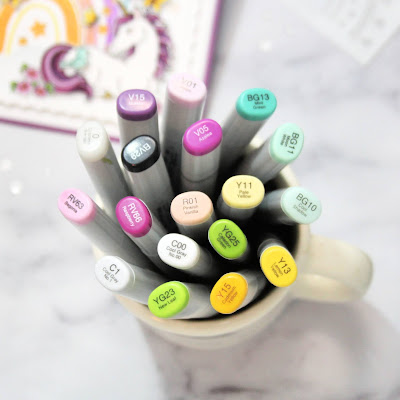
For today I used the Rainbow Builder stencil over a cool Copic Marker rainbow background!


I added one of the beautiful unicorns and a sentiment from Lovely Unicorns.


I am celebrating the the one-ness of each and everyone and hoping to make more people realize that when we embrace everyone's individuality it will bring us all closer together and everyone benefits.


Here's to listening, learning, and loving every day!


Thank you SO much for stopping!  You'll find more rainbow fun over on Instagram and I've got a video for you showing how I made that fun background!


Come again soon!


Friday, July 16, 2021

For My Sweet Bunny - Miss Ink


Welcome back!  Sharing a sweet card today using the Springtime Bunnies and Springtime Banners stamp sets along with the Rainbow Builder Stencil Set and Cloud Builder Stencil..


My inspiration came from the current challenge over at Double Trouble Challenge Blog and this super sweet Mood Board:


I'm linking up over there at Double Trouble and also linking up to the Bitten By The Bug 2 Oh Baby Challenge, who is partnering with the Double Trouble ladies for this challenge!  They've changed their rules a little for this challenge and you need to use either a machine cut or die cut on your project... I've got that fabulous frame from Rubbernecker!


And don't you just love that rainbow... it's hard to see here, but I used some Iridescent Glitz Glitter Gel for the embellishment layer... stars and lines and such ... and I love the subtle glittery accent.


Thanks so much for stopping!  I hope you enjoyed your visit and you'll come again soon!


Friday, April 30, 2021

Miss Ink Stamps - Wishing You A Magical Birthday!


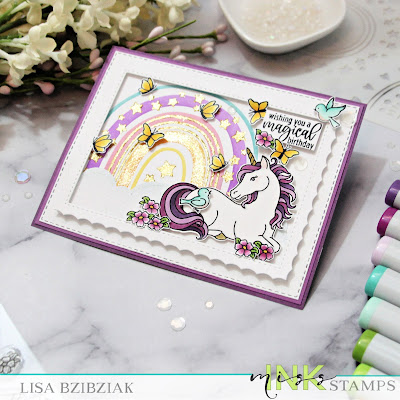
Happy Friday!  I'm back with some more Lovely Unicorns goodness and this time I've paired it with the new Rainbow Builder stencil... which I am in love with!


I started by adding the rainbow to the background.  This is a 3 layer stamp set and it's awesome!  You can pick any one you want or do all four!  


I love how the second rainbow stencil also masks the lines from the first AND has some cool embossed lines on it that help you line up with the previous layer!


I started with the first layer and applied yellow, pink and blue (every other) Distress Oxides and then the second layer filled in the orange and purple.  The third adds the lines and stars and I used some gold glitter texture paste for that!  I use a paint brush to add some of the gold glitter paste to the orange strip.  I had gotten a little messy and accidently got some onto it so I decided to go full on and paint it on and I LOVE it!

I also used the cloud from the Rainbow Sky layered stencil and blended some ink through the full cloud and then added the pretty curly outline with some glitter paste.  After it was dry, I cut it out.

Finally I added my colored images, sentiment and some sequins!


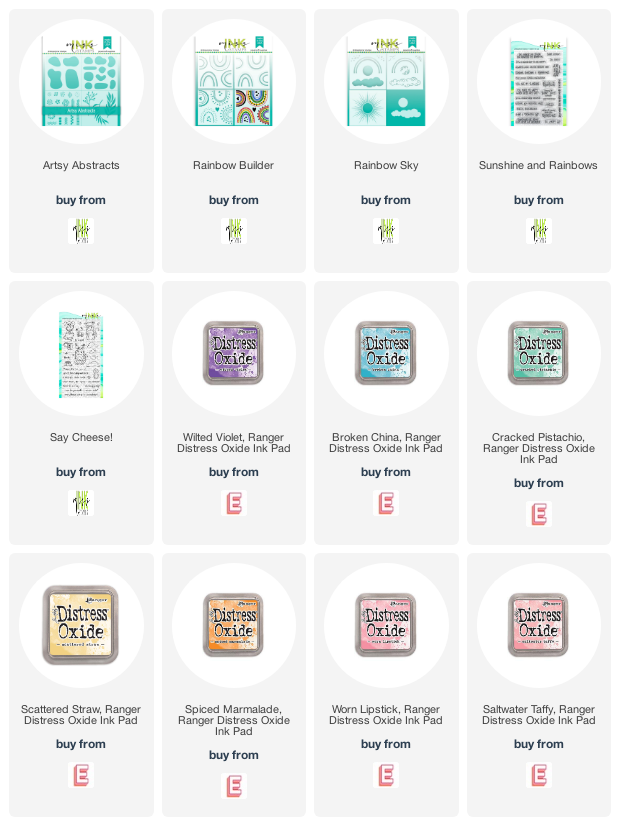
And here are the colors I used!

That's me for today!  Thanks so much for stopping and hope you'll come again soon!