Showing posts with label Autumn. Show all posts

Friday, August 27, 2021

Thankful & Blessed - Miss Ink Stamps


Welcome back!  I've got a fun one for you today using some Pumpkin Spice Gnomes for an autumn themed card!


I started by Ink blending the background panel with some Distress Oxide Ink and then splattered on some Distress Spray Stains.  When it was dry, I stamped the pumpkin house and mushrooms from Pumpkin Spice Gnomes and that pretty plant from the Thankful stamp set.


I stamped cut and colored three of the gnomes and popped them up on the front and then stamped and cut the sentiment and popped it up onto the front.


That's me for today!  Thanks so much for stopping!  Hope you'll come back again soon!


I used so many colors on this one I needed to use two cups!


Monday, August 23, 2021

Hootie Halloween Add On - Happy Harvest!


I'm up on the blog over at A Jillian Vance Design with this pumpkin shaped card and hope you'll join me over there for links and details!


Thanks so much for stopping!  I hope you'll come again soon!


Friday, October 23, 2020

An Autumn Hello - Miss Ink Stamps


Hello!  Welcome back!  I have some Miss Ink Autumn goodness for you today!

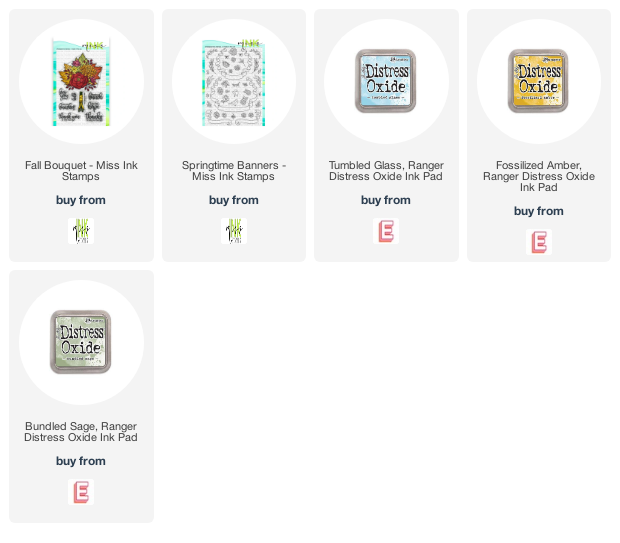
I started with the Fall Bouquet stamp set!  I stamped it using Versamark onto a panel of watercolor paper and embossed it in Wow Gold Embossing Powder.  I lightly blended on a few Distress Oxide Inks and in broad areas... blue for the sky... yellow over the floral and green at the bottom just to lay a base of color.  Then I colored it in using Albrecht Durer Watercolor Pencils and a water brush.  After it was dry, I splattered on some water and soaked up the excess droplets with a paper towel.


In between background layers I stamped, cut and colored my images from the Pumpkin Spice Gnomes stamp set.  I also used the birds from the Springtime Banners set!  I thought they went perfectly with this friendly fellow!

Then I layered all of the images over the background trying to be sure some of it showed giving a feel of the pumpkin house being nestled in the leaves and flowers.


Finally I added a sentiment from the Pumpkin Spice sentiment set... I stamped and fussy cut it out for just a little sentiment that wouldn't take up too much space!

That's me for today!  I hope you enjoyed your visit and that you'll come again soon for more inspiration!


Friday, October 9, 2020

Miss Ink Stamps - Squirrel!


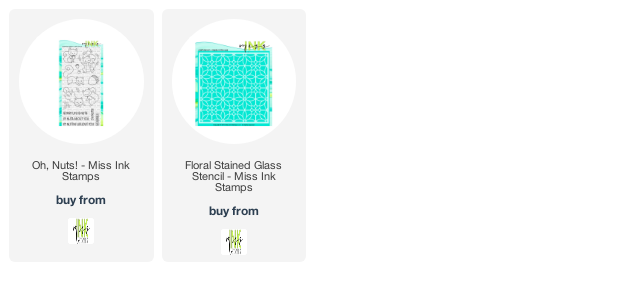
Welcome back!  I have some more Miss Ink for you!  Today I used the fun Oh, Nuts stamp set along with the new Stained Glass Floral stencil for a quick card! 


I started by ink blending my background with yellow and orange and then splattered some water over it and dabbed the excess off with a paper towel.  Then I blended more of the same inks over that gorgeous stencil.


I stamped, colored and cut out the images from the adorable Oh, Nuts set and moved my images around on the card until I decided on a layout.  I just love how the cutie pie on the top is about to surprise the other two...lol...


I decided to frame the two at the bottom for fun and popped everything up including that cute sentiment... actually pretty much how I've been feeling lately...lol...


That's me for today!  Thanks so much for stopping and hope you'll come back again soon!


Monday, September 14, 2020

A Jillian Vance Design - A Fall Hello

 Here's one of two cards I have up on the blog over at A Jillian Vance Design!  Hope you'll hop on over there and give us a visit!  

Thanks so much for stopping by and come again soon!


Monday, November 18, 2019

Trinity Stamps - Thankful For You


Welcome back! I'm so honored to be guesting with Trinity Stamps this month and I'm up on the Blog today!  I have a card for you featuring the awesome new Layered Pine Tree Stencil Set along with Forest Friends and the Autumn Sentiments stamp sets!  The beautiful Layered Pine Tree Stencil is not just for Christmas!

I started by cutting out the Coffee Mug Card from white cardstock.  I decided to lay the card flat and stencil across the front and back using various green Distress Oxide colors so that when the card is turned over, the trees are on the back also.  I didn't decorate it otherwise, but I just liked the idea of covering the entire outside of the card with this beautiful pine forest.  Once the trees were on, I used some blue in the sky and blended the remainder of the card including the handle with more green.  I used the Trinity Blending Buddy Brush which I love because it's got that awesome tapered head, making it easy to get into the nooks and crannies of the trees without totally covering them.


I covered the bottom of the card with dots of autumn colored Nuvo Drops to give the feel of a forest floor and scattered leaves and other items.  We are standing at the end of a stand of pine trees just at the edge of a beautiful leafy forest.    I stamped, die cut and colored up my forest friends along with the pumpkins, leaves and mushrooms.  I added them all to the card with various thicknesses of foam tape.. something I have plenty of in my stash!


This sentiment from the Autumn Sentiments set was perfect along with a couple leaves and a mushroom from Forest Friends.


I used the card holder die from the Coffee Mug Card die set for the inside of my card where I placed a Dutch Brothers Coffee gift card and taped down my flaps for the other side and added a couple more Forest Friends images.


I scattered a few of my new favorite Soapy Bubbles sequins around and done!


That's me for today!  I hope you enjoyed your visit!  I'll be back on the Trinity Blog again this month and hope to see you again!  Thanks so much for stopping!

Monday, October 21, 2019

The Cutting Cafe Inspiration-Autumn/Halloween


It's kind of an Anything Goes share for us today over at the Cutting Cafe... we chose from tons of Autumn/Halloween themed files for today's post.  I chose the Fall/Thanksgiving Window Boxes to work with, but I used them in a different way... with a little help from my mom!


I pulled the file in with these boxes and kept only the layer that fits on the top of the box in Design Space.  Then I resized each of these layers to 5x5.


I knew I was going to create shaker cards with these, and I wanted to be able to layer another color over just the sentiment.  I could have just cut a second square and trimmed the word out with scissors, however, I enlisted the help of my mom to trim away the edges within Design Space!  She says I taught her about the Slice feature, but apparently I've forgotten because she had to teach me!


She cut these for me, but when we got together again, she showed me how to use the Slice feature and I'm looking forward to testing it out again in the near future!


Before I added the clear acetate to the window layer, I did trim off a quarter inch from each of the edges because I knew I wanted my card to be five by five, but still wanted some of the printed paper to peek out around the edges of the shaker window.  My card base is 5 x 5, the design paper layer is 4.75 x 4.75, and the window is 4.5 x 4.5 after trimming off the edges.


In this file there is also a cutie pie turkey along with some layers.  After I resized this window, I layered each of the pieces... wings, body head and beak over the top in Design Space and re-sized them so they'd fit correctly over the turkey shadow attached to the window.


There is also a Gobble Window that we sliced this sentiment out of and re-sized it small.  I didn't create a shaker card for today using the Gobble window, but you'll be seeing that soon!

I hope you enjoyed your stop today!  I know I really enjoyed creating these shaker cards from the Window Box file!  Be sure to check out the Cutting Cafe Blog to see what everyone has created for you today and comment there for your chance to win three files of your choice!

Come back soon... Wednesday I'll be sharing a card I made using the Gobble window!


Friday, October 18, 2019

Coffee Loving Cardmakers and Trinity Stamps - Frappy Camper Collaboration!


Welcome to a fun filled hop between the Coffee Loving Cardmakers and Trinity Stamps!  We're hopping to share lots of inspiration using the new Frappy Camper's PERKing Spot stamp set that was born from a collaboration between our two teams and illustrated by Davina Cantrell.  It was so much fun to work alongside the Trinity team and share ideas to come up with the concept so perfectly brought to life!


The party starts at the Trinity Stamps Blog!  Hop and comment along the way for your chances to win a $20 gift code to the Trinity Stamps shop!  You have until October 22nd to comment and the winner will be announced on the Trinity Blog on October 26th.  If you get lost along the way, you can hop back on over to Trinity's Blog where you'll find the entire hop list and to find your way.  You should have come here from the very talented Helen's Blog!  And here's how I was inspired:


While shopping over at Trinity, I took a stroll through their considerable embellishments section and came across the beautiful Autumn Leaves embellishment mix and I knew I was going to create a shaker.


I paper pieced my camper using some leftovers from my National Coffee Day project that you can check out here if you'd like.  I love all of the pieces parts in this set that make it so much fun to assemble a fun scene!


And these cute little characters!  She decided, of course, that a Pumpkin Spice Latte was the ticket and he decided to go with a cupcake... and he may have another!  I gave his shirt a bit of a plaid look... and I love his schwoopy hair!  Very dashing!


I created my simple shaker by using a rectangle die and a circle die.  I used washi tape to hold them in place and ran them through my Gemini all at once.  I chose all of my papers from the same paper pad and when I cut the background circle for the shaker I chose the cute Love Life patterned paper and centered one of the large sentiments in the shaker window.  I strategically glued a couple sequins inside so that it would always look like it was shaken.  Don't you love the leaves in this mix??


Since I created my sentiment with my paper, I used part of one of the Frappy Camper sentiments for a sign on the Coffee Trailer and left it at that.  Just scattered a few additional sequins around the outside... as if they escaped from the shaker.

I'm playing along over at Cupcake Inspirations Something Inside!  You have just a few more hours to play along... my sequins are inside the shaker!

And then this came to me in the middle of the night and I couldn't let it go:


I mean... of course if I owned a coffee truck that was the created from a trailer, I would paint it to look like a pumpkin!

For this one I created a distress oxide background using some stencils and then placed that awesome Cloudy Day Frame over the top, popping it up with some thin width popup tape.  Such a cool frame!


So did you notice my exhaust pipe/stem is made from a coffee cup??  This one is from the Seasonal Sweetheart set and was the perfect size!  And I added a couple of the green leaves from the sequin mix.


I added the flowers and pumpkin also from the Seasonal Sweetheart set for more autumn feel.  I decided not to add that cute couple so as not to cover up my pumpkin coffee truck trailer.  They'll be there soon... after all... there is pumpkin spice on the menu!


I decided on a sentiment from the new Autumn Sentiments set.  Cause.. well... Pumpkin Spice!  I colored the strip with the same colors I used on the pumpkin trailer and added a few more sequin leaves.


And there you have it!

I'm playing along over at Double Trouble's Put Your Mask On Challenge (did you know that when you use a stencil... you're masking!) and pretty sure with this one I've met the Pumpkin twist! 

Now to continue on your way you'll stop over at Robyn's place next for some awesome inspiration!  Don't forget to leave love along the way for your chances to win a $20 gift code to the Trinity Stamp shop!

Thanks for visiting and come again soon!


Sunday, October 6, 2019

The Cutting Cafe Inspiration - Front Door Shaped Card


Welcome to some Cutting Cafe Inspiration!  Today we're sharing projects using the Front Door Shaped Card.


I used the Front Door with a Window (although most of my window is covered...lol!)  I cut the circle wreath and all of the flowers, and bow using the door file.   There are sentiments with the Front Door Shaped Card file, but I printed this sentiment from the Fall Window Boxes file. 


Not to mention the pot, topiary and leaves.  This is such a great file that I will use over and over even without the door!


Thank you so much for stopping by!  Be sure to head on over to the Cutting Cafe Blog to see what everyone else has in store for you... you're gonna see some awesome stuff!  Don't forget to comment there for your chance to win three files of your choice.

Come back soon! 


Sunday, September 29, 2019

A-maize-ing Fall Wishes with Polka Dot Orchard


So happy to see you again!  I'm sharing some inspiration using a few Polka Dot Orchard digital sets.   Of course there is plaid!  Not to mention a little bit of foil!

Polka Dot Orchard is joining with several other companies in the National Coffee Day Hop that starts at the Coffee Loving Cardmakers Blog today.  In addition, there is a hop up on the Polka Dot Orchard Blog and we're all sharing projects using some of the newest digital sets in the shop-some caffeinated and some not!  I'm using the beautiful and fun Amaize-ing Fall Wishes set (the corn and sentiment), Leaves & Lattes (leaves), and Autumn is Calling (wood slice) sets!


It was fun and easy to color the corn from the Amaize-ing Fall Wishes set.. and isn't that a beautiful sentiment?


And of course I welcomed the opportunity to use some foil with my laser printed images!  And those leaves from the Leaves & Latte set... love them!


That's me for today!  Thanks so much for stopping by!  Now be sure to head on over to the Polka Dot Orchard Blog and see what is going on there!  You'll find links to everyone's projects and information as to how to get chances to win one of the prizes Polka Dot Orchard is giving away!

Thanks for stopping and be sure to check out all of today's posts!

Come back soon!