Showing posts with label Nested Rectangle Small Stitch Die Cut. Show all posts

Wednesday, February 22, 2023

Doughnuts and Coffee Sweet Birthday - Rubbernecker Stamps


Welcome back!  I've got some more new Rubbernecker Stamps for you today!  I knew I had to make a card using the new Doughnut dies because... well... doughnuts... and coffee!


Since it's a birthday month for Rubbernecker Stamps, I made it a birthday card with papers from both new paper pads in the shop and built my sentiment with a word die and the very cool Shadow Words stamp set.


I cut the toppings die from the doughnut set from white glitter paper and added some Nuvo Drops for good measure.

Thank you so much for stopping today!  Hope you'll come again soon!


 Below I've included links to the products I used for today's project.  Some items may include affiliate links and if you choose to shop using these links I will receive a small compensation at no additional cost to you.  And thank you!


Sunday, June 26, 2022

Rubbernecker Stamps - Floating Summer Penguins


I have these two cards up on the blog over at Rubbernecker Stamps using the new Summer Penguins stamp set!


I created a couple backgrounds with the Gel Press and Color Fuse Inks.


They were perfect for these fun penguins and a couple of summer fun cards!


Head over to the blog for links and details.


Thanks so much for stopping!  Come again soon!


I've included links below to all of the Rubbernecker Stamps products I used today!  Should you choose to purchase using these links, I will receive a small compensation at no additional cost to you.  And thank you!

Sunday, January 30, 2022

Rubbernecker Stamps - You Matter


I have this one up on the blog over at Rubbernecker Stamps!


Love these Precious Poppies and that Geometric Stencil!!  Hop on over there for links and details about how I made it.


Thanks so much for stopping!  Hope you'll come again soon for more inspiration!


 I've included links below for all of the Rubbernecker Stamps products I used for this one.  Should you choose to purchase using these links I will receive a small compensation at no additional cost to you.  And thank you!

Sunday, August 29, 2021

No One Like You - Rubbernecker Stamps


I'm up on the blog over at Rubbernecker Stamps with this one!  I'm loving the new florals over in the shop and I've used two of them together on this one along with that cool stencil!


Super cool, right??


Hop on over there to join me for links and details!  Thanks so much for stopping and hope you'll come again soon!


 I've included links below for all of the products I've used for this one.  Should you choose to shop using these links I will receive a small compensation at no additional expense to you.  And thank you!

Saturday, June 26, 2021

Party Like A Pirate!


Have you seen the fun new release over at Rubbernecker Stamps??  One of my favorite sets is the new Pirates Under The High Seas.  These adorable little pirate critters stole my heart!  I've used a couple of the images today along with some other fabulous stuff from the shop!


There are some new stencils in the shop and I used them here for the background as well as some die cuts.  You can find all of the details up on the Rubbernecker blog!


Here are the Copic colors I used if you'd like them!


 I've included links below to all of the Rubbernecker products I used for this one!  If you choose to purchase using these links I will receive a small compensation at no additional cost to you.  And thank you!

Thursday, December 10, 2020

A Wintery Christmas Wish - Rubbernecker Stamps


Welcome!  I've got one for you today using one of the great new clear stamp sets in the Rubbernecker shop along with a few other very cool products!


  • The front window panel was cut using the largest of the Small Stitch Rectangle dies and Winter Trees In Circle die by placing both together onto a panel and using washi tape to hold them in place.

  • Another panel was cut from white cardstock  larger than the stitched panel.
  • Inks in blue, purple and black were blended onto the panel.
  • A heat gun was used to dry the panel and then anti static powder was wiped over it.
  • The Field of Stars background was stamped onto the inked area in Versamark.
  • White embossing powder was sprinkled over and heated.
Tip:  Usually I will stamp and emboss the background first and then add the ink to avoid extra powder sticking to the background.  Sometimes drying it first will avoid that.  This time, however, I still had a lot of stray powder stick to the background.  I blew some of the extra off and decided to heat it up the way it was and I liked the look of the extra sprays of white.  I thought it looked either like more clusters of a stars in the sky or snow falling!  One of those times a mistake worked out!


  • The starry panel was trimmed down smaller than the window panel and attached to a base of 5 1/2" x 4 1/4".
  • Clouds were cut from some glitter paper using the slimline cloud die, trimmed down and two layers were added at the bottom of the starry panel making sure that it was in the right position for the window creating some snowy hills.
  • The window panel was popped up over the background.

  • Before the critters were added, another stitched rectangle panel was cut and then the hill dies were used to cut hills for the front of the panel.
  • The hills were attached to the front of the card below the window.

  • The stamped, die cut and colored critters were added to the front of the card with varying thicknesses of foam tape.
  • The sentiment from the Wintery Friends set was stamped and heat embossed with white onto the same blue used for the front panel.
  • Each word of the sentiment was cut separately and then popped them up in a straight line at the top of the card.
  • Finally, sequins were added!
That's me for today!  Thanks so much for stopping and hope you'll come again for some more Rubbernecker Stamps inspiration!

I have provided links below to all the Rubbernecker products I used today.  If you purchase using these links I will receive a small compensation at no additional cost to you.  And thank you!

Thursday, November 12, 2020

Rubbernecker Stamps - A Month of Gratitude


Welcome back!  We're celebrating a Month of Gratitude over at Rubbernecker stamps and today I'm playing with some Ken Oliver Color Burst today and one of the awesome background stamps available in the shop!

Here's how I created this one:


I just love this Fall Leaf Background!  There are so many beautiful background stamps in the shop!
  • The foam piece was removed from the stamp positioner so that the foam mounted red rubber background stamp would be able to be used in it.
  • A sheet of watercolor paper was cut slightly larger than the background stamp so that there would be room to place the magnets to hold down the paper and the paper was swiped with anti static powder.
  • The stamp was placed in the center of the watercolor paper and then stamped with Versamark Ink.
  • Leaving the paper and stamp in place and making sure that the paper stayed butted up against the corner, it was stamped a couple more times to be sure there was good coverage of ink.

  • The ink was covered with gold embossing powder and the extra was tapped off leaving the image only covered in powder.
  • The powder was heated and set.
  • Two colors of Color Burst Powders, Fuchsia and Tangerine were sprinkled lightly over the top of the embossed image.

  • Water was spritzed over the powder generously.
  My favorite part of Color Burst is watching the colors mingle together and normally I let them do their thing, but this time I wanted full coverage on my background so...

  • A water brush was used to fill in any blank areas that didn't get a lot of color being careful to not mix the colors too much so that there was variation.


  • To not let any of those beautiful colors go to waste, another smaller piece of water color paper was flipped over on top of the wet color burst to soak up the excess


  • If needed, extra powders can be added along with some additional water to color up the extra piece of watercolor paper.
  • Once both panes were dry, the stamped background was cut using the stitched rectangle die and leaves were cut from the solid watercolored sheet.
  • Some gold color shine was splattered over the background and leaves and then dabbed with a paper towel.

  • A panel of white cardstock was cut to 5 5/8" x 4 3/8"
  • A panel of black cardstock was cut to 5 1/2" x 4 1/4"
  • A panel of gold cardstock was cut to 5 3/8" x 4 1/8"
  • The three layers were adhered-black on white, gold on black, and stamped die cut panel on the gold.
  • A strip of white cardstock was cut to 2" x 4 3/8"
  • A strip of gold was cut to 2 1/4" x 4 3/8"
  • A strip of black was cut to 2 3/8" x 4 3/8"
  • The three strip layers were adhered-gold on black, white on gold.
  • The layered strips were adhered to the front of the card leaving a bit of the watercolored panel showing at the bottom.
  • The three leaves were popped up onto the strip using a very thin foam tape.


  • The sentiment pieces were stamped onto white cardstock and Thanks and Kindness were fussy cut.  For Your was trimmed to a small rectangle.
  • The sentiment pieces were popped up onto the top right-hand corner of the card front with thin foam tape.
  • Sequins were scattered around and adhered using Glossy Accents.


And that's me for today!  This was so much fun and it's inspired me to keep my Color Burst out for a while and play some more!

Be sure to check out all of the cool background stamps available in the shop!

Hope you enjoyed your visit and you come again soon for more Rubbernecker Stamps inspiration!


Thursday, August 13, 2020

Autumn Fire - Rubbernecker Stamps


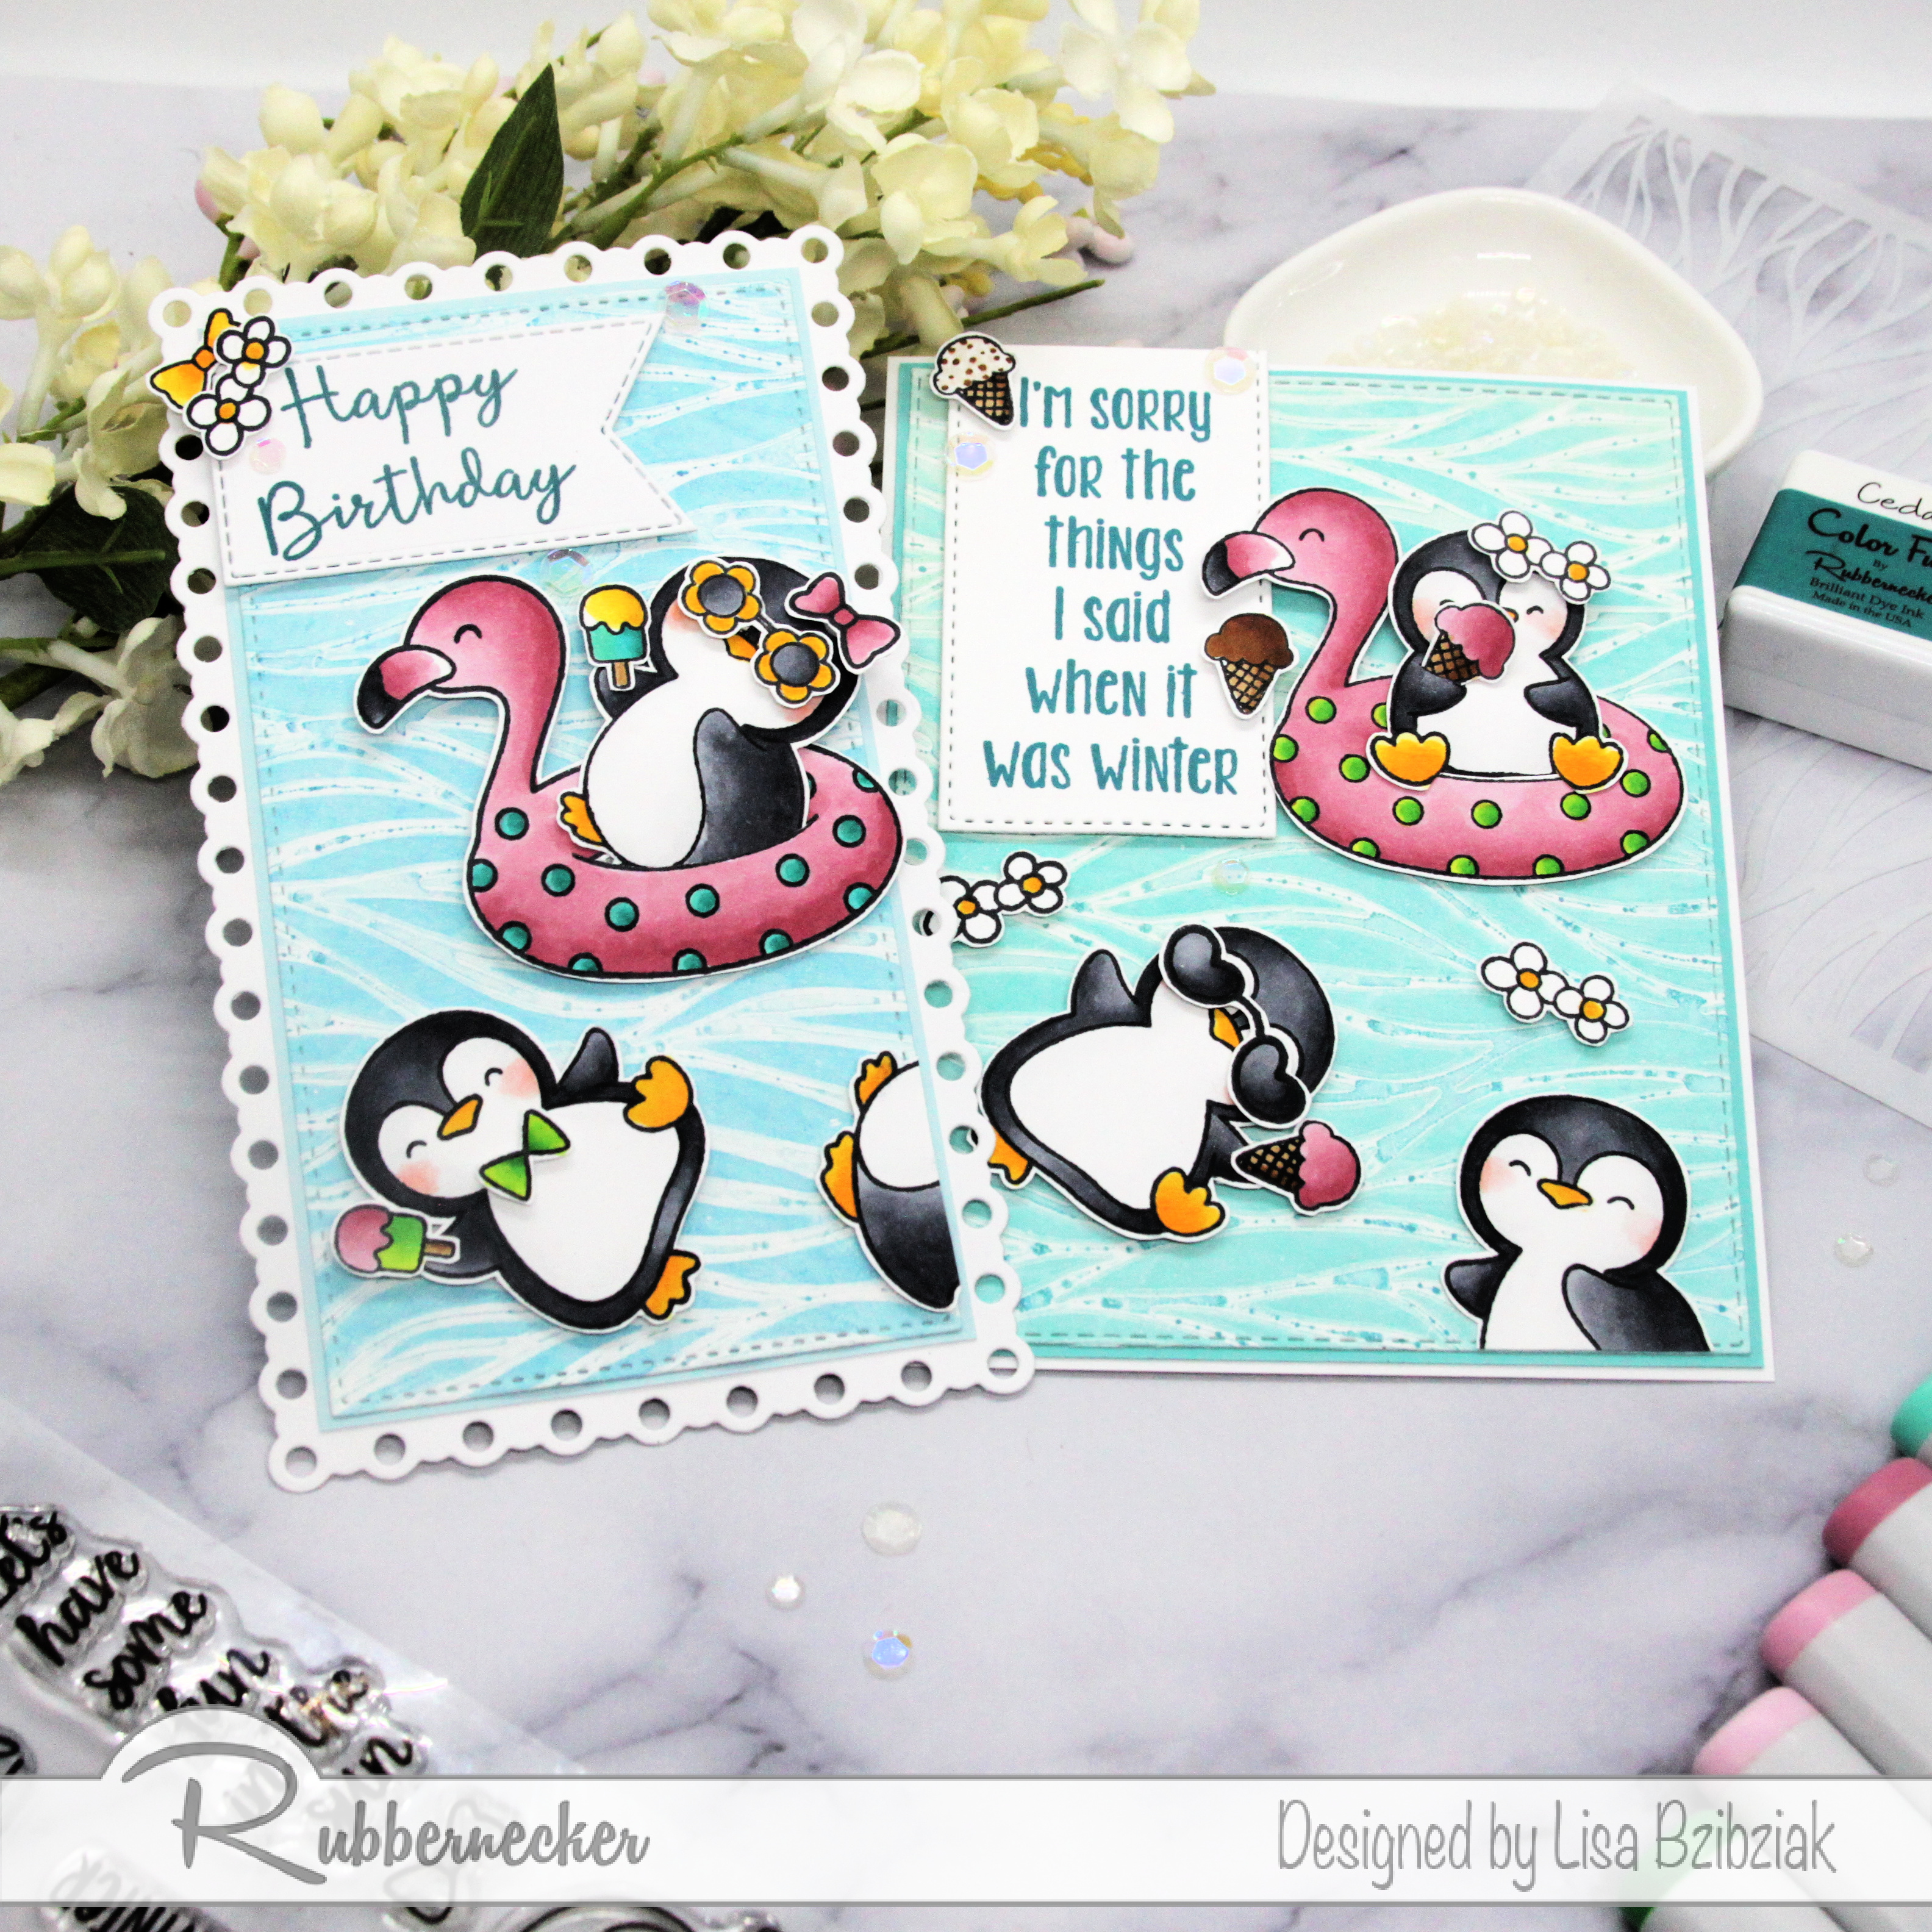
Hello all!  Lisa here!  I'm so excited to be sharing one of the beautiful new layered florals available in the shop today!


The gorgeous Autumn Fire floral set ... this one is SO beautiful.  I stamped it in the colors suggested on the included stamping guide for this one which were perfect.  They really do look like they are on fire, don't they?

Here's how I made this one!

The flowers:
  • I started by following the guide included in the stamp set.  Each of the stamps is numbered on its sheet (ex: 1A, 1B, 1C, 1D).   And the guide also includes suggested colors.. in this case for the flowers I used Lemon, Citrus, Apricot, and Crimson.
  • I placed stamp 1A into my Misti and stamped it onto my white cardstock using the lightest color, Lemon.
  • Next, stamp 1B using Citrus; 1C using Apricot, and 1D using Crimson.
  • Each consecutive stamp needs to be lined up over the one before it.  If you have a stamp positioner this is the easiest in case you need or want to stamp a layer more than once for a deeper color.
  • A trick I like to use is to add a dot in permanent marker onto what I choose as the top of the stamp (once to the stamp and once to the paper I'm stamping on).
Just place the stamp onto the paper as you want to position it and then place the dot onto the back of the stamp at the top and then another onto the paper aligned with the one on the stamp.  This will be where you line the stamps up each time.


I do this once the first time I use the set to the stamp and then you only need to mark the paper the next time you use it.  It's not perfect... I still need to adjust it a bit once I lay the next layer over it but for this brain, it's SO much quicker!

I do this for each subsequent stamp in the series:


It also helps if your first positioning of the stamp matches the position on the guide because it will help you line it up the first time more easily.  I just usually look for a distinctive feature of the stamp and start there!

After lining it up the first time, with the dots each time after is a breeze even if you don't pick it up again for a while!

A note: make sure you let the marker dry because it will rub off on your Misti, which I know because this happened to me, however it was easy enough to take it off right away with my finger.

Another Note: If you are stamping directly onto your panel and not die cutting and popping up you could use a very light pencil mark that can be erased after stamping!  Or no mark at all!  If you put the dotted area on your stamp to the top, then you will end up in just about the right position easily still each time and after that lining up is easy peasy!


The leaves:
  • I stamped the two layers of leaves in the same fashion as the flowers first stamping the lightest color and then lining up the darker color over it.  The colors used for the leaves are Moss and Basil.
  • Next the banner was cut using the third largest Nested Stitched Banner.
  • Again using the Misti, I stamped the sentiment onto the banner so that I could be sure to have a nice, crisp, dark sentiment.

Assembly:
  • I started with a white base cut 5 1/2" x 4 1/4".
  • I die cut the wood grain design paper using the largest of the Nested Rectangle Small Stitch dies and adhered it to the white base.
  • When I cut the OPC dies I always save my extra frames so I had handy in my stash the two rectangle frames and nested them together and added pop up foam tape to the back and attached it to the center of the woodgrain.
  • Next the florals and leaves were added with foam tape.
  • Then I cut the banner down so that it would fit in the space I had, added foam tape and slid the top underneath the frames and weaved it in between the florals.
  • Finally a few sequins in autumn colors and I was done!
Thanks so much for stopping today!  I hope you enjoyed your visit and you come again soon for more Rubbernecker Stamps inspiration!

And if you'd like more inspiration and awesome tips on the new layering stamps, please do checkout the release video up on the blog today!


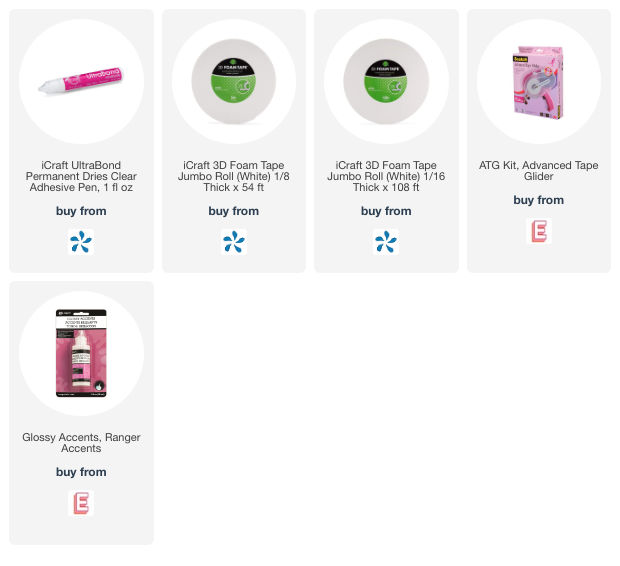
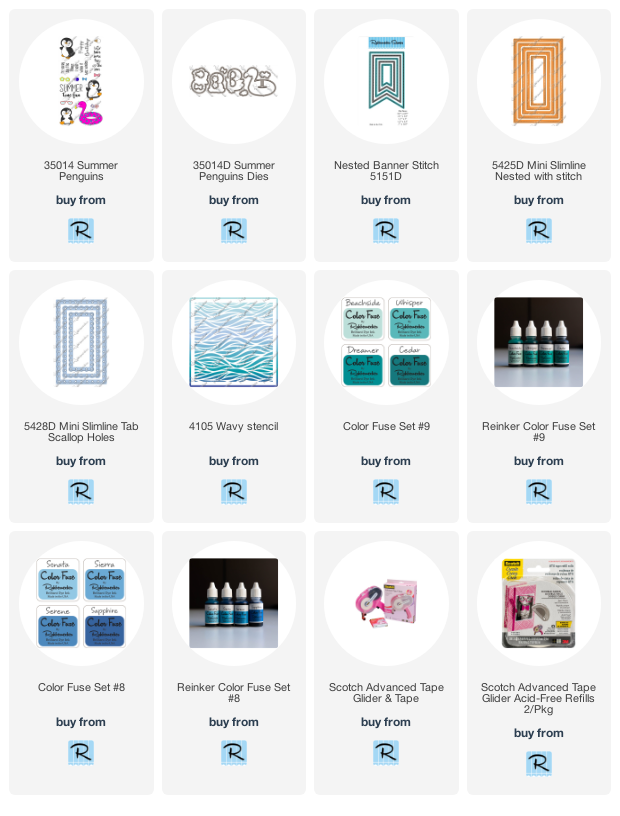
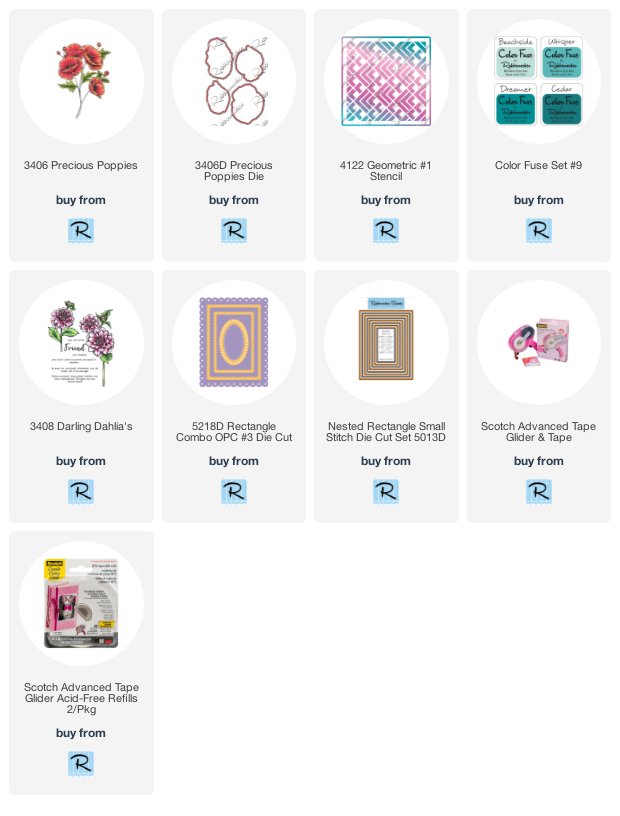
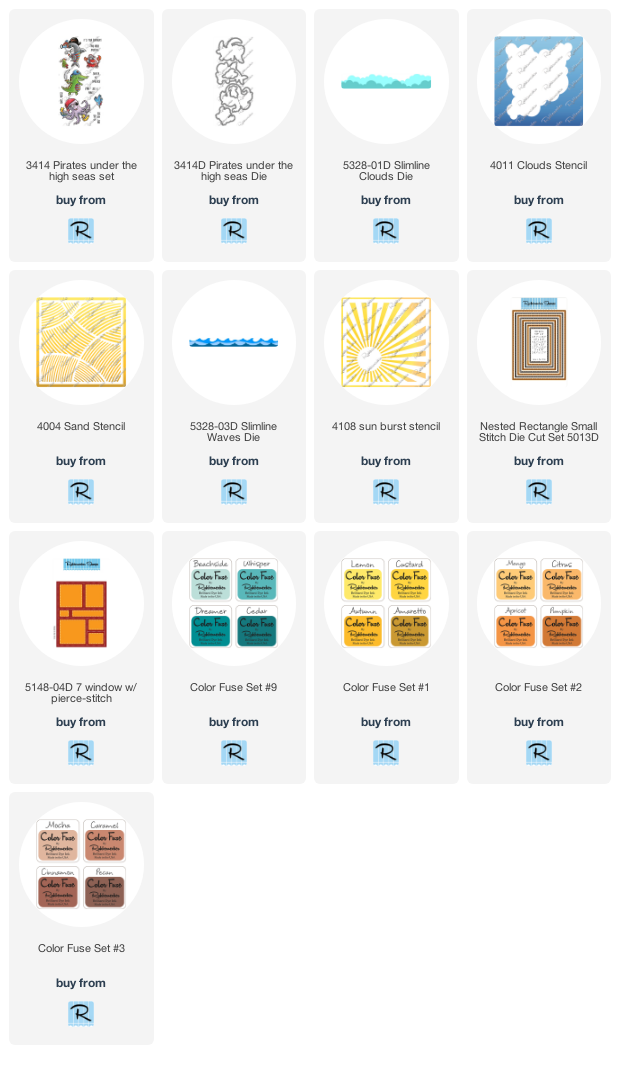
I've included links below for all of the Rubbernecker products I used today.  Should you decide to purchase using these links I will receive a small compensation at no additional cost to you.. and thank you!