Showing posts with label Nested Banners. Show all posts

Sunday, August 14, 2022

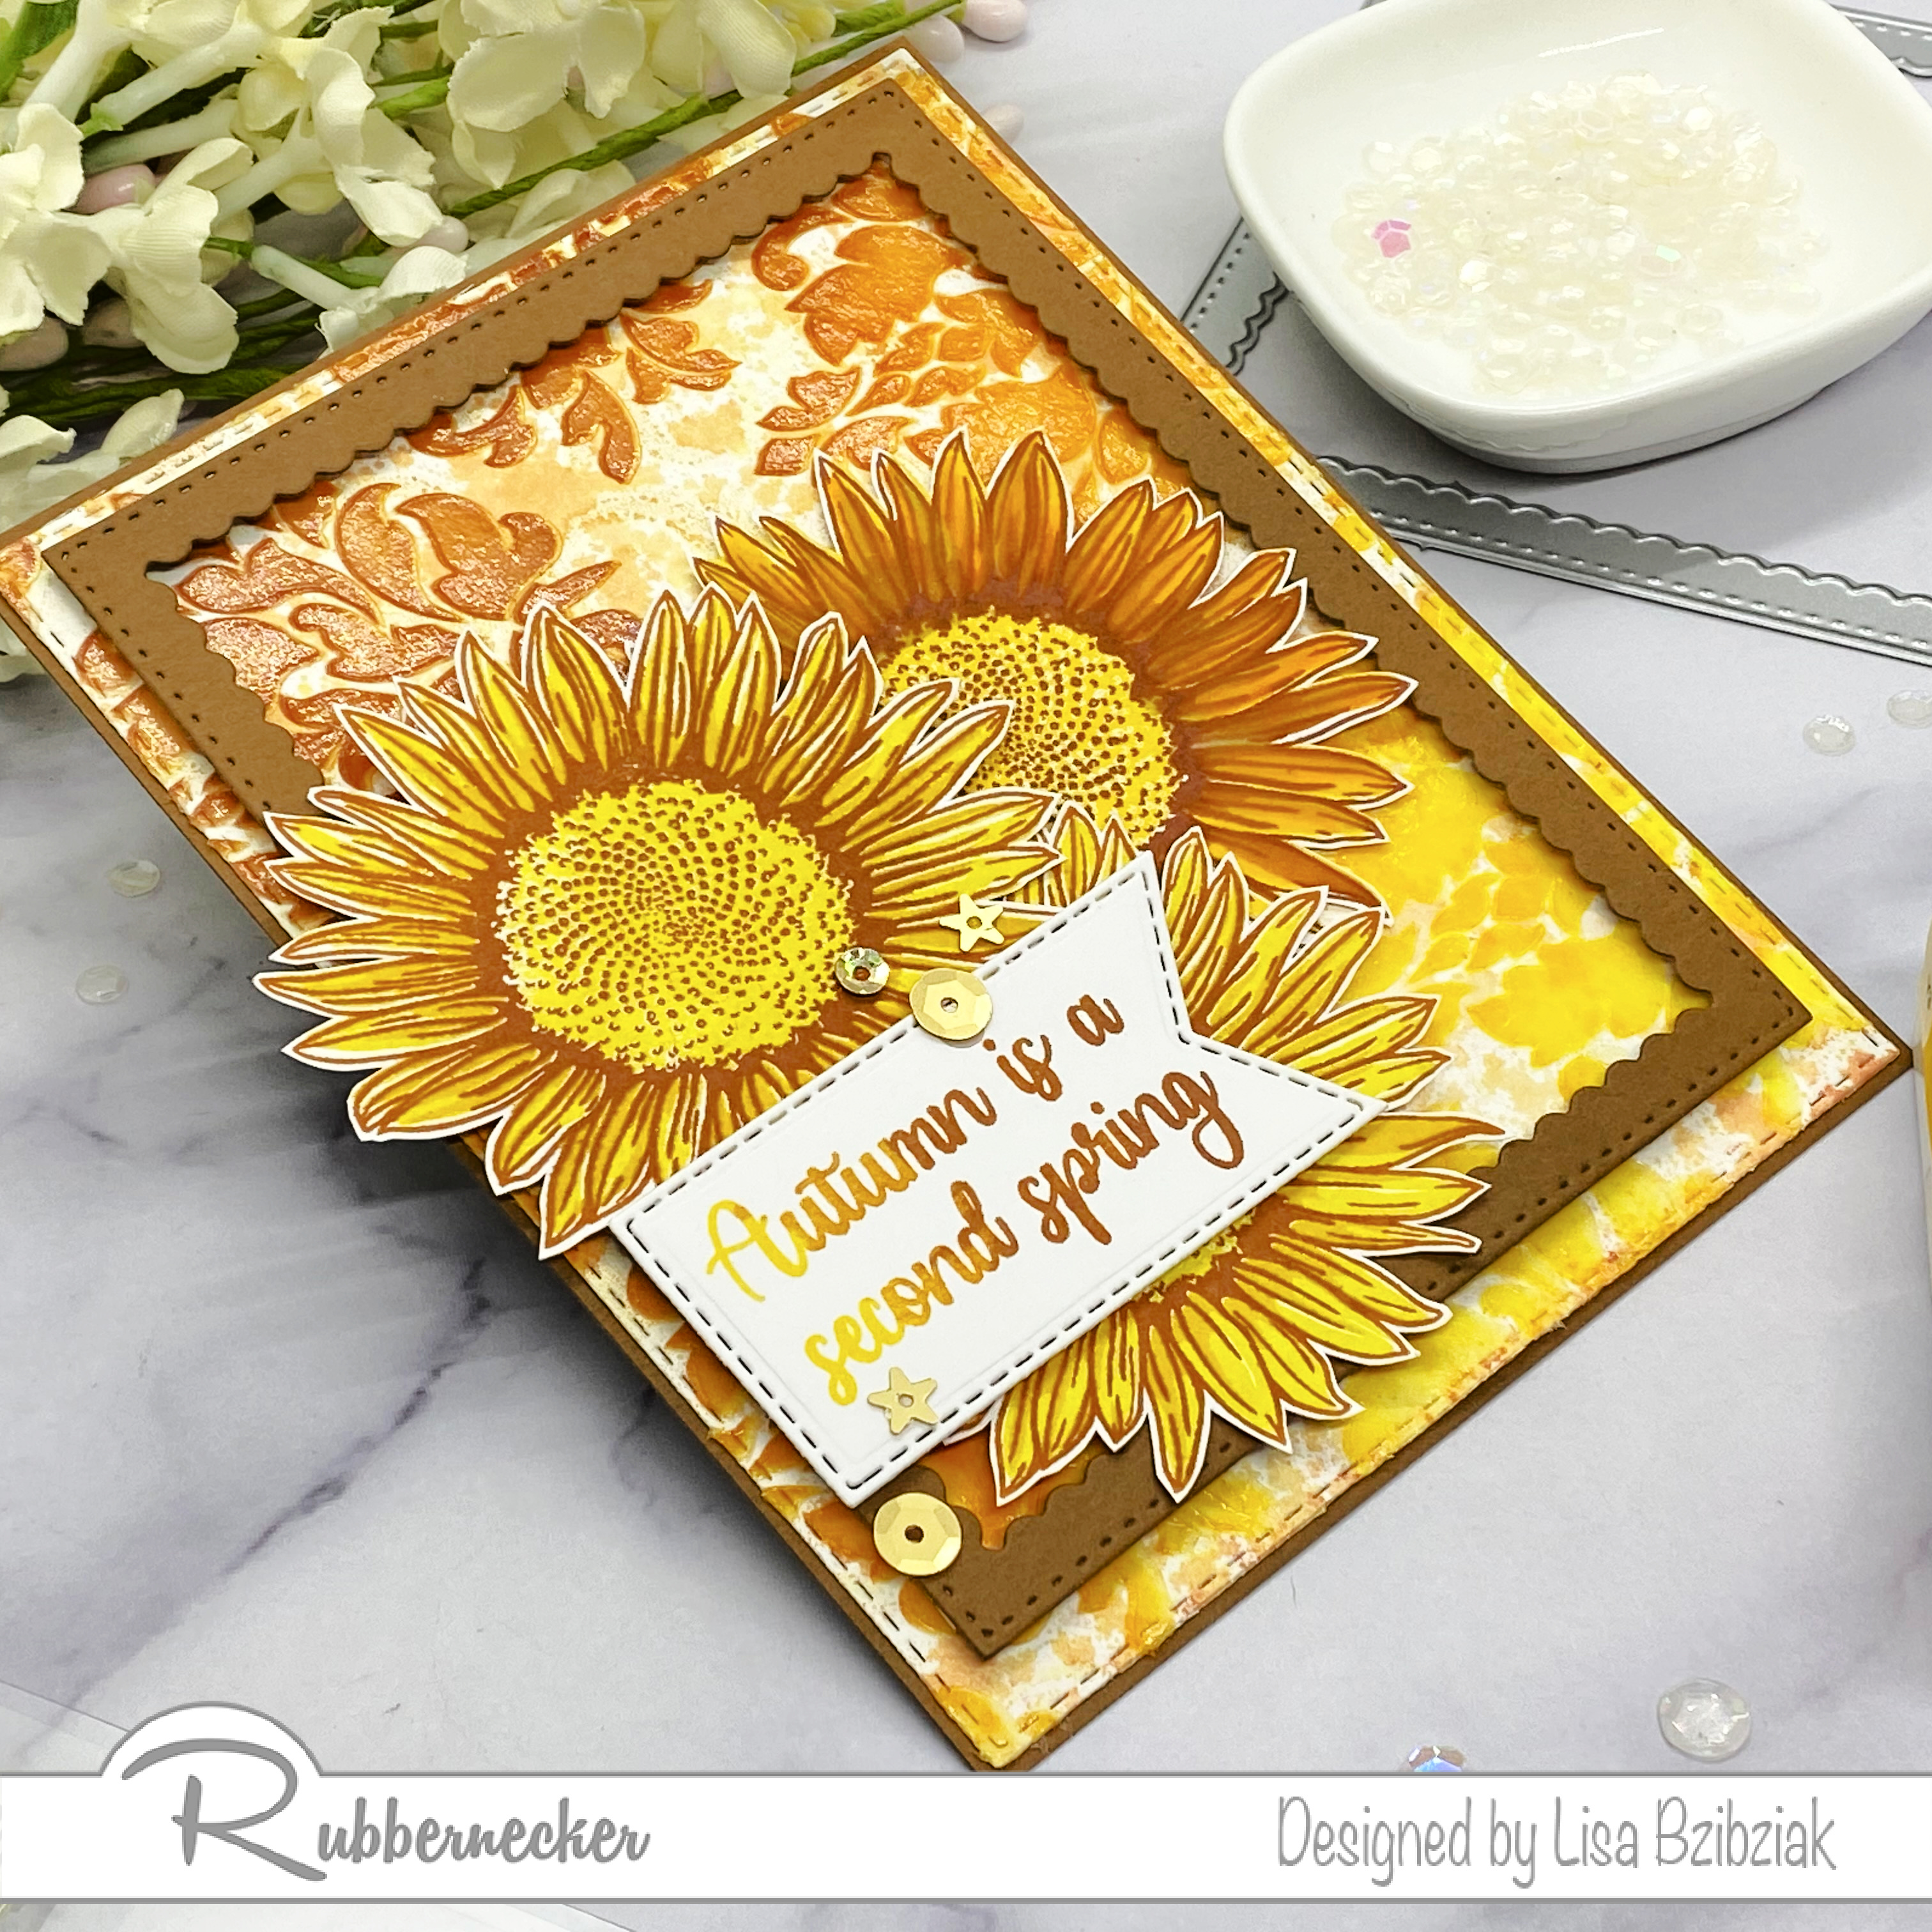
Rubbernecker Stamps - Second Spring


I have this one up on the blog over at Rubbernecker Stamps!


Hop on over there for links and details for this one.


I've got a couple tips on using these layered stamps if you're layered stamp challenged like I am!

Thanks for stopping and please come again soon!


I've included links below for the products I used for today's project.  Should you choose to purchase using these links I will receive a small compensation at no additional cost to you.  And thank you!

Tuesday, June 7, 2022

Rubbernecker Release June 2022 - Vitamin Sea!


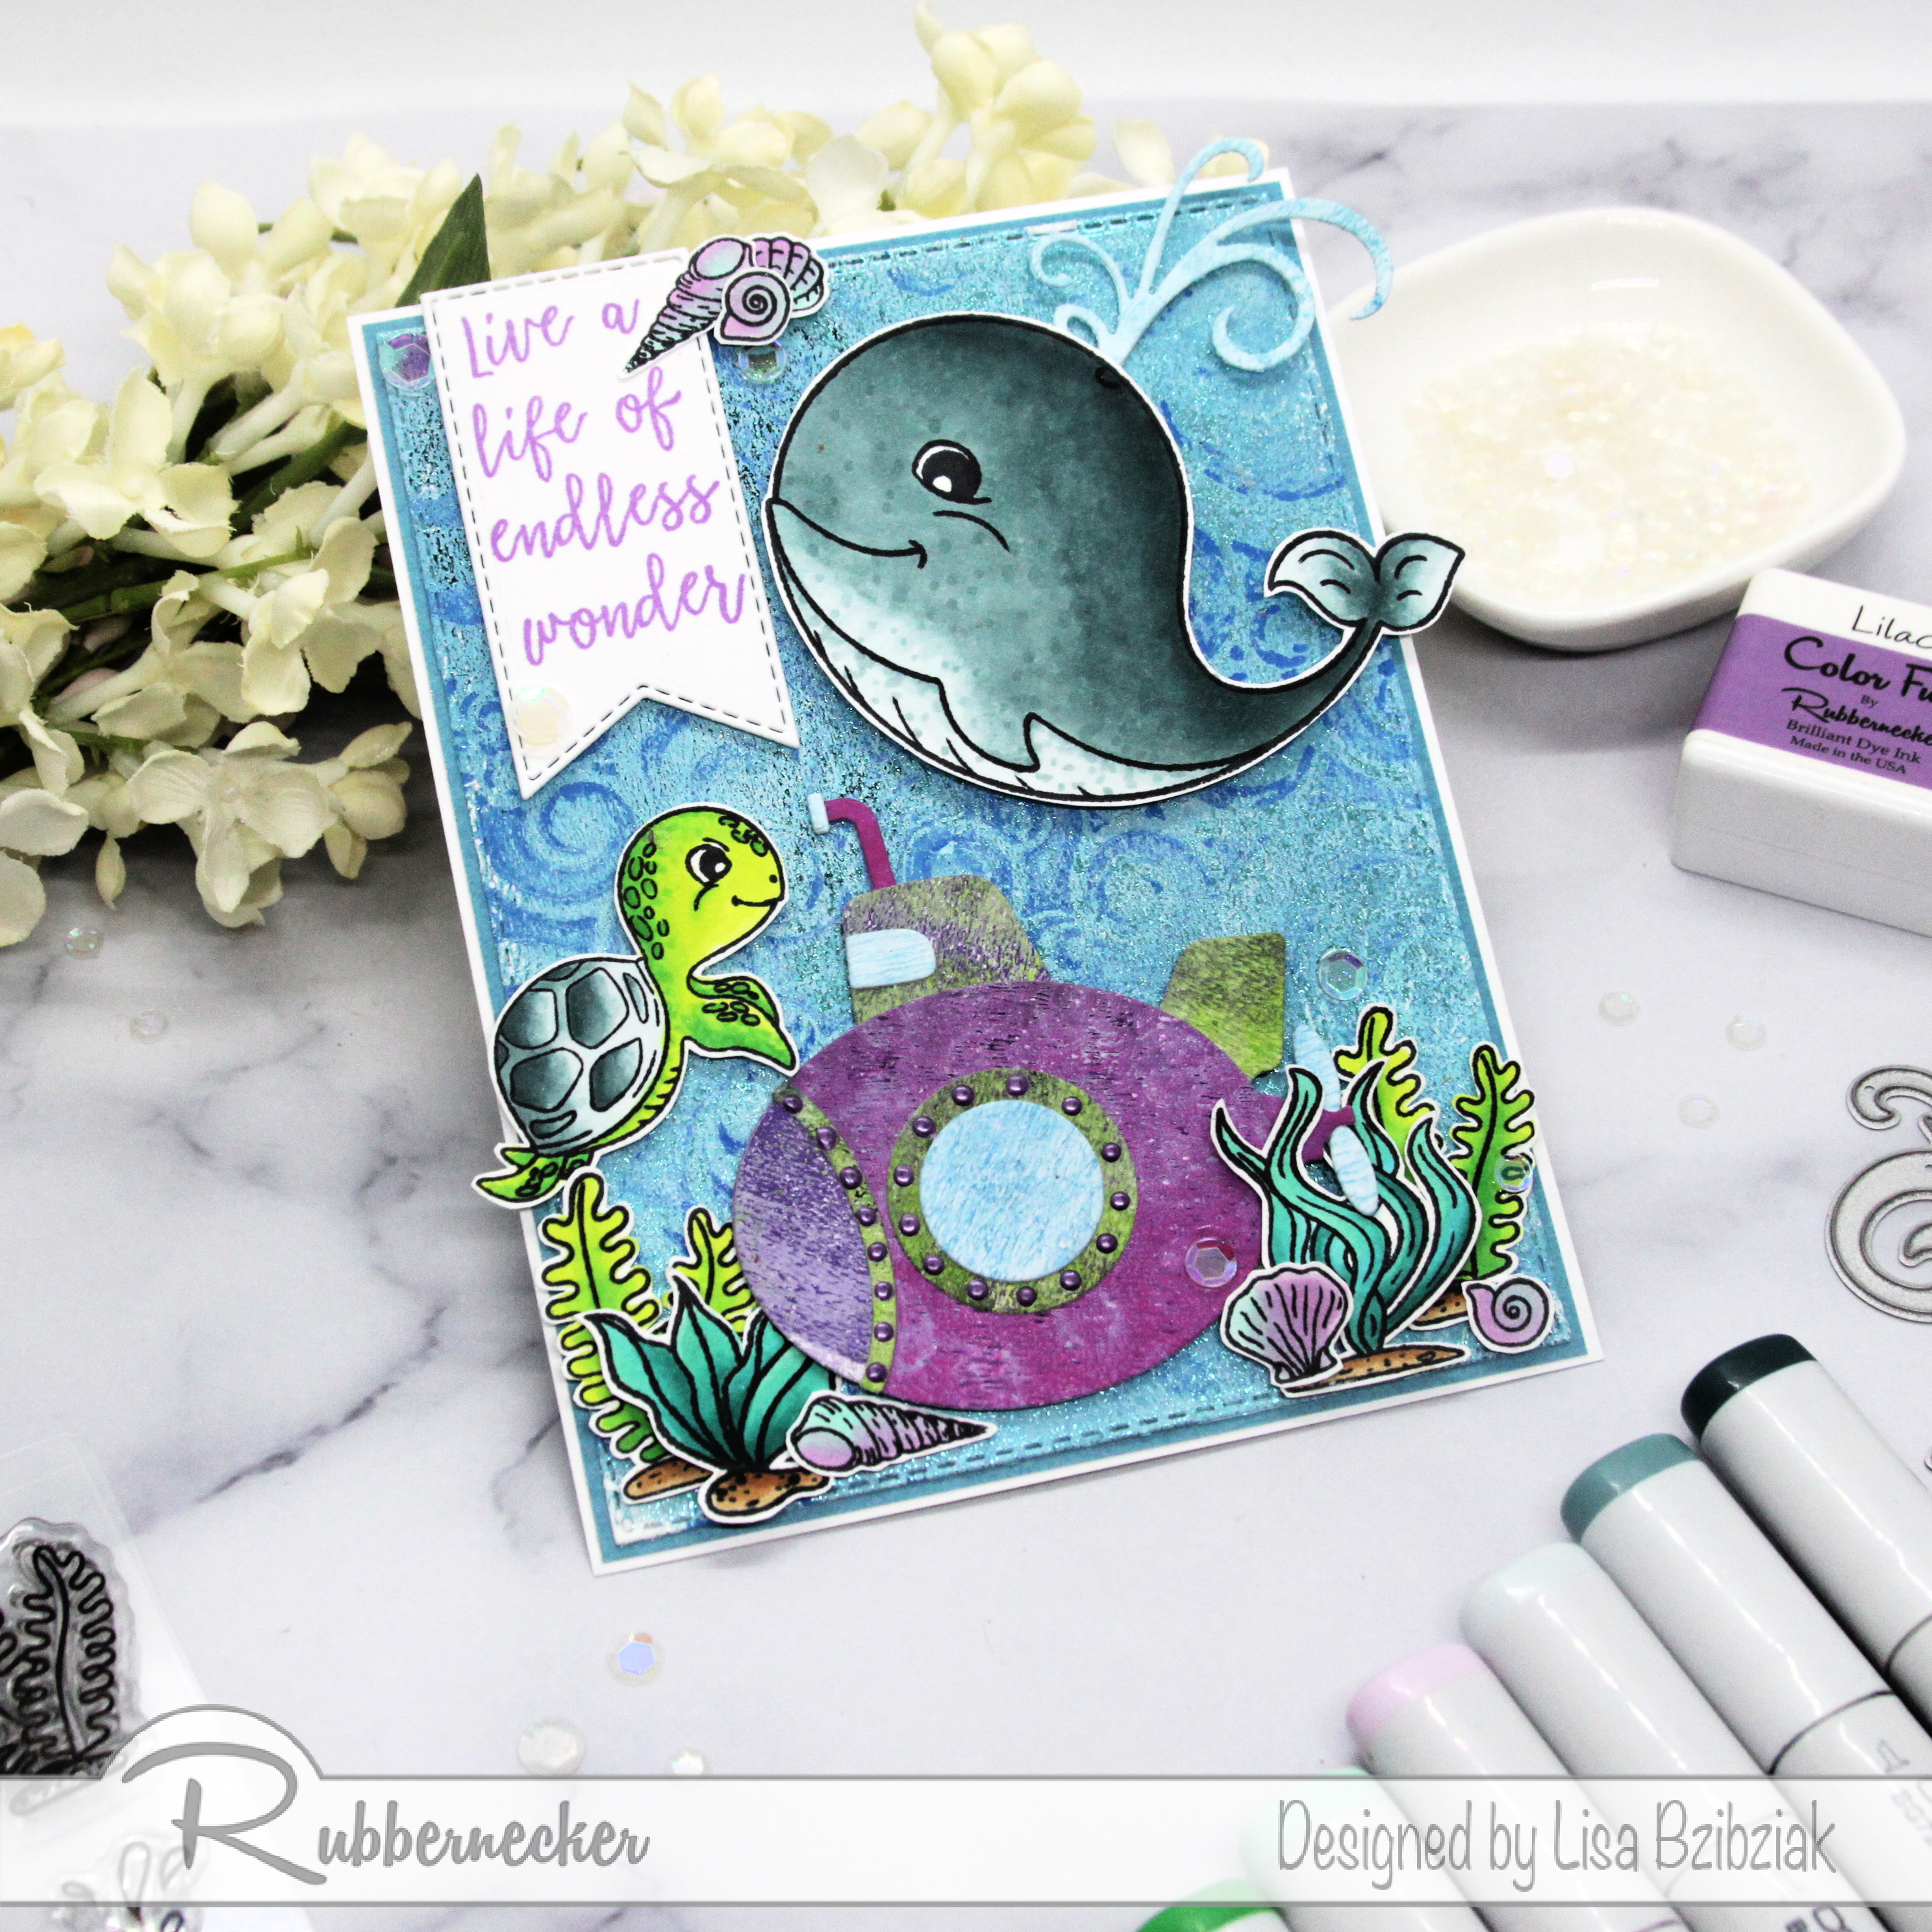
There is a new release over at Rubbernecker Stamps that includes this adorable new set, Vitamin Sea!


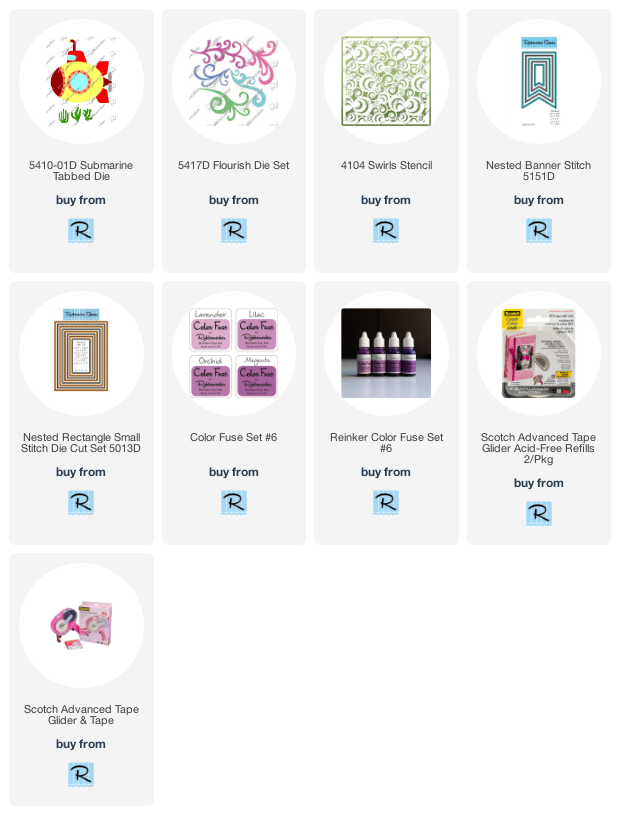
I added the Submarine Tabbed Die set cut from Gel Prints.  The background was created with a gel print using the Swirls stencil and some acrylic paint and then foiled with Deco Foil!


I also added one of the Flourish die cuts to create a spout of water coming from his blow hole.


Be sure to head on over to Instagram to see what the team has for today!  And check out all of the new stuff in the shop!


Thanks so much for stopping!  Hope you'll come again soon!


Saturday, January 15, 2022

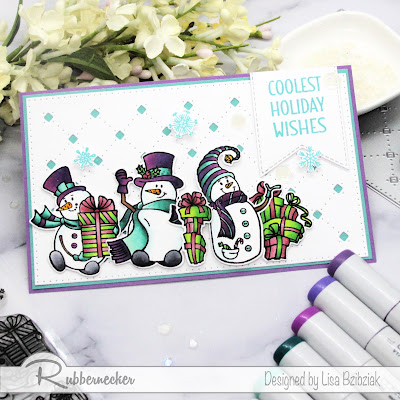
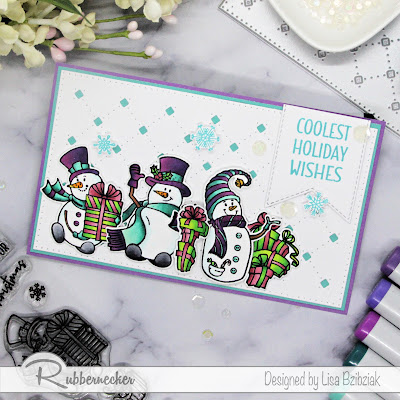
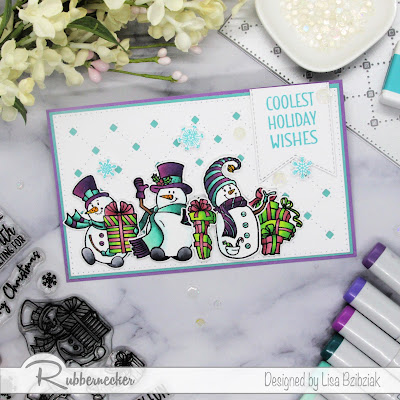
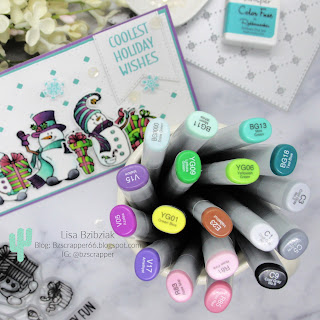
Rubbernecker Mini Slim Release - Coolest Holiday


There are some great new Mini Slimline dies in the shop over at Rubbernecker Stamps!


I used this cozy quilt looking one for a chilly winter card along with those adorable snowmen!


Just a simple card with some great images and a fabulous background die!


Thanks so much for stopping!  I hope you enjoyed it and you'll come again soon!


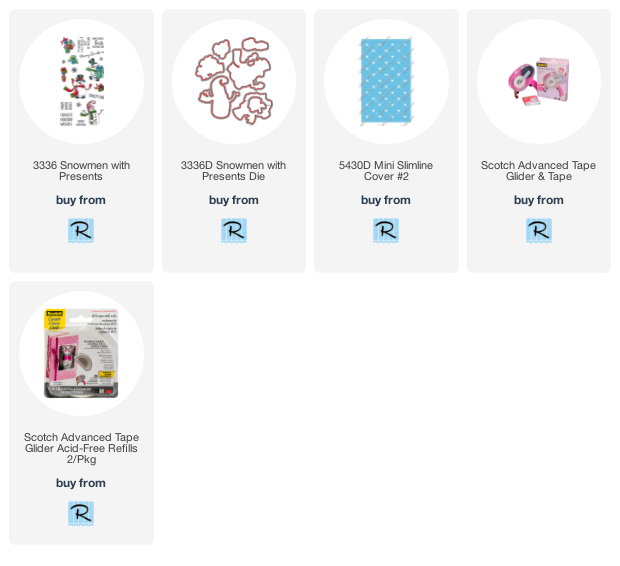
 I have included links below for all of the Rubbernecker Stamps Products I used for this one!  Should you choose to purchase using these links I will receive a small compensation at no additional cost to you.  And thank you!
Thursday, August 27, 2020

You Are Amazing - Rubbernecker Stamps!


Welcome back!  Today I'm sharing a card using some beautiful new layered florals and awesome slimline dies available in the Rubbernecker shop!  I stamped and die cut bunches of these flowers from the Flower Garden stamp set in various colors while I was away on vacation and was excited to get these on a card for today!  I promised previously I'd show another technique I sometimes used for shakers instead of just my "eyeball" method...lol!  So here's how I made this shaker:


  • I started with the largest of the nested Stitch Slimline and used washi to tape it down onto my white cardstock.
  • Then I placed the beautiful Inside Scallop With Teardrop window die into the center of the rectangle and taped it into place.
  • I ran them through my die cut machine together to create my shaker window layer.


I just love the Slimline layers available from the Papercut shop and I chose the purple from this Festive Variety pack to be my second layer and adhered it to one of the fantastic Papercut Slimline Card Bases that are already prescored .. easy peasy!  I set the base aside to finish my shaker.


  • Next I adhered a piece of acetate that was cut to 7 3/4" x 2 3/4" over the back of the window layer of my shaker.
  • Then I added some foam tape around the entire perimeter of the windows and also in between each window because I wanted each to have it's own contained shaker space so that the filling didn't all fall towards the bottom of the card each time it was still.
  • Also, be sure all of your foam pieces are touching to keep whatever fillings you add where you want them.


  • I cut another piece of white cardstock to 7 3/4" x 2 3/4" and stamped the handwriting images and splatters from the Splatter Stains stamp set onto it.  These images will eventually show through the windows.
  • Then I filled each of my window wells up with some sequins in some greens, pinks and white.  Note that this is going to be the BACK of your shaker so in this case you'll want your sequins to be upside down.  I used my fine tweezers to flip any over that were facing the wrong way.
  • I gently peeled off the paper backing from the foam tape using a tool to hold the shaker piece down as I did... sequins are jumpy and will quickly attach themselves to your foam tape if you let it bounce as you take off the paper.


  • And finally I flipped my stamped piece over and covered the sequin filled windows.


And there's my shaker element!  Easy peasy!  I just adhered the entire thing to my purple pre-cut layer!  You don't have to eyeball it and you can easily tell how much filling you have in your shaker.   In addition, it's much easer to center my shaker onto my base since it's all one contained piece.   I find this method easiest when I have multiple and separated windows like this.  Otherwise I end up with sequins stuck under my foam tape if they're not quite in the right place.  


From there I just added my floral pieces with various thicknesses of foam tape around my windows.  I like to vary the placement for balance.  I also stamped one of the great sentiments from Flower Garden onto a banner and layered it with one cut from purple plaid.


Aren't these florals just the prettiest??  And I love how Rubbernecker has separate base slimline dies and windows so you can mix and match!  It's so fun!  There are tons of new slimline products in the shop so be sure to check it out!


And that's me for today!  Thanks so much for stopping by and I hope you'll come again soon for some more inspiration!


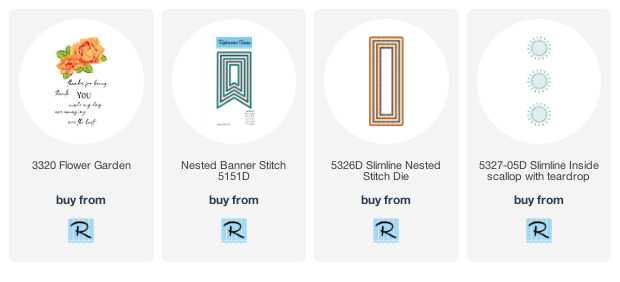
I've provided links below for all of the Rubbernecker products I've used today.  Should you choose to purchase using these links I will receive a small compensation at no additional cost to you!  And thank you!

Thursday, August 13, 2020

Autumn Fire - Rubbernecker Stamps


Hello all!  Lisa here!  I'm so excited to be sharing one of the beautiful new layered florals available in the shop today!


The gorgeous Autumn Fire floral set ... this one is SO beautiful.  I stamped it in the colors suggested on the included stamping guide for this one which were perfect.  They really do look like they are on fire, don't they?

Here's how I made this one!

The flowers:
  • I started by following the guide included in the stamp set.  Each of the stamps is numbered on its sheet (ex: 1A, 1B, 1C, 1D).   And the guide also includes suggested colors.. in this case for the flowers I used Lemon, Citrus, Apricot, and Crimson.
  • I placed stamp 1A into my Misti and stamped it onto my white cardstock using the lightest color, Lemon.
  • Next, stamp 1B using Citrus; 1C using Apricot, and 1D using Crimson.
  • Each consecutive stamp needs to be lined up over the one before it.  If you have a stamp positioner this is the easiest in case you need or want to stamp a layer more than once for a deeper color.
  • A trick I like to use is to add a dot in permanent marker onto what I choose as the top of the stamp (once to the stamp and once to the paper I'm stamping on).
Just place the stamp onto the paper as you want to position it and then place the dot onto the back of the stamp at the top and then another onto the paper aligned with the one on the stamp.  This will be where you line the stamps up each time.


I do this once the first time I use the set to the stamp and then you only need to mark the paper the next time you use it.  It's not perfect... I still need to adjust it a bit once I lay the next layer over it but for this brain, it's SO much quicker!

I do this for each subsequent stamp in the series:


It also helps if your first positioning of the stamp matches the position on the guide because it will help you line it up the first time more easily.  I just usually look for a distinctive feature of the stamp and start there!

After lining it up the first time, with the dots each time after is a breeze even if you don't pick it up again for a while!

A note: make sure you let the marker dry because it will rub off on your Misti, which I know because this happened to me, however it was easy enough to take it off right away with my finger.

Another Note: If you are stamping directly onto your panel and not die cutting and popping up you could use a very light pencil mark that can be erased after stamping!  Or no mark at all!  If you put the dotted area on your stamp to the top, then you will end up in just about the right position easily still each time and after that lining up is easy peasy!


The leaves:
  • I stamped the two layers of leaves in the same fashion as the flowers first stamping the lightest color and then lining up the darker color over it.  The colors used for the leaves are Moss and Basil.
  • Next the banner was cut using the third largest Nested Stitched Banner.
  • Again using the Misti, I stamped the sentiment onto the banner so that I could be sure to have a nice, crisp, dark sentiment.

Assembly:
  • I started with a white base cut 5 1/2" x 4 1/4".
  • I die cut the wood grain design paper using the largest of the Nested Rectangle Small Stitch dies and adhered it to the white base.
  • When I cut the OPC dies I always save my extra frames so I had handy in my stash the two rectangle frames and nested them together and added pop up foam tape to the back and attached it to the center of the woodgrain.
  • Next the florals and leaves were added with foam tape.
  • Then I cut the banner down so that it would fit in the space I had, added foam tape and slid the top underneath the frames and weaved it in between the florals.
  • Finally a few sequins in autumn colors and I was done!
Thanks so much for stopping today!  I hope you enjoyed your visit and you come again soon for more Rubbernecker Stamps inspiration!

And if you'd like more inspiration and awesome tips on the new layering stamps, please do checkout the release video up on the blog today!


I've included links below for all of the Rubbernecker products I used today.  Should you decide to purchase using these links I will receive a small compensation at no additional cost to you.. and thank you!