Showing posts with label Slimline Clouds. Show all posts

Sunday, November 13, 2022

Rubbernecker Stamps - Joy


I have this one up on the blog over at Rubbernecker Stamps.


Hope you'll hop on over to there for links and details!

Thank you so much for stopping!  I hope you'll come again soon!


 Below are links to all of the Rubbernecker Stamps I used for today's project.  Should you choose to shop using these links I will receive a small compensation at no additional cost to you.  And thank you!

Saturday, June 26, 2021

Party Like A Pirate!


Have you seen the fun new release over at Rubbernecker Stamps??  One of my favorite sets is the new Pirates Under The High Seas.  These adorable little pirate critters stole my heart!  I've used a couple of the images today along with some other fabulous stuff from the shop!


There are some new stencils in the shop and I used them here for the background as well as some die cuts.  You can find all of the details up on the Rubbernecker blog!


Here are the Copic colors I used if you'd like them!


 I've included links below to all of the Rubbernecker products I used for this one!  If you choose to purchase using these links I will receive a small compensation at no additional cost to you.  And thank you!

Saturday, March 13, 2021

Rubbernecker Stamps - Be Silly!


Hello!  Today I'm sharing a silly card using the awesome Be Brave stamp set from Rubbernecker Stamps!


I had a ton of fun putting this one together and used every fox in the set.  You can find details on how I put it together up on the Rubbernecker Stamps Blog here!


I just love this scene of these cuties being silly so I thought the sentiment was perfect!

Thanks so much for stopping and hope you'll come again soon!

 I've provided links below for all of the Rubbernecker products I used today!  Should you decide to purchase using these links I will receive a small compensation at no additional cost to you.

Thursday, December 10, 2020

A Wintery Christmas Wish - Rubbernecker Stamps


Welcome!  I've got one for you today using one of the great new clear stamp sets in the Rubbernecker shop along with a few other very cool products!


  • The front window panel was cut using the largest of the Small Stitch Rectangle dies and Winter Trees In Circle die by placing both together onto a panel and using washi tape to hold them in place.

  • Another panel was cut from white cardstock  larger than the stitched panel.
  • Inks in blue, purple and black were blended onto the panel.
  • A heat gun was used to dry the panel and then anti static powder was wiped over it.
  • The Field of Stars background was stamped onto the inked area in Versamark.
  • White embossing powder was sprinkled over and heated.
Tip:  Usually I will stamp and emboss the background first and then add the ink to avoid extra powder sticking to the background.  Sometimes drying it first will avoid that.  This time, however, I still had a lot of stray powder stick to the background.  I blew some of the extra off and decided to heat it up the way it was and I liked the look of the extra sprays of white.  I thought it looked either like more clusters of a stars in the sky or snow falling!  One of those times a mistake worked out!


  • The starry panel was trimmed down smaller than the window panel and attached to a base of 5 1/2" x 4 1/4".
  • Clouds were cut from some glitter paper using the slimline cloud die, trimmed down and two layers were added at the bottom of the starry panel making sure that it was in the right position for the window creating some snowy hills.
  • The window panel was popped up over the background.

  • Before the critters were added, another stitched rectangle panel was cut and then the hill dies were used to cut hills for the front of the panel.
  • The hills were attached to the front of the card below the window.

  • The stamped, die cut and colored critters were added to the front of the card with varying thicknesses of foam tape.
  • The sentiment from the Wintery Friends set was stamped and heat embossed with white onto the same blue used for the front panel.
  • Each word of the sentiment was cut separately and then popped them up in a straight line at the top of the card.
  • Finally, sequins were added!
That's me for today!  Thanks so much for stopping and hope you'll come again for some more Rubbernecker Stamps inspiration!

I have provided links below to all the Rubbernecker products I used today.  If you purchase using these links I will receive a small compensation at no additional cost to you.  And thank you!

Wednesday, November 25, 2020

Crafty Elves' Countdown to Christmas - November 2020 Edition


Welcome to this month's Crafty Elves' Countdown to Christmas!  We pledged to make a card a week for the year and every 25th of the month my crafty friends and I share the Christmas cards we made that month!  Be sure when you leave here you check out what they have for you today:


Now!  Here is how I was inspired:


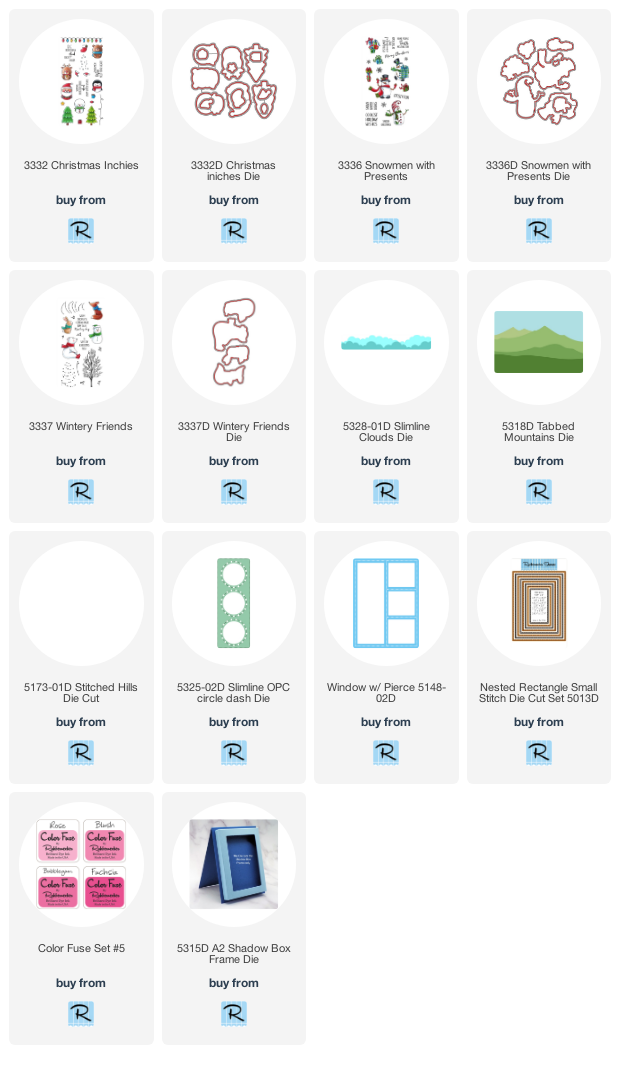
There's a new release over in the Rubbernecker shop and I LOVE it!  This one is using the new Christmas Inchies stamp set!  And I used the cool Shadow Box die to create a 3-D card.  You know how much I love dimension and layers!


I love this Shadow Box die and these inches are perfect for creating a cute holiday scene in it!  I was able to easily create layers for it by using the die to cut a second box from printed paper and then just cut on the embossed fold lines and trimmed the pieces a tiny bit smaller.  This one fits on a 5 1/2 x 4 1/4" base but you'll need to present it in a box because it definitely won't fit in an envelope.


I used the Inchies again for a slimline... I just love these adorable little images!!  And those Christmas lights are awesome.  I had fun with a non traditional color scheme too.


My sentiments on both of these Inchies cards are stacked sentiments on the set, but I needed them to be long so I just stamped them and then cut them apart!


And then I turned to the adorable Snowmen With Presents set.  I decided to use a couple of the critters from Wintery Friends on both of these... they were perfect!


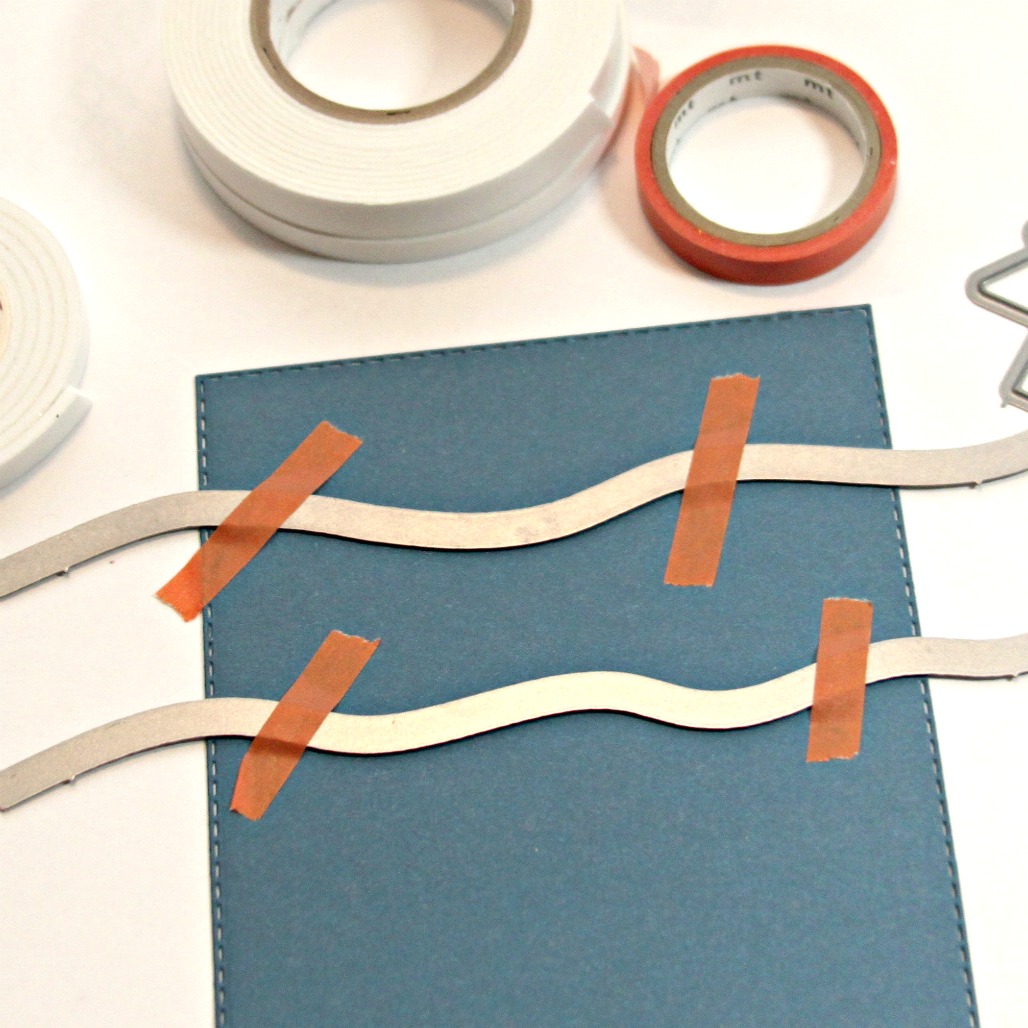
For this one I used some design paper for my background and stitched hills to cut glitter paper for my snow.


For this one, I used a die cut from the slimline clouds to create this background along with some Color Fuse Ink.  The Christmas lights from the Inchies set came in handy for this one and the bunny is from Wintery Friends.


And that's me!  I have links below to all of the Rubbernecker products I used for today.

Don't forget to head on over to my crafty friends' places and see what they've created, but before you go I have a winner from the comments of last month's post:


Verna!  Send me your snail mail so I can drop you some happy mail!

We're playing again this month!  Leave me some love and I'll pick a name and send you some Happy Mail.

Thank you so much for stopping by today and hope you enjoyed it!  We have something special planned for next month's posts too so be sure to come back again!


Thursday, October 22, 2020

Rubbernecker Stamps - Eek!


Welcome back!  Today I've got another fun Halloween card for you using some great dies from Rubbernecker Stamps!  I've fallen in love with these monsters!  

  • I started by cutting the Monsters die sets from multiple colors of cardstock like I did last time with the owls and then put a bunch of them together (I've got extras for later!)


  • Next, I cut the largest Slimline Rectangle from white cardstock.
  • I had previously cut some of the Slimline Clouds to use like a stencil or mask and pulled those out to blend some ink around them to create my background in green, blue and purple.
  • Then I splattered on some of the same inks with a waterbrush over the top of the clouds.
  • And finally for the cloudy background, I sprayed on some water and dabbed it off... I love the softer look it gives!


  • Next I started building my scene and cut them competely from black paper.  I used the Slimline Grass dies, Spooky Tree, Haunted House and others so they would just appear as shadows for a kind of silhouette background.


  • After the background was completed, I started adding my monsters with some popup tape in different widths.


  • I made one of the little monsters a pumpkin candy bucket by trimming one of the pumpkin die cuts and used a vine for the handle.
  • I die cut a couple sets of the alphabet die cuts in black glitter.  I will save the letters I didn't use for another project!  But I needed two E's so I cut two sets.
  • I popped up the letters for Eek onto the card as well as a couple bats and the added the owl in the tree!


Don't these little guys look like they are having a good time?!  And somehow I don't think they'll be scared to stop at this spooky house... 


And that's me for today!  I hope you enjoyed it and you'll come again for some more inspiration!


Below are links to the Rubbernecker Stamps products I've used for today's project!  Should you choose to purchase using these links, I will receive a small compensation at no additional cost to you.  And thank you!
 

Thursday, October 8, 2020

Happy H-owl-oween! - Rubbernecker Stamps


Hello all!  I am excited to be sharing a Halloween card today using a bunch of die cuts from the Rubbernecker shop including the new Build An Owl and Owl Halloween Add-On Die Sets (Along with a few other things)!


These die sets are each a one piece die so you cut all of the pieces at once. Easy peasy! 

  • I started by cutting each set multiple times from various colors of card stock.
  • I dumped them into two piles onto a sheet of white scrap paper... one with the owl parts and one with the Halloween parts.
  • I knew I wanted three owls for this card, so I started picking out the colors and pieces I wanted to use.  And as I did that, I started adding the like pieces to separate piles.  All circles in one, all belly pieces in another, etc.

  • Once I had all of the pieces I wanted, I continued to separate the other pieces that were left for easy use.
  • Trees were cut from black cardstock from both the Spooky Tree Die and the new Owl and Halloween Tree Die.

  • Once all of my pieces were cut and sorted, I began assembling my critters using liquid glue and some thin foam tape.
  • I ended up with a lot of eye pieces in various colors that I would normally want to be black.  I simply colored those with a black Copic marker and also did the same with any extra white pieces I was looking for that I wanted to be a different color.

  • With all of my critters completed, I cut a white base using the Slimline Solid Deckle Die.
  • I saved cloud templates I had cut previously and used them to ink blend clouds onto the background using purple, green and orange.
  • I layered that onto an 8 1/8" x 3 1/8" piece of white cardstock.
  • That was layered onto a purple 8 1/4" x 3 1/4" piece of purple cardstock.
  • And all were layered onto a 8 1/2" x 3 1/2" piece of black cardstock.

  • The trees were then added over the clouds.  I added three Owl and Halloween Trees first.  Very thin foam tape was added to the back and they were spaced evenly onto the cloud panel.
  • Next two Spooky Trees were added in between those trees with a foam tape that was just a bit thicker.

  • Next the owls were popped up onto the tree background.


  • Spacing them evenly apart and using foam tape (the most used item in my craft room.


  • I stamped the Happy Halloween onto some purple cardstock with Versamark Ink after wiping antistatic powder over it.
  • Then some white embossing powder was sprinkled over and the excess tapped off.
  • I heated it up and then let it cool.
  • I centered it in the middle of the banner die and taped that in place using washi tape and then ran it through my die cutting machine.
  • I popped it up onto the card.
  • Finally, I added a few sequins.

And that's me for today!

Thank you so much for coming and I hope you enjoyed your visit!  Come again soon for more Rubbernecker inspiration.
 

Below are links to all of the Rubbernecker products I've used today!  Should you decide to purchase using these links, I will receive a small compensation at no additional cost to you.  And thank you!