Showing posts with label Decaf Background. Show all posts

Friday, February 9, 2024

Miss You Like Crazy - Miss Ink Stamps Bee-utiful Blossoms


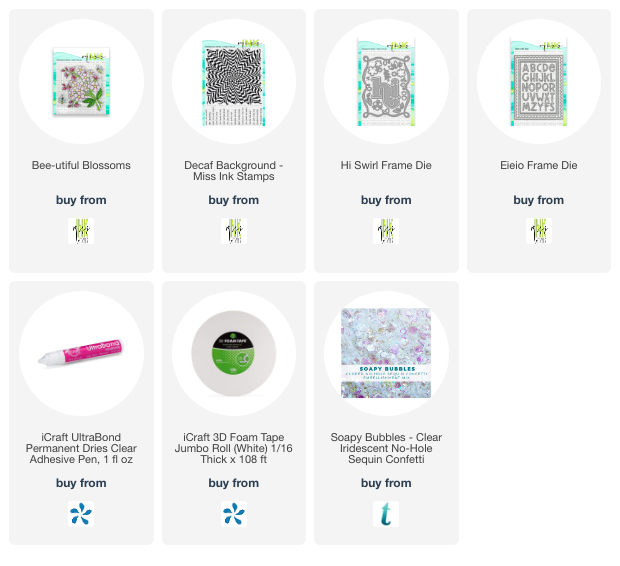
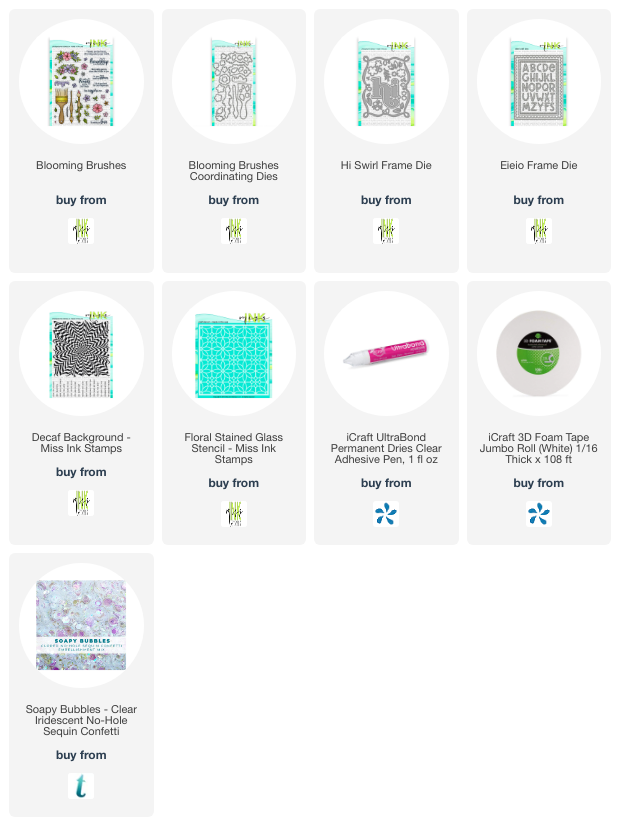
I'm back with some more watercolor!  This time I used the new Bee-utiful Blossoms stamp set along with the Hi Swirl die set.


I added a little sentiment from the Decaf Background set... love those tiny sentiments!

That's me for today!  Thanks for stopping and hope you come again soon!


Thursday, January 11, 2024

Hi-Love You Lots


I'm up on the blog over at Miss Ink Stamps with this one.


Join me over there for links and details!

Thanks so much for stopping.  Come again soon!


Friday, June 16, 2023

Sending Big Bear Hugs - Miss Ink Stamps


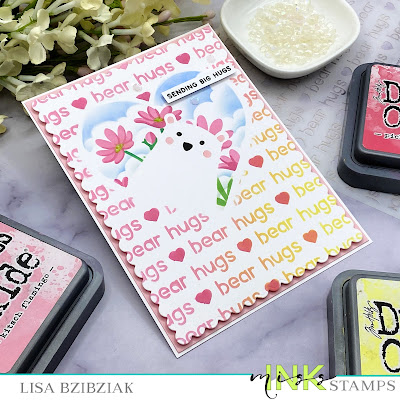
Happy Friday!  I've got some more Miss Ink Stamps for you today!  I used lots of stencils for this one and I'll have a video coming soon!


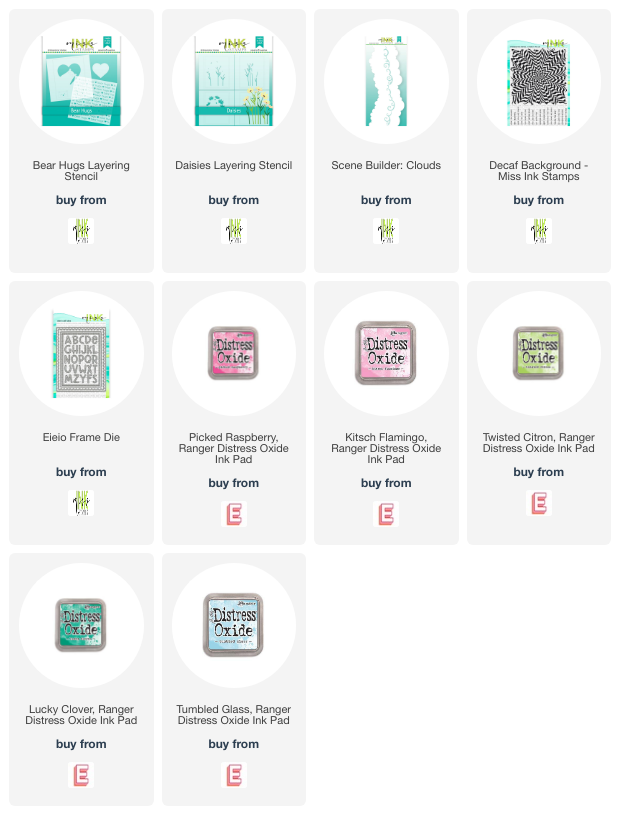
I used the Bear Hugs and Daisies Layering stencil sets along with the Slimline Clouds.  Don't you just love that cutie peeking in to say hello!?


I just added some Nuvo drops to the eyes and the centers of the flowers for a tiny bit of dimension and I added a sentiment from the Decaf Background stamp set.

That's me for today!  Thanks so much for stopping and I hope you'll come again soon!


Friday, May 19, 2023

Miss Ink Stamps - BFF!


I've got some more new Miss Ink Stamps for you today!


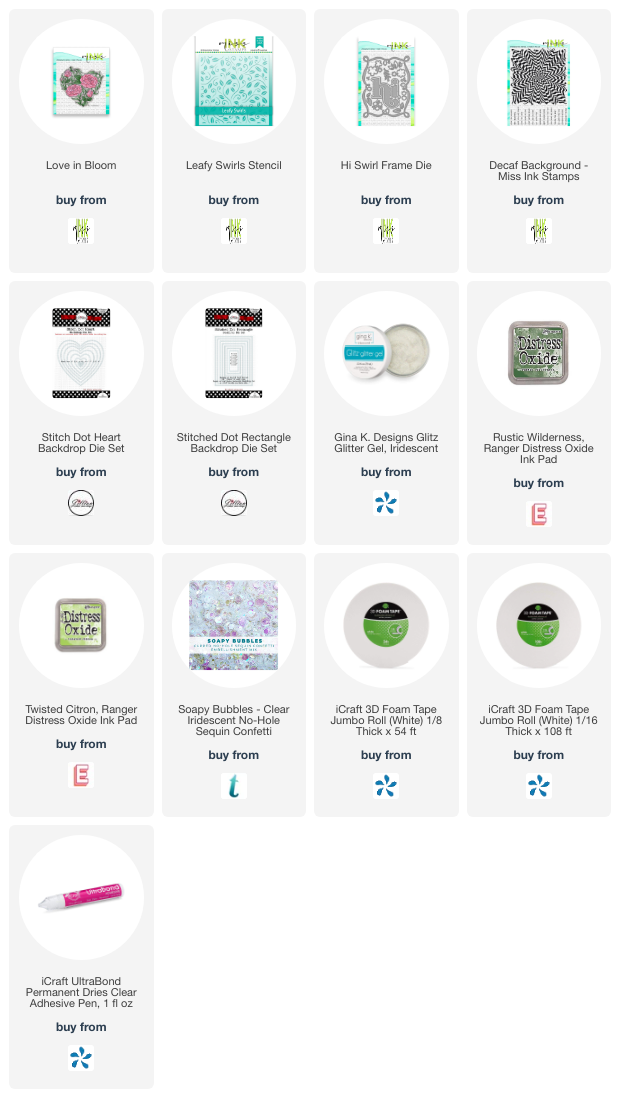
I used the new Love In Bloom stamp set... that gorgeous floral in a heart shape.  I stamped, fussy cut and colored it and then popped it up onto a heart die cut just slightly larger to put a layer between it and the background with the Leafy Swirls Stencil.  I used Distress Oxide to add the leaves and then added some Glitz Glitter Gel over the top.


I added the Hi Swirl Frame in pink and intertwined the heart and the loops.

That's me for today!  Thanks for stopping and hope you'll come again soon!
 

Friday, October 22, 2021

Stencil Week at Miss Ink Stamps With Perfect Plaid!


Hey there!  It's Stencil Week over at Miss Ink Stamps and we've got some fabulous new stencils for you and a chance to win some!


I used two of the new stencils for this one... 'cause why not??  I started by blending some distress oxides from Squeezed Lemonade (bottom right) to Spiced Marmalade (top left) across a panel through the Perfectly Plaid stencil.  Then I removed the stencil and blended more Squeezed Lemonade over the yellow plaid... you could still see the lines but a little less contrast.  I laid the Fall Mandala Stencil over the yellow and blended some of the Spiced Marmalade and Rusty Hinge over it.  Finally I splattered a few drops over water over the top and soaked up the extra with a towel.


Loved it so much I didn't want to cover it up!  So I opted for Hey There using the Ei-Ei-O Word Dies and a little sentiment strip from the Decaf Background stamp set to finish it off.. well... of course a few of my favorite sequins from Trinity.

That's me for today!   Be sure to check out the new Miss Ink's Pad Facebook Group here and request to join (be sure to answer the questions!)  And you'll find there a chance to win some of the new stencils (your choice!).  And then head over to the Miss Ink Stamps IG account here and find the Stencil Release Graphic to see how you can win there!


Thanks for stopping!  Come again soon!


Thursday, August 12, 2021

You Are So Kind With Hand Drawn Hearts - Miss Ink Stamps


Hello!  I'm up on the blog with this one using the Hand Drawn Hearts stencil and Gardenia stamps from Miss Ink!


Hop on over there and join me for links and details!  Thanks so much for stopping and hope you'll come again soon!


Friday, May 28, 2021

Miss Ink Stamps - Hey There!


Hey there!  I've got some sweet Miss Ink Stamps for you today!  I colored all of the Bubbles critters for last week's project, but ran out of room to use all of them... and then I decided that this sweet bunny would be perfect all on his own!


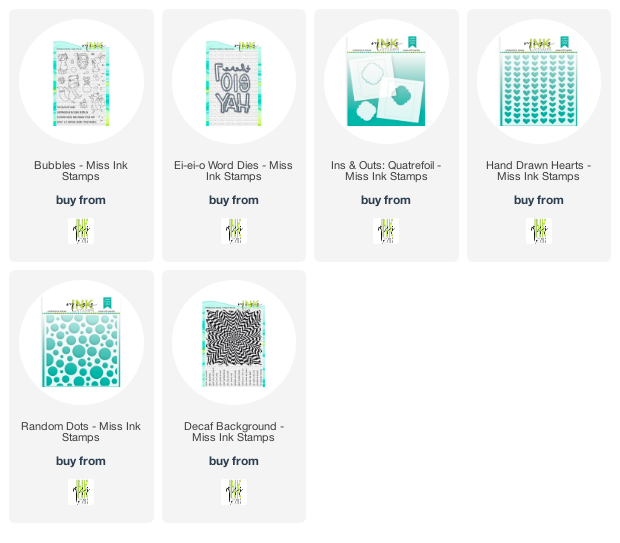
I am so in love with the new Ins and Outs stencils.  I started this background by blending some ink onto the card using the Quatrefoil stencil.  Then I laid the Handrawn Hearts over the Quatrefoil stencil before removing it and added some faint hearts in that area and then removed both stencils.  Next I used the Quatrefoil Mask and covered up the already stenciled area and laid the Random Dots stencil over that.  The pink bubbles were stenciled through it while the mask protected the Sentiment area.  Finally I lifted the stencils and used the frame outline for the Ins and Outs Quatrefoil to add a frame in the same pink color.  I love how it came out!


Absolutely love the front for the EI EI O dies and also love that there are a couple different combos for the letters.  I extra love the "there" word die included in the set and it was perfect cut in black for this sentiment.  I added one of the tiny sentiments from the Decaf Background for the rest of my sentiment.  Finally I added the bunny, some bubbles and a couple hearts to finish it off!


Only a few Copics needed for this one!

Thanks so much for stopping and hope you will come again soon!
 

Friday, August 28, 2020

Woodland Wonder - Miss Ink Stamps


Welcome back!!  I've got a little bit of a Miss Ink woodland wonder for you today!  I'm in love with the Smokin' Caterpillars stamp set that these mushroom images come on.  It's cool that you can use them along with the other Alice Collection images OR they are beautiful on their own and mixed with some of the other sets from Miss Ink!


I started by ink blending a white panel of cardstock using Cracked Pistachio Distress Oxide Ink.  I didn't worry about full coverage and left lots of variation.  Then I sprayed my Leafy Greens stencil with some Pixie Spray (let it sit for a few minutes while I gather my supplies) and then place it over the panel sticky side down.  This stuff has saved my crafty life recently.  I had no clue.  (Thanks Heidi!)  Then I applied some Deco Foil Metallix Gel in Champagne Mist.  I did add some Distress Embossing Glaze powders to this and heat it, but since the colors weren't really much of a contrast it didn't have a huge impact.  I will be playing with these next month so stay tuned!


Finally I cut all of my pieces and assembled them... adding in a couple flowers, the bee, some greenery and a butterfly ... and of course that beautiful banner... from the Springtime Banners stamp set and gold embossed a cute sentiment from the Decaf Background stamp set... perfect for that banner.

That's me for today!  Thanks so much for stopping and I hope you enjoyed it!  Come again soon!

Friday, August 14, 2020

Hey Beautiful - Miss Ink Stamps


I'm back again with some more Hay Daze from Miss Ink Stamps!  Yesterday I was up on the Miss Ink blog with one of these mini scenes using the so versatile Slimline Background Stamp and if you'd like to check it out and see all of the cards I've made so far using this scene stamp, you can take a look at that right here!


I pretty much built this one in the same fashion as yesterday's card and the piece was left over when I stamped the slimline background and die cut two pieces.. one for an A2 and then this one!  I colored it up, added the frames and then some images from Springtime Bunnies, Springtime Banners, and that cute skinny sentiment from the Decaf Background!


I absolutely love these new background stamps and how many different ways you can use them!

Thanks for stopping and please do come again soon!

Thursday, August 13, 2020

Just Saying Hello - Miss Ink Stamps


I'm up on the blog at Miss Ink Stamps and sharing another card using the new Hay Daze stamp set in a different way!  If you'd like more details and links please join me over there!

Thursday, June 18, 2020

Hey Beautiful - Miss Ink Stamps!


I'm up on the blog over at Miss Ink Stamps with some more Bleachy goodness and I've tried a few new things!  I have a photo tutorial and share how I put this one together.  If you'd like details and links, please do hop on over there to check it out!

Thanks so much for stopping and hope you'll come again soon!

Friday, January 24, 2020

Sending Big Hugs - Miss Ink Stamps


I'm back again with some more Miss Ink Dazzle Dust!  Today I'm playing with the Rose Garden variety!


It's a beautiful pink to green shift that made me think of Spring!


I made a paste again by mixing the glitter along with some Glossy Accents and applied it through the Halftone Lines Bold Edges stencil.


Once it was dry, I laid it under my Misti and placed a heavy box on top of it because it was a little curly.  I left it over night and it worked very nicely to flatten it.  I used strong adhesive from Scrapbook Adhesives along all of the edges to be sure it stayed that way!  And the adorable bunny and beautiful florals and sentiment ribbon from Springtime Bunnies and Springtime Banners were perfect to decorate along with a sentiment from the Decaf Background set (I just curved it a little on my block so that it would fit perfectly in the banner).


And there you have it!  I think this would make a beautiful Springtime or Valentines card for anyone!

Thanks for stopping!  Be sure to come back soon and often for more inspiration!