Showing posts with label Flower Bouquet. Show all posts

Saturday, February 1, 2025

Helping Me Grow - Brass & Bliss Craft Co


I have this one up on the blog over at Brass & Bliss Craft Co!


I'm using that beautiful Flower Bouquet die again along with a bunch of other stuff!


Join me there for the details!
 

Thursday, April 9, 2020

Clean & Simple Layered Anniversary Card - Rubbernecker Stamps


Welcome back!  For today, I've made a Clean and Simple but layered card.


And I used one of the frame dies in a different way to add a decorative border on the sentiment strip.


And I used that beautiful Flower Bouquet #1 that is so beautiful when you color it, but turns out it's beautiful when it's left in black and white as well!  You don't like to color?  It doesn't mean you can't buy some of the beautiful florals that are available!

Here's how I created this one:

  1. I cut a black base to 5 1/2" x 4 1/4" using my paper trimmer.
  2. Then a red layer was cut to 5 3/8" x 4 1/8" and adhered to the black base.
  3. A white piece of cardstock was cut using the largest of the Nested Rectangle Small Stitch dies.
  4. I cut a white strip 5 1/2" x 1 1/2" (or as wide as  you need the strip to be to fit your sentiment).
  5. A plaid design paper strip was cut 5 1/2" x 1 1/4" wide (or 1/4" less than your white strip)
  6. A black piece of cardstock was cut to 5 1/2" x 1 1/8".
  7. Finally I cut a black piece of cardstock using the Rectangle Combo Opc #3 die.  We're going to use the third largest frame with the scallop inside and out and you can save the rest for later use!
  8. I used the black strip to help decide where to stamp my flower bouquet by placing the white die cut layer into my Misti.  I laid the black strip across the white layer and played with the positioning of the stamp over the top of it so that I knew the image would fit where I wanted it to, with the strip about where I wanted it.  Once I had it in place and the stamp was in position, I removed the black strip and stamped the image using my Memento Tuxedo Black Ink.  (In case you didn't know, you can easily use your Misti with a cling foam mounted rubber stamp simply by removing the black pad included with the Misti!)
  9. I cleaned the stamp and again positioned the black strip where I wanted it and then repositioned the stamp upside down and underneath the strip.  Underneath where the strip is positioned, the images did overlap in order to get the look I wanted, but since it's covered up by the black strip, no worries!  Also keep in mind if you make a mistake and perhaps some of your doubled up image that's supposed to be hidden shows,  don't start over!  You can always cut a new slightly wider black strip and just have a bit more black border underneath your design paper.
  10. Next I placed the white cardstock strip into the Misti and stamped my Happy Anniversary sentiment onto it.
  11. Finally you will layer all of your pieces together!  The black base first, then the red piece, and next your white die cut floral stamped piece.
  12. Then your strips!  Black first, then whatever design paper you choose.  Before adding the white stamped piece, I cut the longest sides from the black scalloped frame apart and adhered them to the top and bottom backside of the white strip and trimmed them down to the same length as the white strip using my scissors after they were adhered leaving a decorative scalloped border on either side of the sentiment strip and then adhered that strip to the design paper strip.
  13. Finally I adhered the assembled sentiment strip over the top of the floral images in the center and added a few sequins.
And that's me for today!  Thanks so much for stopping and hope you enjoyed your stay!


Below are links to the Rubbernecker Stamps products I've used today.  Should you decide to purchase these items using the links below, I will receive a small compensation at no additional cost to you.  And thank you!

Thursday, March 26, 2020

Sending Some Comfort - Rubbernecker Stamps


Hello all!  Lisa here!  I'm sharing a sympathy card today using one of the beautiful florals from the shop and one of my favorite sentiments for sending love at one of the most difficult times we face.


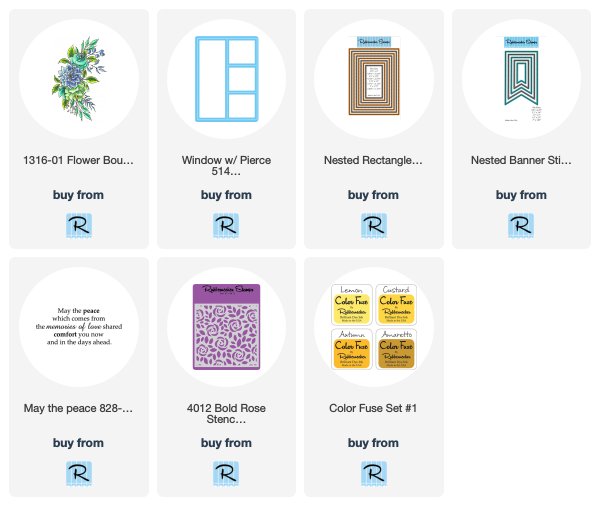
This gorgeous Flower Bouquet is one of my faves to color up... it's beautiful in any colors you choose!  I find it very hard to make a sympathy card at the time that I need it.  So I find it best to have a few on hand to choose from.


And this sentiment.  It says so much yet not too much.  Just a simple wish of comfort.


Sending peace and comfort to all of you out there!  As always, we will be bringing you as much inspiration to you as we can over the next few weeks to keep your eyes happy and your minds and hopefully your hands busy!

Here's how I made this one:

  1. I cut a panel of white cardstock using the largest of the Nested Rectangle Small Stitch Dies.
  2. I used some distress inks in  yellow to first blend some yellow onto my background and then applied some of the orange through the Bold Rose Stencil.  (I did this before I received my beautiful new Color Fuse inks from Rubbernecker and I can tell you since I got them I have used them in the same way and they worked beautifully!)
  3. Next I cut the Window w/ Pierce from a yellow that coordinated with my background.
  4. I stamped the Flower Bouquet and cut it using the Scan N Cut and then colored it in with my Copics.  I went for a soft look this time with some peaches and yellows for the florals leaving some white space even (it's ok to not color every part of your florals!)  When I leave white, I like to use my blending marker to soften up the edges between the color and the white space.
  5. Next I cut a banner from white cardstock and stamped the sentiment in the center using my Misti.
  6. Finally I assembled all of my pieces and adhered them with various thicknesses of foam tape.  Added a few sequins and done!

Thanks so much for stopping today!  I hope you enjoyed it and you'll come back again for more Rubbernecker Inspiration!


I have provided links below to the Rubbernecker products I used today.  Should you purchase using these links I will receive a small compensation at no additional cost to you.  And thank you!

Thursday, January 23, 2020

Be That Kind of Woman - Rubbernecker Stamps


Lisa here and excited to be sharing with you one of the pretty new florals in the shop!  You'll find step by step directions below.


I used some beautiful Deco Foil Opal Sheets for this one and I just love it.  It allows the color behind it to show through and it's got a beautiful shimmer.
   

And this floral!!  So fun in any colors.  I've been in a mood for spring lately so I used some pinks, oranges, and yellows.  The sentiment was speaking to me today... Are you this kind of woman?  I try  to be... some days it's more like... Oh crap... I'm up...lol!  (Enter my good friend Mr. Coffee)


Here's how I created this card:
  • First, I cut a panel of the Smoothie colored cardstock using the Stitched Rectangle Dies.
  • I placed the Honey Combs stencil over the panel and used masking tape around the edges just inside the stitched lines on the panel so that my honeycomb pattern wouldn't go right to the edge.
  • I used a spatula to apply Thermoweb Deco Foil Transfer Gel through the stencil; lifted off the stencil and set it aside in a safe place to dry.
  • Once the panel was dry, I placed the foil over the honeycomb pattern, colored side facing up and ran it through the Minc machine.  Once it came through the other side, I pulled the foil off of the top and Voila!
  • While I was waiting for the gel to dry, I colored in my pre-stamped Flower Bouquet image that I cut using the Scan N Cut.  I started with Copic markers and added some detail with a little bit of colored pencil.
  • I cut white cardstock and that pretty plaid using the Square Combo die.  I chose the two frames I wanted to put together and nestled them upside down on my table.  I added some adhesive with my runner to keep them together so that I could easily add foam tape to the underside and then added the combined frame to my foiled base.
  • I stamped that awesome sentiment onto a one of the nested banner dies that I cut from white cardstock and popped that up inside the frame.
  • Finally, I nestled the beautiful floral around the sentiment.
Thank you so much for stopping by today!  I hope you enjoyed it.  Come back soon and often for more Rubberneck inspiration!

These are links to the Rubbernecker products I've used today.  Should you choose to shop using them I will receive a small compensation at no additional cost to you.  And thank you!