Showing posts with label Circular Harlequin. Show all posts

Friday, February 7, 2025

S.W.A.K!


Have you seen the new dies over at Miss Ink Stamps??  I love this set of hearts and lips in the SWAK Postage Hearts!


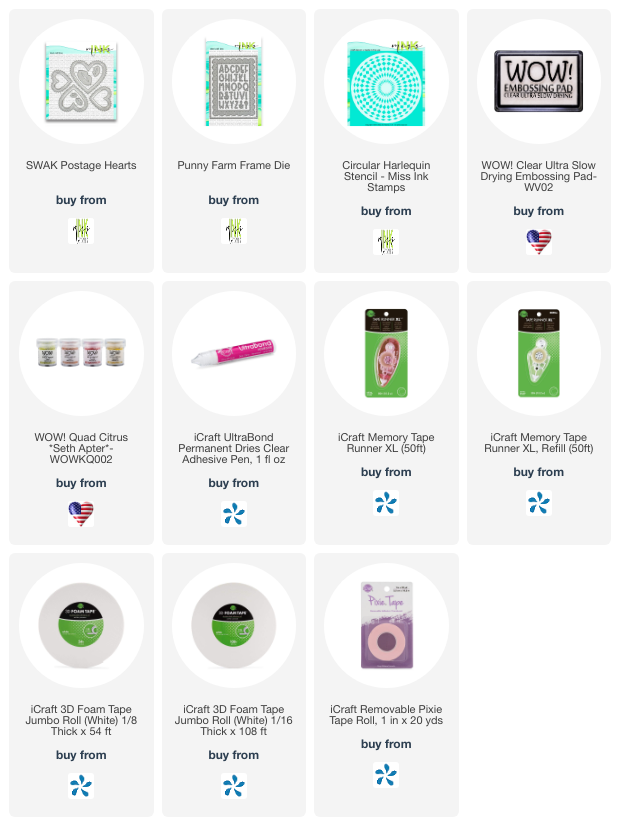
I placed them over a background created with the Circular Harlequin stencil, embossing paste and embossing powder.  I created the sentiment using the Punny Farm Alpha.

That's me for today!  Thanks for stopping!
 

Monday, October 2, 2023

Something WKD - ThermOWeb


I'm up on the blog over at Therm O Web with a Wicked Mixed Media Canvas!


I've added lots of foil in lots of different ways.


You can bet I made a mess with this one, and I loved doing it!


Hope you'll join me over there!

Friday, April 8, 2022

Miss Ink Stamps -Mixing It Up with Foil and Acrylic Paint


Welcome back!  Played with some more foil and acrylic paint this week!  I created this background using a piece of leftover foil.  I had created a foil base using the Circular Harlequin stencil and some transfer gel which left a great piece of negative foil.  I thought the background was perfect for a Mother' Day Card with the Climbing Roses stamp set!


I grabbed a gel print I'd made recently and ran it through with the sheet and got a really cool effect.  I learned a couple things and an important one was the age of your gel print has a lot to do with the amount of foil that will transfer to your piece.  Originally I put one through that was 6 months old and a little transferred leaving some pretty sparkle.  Then I used this one that was just a couple weeks old and got more of a transfer.  Tested the theory a few times and it seems to work.  But it's ok because I've got more ideas that I'm gonna play around with and I'll let you know!


In the meantime here's a quick video showing the difference between this one and the old one!  I'll be using the other panel in the near future on another project so stay tuned for that!


Thank you so much for stopping!  Hope you'll come again soon!


Friday, November 12, 2021

Fall/Winter Coffee Lovers Blog Hop 2021 - Tea First


Welcome back!  This is my second card for the Coffee Lovers Blog Hop and I've used some great Miss Ink Stamps stuff for this one.  Here's how I was inspired:


I created the background with my Gel Press, some acrylic paint and my very favorite stencil from Miss Ink, the Circular Harlequin Stencil.  I haven't used it in a while though and decided today was the day!


I decided the background was perfect for a Tea Party... Just the Mad Hatter and a fun sentiment...


Now!  Head on over to the Coffee Loving Cardmakers Blog to check out all of the details for the hop!  It's a week long celebration of all things Coffee, Tea, Cocoa or Hot Apple Cider!  Create something new with one of those themes and link it up for your chance to win some prizes!  Lots of Sponsors and lots of prizes!  And link up multiple times with additional new projects!  Be sure to link back to the challenge and give us a mention.  Grab the hop graphic for your post!  And be sure to give our sponsors some love!


I’m also playing along over at the special coffee themed challenge at Double Trouble Challenge Blog De Ja Brew!  If you are playing along with the CLC Hop be sure to check out this one too for more chances to win!


Thanks so much for stopping and hope you’ll come again soon!


Wednesday, November 18, 2020

Happy New Year Sneak Peek - Miss Ink Stamps


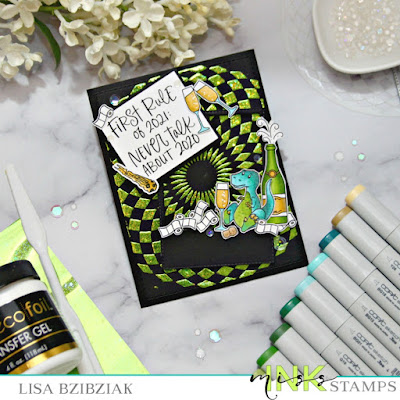
Exciting day today!  It's Day 1 of sneak peeks over at Miss Ink Stamps and I'm sharing a sneak of the new Happy New Year mini set!


I combined mine with the Unstoppable stamp set because... well... I thought it was perfect for this  year!  I mean.. you don't know... we may yet see dinosaurs!

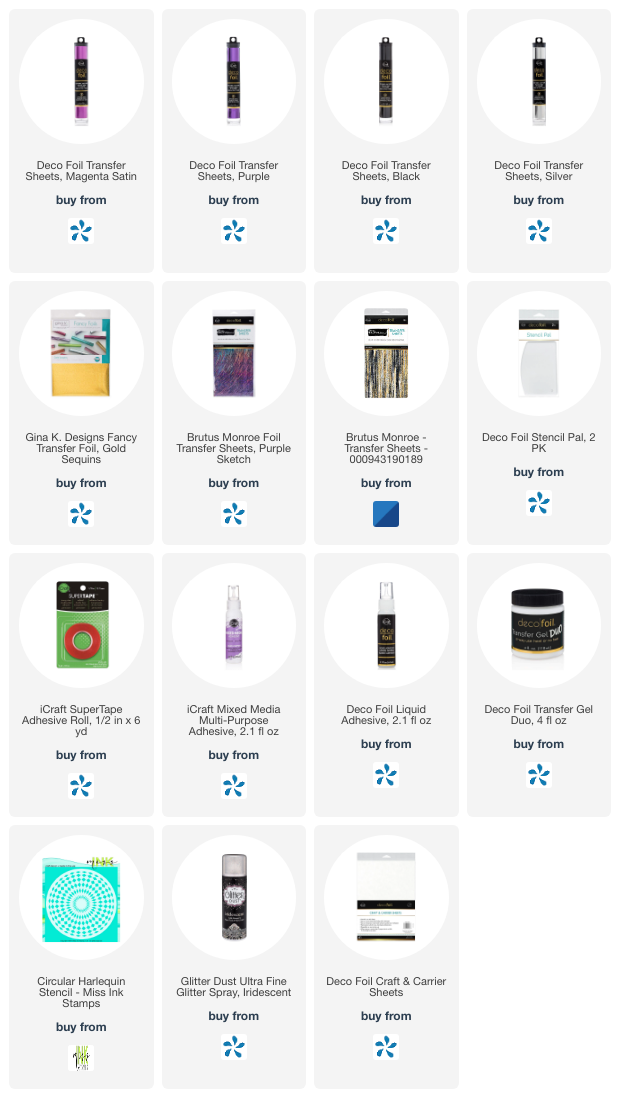
And I foiled my background with some Glittered Green Deco Foil for extra New Year Celebration shine! 


Be sure to head on over to Instagram and check out the release post to see how you could win!  And we'll have more release sneaks this week and Release Day is on Saturday!  Be there or be square!


Friday, July 17, 2020

I Will Sit With You - Miss Ink Stamps


I'm back again today with some more Miss Ink Stamps!  I'm taking a break from using the Say Cheese stamp set just for a moment (big plans for that one for next week!) to bring you some pretty Gardenia florals along with the In The Dark sentiment... and of course I'm painting with glitter again!


I painted my stenciled background again but this time I painted over some black texture paste that I applied through the Circular Harlequin stencil.  After I added the paste, I added a mixture of white and chunky black glitter over it.  I threw a few of those Dazzle Stars in also while it was wet.


I painted some of the white glitter onto the flower petals too after coloring them lightly with Copics and then added the frame, florals and heat embossed sentiment to the card.


And that's me for today!  Thanks so much for stopping and hope you'll come again soon!

Friday, March 13, 2020

A Magnolia Spotlight - Miss Ink Stamps


I'm up on the blog over at Miss Ink Stamps sharing a technique I've been playing with lately and the details of how I created this one!

Thanks for stopping here and if you'd like to visit me over there for more pics, links and tips, you can find my post here!

Friday, January 10, 2020

Mixing It Up - Hogs & Kisses from Miss Ink!


Hello!  I'm stuck on the oh so adorable Punny Farm Pigs stamp set (which has some fantastic punny sentiments for Valentines Day by the way) and sharing another one with you today with a cool background I made using the Circular Harlequin stencil along with some texture paste and Wow embossing powder.
I started by die cutting a panel from Mixed Media Paper.  When I remember I like to use Mixed Media Paper when I'm using any heavy medium like Texture Paste.  I taped down the stencil just along the outside edge of my panel and applied the Texture Paste with a spatula.  One of my favorite tools for this is the Thermoweb Stencil Pal because after I apply my paste, I can run the Stencil Pal over the whole thing to smooth it out.  Once the paste was applied, I peeled off the stencil and while the paste is still wet, I sprinkled on two different "flavors" of Wow Embossing Powder randomly.  When I do this and tape the excess off,  I add the leftovers to an empty jar so I can use it in the future.  Finally I use the heat gun to met the powder... you know it's working when the paste bubbles a bit.
Next I went about stamping, cutting, and coloring my images... the pigs and ducks are from the Funny Parm Pigs set and the hearts and envelopes are from the Punny Farm Goats set.  (Which I'm pretty sure is my next obsession... stay tuned!)  I used a simple frame to frame them and made sure lots of my background would show through... because I love it!
Finally, this perfect sentiment from Punny Farm Pigs and I added some Glossy Accents to the hearts and a few of these Trinity sequins (my current fave!)  I just love that background!!
And there you have it!  Wow Embossing Powder is having a challenge this month with the theme of Love and I'm playing along over there!
Thank you so much for stopping by!  Hope you enjoyed it and come back soon for more Miss Ink inspiration!
Sunday, December 29, 2019

Happig New Year! - Miss Ink Stamps


I had a lot of fun with this one!  I started with the background, using the Circular Harlequin Stencil... quite possibly my very favorite stencil of all time!  I will be sharing how I created this background over on the Miss Ink blog in January so stay tuned for that!


I stamped a bunch of images from the Punny Farm Pigs stamp set, including a lot of the cute little streamers onto some Copic friendly paper and then used my Scan N Cut to cut them all out.  I normally prefer the dies, but knew I wanted a lot of the little streamers so I decided the Scan N Cut was the way to go for this one.


I colored them all with my Copics and laid them out on the card before attaching them using various thicknesses of foam tape.  I added some shimmer to the balloons using two different brands of shimmer pens.. I love how the camera caught the shimmer in this pic!  It's almost magical looking!  And finally I added the sentiment built using the Season's Greetings set along with part of a sentiment from the Punny Farm Pigs set... I love mixing and matching to create just the right sentiment!


So fun!!!  I love those cute little piglets!  And they look like they really know how to party!

Hope you enjoyed your visit!  Come back tomorrow for more fun and inspiration!