Showing posts with label Photo Frame. Show all posts

Thursday, May 2, 2024

A Jillian Vance Design - Hello Beautiful Butterfly


I'm up on the blog over at A Jillian Vance Design with this one.


I hope you'll join me over there for links and details!

Thanks for stopping.  Come again soon!


Tuesday, August 1, 2023

Caffeinated Christmas Card Challenge #20 - Cute Critters


Happy August!  It's time for a new Caffeinated Christmas Card Challenge!  This time around the required twist is Cute Critters and the sponsor is Riley and Company!  Here's how I was inspired:


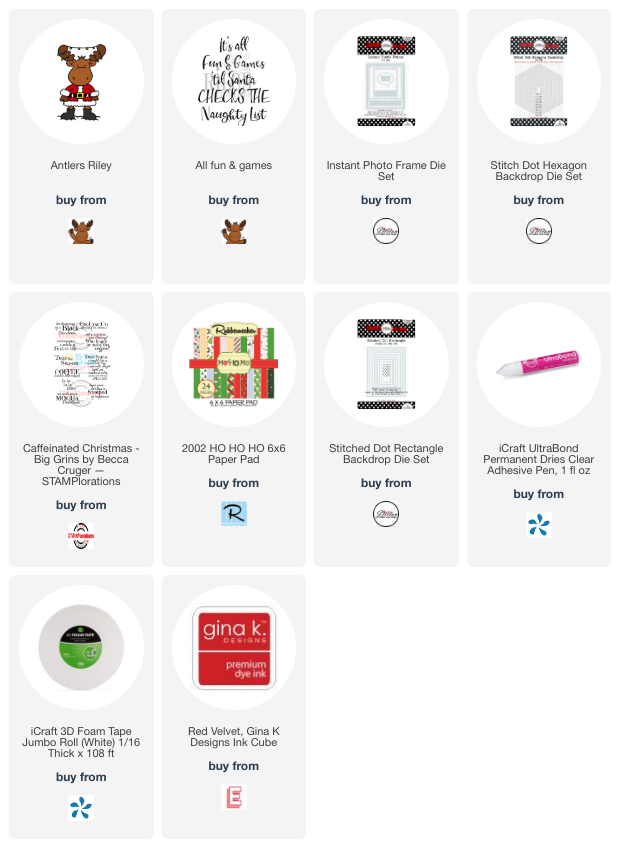
I just love Riley The Moose!  He's such a cutie and he's the Forest Gump of cute critters!  He does everything!  In this image he's dressed like Santa, and I love that tangle of lights on his antlers.


Riley and Company has some of the best sentiments too!  I added the Coffee stamp from an old Stamplorations set to finish the theme with a Coffee twist.

I used some paper from a Rubbernecker Stamps pack that has some coffee cups ... maybe cocoa... but probably coffee.. on it and cut one out to add to the sentiment label and then placed a teeny tiny coffee cup in Riley's hoof.


I mean... that's gotta be a long list.  He's sure to need some coffee to get through it in time.

That's me for today!  Be sure to check out the Riley and Company shop and head over to the Caffeinated Christmas Card Challenge blog post for more inspiration!

Thanks for stopping!  Come again soon!


Friday, March 24, 2023

Life's Ruff-Sending Hugs with Miss Ink Stamps


Happy Friday!  I've got another fun furbaby card for you today and this time I'm playing along over at Double Trouble Challenge Blog's Pawsome Pets Challenge!  I've met the twist with my Punny Sentiment.  And their partner this time around is the Use Your Stuff challenge where the theme is Animals so I'm playing along there too.


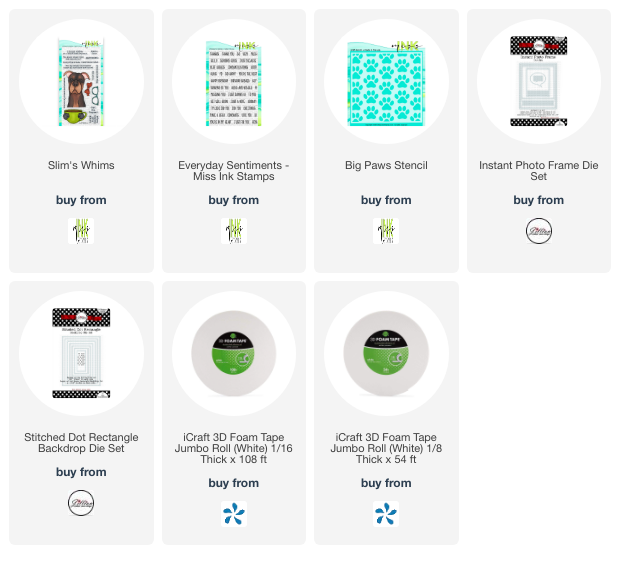
I've used the Slim's Whims stamp set from Miss Ink and a background with my Gel Press and the Pawsome Stencil!  This stamp set was inspired by my boy Slim and I love to color him up in all kinds of different colors.  I'll take my boy in any color!


There's a second link up this month!  Just add a pic of you and your dog or cat and upload it for the chance at a special prize... here's mine:


I added a couple because we like to dress in our hats for fun.


Thank you so much for stopping!  Come again soon!
 

Wednesday, August 25, 2021

Crafty Elves Countdown to Christmas - August 2021 Edition!


Welcome!  It's time for the Crafty Elves to share the Christmas Cards we've made this month!  And we have a new elf joining us this time around.  Misty Lavigne is joining us and be sure to head on over to her YouTube channel while you're hopping!  While you're at it don't forget to stop and see Debra and Michael!  Lots of fun and inspiration!  But before you go, stay a while and see what I've for you today:


I had printed this adorable digi from Angie Blom last month and didn't have time to do anything with it then so I colored it up for August.  I added it to an alcohol inked background that I added a snowflake border to using a stamp from Rubbernecker and some alcohol lift ink.  It's a nice flat card great for mailing and I just love that image with the adorable pup driving.  The set is called Joyful Christmas Ride.


These are the Copic Markers I used for that one.

The rest of my cards are using images from an adorable Colorado Craft Company set called Christmas Presents! It's just one of the many adorable Anita Jeram sets over there and I love it!


I love this image from the set with that pup on top of the presents!  I used the birdhouse from AJVD as a dog house and some of the Gingerbread accessories to dress it up!


And for this one I made another alcohol inked panel:


I tried a little alcohol lift on this one too, but it didn't quite workout.  I think I waited too long to buff them... so I decided instead to use the snowflake stencil from CAS-ual Fridays to add some snowflakes with Gina K Glitz Glitter Gel.  I added vellum to the back of the window, and put a few snowflakes behind it and popped the whole thing up.  And then that little patient pup waiting to open his presents... 


When I made the background above and was using the Alcohol ift Ink, I stamped off the snowflakes onto another piece of cardstock for a light snowflake background.  (As you're lifting the ink, there is some ink on the stamp that can then be stamped off onto another panel):


This one is about as clean and simple as I ever get... I added some snowdrops with the glitter gel and then popped up a photo frame over it and added the bunny from the C3 set!


That's me for today!  I hope you enjoyed it and you'll come again soon!  Be sure to head on over to Misty, Michael, and Debra's places!  The links are at the top.  And before you go let's see who won some Happy Mail from last month's post:


Cheryl!  Please email me your snail mail at bzscrapper66 at gmail dot com!

And we're playing again so leave me some love and come again soon!


Monday, December 9, 2019

Jingle Bell Joy With A Jillian Vance Design


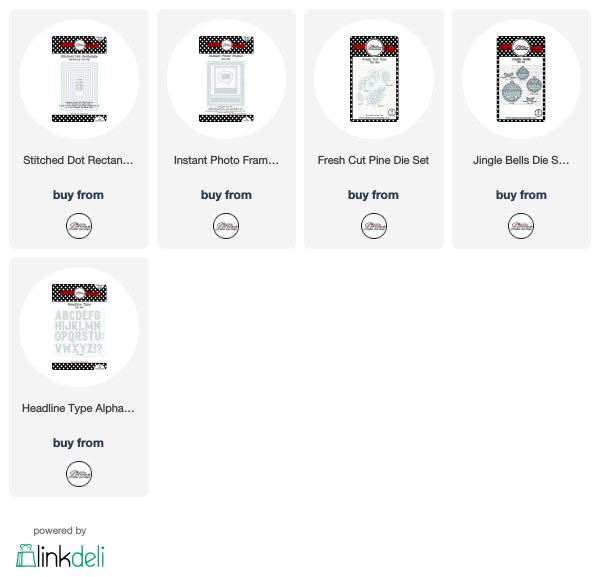
Greetings all! I'm up on the blog over at A Jillian Vance Design sharing this all die cut card with you today.  I can't seem to get enough of the Fresh Cut Pine and Jingle Bell Die sets!   I love those bells cut from gold foil cardstock!

Sometimes instead of just using the color cardstock I want with dies, to get a little more texture I like to use plain white cardstock and blend distress inks onto them in the colors I want and cut my shapes from that.  I did this with the pine cones and branches.


And I had fun creating my sentiment using the Headline Type Alphabet dies... these are a fantastic size for a sentiment.  I did cut them three times... once from the design paper and twice from white cardstock to stack them and give them some dimension.  When I cut them from the design paper, since it was striped I used some washi tape to keep them in place.

Finally I just attached everything with various thicknesses of foam tape (I collect all kinds of thicknesses and widths of foam tape... it is THE most used supply in my craft room.) and
I added some gems as berries and then some sequins in traditional Christmas colors.  To really be sure the gems and sequins are attached and to attach anything I didn't pop up,  I used some fantastic Just Glue It adhesive from the shop.

I'm playing along over at Simon Says Stamp's Wednesday Challenge which is Traditional Christmas and Double Trouble's Wrap It Up Challenge to use some Christmas Design Paper and I've met the twist to use a bow!  And DT is partnering with Artsy Stamper's Challenge to create something with a Winter Holiday theme and I'm playing along over there too!

Thanks so much for stopping today and be sure to come again soon for more inspiration!

Below are links to the A Jillian Vance Design products I've used today:


Follow A Jillian Vance Design on: