Showing posts with label Diamond Fade Stencil. Show all posts

Thursday, January 2, 2025

Nappy New Year - Miss Ink Stamps


Welcome back!  I got this idea in my head and couldn't let it go while I was looking at the adorable sleepy bears from the Bear Hugs stamp set.


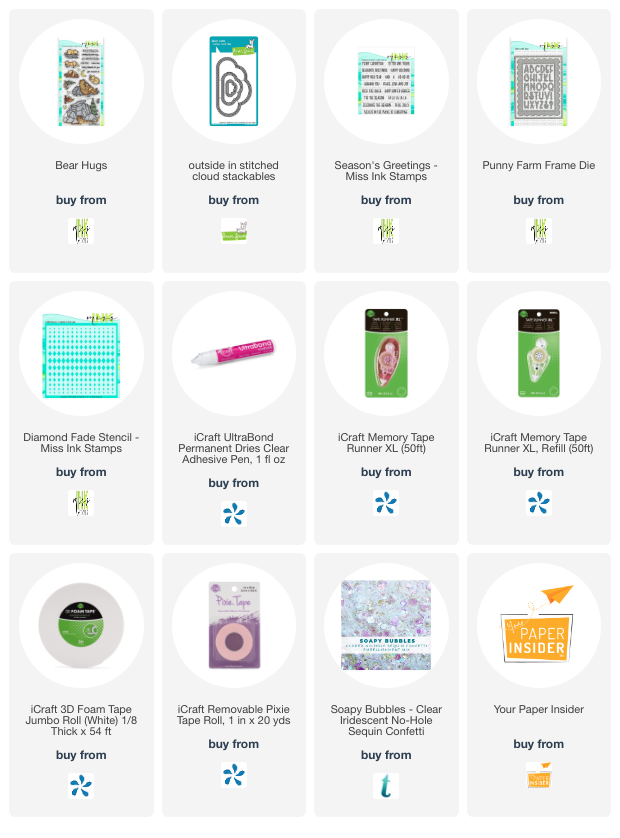
I started with a gel print I created using one of the Diamond Fade stencils.  I die cut a cloud and cut it into two.  Then I stamped, colored and cut the images from Bear Hugs and created the sentiment using the Seasons Greetings stamp set and the Punny Farm alpha dies from the frame set.


I love this... maybe my New Year resolution will be to take more naps... probably gonna need them.

Thanks for stopping!  Come back again soon!


Thursday, October 5, 2023

Miss Ink Stamps - Mini Release and Restock!


We've got lots of fun for you!  Today I'm sneaking an image and sentiment from the new Death Before Decaf stamp set!


I am in love with this set!  So fun for Halloween or any time!  I mean.. don't even suggest decaf to me!

The background was made using a Diamond Fade stencil and my gel press.  I layered two Magnolia Frames and flowers from the Hi Swirl Frame set.


Head on over to Miss Ink Stamps on Instagram for your chances to win some new stuff!

Thanks for stopping! Come back again tomorrow for more inspiration!


Wednesday, March 2, 2022

Cards For Ukraine - Hope and Bravery


Welcome back!  I'm up on the Coffee Loving Cardmakers Blog with a special card inspired by what is happening in Ukraine.


It's full of love, hope and a little bit of a curse... hope you'll join me over there for links and details.


Thanks so much for stopping and hope you'll come again soon.


Friday, September 4, 2020

Birthday Hugs & Kisses - Miss Ink Stamps


Welcome back!  It's a new month and for September I'll be focusing on using Ranger Distress Embossing Glazes in various ways!

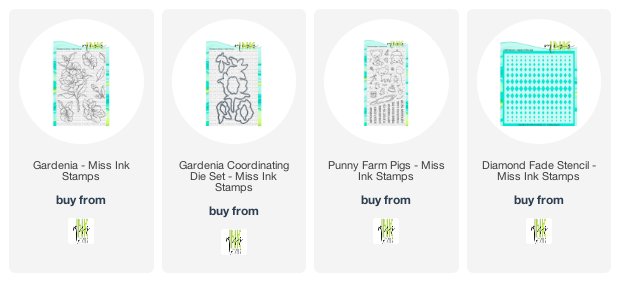
For today I used them along with the Gardenia, Everyday Sentiments, and Punny Farm Pigs stamp sets and one of the awesome Diamond Fade Stencils.

If you're like me, you're wondering how these are different from any other embossing powder.  What I can tell you so far is they are made to be translucent (yes, there are others that are but this line is all translucent) which is very cool because you can use the glaze over images like I did here and it will show through.  Also, the colors are in your favorite Distress Ink colors which is awesome, but if you apply them over other colors you'll get many different looks.  All of this is important to know before you use them to be sure you get the look you want!  If you like videos (and even if you don't) I'd recommend you watch this one here of Tim's demo at Creativation.  I'm not a video watcher, but it was great to see the different ways he uses them.  I'll be playing all month and share with you what I discover! 


For this one I started by using Speckled Egg and Broken China Distress Oxide Ink to blend the background panel cut from Strathmore Mixed Media Paper.  (When I remember to, I like to start with this paper if I'm going to be using a bunch of different medium to avoid too much curling.)  


Then I stamped the florals from Gardenia using my Misti in the corners using Ranger Archival Ink.  Next, I used a water brush to lift some of the color from the flowers and leaves and then used the same brush along with some Distress Oxide Inks in Milled Lavender and Bundled Sage along with a tiny bit of Fossilized Amber to lightly and loosely watercolor the floral images.


After the florals were dry, I applied some Broken China and Milled Lavender first and then clear embossing paste over that through the Diamond Fade Stencil and then used my fingers to sprinkle on some Broken China and just a little Weathered Wood (why not!?) Embossing Glazes and heated them up.  These do dry shiny and you can dull them if you prefer with Steel Wool (Tim suggests this in the video rather than sandpaper because it will just lightly buff off the shine).  I decided to add a little Wilted Violet over the top which did dull it a little which I'm sure I could have wiped off, but decided I liked it just the way it was!  See how the floral image lines and colors show through underneath the embossed areas?  I did leave some areas with little or no powder because I wanted to leave some areas embossed but really clear... and that's how I roll!


My initial plan was just to add a simple sentiment over the top, but I decided to instead add a few of the smaller birthday images from the Punny Farms Pig set!  I colored them with Copics in colors Complimentary to the inks I used.. some Vs and some BGs and then built my sentiment from the Everyday Sentiments stamp set!

Just a few sequins (of course!) and I was done!

I'm playing along over at Double Trouble Challenge's Something, Anything and Everything Challenge that goes through Sunday the 6th!  Check it out!  There are prizes!!

I had a lot of fun playing with this one and I can't wait to play again!  Thanks for stopping and be sure to come again soon!


Thursday, July 16, 2020

Have An Ice Day - Miss Ink Stamps


I'm up on the blog over at Miss Ink Stamps and painting with Glitter!  If you'd like links and details on this one, please do join me over there!

Thanks so much for stopping and come again soon!

Thursday, June 18, 2020

Hey Beautiful - Miss Ink Stamps!


I'm up on the blog over at Miss Ink Stamps with some more Bleachy goodness and I've tried a few new things!  I have a photo tutorial and share how I put this one together.  If you'd like details and links, please do hop on over there to check it out!

Thanks so much for stopping and hope you'll come again soon!

Friday, June 5, 2020

I'm Here For You - Miss Ink Stamps


Welcome back!  Today I'm sharing a card I made inspired by a crafty friend that I crop with virtually almost every Sunday.  We have a group of ladies that used to get together physically once a month and about halfway through the Pandemic so far we decided to start cropping virtually (thanks Mom!).  So last week, my friend Mare was playing with an old technique of painting with bleach!  I had never heard of it, but I don't watch a lot of videos... I just don't have the time.  She had been watching a Gina K Facebook Live on this technique... which I will admit I didn't watch... but I decided to play with the technique with the little bit I know.


Oh I had so much fun!  Basically I stamped the images from the Smokin' Caterpillars stamp set with Memento Espresso Truffle Ink in my Misti and then stamped over it with Versamark and embossed with clear embossing powder.  You may notice some extra sparkle... I think my clear powder ended up with some glitter in it...lol.. which I'm good with.. and not surprised.  I think the embossing is important so that the bleach doesn't make the outline fade and maybe the embossing kind of contains the bleach?... although that might make a fun no line type of thing so I might play with that a little.  (I'm guessing if you watch the video these things will be addressed...lol).  I decided to try it on kraft paper for a really neutral color pallet.
 

After my images were embossed, I took a brush and some straight chlorine bleach and painted the images... I had to be careful with this one as there is a lot going on and I didn't want to bleach any of the open spaces... and I did.. but it worked out okay because I just decided there was something behind there and treated it as such.  At first it seems like not much is happening, but as time goes on the bleach really takes hold.  You don't need a lot.  It was very cool.  After, I splattered on some bleach for good measure and then used a Diamond Fade stencil and some Brushed Corduroy Distress Oxide Ink to add a little extra... I masked the image on the right and let the diamonds go over on the image on the left... just 'cause... it was intentional and not an accident.


I got a really cool result that looked great as it was, but you know I can't leave anything alone.  I tried.  I was a little afraid and was going to just leave it, but it got the better of me and I pulled out some neutral Prismacolor pencils and did some light coloring.  I did use greens and browns, but then also went over those with a putty to diffuse the color a bit.  I am so happy I did this and I love the dimension it adds!

So finally a sentiment from Everyday Sentiments and some sequins from Trinity and I was done!  I'm gonna be playing with variations of this technique all month and I'll be up on the Miss Ink Stamps blog towards the end of June with a few tips based on what I've learned and experienced.

Thank you SO much for stopping and I hope you'll come again soon!!  In the meantime, please stay safe and share as much virtual love as you can.. I think everybody needs it right now!

Thursday, May 21, 2020

Mixing It Up - Miss Ink Stamps


I'm up on the Miss Ink Stamps blog today with this one!  If you'd like links and details please join me over there!

Thanks so much for stopping by!   Be sure to come back tomorrow because it's Day 1 of the Coffee Lovers Blog Hop and there is a lot going on here!...lol... A Lot.  Be there or be square!

Friday, February 14, 2020

Paint and Glitter and Doodads Oh My-Miss Ink


I'm up on the blog over at Miss Ink Stamps with this one today!  I have lots of photos and details up there and hope you'll give me a visit to see how I created this one!

Here are just a couple more photos:


Thanks for stopping!  See you over there!

Thursday, December 12, 2019

Sending Wishes - Lavinia Stamps


Hello!  Today I'm sharing a card I created using a beautiful stamp from Lavinia Stamps that I won over at the Anything Lavinia Facebook Group along with some of my favorite Rubbernecker dies!  That beautiful fairy, Winifred stole my heart as soon as I received her in my mailbox!

I've incuded links at the bottom of my post for the products I've used today!


She is so sweet right??  I knew she could be found in the early morning twilight hours among the flowers!


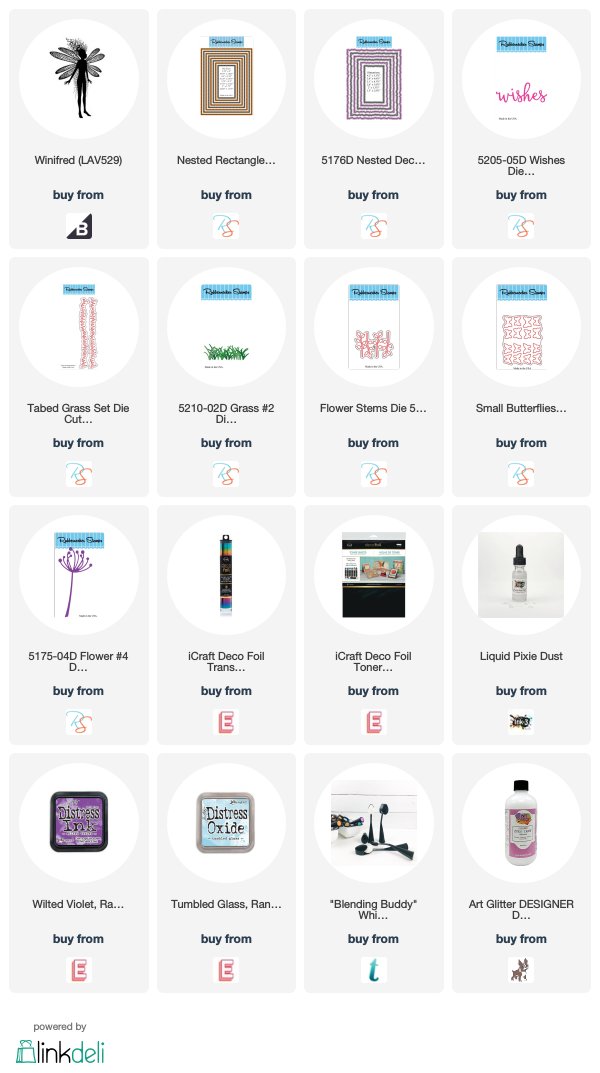
I started by using a negative piece of foil from a former Miss Ink project using the Diamond Fade Stencil.  I just laid the negative piece of foil that was made with some beautiful Rainbow Shattered Glass Deco Foil over a piece of Toner Paper and ran it through My Minc and then cut it with a stitched die.

Then I ink distressed a smaller diecut panel; stamped Winifred onto it using my Misti and then sprayed some water over it that is infused with Inkon3 Liquid Pixie Dust.  Then I proceeded to diecut and layer all of the rest of my pieces.  I die cut some butterflies and my sentiment out of another piece of Toner Paper that I foiled using the Rainbow Shattered Glass Deco Foil.


I added a few clear sequins from Pretty Pink Posh and I was done!

I've realized that I need to get over to Lavinia World and take a look around.  In just a short time snooping around the website I saw lots more beautiful stamps and dies!  I feel a new love coming on!

I'm playing along over at Lavinia World's current Challenge #15.  It's Anything Goes and you can find all of the rules details for that here!

Thank you so much for stopping by and hope you enjoyed it.  Come back tomorrow for some Rubbernecker cuteness!


The Rubbernecker Stamps links below are affiliate links.  You do not have to use these links to shop and should you choose to purchase by clicking on these links I will receive a small compensation and thank you!

Sunday, December 8, 2019

More Non-Traditional Christmas With Miss Ink Stamps


I'm back with another one using Miss Ink Stamps and a similar background to one I posted yesterday.  All the details are in yesterday's post and you can check it out here if you'd like!


This time I used the Calm and Bright stamp set and colored it in a similar fashion to the images from Oh, Deer!  I just love this sweet mother and fawn image and these trees are so fun and easy to color!  I stamped and cut them out with the Scan N Cut and colored them with Copic Markers.  I also used the Diamond Fade Stencil 3 this time.


And I chose a sentiment from the Season's Greetings sentiment set... just love the font and size of these sentiments!  Perfect for any Christmas or Holiday card!  I should mention that awesome gold cardstock that I picked up at the stamp show in the Papercut booth!


Thanks so much for stopping!  I hope you enjoyed your visit and come back again tomorrow!

Saturday, December 7, 2019

Peace On Earth with Miss Ink


I'm up on the Miss Ink Stamps Blog today and sharing how I made this background.  Hope you'll hop on over there for the details!

I've got some sparkly gold pigment ink and Heidi Swapp Gold Color shine on this one and I'm playing along over at Simon Says Stamp's Monday Challenge which is Lets Sparkle this week!

Thanks so much for stopping!

Sunday, November 3, 2019

Merry Mugs & Kisses - Miss Ink


It's Day 3 of the Coffee Lovers Blog Hop and I'm a little late posting this one, but here I am!  I've got some Miss Ink Brewtiful for you today:


I started this one with a background made using the Diamond Fade Stencil and some watercolors.  I love using a stencil with watercolors and the imperfect shapes and splooshes it creates.  The colors of this one just happened to make me think of Christmas so I made a Christmas card.


I stamped, colored, and cut the images out and popped them up onto the background.


I created my sentiment using one from the Brewtiful stamp set and a little sneaky peek of something coming soon.


Thanks so much for stopping by!  Hope you enjoyed your visit and come back soon!

If you haven't checked out the Coffee Lovers Blog Hop yet then please do!  You will find the main post here as well as a list of sponsors and prizes and the linky tool to link up and play along and the few rules to play by.

This is also my Day 3 of coloring for the 30 Day Coloring Challenge!  You can check out all of the information for that at this post here!

Saturday, October 26, 2019

A Colorful Celebration With Miss Ink Stamps


I've got a little bit of color here for you today... just a little!  I started with the Diamond Fade Stencil 2 and used it to apply some Deco Foil Transfer Gel.  I ran it through my Minc with some Rainbow Shattered Glass Deco Foil.


I stamped a bunch of the rosettes from the Pinata Party Background Stamp set and the streamers from the Streamers Stamp Set, colored them in rainbow colors and cut them out using the coordinating dies.  I added them using varying thicknesses of foam tape.  These are two of my very favorite Miss Ink stamp sets... but I have a lot of favorite Miss Ink stamps!


I added an angled border at the top to hold that awesome Celebrate word die that is included in the coordinating dies to the Streamers set.  I used a gem in the center of each of the rosettes.


This one was so fun to put together and even more fun to look at!

I'm playing along with the Simon Says Stamp Instagram Challenge for October which is Favorite Technique... I LOVE to add foil to a project using a stencil and Deco Foil Transfer Gel!  Foil is awesome anyway, but the added dimension when using the gel... perfect!

Thanks so much for taking this ride with me as I guested at Miss Ink Stamps this month!  I've had a lot of fun and I hope you've enjoyed it too!

Sunday, October 20, 2019

Sending Hugs With Miss Ink Stamps


Have some more Miss Ink inspiration for you today featuring the Magnolia Stamp Set and the Diamond Fade Stencil 3.


I love this beautiful Magnolia stamp set!  I colored it up with my Copics and cut it out with the Brother Scan N Cut.


I applied some Deco Foil Transfer Gel through the Diamond Fade 3 Stencil and let it dry while I was coloring the floral.  Then I ran it through my Minc with some Amber Watercolor Deco Foil.  Such a pretty foil... I love it!


And then a simple sentiment from the Everyday Sentiments set was just right.


I'm playing along over at Double Trouble's Masking Challenge!  You should check it out!

Thank you so much for stopping by today!  Be sure to check out my second post for today for some more stencil inspiration!  Come again soon!