Welcome back! It's the 25th of the month and time once again for the Crafty Elves to share the Christmas/Holiday cards we've made this month!
After you leave here be sure to visit Debra and Michael to see what they have created!
Here's how I was inspired:
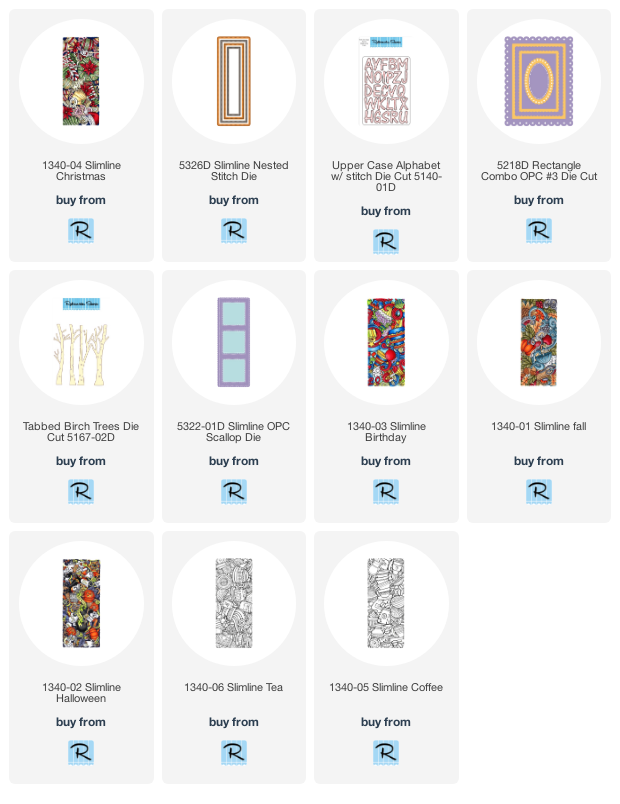
First... and foremost... this! Have you seen the cool collage style background stamps over in the Rubbernecker Stamps shop?? SO cool! They are cool whether you color the whole image using markers, pencils, or watercolor or even if you leave them black and white... or spotlight color them... or just emboss them in any color. You can use just part of it for a smaller card or the whole thing to cover your slimline. This is the Christmas one but you'll be seeing some of the others and check them all out at the Rubbernecker Stamps shop. I'll include links at the end of this post.
I colored the entire image and then die cut it using a stitched slimline die. I used Copics and accented in some areas with a gold gel pen. To keep it simple and not cover up too much of that fun image, I simply placed some glitter tape across the bottom and used the Alphabet dies for my sentiment! Easy peasy!
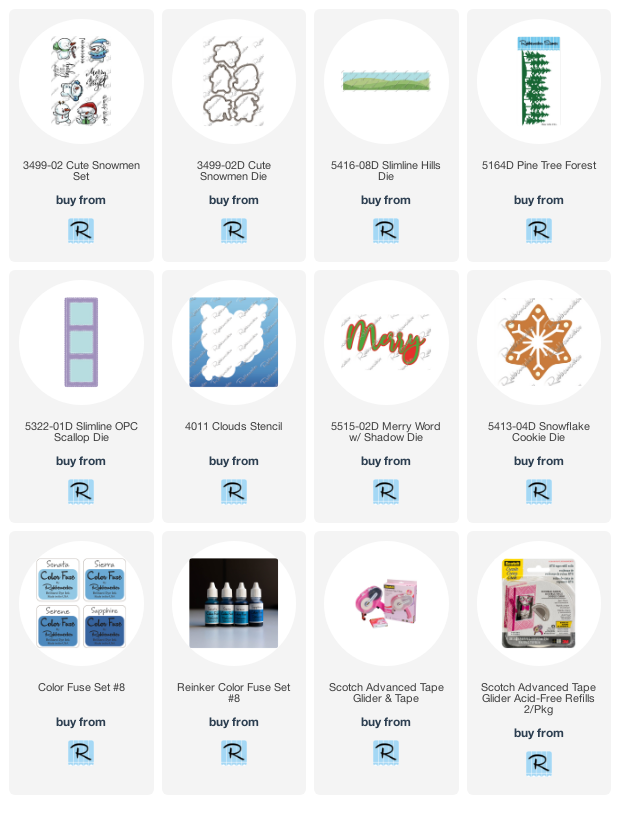
And then I had some extra images from a couple Elizabeth Craft stamp sets left over from prior projects so I decided to make some quick cards with them:
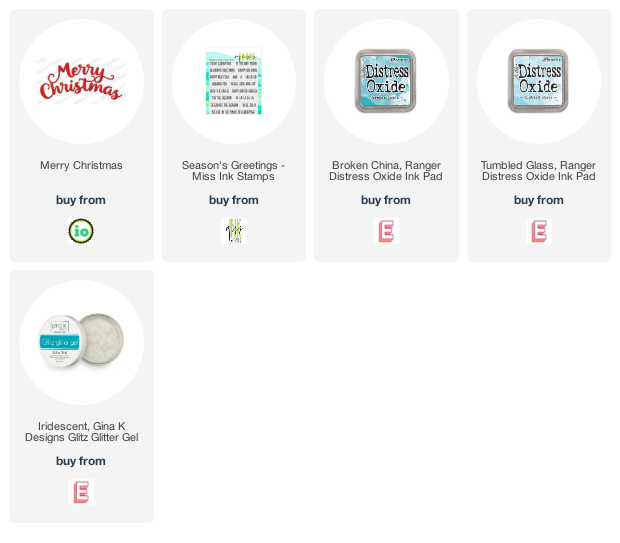
For all of my backgrounds, I blended some Broken China and Tumbled Glass Distress Oxide Inks onto a stitched panel. Then I splattered some water over the top and dabbed off the excess with a paper towel. Finally, I used a dotted stencil and applied some Gina K Designs Iridescent Glitz Glitter Gel through it.
I set those aside and colored in the images I had already stamped and die cut. Then I took various dies from Rubbernecker including those awesome Birch trees and the fabulous One Piece Scalloped Rectangle and cut them out.
For this one, I used the inside squares from the Scalloped Frame Slimline die. I used the Merry Christmas die from Impression Obsession and the cute little sentiment on the cute penguins from Miss Ink Stamps.
That's me for today! I hope you had fun! Have you started your Christmas cards yet?
Before you go... I have a winner from the comments in Septembers post!
Kim! Please PM me your mailing address so I can get your Happy Mail in the mail to you!
We're doing it again this month... leave me some love and maybe I'll send you some Happy Mail!
Now be sure to head on over to Michael's and Debra's blogs and check out what they've got for you today!
Below are links to the products I've used (including additional slimline stamps from Rubbernecker). Should you choose to purchase any of the Rubbernecker products using these links I will receive a small compensation at no additional cost to you. The other products are just links for your ease of use and are not affiliate links. Thank you!