Showing posts with label Color Burst. Show all posts

Monday, November 22, 2021

You Are The Best - Rubbernecker Stamps


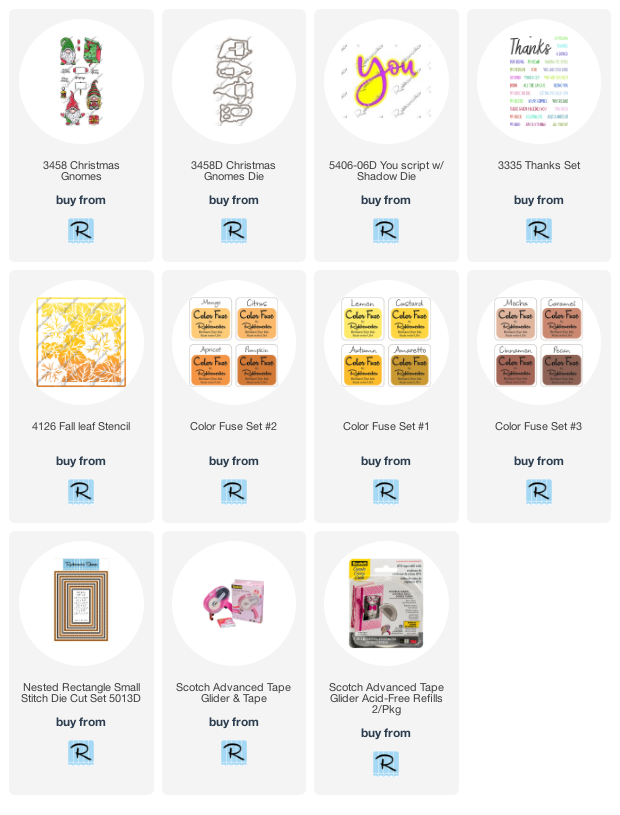
I've got this one up on the Rubbernecker Blog with details on how I made it!  Don't you just love these Christmas Gnomes?!  But they're not just for Christmas!


I made the background using one of the great new stencils in the shop!  Head over there for links and details!


Thanks so much for stopping and hope you'll come again soon!


Friday, October 15, 2021

Happy Meowlloween!


Welcome back!  I've got some more Halloween fun using the Feline Spooky stamp set and another background I created when I made yesterday's using the Halloween Mandala!


For this one I used the watercolor panel that I used to soak up some of the color burst color before I got the transfer for yesterday's.  Only a small amount of the Halloween Mandala stencil detail showed so I layered the stencil back over this panel and distressed with some orange ink.  Then I heat embossed the larger image from Feline Spooky in white and splattered on some acrylic paint.  I stamped, cut and colored the individual cat from the set and popped it up onto the front along with a cute and punny sentiment!


That's it!  Easy peasy!

Thanks so much for stopping!  Hope you enjoyed it and you'll come back again soon!


Thursday, October 14, 2021

Purrfectly Wicked! - Mixing It Up


I'm up on the blog over at Miss Ink Stamps today with this one and sharing how I created that cool background!


Join me over there for details and links!


Thanks so much for stopping and I hope  you'll come again soon!


Friday, July 9, 2021

Miss Ink Stamps - Punny Farm Goats and a Colorburst Background


Hello!  Today I'm sharing the 2nd background that I made in yesterday's post on the Miss Ink Stamps blog!  This time I used the Punny Farm Goats stamp set and a banner from Springtime Banners.


I love this sweet stamp set!  And so many punny sentiments... love it!


If you want the details check out my post on the Miss Ink Blog.  Thanks so much for stopping by and I hope you'll come again soon!


Thursday, July 8, 2021

Miss Ink Stamps - Oopsy Daisy and Color Bursts


I'm up on the blog over at Miss Ink Stamps with this one and I'm playing with Ken Oliver Color Bursts.


I hope you'll hop on over there and join me for links and details!  Thanks for stopping and come again soon!


Monday, November 16, 2020

Season's Greetings - A Jillian Vance Design


I'm up on the blog over at A Jillian Vance Design with this one!  Hop on over there if you'd like more details and links!

Thanks so much for stopping and hope you'll come again soon!


Thursday, November 12, 2020

Rubbernecker Stamps - A Month of Gratitude


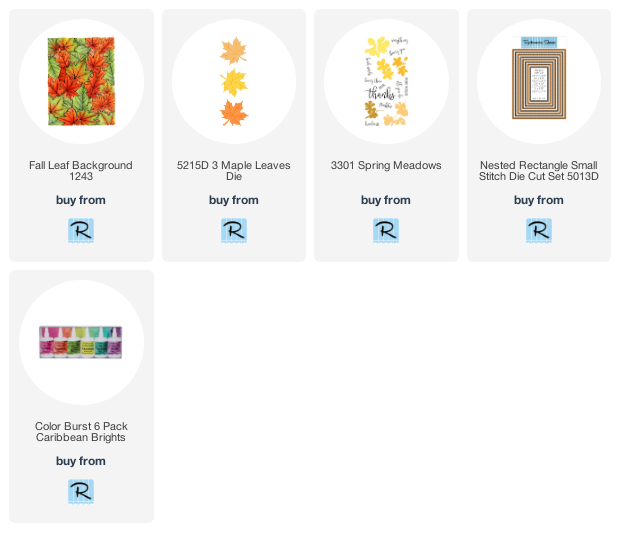
Welcome back!  We're celebrating a Month of Gratitude over at Rubbernecker stamps and today I'm playing with some Ken Oliver Color Burst today and one of the awesome background stamps available in the shop!

Here's how I created this one:


I just love this Fall Leaf Background!  There are so many beautiful background stamps in the shop!
  • The foam piece was removed from the stamp positioner so that the foam mounted red rubber background stamp would be able to be used in it.
  • A sheet of watercolor paper was cut slightly larger than the background stamp so that there would be room to place the magnets to hold down the paper and the paper was swiped with anti static powder.
  • The stamp was placed in the center of the watercolor paper and then stamped with Versamark Ink.
  • Leaving the paper and stamp in place and making sure that the paper stayed butted up against the corner, it was stamped a couple more times to be sure there was good coverage of ink.

  • The ink was covered with gold embossing powder and the extra was tapped off leaving the image only covered in powder.
  • The powder was heated and set.
  • Two colors of Color Burst Powders, Fuchsia and Tangerine were sprinkled lightly over the top of the embossed image.

  • Water was spritzed over the powder generously.
  My favorite part of Color Burst is watching the colors mingle together and normally I let them do their thing, but this time I wanted full coverage on my background so...

  • A water brush was used to fill in any blank areas that didn't get a lot of color being careful to not mix the colors too much so that there was variation.


  • To not let any of those beautiful colors go to waste, another smaller piece of water color paper was flipped over on top of the wet color burst to soak up the excess


  • If needed, extra powders can be added along with some additional water to color up the extra piece of watercolor paper.
  • Once both panes were dry, the stamped background was cut using the stitched rectangle die and leaves were cut from the solid watercolored sheet.
  • Some gold color shine was splattered over the background and leaves and then dabbed with a paper towel.

  • A panel of white cardstock was cut to 5 5/8" x 4 3/8"
  • A panel of black cardstock was cut to 5 1/2" x 4 1/4"
  • A panel of gold cardstock was cut to 5 3/8" x 4 1/8"
  • The three layers were adhered-black on white, gold on black, and stamped die cut panel on the gold.
  • A strip of white cardstock was cut to 2" x 4 3/8"
  • A strip of gold was cut to 2 1/4" x 4 3/8"
  • A strip of black was cut to 2 3/8" x 4 3/8"
  • The three strip layers were adhered-gold on black, white on gold.
  • The layered strips were adhered to the front of the card leaving a bit of the watercolored panel showing at the bottom.
  • The three leaves were popped up onto the strip using a very thin foam tape.


  • The sentiment pieces were stamped onto white cardstock and Thanks and Kindness were fussy cut.  For Your was trimmed to a small rectangle.
  • The sentiment pieces were popped up onto the top right-hand corner of the card front with thin foam tape.
  • Sequins were scattered around and adhered using Glossy Accents.


And that's me for today!  This was so much fun and it's inspired me to keep my Color Burst out for a while and play some more!

Be sure to check out all of the cool background stamps available in the shop!

Hope you enjoyed your visit and you come again soon for more Rubbernecker Stamps inspiration!


Thursday, May 21, 2020

Mixing It Up - Miss Ink Stamps


I'm up on the Miss Ink Stamps blog today with this one!  If you'd like links and details please join me over there!

Thanks so much for stopping by!   Be sure to come back tomorrow because it's Day 1 of the Coffee Lovers Blog Hop and there is a lot going on here!...lol... A Lot.  Be there or be square!

Thursday, April 16, 2020

When This Is All Over - CAS-ual Fridays


Welcome back!  Sharing this one today using some of the great new stamps from the latest CAS-ual Fridays release.

I started with the background that I made by sprinkling some Color Burst onto some watercolor paper and sprayed it with water infused with Liquid Pixie Dust and let it do it's thing.


While the base was drying, I stamped the flowers from Terrific Flowers onto watercolor paper in Versamark and heat embossed them with Wow embossing powder.  I used Zig Clean Color Markers to color them in and then fussy cut them out so I could pop them up over my watercolored background.  I stamped the Hope word from the Heart Ribbon set in purple and fussy cut that out and popped it up in the corner.


Finally, I stamped another one of the sentiments from the Heart Ribbon set and popped it up on the top.  I love the encouraging sentiments on that set that are great with or without those beautiful ribbons!  I just added some purple gems and clear sequins and I was done.


I find myself creating a lot of these kinds of cards lately because there are a lot of us who need a little encouragement and a reminder that things WILL get better.  

And if you're up for a little bit of happy (or a lot of happy), come back tomorrow because tomorrow I'm involved in something pretty special that's going on!  If you like smiling and free stuff... you won't want to miss it!

Thanks so much for stopping!  Hope you enjoyed it!


Friday, April 3, 2020

The UnBirthday! - Miss Ink Stamps


Happy Friday!  (Just a little reminder as to what day it is ... for you and for me!)  I'm back with some more Alice in Wonderland inspiration.  Have you seen the gorgeous and fun new release over at Miss Ink Stamps?  If you haven't, please do check it out here!


I colored up the Mad Hatter during last month's 30 Day Coloring Challenge... which by the way is still going on now... because... why not??  And the colors in that image is what set the tone(s)..lol... for the rest of the card!  I created the background using the new Wonky Checkers Stencil and some Ken Oliver Color Burst powder.   And just to break up all of the crazy behind my images, I added the woodland/mushroom background stamp from Smokin' Caterpillar, but left it black and white which I've been having fun doing lately!


I love this sentiment!  I stamped and cut it out.  It's Perfect to send anytime to anyone.. especially that person you know that hates to celebrate their birthday!  Send it on any one of the other 364 Unbirthday Days of the year!


That's it for me today!  I hope you enjoyed your stop!  Please do come back soon for more inspiration!  And thanks to everyone for all of your visits and love... it really makes my day when my email dings and I see that one of you was here! I'm trying to make more regular visits and hope to see you soon at your places!

And don't forget... it's Friday!!


Wednesday, April 1, 2020

Caffeine Fueled Paper Play - Hot Mama!


I'm up on the Coffee Loving Cardmakers Blog with a new challenge and we're featuring CAS-ual Fridays this month!  Hope you'll hop on over there for the details and to play along!


Monday, March 30, 2020

Terrific Flowers - CAS-ual Fridays Release!


It's Day 2 of the CAS-ual Fridays Release!  Today we're sharing projects using the Terrific Flowers stamp set!


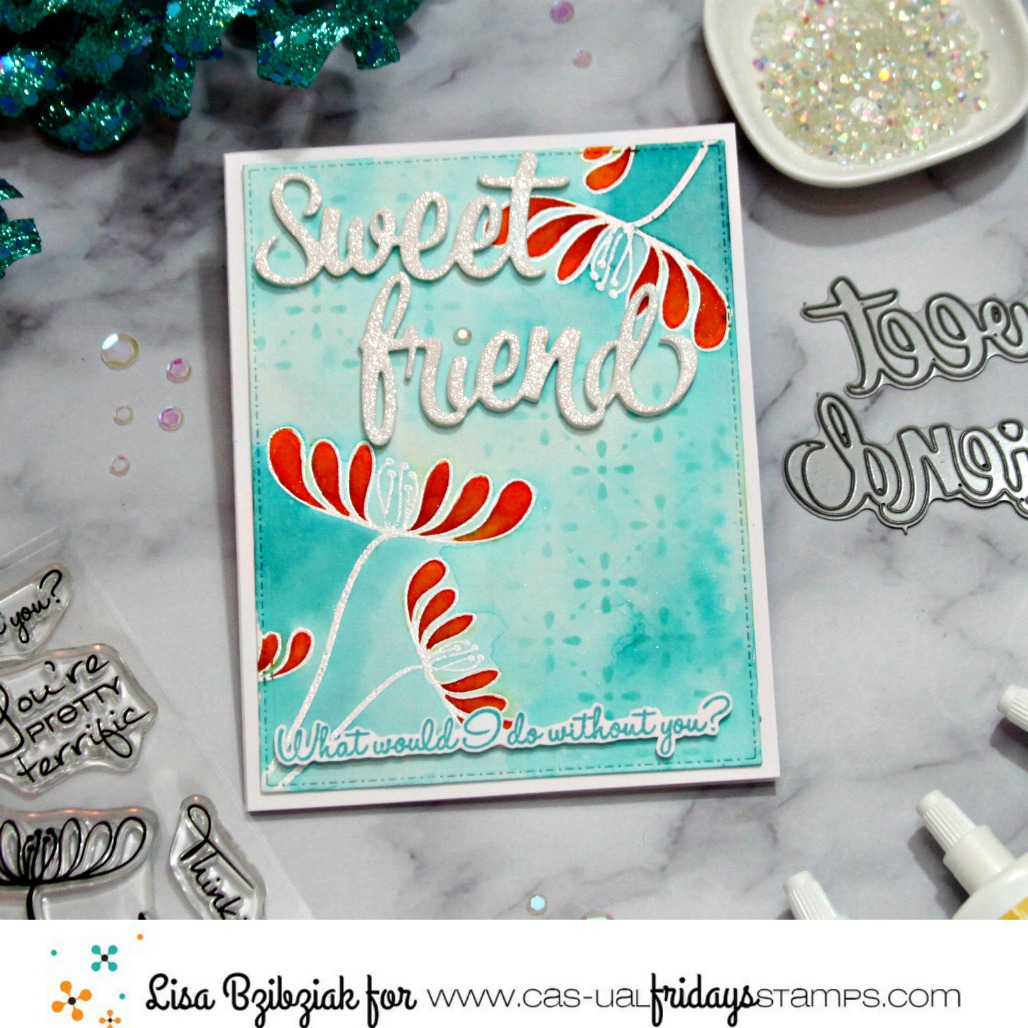
I've been playing a lot with my Color Bursts lately and I used them here.  I cut my background layer from Watercolor Paper and stamped and embossed the flowers from the set onto the Watercolor paper.  Then I used Ken Oliver Color Bursts to watercolor in the flowers.  I added a little extra color using my watercolor pencils.  Finally I colored the background with more Color Bursts.


After the panel was dry, I added a subtle pattern using the Tin Roof Stencil and some Distress Oxide Inks.  And for my sentiment I cut the Sweet and Friend words out of white glitter paper and twice more from white cardstock and stacked and glued them together before popping them up onto my base.


I stamped and cut out one of the sentiments from Terrific Flowers and added it to the bottom of the card.

And that's me for today!  Be sure to head on over to the CAS-ual Fridays stamps blog and see what everyone has created for you today!  And the entire New Release is available now in the shop here!

And should you decide there is something you must have, I have this for you:


Thanks for stopping!  And come back tomorrow for more Release Inspiration!


Sunday, March 29, 2020

One Hot Mama! - CAS-ual Fridays Release


Hello!  Excited because there is a fun new release over at CAS-ual Fridays Stamps and today we're sharing makes using the new Hot Mama Stamp Set!


Isn't this a fun new set?  And don't you love this font!  It's so funky and retro!  And this was easy enough to stamp and cut out by hand and I love the look.  I stamped it with the Misti so that I could be sure to get a nice sharp black image.


I created the background with the Starlequin Stencil and some Ken Oliver Color Bursts.  And don't you just love that fun sentiment?  I know exactly who this is for!


This stamp set has so many fun sentiments!  

Be sure to head on over to the CAS-ual Fridays Stamps Blog to see what everyone else has created for you today!  And all of the new release items are available in the shop right now!

And should you decide there is something you must have, I have this for you:


Thanks for stopping and hope you enjoyed it!  Be sure to come back tomorrow for more new release inspiration!