

Welcome back! We're celebrating a Month of Gratitude over at Rubbernecker stamps and today I'm playing with some Ken Oliver Color Burst today and one of the awesome background stamps available in the shop!
Here's how I created this one:

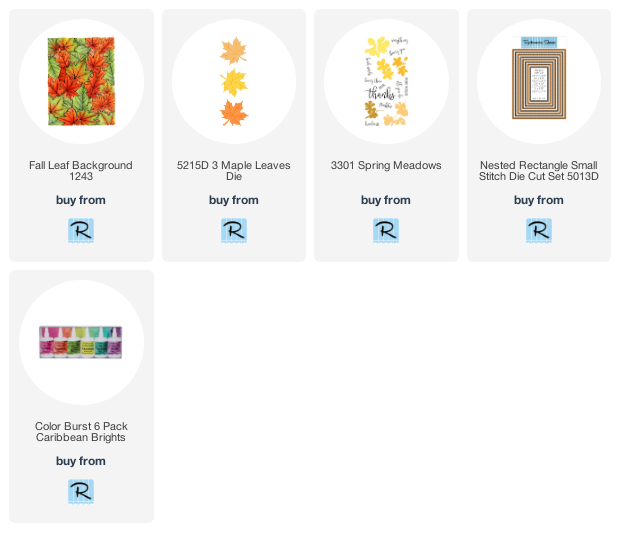
I just love this Fall Leaf Background! There are so many beautiful background stamps in the shop!
- The foam piece was removed from the stamp positioner so that the foam mounted red rubber background stamp would be able to be used in it.
- A sheet of watercolor paper was cut slightly larger than the background stamp so that there would be room to place the magnets to hold down the paper and the paper was swiped with anti static powder.
- The stamp was placed in the center of the watercolor paper and then stamped with Versamark Ink.
- Leaving the paper and stamp in place and making sure that the paper stayed butted up against the corner, it was stamped a couple more times to be sure there was good coverage of ink.

- The ink was covered with gold embossing powder and the extra was tapped off leaving the image only covered in powder.
- The powder was heated and set.
- Two colors of Color Burst Powders, Fuchsia and Tangerine were sprinkled lightly over the top of the embossed image.

- Water was spritzed over the powder generously.

- A water brush was used to fill in any blank areas that didn't get a lot of color being careful to not mix the colors too much so that there was variation.

- To not let any of those beautiful colors go to waste, another smaller piece of water color paper was flipped over on top of the wet color burst to soak up the excess

- If needed, extra powders can be added along with some additional water to color up the extra piece of watercolor paper.
- Once both panes were dry, the stamped background was cut using the stitched rectangle die and leaves were cut from the solid watercolored sheet.
- Some gold color shine was splattered over the background and leaves and then dabbed with a paper towel.

- A panel of white cardstock was cut to 5 5/8" x 4 3/8"
- A panel of black cardstock was cut to 5 1/2" x 4 1/4"
- A panel of gold cardstock was cut to 5 3/8" x 4 1/8"
- The three layers were adhered-black on white, gold on black, and stamped die cut panel on the gold.
- A strip of white cardstock was cut to 2" x 4 3/8"
- A strip of gold was cut to 2 1/4" x 4 3/8"
- A strip of black was cut to 2 3/8" x 4 3/8"
- The three strip layers were adhered-gold on black, white on gold.
- The layered strips were adhered to the front of the card leaving a bit of the watercolored panel showing at the bottom.
- The three leaves were popped up onto the strip using a very thin foam tape.

- The sentiment pieces were stamped onto white cardstock and Thanks and Kindness were fussy cut. For Your was trimmed to a small rectangle.
- The sentiment pieces were popped up onto the top right-hand corner of the card front with thin foam tape.
- Sequins were scattered around and adhered using Glossy Accents.

And that's me for today! This was so much fun and it's inspired me to keep my Color Burst out for a while and play some more!
Be sure to check out all of the cool background stamps available in the shop!
Hope you enjoyed your visit and you come again soon for more Rubbernecker Stamps inspiration!
3 comments:
That background is awesome I love of the embossing powders and the contrast with the red colour and the leaves. María, xx
Gorgeous background, Awesome card design! I'm looking out at our gold and orange leaves right now.
Super gorgeous card and in great Fall colors.
Post a Comment