

Welcome! I've got one for you today using one of the great new clear stamp sets in the Rubbernecker shop along with a few other very cool products!

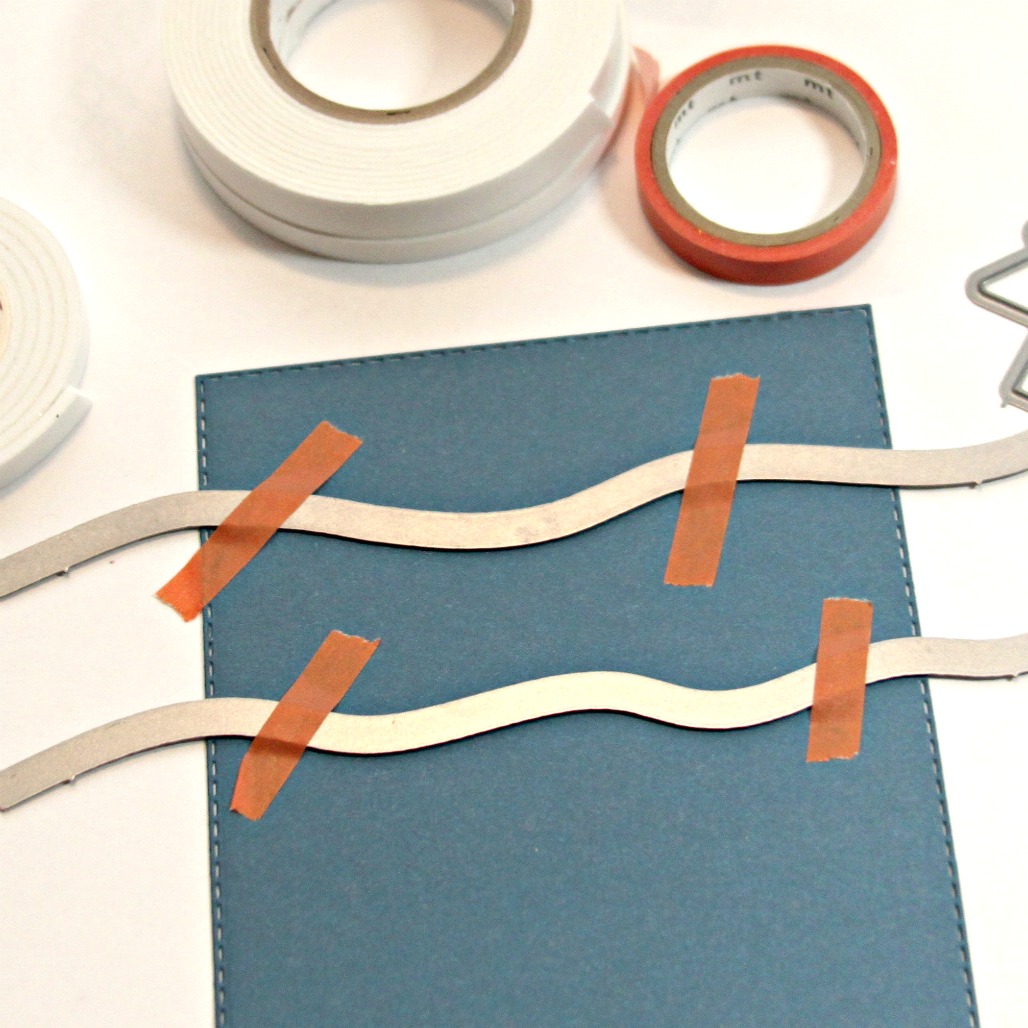
- The front window panel was cut using the largest of the Small Stitch Rectangle dies and Winter Trees In Circle die by placing both together onto a panel and using washi tape to hold them in place.

- Another panel was cut from white cardstock larger than the stitched panel.
- Inks in blue, purple and black were blended onto the panel.
- A heat gun was used to dry the panel and then anti static powder was wiped over it.
- The Field of Stars background was stamped onto the inked area in Versamark.
- White embossing powder was sprinkled over and heated.
Tip: Usually I will stamp and emboss the background first and then add the ink to avoid extra powder sticking to the background. Sometimes drying it first will avoid that. This time, however, I still had a lot of stray powder stick to the background. I blew some of the extra off and decided to heat it up the way it was and I liked the look of the extra sprays of white. I thought it looked either like more clusters of a stars in the sky or snow falling! One of those times a mistake worked out!

- The starry panel was trimmed down smaller than the window panel and attached to a base of 5 1/2" x 4 1/4".
- Clouds were cut from some glitter paper using the slimline cloud die, trimmed down and two layers were added at the bottom of the starry panel making sure that it was in the right position for the window creating some snowy hills.
- The window panel was popped up over the background.
- Before the critters were added, another stitched rectangle panel was cut and then the hill dies were used to cut hills for the front of the panel.
- The hills were attached to the front of the card below the window.

- The stamped, die cut and colored critters were added to the front of the card with varying thicknesses of foam tape.
- The sentiment from the Wintery Friends set was stamped and heat embossed with white onto the same blue used for the front panel.
- Each word of the sentiment was cut separately and then popped them up in a straight line at the top of the card.
- Finally, sequins were added!
That's me for today! Thanks so much for stopping and hope you'll come again for some more Rubbernecker Stamps inspiration!
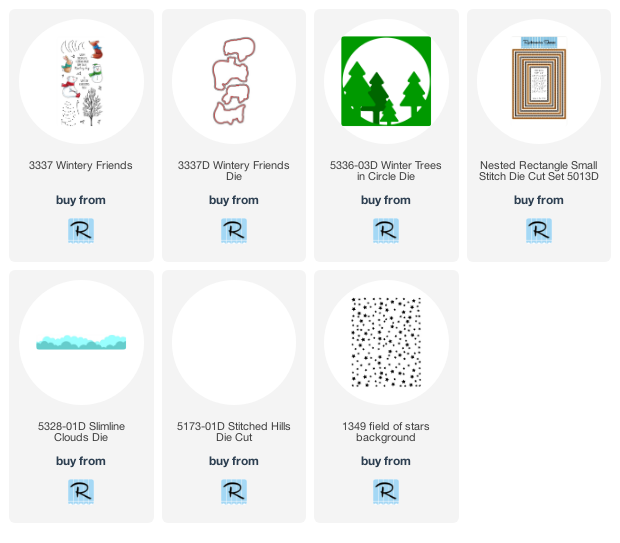
I have provided links below to all the Rubbernecker products I used today. If you purchase using these links I will receive a small compensation at no additional cost to you. And thank you!
2 comments:
Beautiful scene, that background is great. María, xx
I love this scene card you created.
Post a Comment