Thursday, March 12, 2020

A Layered Floral Shaker and New Inks From Rubbernecker Stamps!


Happy Thursday!  Lisa here and today I'm sharing lots of exciting new stuff available over in the Rubbernecker shop!

There's a new ink in town... have you seen the beautiful rainbow of colors in the Color Fuse Dye Ink palette??  And I love how they come in sets of four beautifully coordinated colors... perfect to use with the new layering stamps and lots of other stuff!


I used the Spring Meadow stamp set for my border along with the beautiful shades of green in Color Fuse Set #11 and the Fragrant Bloom stamp set with the gorgeous pinks in the Color Fuse set #4!  And that thanks sentiment in the Spring Meadow set... perfect for cutting out on the Scan N Cut or by hand if you want!


Don't think I didn't hesitate after I had my border created... I decided it would be cool to cut out the inside and make a shaker, but that first cut... scary!  Finally, I just poked through the  center carefully so as not to bend or wrinkle my paper and cut away large chunks first and slowly got closer to cut the detailed areas.  It really didn't take me very long... sometimes positioning my hand underneath and coming up through the center and sometimes coming in from the top.  And I'm so glad I took the chance!


And those pink flowers... with all of that beautiful green I love the pop of pink to draw your attention to the sentiment.

I'm playing along with Double Trouble Challenge's Go Green... use green on your project and link it up for a chance to win!  Extra chances if you use the twist to add gold (I'm sorry Thing 4... didn't get the gold in which is shocking!).  AND they're partnering with the Heart2Heart Challenge this week which is Put Your Green On!  You should check them out!

Here's how I created this one:

  1. I started by cutting the second largest stitched rectangle die from white cardstock.
  2. I find it best to "season" my stamps first.  My Adhesive Eraser works perfectly for this.  I just rubbed it across the stamp surface before I used it the first time to remove any film left over from manufacturing.
  3. The rectangle die cut was placed into my Misti and began with the darkest green ink.  I chose the image from Spring Meadows that I would use for the border; inked it up and stamped it around the outside edge of the rectangle changing the position each time and leaving space in between for more stamping.
  4. Then I chose the next lightest green and did the same..not afraid to stamp over the other images... I love the shadows this creates.. perfect if you're looking through a cluster of leaves or flowers!  I did the same with each color I used until the border was covered.
  5. Finally, I used a blending sponge and added some of the lightest green around the edges.  I was curious as to how the inks would blend and it was smooth and easy.  I love the way it brought all of the colors together.
  6. I cut a few extra images out to use with the florals and added a little dimension using my Prismacolor pencils... this was fun and I'll definitely do that again!
  7. The Thanks sentiment was stamped (quite a few times) along with a few of the smaller sentiments from the Spring Meadows set that have no breaks or open areas and cut them all out using the Scan N Cut... I've got lots saved for future projects and LOVE the look of this beautiful font cut out!
  8. Next I grabbed the Pink inks and began layering the Fragrant Blooms.  I used the lightest to stamp the solid base and with each layer went a little darker.  For this one I used three of the pinks... the darkest and then the two lightest for contrast.. knowing I'd use a brown for my center stamens.  Again I used the Misti but these can easily be lined up without.  I will admit... layering stamps have literally brought me to tears (sad but true...lol!)  These were easy peasy for me!  It was easy for me to see what direction each layer should go in and on my second try I had the look I wanted and there's no looking back now!
  9. I layered a 5 1/2" x 4 1/4" base in green and a white piece cut using the largest rectangle die and layered them together.  
  10. On a separate white piece of cardstock that I cut sightly smaller than my shaker element, I stamped a few more of the Spring Meadows images, closer toward the center so that they would show past my cut out window to create some depth and attached that to my bottom two layers right in the center.
  11. Acetate was adhered to the back of my cut out window and then pop up tape around the entire rectangle for stability.  I also added extra foam tape along the bottom of my border to any areas that stick up... that keeps the sequins from "hiding" behind those areas.  I didn't worry about going around the sides and top with the extra foam tape.
  12. I popped my shaker window over the sequins and then layered on the florals, extra green "foliage" and the thanks with varied thicknesses of foam tape.
  13. Finally, as I always do, I added some sequins around the outside as if they've escaped from my shaker.
That's me for today!  I hope you enjoyed it and I've inspired you in some way for the day!  Thanks for stopping and come back soon for more Rubbernecker inspiration!


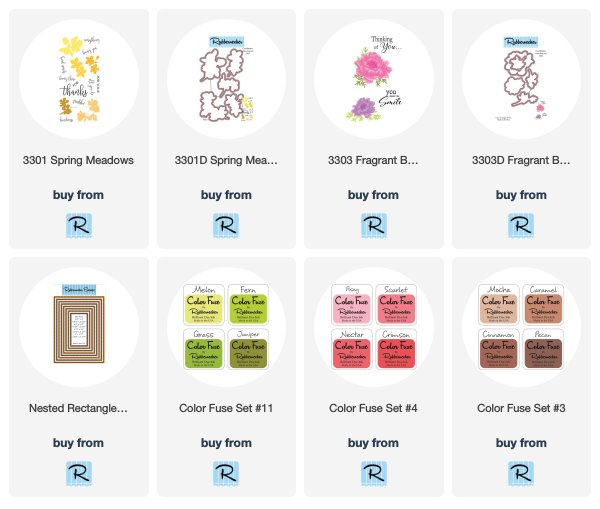
I've included links below to all of the Rubbernecker products I've used today.  Should you choose to purchase using these links I will receive a small compensation at no additional cost to you.  And thank you!
Monday, March 9, 2020

You Are Terrific! - CASual Fridays Stamps


Lisa here!  Today I'm all about the Pretty Posies!  I'm playing along with the current 30 Day Coloring Challenge and I colored these up on Day 8 and got them right onto a card for today.  Of course I used some pretty and subtle pink plaid for a quick and simple background.


I used two of my favorite Copic combos to color these... for the Pink flower I used R81, R83, R85, and R89.  And for the green and white daisies I used YG01, YG03, YG17 and YG67.  Some days I pull out what seems like all of my Copic markers and other days I keep it simple!  These are my most often used combos.


And one of the Heart Board Fri-Dies cuts was the perfect place for one of the beautiful sentiments from the Pretty Posies set to rest.


That's me for today!  Hope you enjoyed your visit and whether you are participating in the coloring challenge or not, I hope you find some time to color, or stamp, or sew, or do whatever it is that makes your heart happy every day... even if it's just for a few minutes!

Happy Creating!


A Very Purple Birthday to You! - A Jillian Vance Design


I'm up on the blog over at A Jillian Vance Design sharing this card I made using one of the images I colored up from Dear Daisy for the 30 Day Coloring Challenge.  Hope you'll join us over there for more details.

Saturday, March 7, 2020

A Rainbow Shaker Explosion - Rubbernecker Stamps


Warning: Sunglasses are suggested for this post; but not required!

I've had these floating around in my head for quite a while and am so excited that I finally made them!  I will admit...when I first saw that one piece frame die, I thought... hmmm... do I want to cut all those frames at one time?  Will I use them?  Do I need it?  (Yes, you do, you will and you do!)


I use the frames all of the time... some more than others, but I save any extras for future projects and it's become one of my very favorite dies.


And on these, I used every single one of them and then some.. there is a trick to lining up those inside layers underneath the shaker layer and I'll share that with you below!


And those flowers and leaves and butterflies!  These die sets are each on one plate also and it's perfect!  I don't have to worry about losing the individual dies and honestly... when I buy dies like these, I don't cut them apart anyway because I never cut just one.  I like to cut flowers and leaves and butterflies and the like in multiples and I put any extras in clear bags to be used later.


Love the sweet word dies also!  They were perfect for this design because they didn't take up a lot of real estate and cover up too much of my "background".  Do you see the shaker on this one?  It's in the area where the second and third largest frames are!  I'll have a future post just for this shaker design with pics to show how I make it.  It was tricky for me to work it out in my head so I'll share it with you in case your brain works like mine!

So here's how I created these:

  1. I started by choosing 7 different colors of paper.  Yours doesn't have to be a rainbow... I'm looking forward to doing this again with some pretty coordinating design papers!
  2. Once I had my papers picked out, I took the Rectange Combo OPC Die and cut one from each of the 7 colors.  As I removed the diecuts I layed them out in the order I wanted to use the colors (i.e. purple, pink, red, orange, yellow, green, blue).
  3. I cut 7 bases from white cardstock 5 1/2" x 4 1/4".
  4. Next I started assembling my cards.  For most of these, I started with the largest frame the first color and added popup tape before centering it on the base.  The next two largest layers I nested together and just added adhesive to the back to they would be layered directly on the base.  For each frame I went right down the row, left to right - if you do it this way, you'll have enough to make 7 cards and you can add the shaker elements or not!  You can add the popup tape or not!
  5. For the the next two layers (this would be the one with the oval window and the frame around the outside of it), I also nested together.  These I used for most of my shaker fronts.  I added adhesive to the back of the two nested frames and layered onto the back a piece of acetate to cover the window.  Then I added foam tape around it to enclose my sequins and other shaker pieces.  
  6. Here is the trick!  I struggled a bit lining up the last two layers (the scalloped oval frame and inside oval) in the exact right place to line up with the shaker layer which I had to add last.  So I cut an extra Rectangle OPC in white and added the two frames that were the same as the shaker window (the oval window with the frame that has the foam tape) and layered those inside the first three frames that were already adhered to the base.  These would be covered up by the shaker, but left me with a wonderful place to insert the center pieces and they lined up perfectly!  Yes, it left me with a bunch of extra white frames, but believe me... these are the most used by me and I placed them right in a clear bag for future use.
  7. Once I had my innermost pieces attached, I piled in the filling... I was lucky and had some extra rainbow butterflies from a previous project and added a few of those in each, along with some rainbow and white circles and clear sequins in different sizes.  You can fill yours with anything you'd like!  Maybe put a sentiment in there?  Or an image?  I just keep my pile within the limits of that scalloped oval and it's easy to finish it off.
  8. Once I had all of my fillings in place, I popped the shaker piece over the top, lining the window up around the scalloped frame!
  9. All that's left is to decorate however you wish.  I cut some flowers and leaves in a few of the rainbow papers and added those.  I like to put very thin foam tape in between my flower layers for more dimension between the petals.
  10. I cut each of the word dies three times - once in white glitter paper and twice from white cardstock and then stacked them together for dimension.  I attached the word where I wanted it by cutting foam tape very thin and adding it to the back of the word in a few places.  This way it was easy to layer it over and through my flowers and leaves.
  11. Finally, a few sequins and butterflies... as if they escaped from the shaker!
A note: I did vary the layers where I added the shaker a little bit and I love them all!  Picture #1 and Picture #3 are the ones that fit the instructions above exactly.  And I will be back again with a photo tutorial of the shaker window frame since for me that was a bit of a mind bender.

Thank you so much for stopping by today and hop you enjoyed your stay!


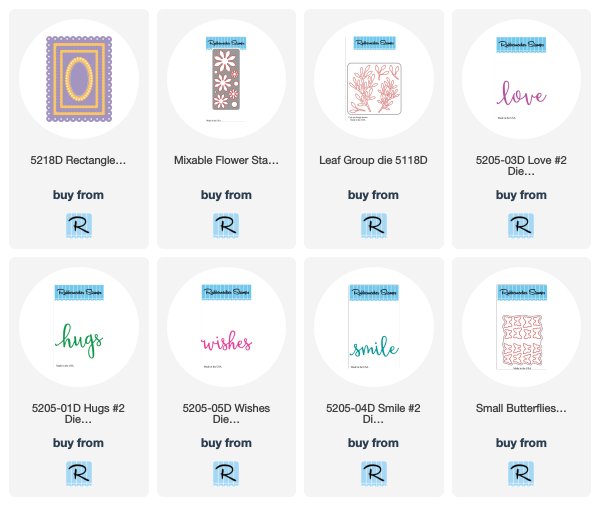
Below are links to the Rubbernecker products I've used today.  Should you decide to shop using these links I will receive a small compensation with no additional cost to you... and Thank You!

Friday, March 6, 2020

Oh Crop! - Miss Ink Stamps


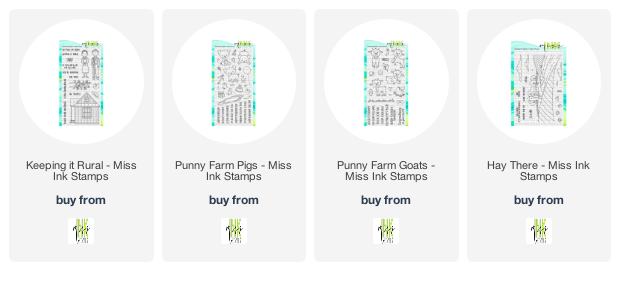
Welcome back!  If you had asked me a few days ago what this card was going to look like I'd have shrugged and said... idk...lol!  But when I decided to play again with the idea of a spotlighted framed scene and a black and white background scene I knew what I was going to do!  I wasn't quite ready to be done with the Keeping It Rural, down on the farm theme so I had stamped, cut and colored the images, not really knowing what my layout would end up looking like!


When assembling my card, I cut the white base 5x5 and stamped the Hay There background stamp off the edge ... I had played a little with the frame I found in my extras pile and knew I wanted the barn to show in the background so rather than stamping across the whoe card I stamped off of the right edge and planned on filling in with some corn on the left to fill in that space.


You've been seeing these images a bit on Instagram over the last few days possibly... I'm playing along with the 30 Day Color Challenge that's going on... we're on Day 6 and this will be my share for today.  I had colored up the images with my Copics and today I finished up adding some additional shading and detail using my Prismacolor Pencils... I also needed a couple extra images so colored those for today as well!

I also decided that this time my black and white background would have a little dimension, so outside of the frame, I added a few black and white cornstalks and popped them up.  You may know that my most used supply aside from my Copics, Misti and Memento Ink is foam tape.  I buy it in all thicknesses and widths (yeah... those are two different things...lol!)  I LOVE being able to play with dimension and the foam tape helps SO much with that.


Probably the hardest thing about putting this card together was being brave enough to cut part of my shack off when I decided part of it would be outside of the frame...lol!  I had already taken great care in coloring up the little porch and I hesitated before slicing it off and then slicing off the porch of an uncolored one!  I may have whimpered a bit as I did it... but I am SO glad I did!  I stamped a cornstalk directly onto the background... popped another black and white cut out one up and added the porch over that.


And finally, this sentiment!  It's in the Hay There set and I just adore the cute punny sentiments in all of the sets I used today!


I just finished it off with a mix of sequins and I was done... this one makes me happy!

So thanks so much for stopping by!  If you've thought about joining the Color Challenge, you can hop in at any time and you can find all of the details here!  Bunches of ways to participate and share... you don't have to have a blog!

AND did you know March is Miss Ink's birthday!  We're going to be having some fun this month so stay tuned!


Wednesday, March 4, 2020

Caffeine Fueled Paper Play - Hero Arts Partea!


I'm up on the Coffee Loving Cardmakers Blog with a new challenge for March and the winners from February!  Hope you'll hop on over there and give us a visit!  Here's a sneak peek of my project for today:


Monday, March 2, 2020

Celebrate You - A Jillian Vance Design!


I'm up on the blog over at A Jillian Vance Design with this one!  Hope you'll give us a visit over there for more details!

Thanks so much for stopping by!