Thursday, June 18, 2020

Hey Beautiful - Miss Ink Stamps!


I'm up on the blog over at Miss Ink Stamps with some more Bleachy goodness and I've tried a few new things!  I have a photo tutorial and share how I put this one together.  If you'd like details and links, please do hop on over there to check it out!

Thanks so much for stopping and hope you'll come again soon!

Wednesday, June 17, 2020

Caffeine Fueled Paper Play - Stamplorations Joy In A Cup


I'm up on the Coffee Loving Cardmakers Blog and playing along with some challenges over at Stamplorations!  Head on over there for more details and links if you'd like them!  Thanks so much for stopping and hope you'll come again!


Monday, June 15, 2020

#BESTDAD - A Jillian Vance Design


I'm up on the blog over at A Jillian Vance Design with this cutie patootie Hootie!  Hop on over there for more pics and details if you'd like them!

Thanks so much for stopping!  Come again soon!

Saturday, June 13, 2020

A Multi Medium Birthday Card - CASual Fridays Stamps


Welcome back!  If you like to play with different mediums this is the card for you! I I came across the Bubble Box layer with green and gold Alcohol Inks on it in my stash.  I had made it for a different project, but it wasn't right for that one.  Turns out it was perfect for this one and it set the tone for the rest of the card!


I used the Jacks stencil to blended some greens through it onto a white cardstock layer and then because my alcohol ink layer had gold in it I decided to add some Inka Gold randomly before removing the stencil.  Mine was dried up so when I use it I just add a little water to it and apply it with a sponge.  After that dried, I layered that onto my white base, then a vellum Bubble Box and then popped up the Alcohol Ink layer.


Finally I stamped the Happy Birthday in the same greens I used on the background and then without moving the stamped image in my Misti, I dabbed on some Ranger embossing ink that comes in a bottle with a dauber tip to the stamp set, stamped it over the ink stamped image and then used clear embossing powder over the top.  I got a kind of textured embossed look which I decided I liked because it kind of makes the  sentiment sparkle!  And then I cut it out and popped it up over the top.  I just added a few sequins and I was done!

That's me for today!  I hope you enjoyed your visit and you'll come back again soon for some more CAS-ual Fridays Stamps inspiration!


Friday, June 12, 2020

Sending Hugs - Miss Ink Stamps


Welcome back!  I've been playing with bleach again and learning some things!

I had a hard time finding paper to use for one!  Most of my paper is from Close To My Heart from many years of being a consultant and guess what!  It's no good for the bleach technique...lol!  I believe there is a coating on it that doesn't allow the bleach to do it's thing believe it or not!  It barely made a whisper of a mark.  After searching high and low I finally found a pad of Core'dinations Color Core Cardstock and tested a corner and was happy with the result so I cut a panel of it to use.


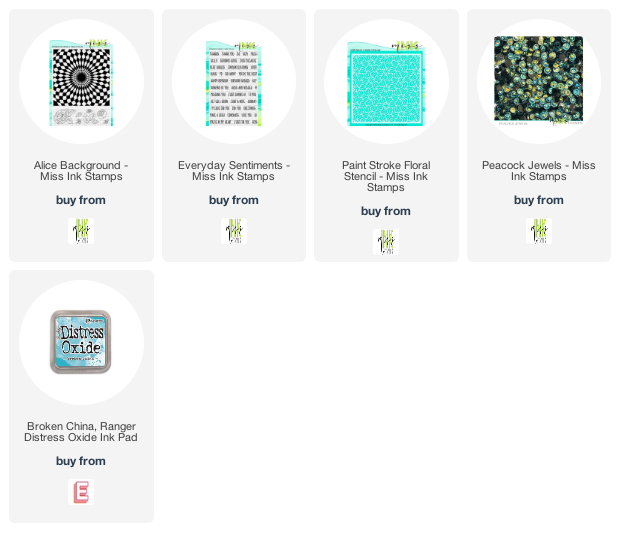
I used my Misti and stamped flowers and leaves from the Alice Background stamp set.  I did some masking so I had to work methodically.  I stamped in Black Memento Ink in the Misti and then without moving the paper again in Versamark and then embossed the lines with clear embossing powder.  Then I masked and did it all over again with the next flower or leaf.  It surprisingly didn't take very long... and you know how I feel about masking (hate it!), however, it wasn't too bad and I'm happy with how it came out. 


Once I was done stamping, I took a paintbrush and a small bowl of bleach and painted inside the embossed lines.  You don't have to be careful and can go right over the lines because they're embossed in clear... you don't have to worry about them getting bleached out!  After I was done coloring, I splattered some bleach over the entire piece.   I loved the look of the added colored pencil last week so I decided I was going to do that again.  There may come a day when I just leave it plain... but today is not that day!  I stenciled some Broken China Distress Oxide onto the upper right corner of the panel... just cause I wanted to!


Next I added a couple flowers and leaves in the upper right so I could have a cluster around the sentiment.  I wasn't happy with the way I layered them, so I stamped one of the flowers onto a scrap piece of the same paper in the same fashion, bleach painted it, colored it, cut it out and popped it up over my goof and I LOVE it... so I'll be doing that again.  Then I stamped my sentiment from Everyday Sentiments onto a little die cut piece in Versamark and embossed it in white.  This sentiment is all one line, but I stamped the words separately over each other so they'd fit on my die cut piece.  Finally I popped it up over my cluster of flowers and leaves.


I added some Peacock Jewels around because the colors were perfect and I was done!

That's me for today!  I hope you're enjoying my play with the bleach!  If you've never tried it before I highly recommend!  I love the vintage feel that I've been getting!

Thanks for coming and hope you'll come back soon!


Thursday, June 11, 2020

Life Is Good - Rubbernecker Stamps


Hello! Today I'm sharing with you a quiet evening near the beach at sunset.  Kinda wishing I was there right now!


I used some Color Fuse inks to blend this background and love the way it turned out!  I could use a view like this about now!


And when I was trying to decide on a sentiment and thought of this one... I knew it was the one!  Pretty much that's how I'd feel if I was there I'm sure.


And I had a lot of fun creating my shadow scene in front of the sunset.  I just cut bunches of die cuts from black and layered them on.


And that scallop frame from the OPC Rectangles... one of my very favorites!

Here's how I created this one:

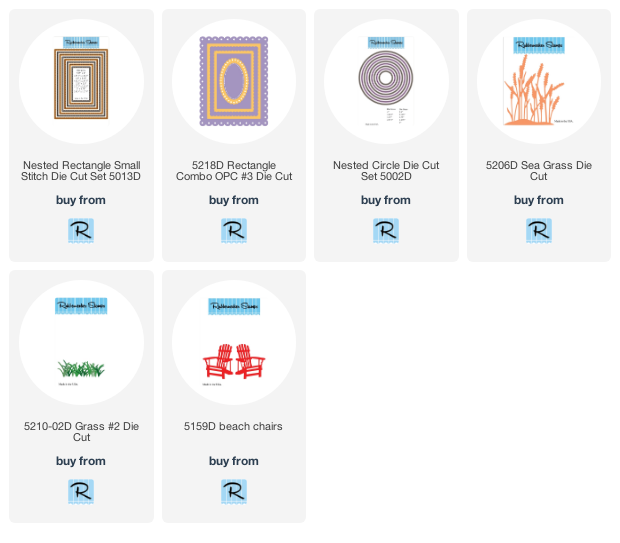
  1. I started by cutting a panel using the largest of the Nested Rectangle Small Stitch Die Set in white.
  2. Next from the bottom up I blended some Custard, Apricot and then Nectar inks onto the panel.  I knew I'd be covering up the very bottom so I didn't worry about covering the entire piece, but made sure I had enough coverage to where the landscape started.
  3. I sprayed the panel using some water infused with Liquid Pixie Dust and let a couple fatter droplets land because I love the way it looks.
  4. I cut a simple circle from white cardstock and used the same inks to blend it.
  5. I cut a piece of black cardstock to 5 1/2" by 4 1/4" and adhered the ink blended panel to it.
  6. Another Rectangle was cut using the same die, but in black.  Then I taped two of the Stitched Hill dies across the black rectangle panel leaving some room in between so I could layer them on top of one another.  I attached the upper hills using some glue and then added some thin popup tape to the bottom hills and popped it up over the first one... overlapping just a bit so there would be no gap.
  7. I cut some Sea Grass (2), grass from the Grass #2 die, and the chairs from black cardstock and then began building my scene using popup tape and glue depending on where I wanted some depth... the chairs were popped up a bit as well as the sea grass  Then I filled in with the smaller grass and trimmed some stems from my second sea grass die cut to stick in here and there as there are always little tiny seagrasses scattered at the beach here and there.
  8. The blended circle was tucked under one of the hill die cuts to create the sun setting behind the hill.
  9. I added the largest of the Rectangle Combo OPC #3 frames by adding pop up foam to the top edges that didn't have any diecuts built up underneath it and glue to the parts that would lay on top of the stacked die cuts.
  10. Then I stamped my sentiment onto black cardstock in Versamark and heated it with some white embossing powder.  (When I use black especially I like to brush over it with some anti static powder first  if I want a nice sharp look, and I did that here).  I trimmed that down and popped it up in the corner of the card.
  11. Finally, I scattered some sequins... three groups of three... and I used Glossy Accents to adhere them since they were clear.  Any glue that dries clear would work fine but since I didn't want to wait for the glue to dry before photographing it, I used glue that was already clear.
And that's me for today!  Thank you so much for stopping and I hope you'll come again soon!


Below are links to the Rubbernecker Stamps products I used today.  Should you choose to purchase using these links I will receive a small compensation at no additional cost to you.  And thank you!


Wednesday, June 10, 2020

National Iced Tea Day 2020 With the Coffee Loving Cardmakers


Happy National Iced Tea Day!  Today the Coffee Loving Cardmakers are celebrating with a hop!  You can find all of the links on the Coffee Loving Cardmakers Blog here!  Comment at every stop for your chance to win a $15 gift code to a sponsor of the Spring/Summer 2020 Coffee Lovers Blog Hop!

Here's how I was inspired today:


I chose the Endless Potential digital stamp set from Polka Dot Orchard!

  
Cute, right??


I love the cute backgrounds in this set!  As well as some really great sentiments both tea and non-tea related!  My tea could be lemonade!

I LOVE iced tea!  I have a big 24 oz glass of home brewed iced tea every day (after my morning coffee of course) and as the glass empties, I add more water so by the end of the day I'm drinking mostly water.  


Thanks so much for stopping by today!  I hope you enjoyed it!  Did it make you thirsty!  Hope you get to enjoy some iced tea if you like it... if not have another cup of coffee... lol.... close enough!

Now... head on back to the Coffee Loving Cardmakers Blog to go to your next stop and be sure to comment at each stop for your chance to win!  You get to pick the sponsor!  What's better than that!?

Come again soon!