I'm up on the Coffee Loving Cardmakers Blog today and playing along with a beautiful Mood Board over at Butterfly Reflections Ink using an adorable stamp set from Evelin T Designs along with a few other things! Hope you'll hop on over there and join me! Here's a Sneak of my project!
Wednesday, December 18, 2019
Monday, December 16, 2019
Snowflakes Are Like Butterflies - A Jillian Vance Design
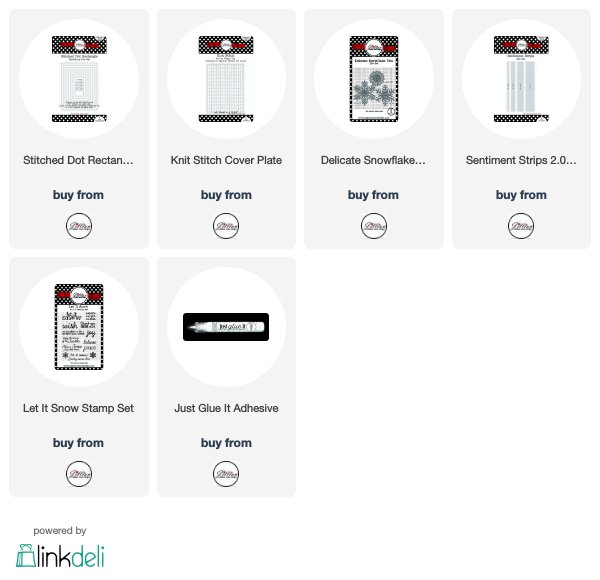
Good morning! So happy to have you here! I'm up on the A Jillian Vance Design Blog today I'm sharing a card I made using some beautiful Deco Foil! I created a stencil using the Knit Stitch Cover Plate and some thin cardboard. I've used the same die cut three times now and it's still held up! I applied some Deco Foil Transfer Gel through it over an ink blended panel cut using the largest Stitched Dot Rectangle die. After applying the gel, I used my Stencil Pal to swipe across it which gets most of the extra gel off and the remainder seems to make my cardboard stencil stronger...lol! I let the gel dry before laying the turquoise foil over it and running it through the Minc machine.
While my transfer gel was drying, I cut the Snowflakes three times... once from glitter paper and two more times from white cardstock. I stacked each flakes' cuts together for dimension and then used some clear foam tape and stacked my stacks. The gem shaped cutouts in each snowflake line up nicely and I love the way they look stacked with just a little dimension in between them.
I used two sizes of the sentiment strips to create a border across my card and then glued the snowflake to the center. A pretty white gem was perfect for the center.
Then lastly this sentiment from the Let It Snow stamp set was just begging to be used on this card... isn't it so sweet??
Thanks so much for stopping by today and hope you enjoyed your visit! Come again soon for more AJVD inspiration! Below are links to all of the A Jillian Vance Design products I used for today's card.
Follow A Jillian Vance Design on:
Labels:
Decofoil,
Distress Oxides,
Jillian Vance,
Knit Stitch,
Snowfake,
Stencils,
Thermoweb,
Transfer Gel
Sunday, December 15, 2019
International Tea Day With Miss Ink!
This is my second post for International Tea Day! Be sure to check out our fun post over at the Coffee Loving Cardmakers Blog for today!
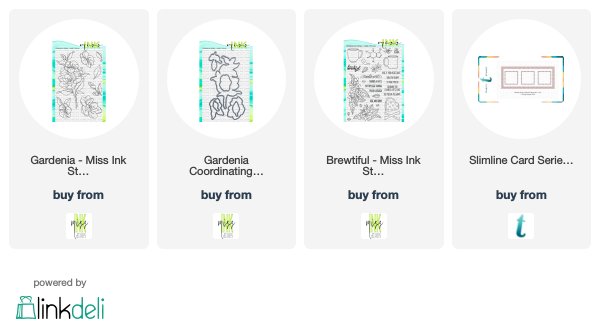
I knew right away I wanted to use the beautiful flowers from the Gardenia set along with that pretty cup from Brewtiful. Yes, most days the cup has coffee in it... but for today we've got some tea for you!
I love the new Slimline window dies from Trinity and decided to use it along with my images to create a pretty and fun shaker. I used some old Lawn Fawn plaid which I tend to hoard but I probably have enough plaid paper to last long after I'm gone so I'm trying to use it a little more...lol!
I love coloring these Gardenia images ... I take a little artistic license with them and have used various colors because I can! They are so easy to color though and with just a touch in the center I think they're just right! And I love all of the little pieces parts and different flowers in the set so I can group them together however I wish!
And isn't that polka dot cup from the Brewtiful set so sweet?
Don't you just love shakers?? I love the sparkle and I love the sound they make when you shake them... it makes me happy...
So Happy International Tea Day! I'm celebrating right now with some coffee, but the rest of my day will be devoted to the sweet leaf... right now I'm using some loose leaf tea from Trailhead Tea in Sedona... I use a mix of Brins Mesa Peach and Broken Arrow Apricot and I love to make iced tea with it and I drink it all week. The folks there are so awesome so if you ever get a chance to visit, be sure you do!! You can belly up to the bar and try some tea before you buy! And they have bubble tea too! I usually get over to Sedona once or twice a year and in between I order my tea online.
Thank you so much for stopping!! Come back tomorrow for some more inspiration and have a wonderful day!
Labels:
Gardenia,
International Tea Day,
Lawn Fawn,
Miss Ink Stamps,
Plaid,
Shaker Card,
Tea
International Tea Day with the Coffee Loving Cardmakers!
Welcome to International Tea Day! Today the Coffee Loving Cardmakers are the Tea Loving Cardmakers and we're celebrating with a fun little hop! We have two teams "battling" it out today; Team Paper Smooches and Team Graciellie! We're sharing projects using some of these two Super Sponsors' Tea themed products... it's gonna be a tough one because both have created some awesome stuff! The Inlinkz is below for easy hopping!
I'm on Team Paper Smooches and here's how I was inspired:
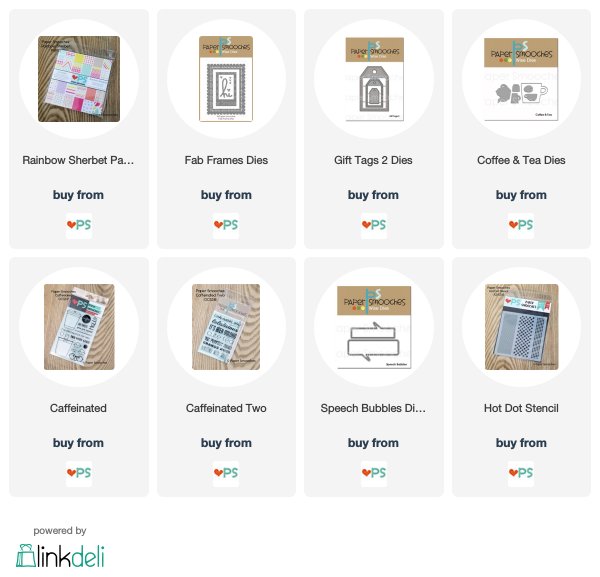
Have you seen the pretty new paper pad over at Paper Smooches? The Rainbow Sherbet paper pad has lots of fun patterns in some really fun colors! Don't you just love that Houndstooth pattern? And that frame from the Fab Frames set is one of my favorite dies right now!
I went with traditional Tea for this one with that sweet little Teapot and Cup from the Coffee and Tea dies. And the sentiment from Caffeinated Two is perfect! I thought it would be fun to add it to a Speech Bubble. My coffee and tea speak to me for sure!
And the Coffee and Tea die set has that cute little teabag! I cut a few from some purple and yellow solid from the Sherbet pad and then some white and raspberry cardstock as well and made the frame into a shaker.
And then I needed to get out the Caffeinated set for some Bubble Tea!
For this one I ink distressed the background with a couple purples. I stamped some of the bubbles from the Caffeinated set in the deep purple and some second generation of the same color. Then I used the Hot Dots Stencil to add even more dots in a couple different sizes... lightly with some more of the same distress oxides I blended with.
I stamped, cut and colored the tea cup and adorable little boba! I just love those guys!! I layered them onto the tag cut from another one of the prints from Rainbow Sherbet. I used some of the colors in this tag to color in my tea... actually the purple in this paper inspired the whole purpe theme.
The sentiment is from Caffeinated Two and I cut the bow out of Copic friendly paper and colored it to match the bubble tea.
I think I won this round with a one-two punch! Now get hopping to see what my teamies have got for you!
Thank you so much for stopping! Hope you had fun and be sure to see my other post for today for some more Tea and shaker fun!
You are invited to the Inlinkz link party!
Click here to enter
Friday, December 13, 2019
A Winter Birthday Wish - Rubbernecker Stamps
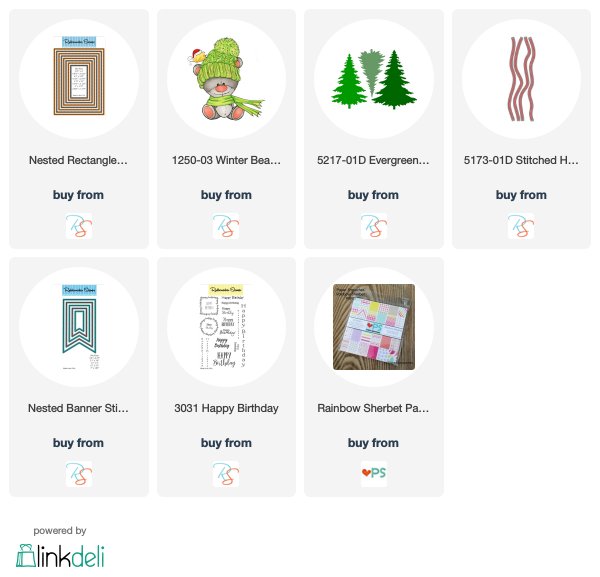
Winter Bear isn't just for Christmas! I wanted to use this sweetie on a wintery Birthday card along with some fun new paper I got recently!
I stamped, colored and fussy cut winter bear in colors that coordinated with that pretty background paper. Then I layered my background with various thicknesses of foam tape and popped up Winter Bear over the top.
I cut my banner out of white cardstock and used my Misti for the sentiment. I just made sure that the die cut piece was right in the corner when I stamped since there wasn't much room for magnets. I stamped a couple times each time making sure my paper was right back in the corner where I had it the first time!
There are quite a few sweet, wintery stamps available in the shop that could be used for more than just the holidays!
Thank you so much for stopping by today! I've got some fun stuff going on this weekend so hope you'll come by again soon!
The Rubbernecker Stamps links below are affiliate links and should you choose to shop using them I will receive a small compensation at no additional cost to you. And thank you!
Labels:
Birthday,
Copics,
Glitter Paper,
Rubbernecker,
Winter,
Winter Bear
Thursday, December 12, 2019
Sending Wishes - Lavinia Stamps
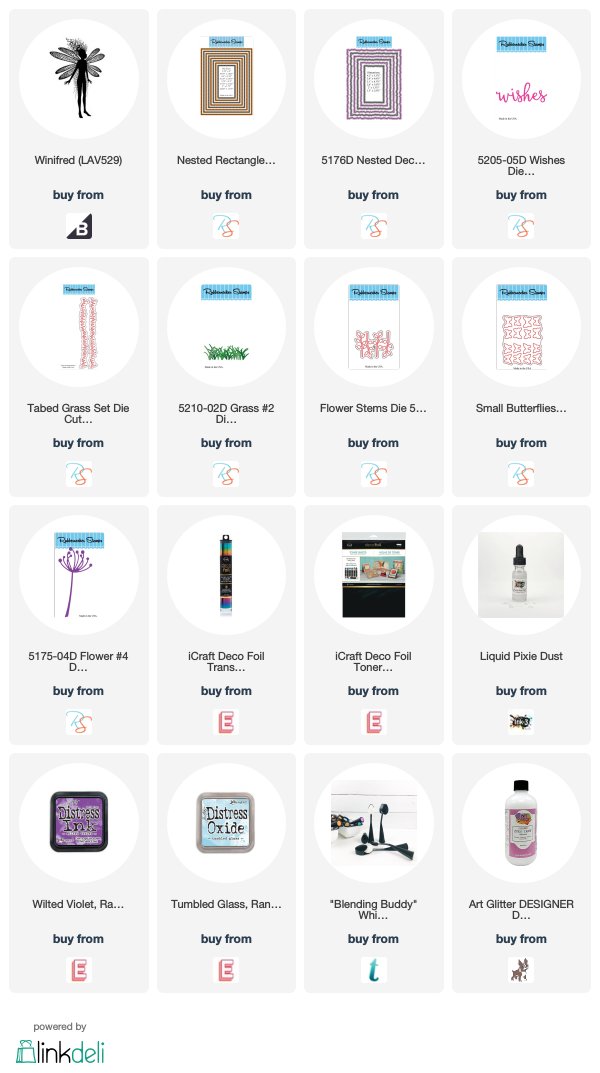
Hello! Today I'm sharing a card I created using a beautiful stamp from Lavinia Stamps that I won over at the Anything Lavinia Facebook Group along with some of my favorite Rubbernecker dies! That beautiful fairy, Winifred stole my heart as soon as I received her in my mailbox!
I've incuded links at the bottom of my post for the products I've used today!
She is so sweet right?? I knew she could be found in the early morning twilight hours among the flowers!
I started by using a negative piece of foil from a former Miss Ink project using the Diamond Fade Stencil. I just laid the negative piece of foil that was made with some beautiful Rainbow Shattered Glass Deco Foil over a piece of Toner Paper and ran it through My Minc and then cut it with a stitched die.
Then I ink distressed a smaller diecut panel; stamped Winifred onto it using my Misti and then sprayed some water over it that is infused with Inkon3 Liquid Pixie Dust. Then I proceeded to diecut and layer all of the rest of my pieces. I die cut some butterflies and my sentiment out of another piece of Toner Paper that I foiled using the Rainbow Shattered Glass Deco Foil.
I added a few clear sequins from Pretty Pink Posh and I was done!
I've realized that I need to get over to Lavinia World and take a look around. In just a short time snooping around the website I saw lots more beautiful stamps and dies! I feel a new love coming on!
I'm playing along over at Lavinia World's current Challenge #15. It's Anything Goes and you can find all of the rules details for that here!
Thank you so much for stopping by and hope you enjoyed it. Come back tomorrow for some Rubbernecker cuteness!
The Rubbernecker Stamps links below are affiliate links. You do not have to use these links to shop and should you choose to purchase by clicking on these links I will receive a small compensation and thank you!
Labels:
Butterfly,
Decofoil,
Diamond Fade Stencil,
Fairy,
Foil,
Lavinia,
Miss Ink Stamps,
Rubbernecker,
Stencils,
Thermoweb
Monday, December 9, 2019
Jingle Bell Joy With A Jillian Vance Design
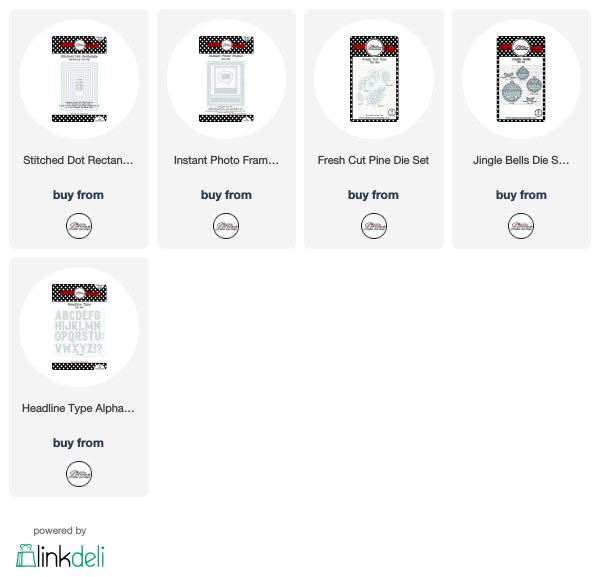
Greetings all! I'm up on the blog over at A Jillian Vance Design sharing this all die cut card with you today. I can't seem to get enough of the Fresh Cut Pine and Jingle Bell Die sets! I love those bells cut from gold foil cardstock!
Sometimes instead of just using the color cardstock I want with dies, to get a little more texture I like to use plain white cardstock and blend distress inks onto them in the colors I want and cut my shapes from that. I did this with the pine cones and branches.
And I had fun creating my sentiment using the Headline Type Alphabet dies... these are a fantastic size for a sentiment. I did cut them three times... once from the design paper and twice from white cardstock to stack them and give them some dimension. When I cut them from the design paper, since it was striped I used some washi tape to keep them in place.
Finally I just attached everything with various thicknesses of foam tape (I collect all kinds of thicknesses and widths of foam tape... it is THE most used supply in my craft room.) and
I added some gems as berries and then some sequins in traditional Christmas colors. To really be sure the gems and sequins are attached and to attach anything I didn't pop up, I used some fantastic Just Glue It adhesive from the shop.
I'm playing along over at Simon Says Stamp's Wednesday Challenge which is Traditional Christmas and Double Trouble's Wrap It Up Challenge to use some Christmas Design Paper and I've met the twist to use a bow! And DT is partnering with Artsy Stamper's Challenge to create something with a Winter Holiday theme and I'm playing along over there too!
Thanks so much for stopping today and be sure to come again soon for more inspiration!
Below are links to the A Jillian Vance Design products I've used today:

Follow A Jillian Vance Design on:
Subscribe to:
Posts (Atom)