Wednesday, January 8, 2020

Caffeine Fueled Paper Play - Paper Smooches (Anything Cold)


I'm up on the Coffee Loving Cardmakers Blog and playing along over at Paper Smooches Stamps!  I hope you'll hop on over there and check it out!  Here's a sneak peek:

Monday, January 6, 2020

An Alcohol Ink Snowfall With A Jillian Vance Design


Happy Monday!  I'm up on the A Jillian Vance Design Blog today and I've been playing with some Alcohol Inks!  I love the beautiful  Delicate Snowflake Trio dies and I've been wanting to create a card using them with a pretty and bright background!


I started with some glossy Alcohol Ink paper cut using the Stitched Dot Rectangle die and dropped Raspberry and Intrigue Pearl inks on it along with some Blending Solution.  Then I smooshed and twisted the inks using a felt covered blending tool to cover the background as I wanted a smoother look behind the flakes.  When that was dry (which happens pretty quickly), I stamped snowflakes from a couple different sets in Versamark and heat embossed them in white.  Finally I splattered some white acrylic paint over the top.


I cut my snowflakes once in glitter paper and two more times in plain white cardstock and then stacked and glued them together for dimension and so they would be nice and sturdy.  I cut that beautiful Vintage Frame in white; attached the snowflakes to the inside edge with AJVD Just Glue It and added foam tape to the frame and strategically to some of the snowflake "petals" and laid the whole thing down onto my base.


Finally I stamped and embossed my favorite sentiment from the Let It Snow stamp set to a piece of black cardstock cut with the label die included with the Vintage Frame... it was the perfect size!  A few clear sequins and I was done!

I'm playing along over at Double Trouble Challenges Some Like It Hot!  Use embossing of any kind on your project.  there is a twist of hot... idk... "hot" pink... "heat" embossing?  If not that's ok... but you should definitely check it out and if you use something hot and meet the twist and link up over at Stinkin' Inkers Warm Up challenge you get extra chances to win the prize at DT!  And I'm playing along at Simon Says Stamp's Monday Challenge which is "New" and Simon Says Stamp's Wednesday Challenge which is also "New"! That beautiful Vintage Frame is new to me and I love it!!

Thanks so much for stopping by and be sure to come back soon and often for more inspiration!

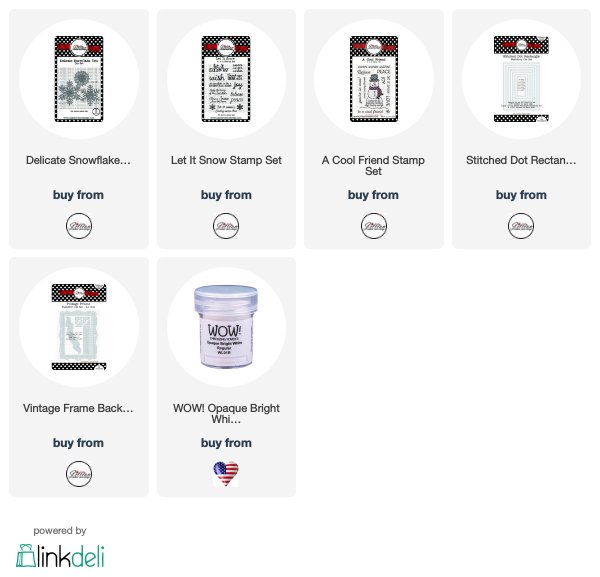
Below are links to all of the AJVD products I've used today:


Follow A Jillian Vance Design on:

Friday, January 3, 2020

On Your Wedding Day - CAS-ual Fridays Stamps


Happy New Year!  Today I'm up on the CAS-ual Fridays Blog and I'm sharing a card for a wedding and I've used lots of embossing powder on the background, sentiment and on the embellishments.  I used some gold mirror cardstock and was wondering how it would take the heat if I were to heat emboss it. 

I started by creating my background using the Starlequin stencil and applied some gold embossing paste through it.  Then while it was wet I sprinkled on some Vintage Peacock embossing powder and heated it up.:


Next I die cut one of the CASual Trees Fri-dies from gold mirror cardstock, smooshed the ends onto my embossing ink pad and then smooshed them into the powder.  I didn't worry about full coverage because I like things imperfect and wanted the gold to show through.


As you can see, the mirror cardstock took the heat ok, however, some of the embossing powder seemed to slide around a bit as I heated it.  After it cooled, I applied more embossing ink and more powder and heated it again... this time keeping the heat pointed straight down at it instead of coming from the side as I tend to do and that seemed to help more stay put.....


And this is what I ended up with... I LOVE it!   I used the same powder as in the background, Vintage Peacock, and I mixed in some plain gold die cuts for contrast in my "bouquet". I love imperfect things in my project, but if you don't, then you may want to use plain cardstock for this technique for more even coverage of the embossing powder and you can just keep adding more until you get the look that you like!
  

I love to cut apart the branches of this CASual Trees die cut so I can make a full "bouquet" and love how it coordinates perfectly with the background.  The heart from the Heart Board Fri-Dies is perfect as a vase.


I embossed the sentiment from the Ever After set in white onto some teal cardstock and added a matte of the gold behind it, tucking a few more of the branches from the CASual Trees die cuts in the corner.
  

I'm playing along with the Wow Embossing Powder January Challenge which is Love/Valentines Day/Wedding/Anniversary.  I've got that covered!

If you entered the giveaway for the Season's Giving Blog Hop, be sure to stop back tomorrow to see if you were a winner here at the CAS-ual Fridays Stamps Blog!  And if there are things that you need from the shop, I have this for you:


Thanks so much for stopping by!  Come back again soon for more inspiration!

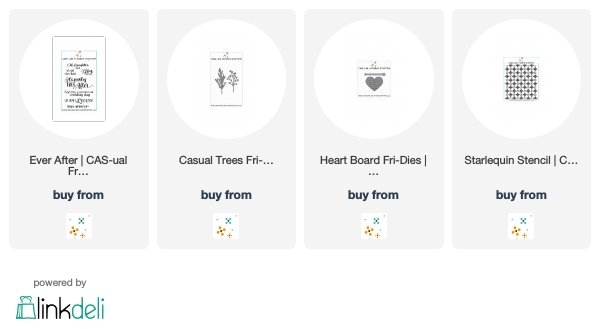
Below are links to the CAS-ual Fridays Stamps Products I used today:


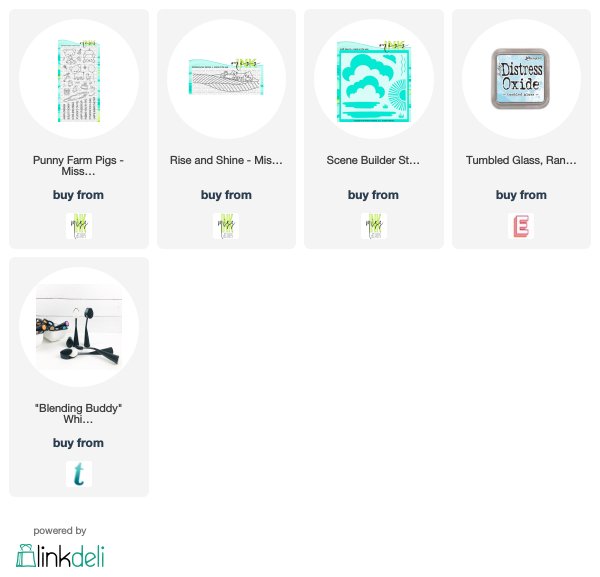
Happig Birthday - Miss Ink Stamps!


Hello!  Excited to be back today with this oh so cute piglet from the Punny Farm Pigs stamp set!  Today we're wishing someone a Happig Birthday!

I started by stamping the Rise and Shine Scenery stamp along the bottom of the panel and colored it in with Copics.  Then I used the Build A Scene stencil to add some clouds to the sky.


I stamped a bunch of balloons and streamers from the Punny Farm Pigs set and cut them out on my Scan N Cut.  I love to use coordinating dies for stamp sets, but when I want to cut a bunch of one image, I turn to my Brother... Scan N Cut that is...lol!  My actual brother would be no help at all!

I colored my images and I'll share my combos for some of my images here because they are some of my faves.  For the Pigs I like to use R000, R00, R01, and R02.  My favorite green combo is YG01, YG03, and YG17.  For blue blue my go to is B21, B24, and B26.  And for the yellow I used Y11 and Y15.


I just love the adorable punny sentiments from this set!  I used the Happig from this one for my New Years sentiment from last week's card (you can see that one here if you'd like).


So there you are!  Looks like fun floating around with those balloons, doesn't it??  It was a lot of fun to create it for sure.

I'm playing along with the Simon Says Stamp Monday Challenge which is Party this week!

Thanks for stopping!  Come again soon!

Wednesday, January 1, 2020

Caffeine Fueled Paper Play - Flora and Fauna


Happy New Year!  I'm up on the Coffee Loving Cardmakers Blog today with a new Caffeine Fueled Paper Play featuring Sponsor Flora and Fauna and the winner from December!  Hope you'll hop on over there and check it out!  Here's a sneak peek!


Tuesday, December 31, 2019

From Our Gnome To Yours - Tag It Tuesday With Polka Dot Orchard


Have you seen the adorable gnomes from Polka Dot Orchard?  There are two new sets and I've used one of them, Gnome for the Holidays, today for a tag for an after the holidays giftie for a friend!  Holiday sets are still on sale for today including this one!  Don't miss out if you wanted to pick it up!


I arranged the trees from the set in a row and the gnome holding this sign (leaving space to die cut the tag) using Word and printed them on Copic friendly paper.   I wanted the gnome separate from the trees because I knew I'd want to cut it out and pop him up... 'cause that's how I roll!...lol!  But if you prefer not to you could easily position him right over the trees for a flatter tag.  Once printed, I die cut the Paper Smooches tag taping it in place where I wanted it over the trees and then colored them in and created a background around them with my Copics.  I fussy cut and colored my gnome and added him to the front.


All that was left to do was add some ribbon and fill up my burlap bag with some cocoa and candies!  I loved being able to use these images for a non-Christmas card... I love my gnomies!

I'm playing along over at Double Trouble Challenges Anything Goes!

Thanks so much for stopping today!  Come back tomorrow for some Caffeine Fueled Paper Play!


Monday, December 30, 2019

New Years With A Cool Friend - A Jillian Vance Design


Welcome back!  Today I'm sharing a New Years card I created using the A Cool Friend stamp set!  I knew I wanted to create a New Year's card with this guy and was having a hard time deciding what that might look like, so I just stamped him and started coloring his body with my go to (BG0000 and the blending pen) and it came to me that he'd probably be wearing a fancy outfit for New Years so when it came time to color his hat and scarf I chose a gold and silver pallet.


I used some yellows for the gold spaces (Y28, Y26, and Y21) and cool grays for the silver spaces (C5, C3 and C1) and when I was done coloring I added some gold and silver Wink of Stella and added some extra clear over the top for extra sparkle!


Once I had him colored up the rest of the card just fell into place... of course I'd use some black and then lots more gold.  I cut a snowflake (once from some gold mirror cardstock and once from black cardstock and stacked them for dimension).


 I built my sentiment using the Headline Type Alphabet cut from the same gold and black as the snowflake and a sentiment from the Christmas Blessings sentiment set.  I decided to emboss the Happy New Year part in white to balance the white from my cool dude.


I'm playing along with a few challenges with this one!  Over at Simon Says Stamp's Wednesday Challenge and the Monday Challenge the theme is party!  And at Double Trouble, it's Anything Goes with a twist of New!  Check them out!

Thanks so much for stopping!  Wishing you all of the best for the coming New Year!  Enjoy and Be Safe!  See you next year!

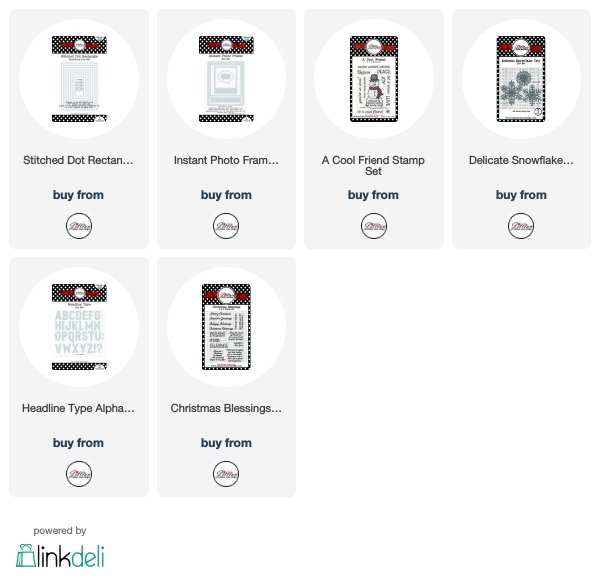
Links are included below for all of the AJVD products I've used on this card: