Saturday, January 18, 2020

Celebrate - A Jillian Vance Design!


It's time for the A Jillian Vance Design 10th
Birthday Celebration!


I am over the moon for this Spring Birdie Die Set and I'm up on the A Jillian Vance Design Blog today with this fun card:


There are lots of chances to win over on the blog so I hope you'll hop on over there and check out the details for my card and comment and enter the rafflecopter drawing for your chances to win!

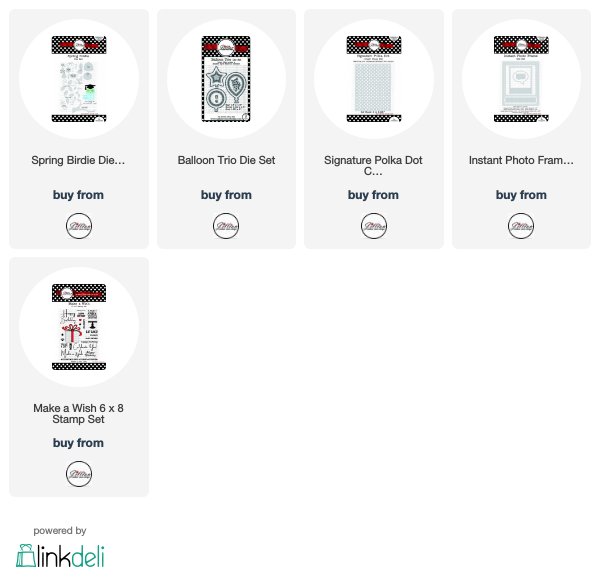
Here are links to all of the A Jillian Vance Design products I've used today:


Follow A Jillian Vance Design on:

Friday, January 17, 2020

I'm Here For You - Miss Ink Stamps


Hello!  I'm back with some more new Dazzle Dust from Miss Ink Stamps!  This time I'm playing with the Lucky Dazzle Dust and added it to some Glossy Accents to create a paste!


So pretty, right??


I added some of the Lucky Leprechaun Dazzle Dust to a jar and then squirted some glossy accents in, stirred with a spatula and tweaked it by adding a little of each until I had a consistency a little like embossing paste.  Then I placed the Leafy Green Stencil over the top of my tag and masked off the area I wanted to apply the paste to.  Using a spatula I applied the paste through the stencil and then removed the stencil.

While the paste was drying I colored my images from the Gardenia stamp set and dipped a wooden heart covered in Glossy Accents into the same glitter.


Finally the sentiment from Everyday Sentiments set and a few sequins and put it all together.

I'm playing along over at Simon Says Stamp's Wednesday Challenge which is Use A Stencil this week!  I'm also playing along over at Simon Says Challenge on Instagram "Something New"... creating glitter paste is a new technique for me!  I've never done it before, but I can tell you I am definitely going to do it again! #SSSIGCHALLENGE

I'm loving this Dazzle dust... this one goes from a beautiful gold to a deep green.  Which color will you try first??

Thanks for stopping!  Hope you'll come again soon!

Wednesday, January 15, 2020

I Ruff You - CASual Fridays Stamps


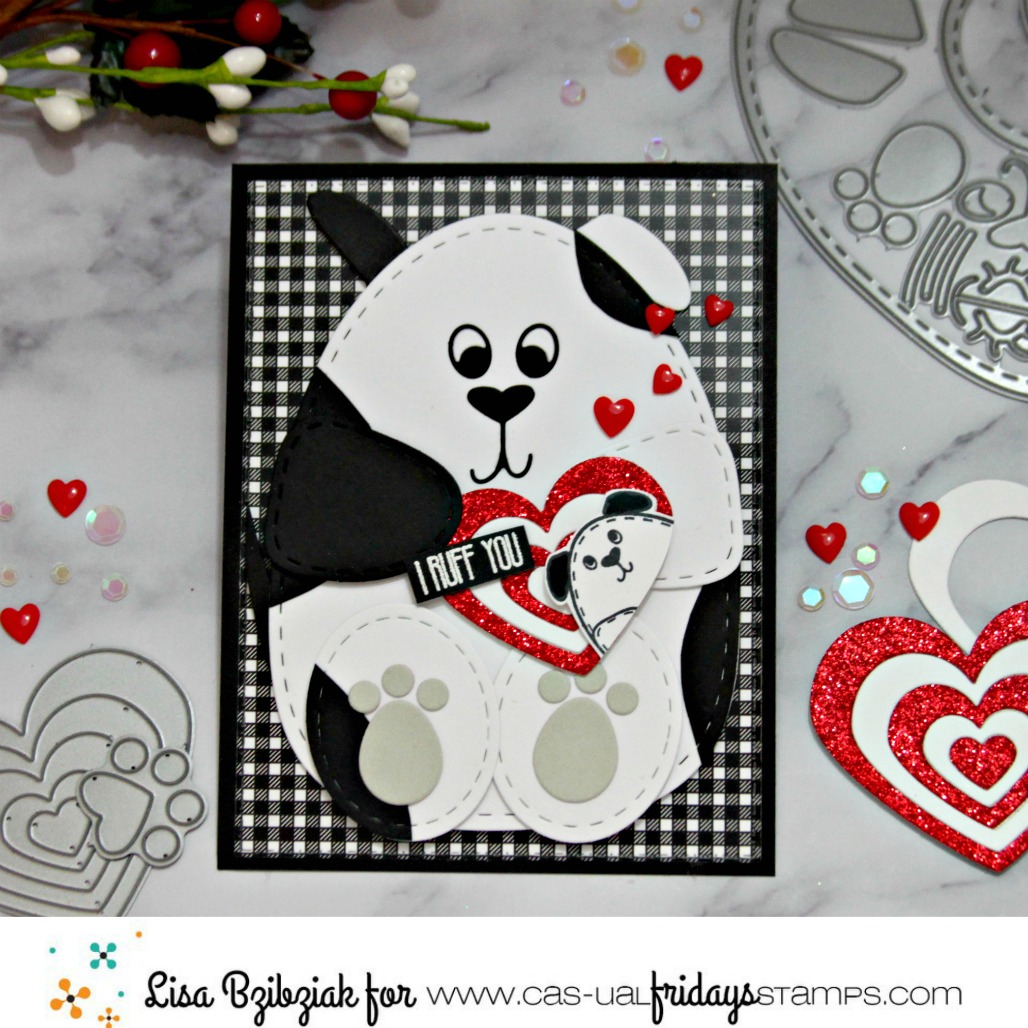
Lisa here!  I knew I wanted to create a Valentine for today and my first thought was flowers and then I remembered the adorable Huggable Critters Fri-Dies!


I was in the mood for this pup!  And I love him in Black and White so I made him spotted!  I cut one body piece in white and one in black and handcut some spots out of the black one to add spots to the edges of his body.


And I thought it would be so cute for my Valentine to be carrying a Valentine!  I cut the Heart Board Fri-Die out of red glitter paper and plain white cardstock and then alternated the little heart frames back together.  And of course he'd have a puppy Valentine with a cute little Punny sentiment from the Little Huggables stamp set.


So there you have it... a Valentine with a Valentine... I wonder if that little pup Valentine is carrying a littler pup Valentine??

Should you decide you need this pup... or anything else... I have this for you:


And did you know this is going on right now??


Thanks so much for stopping!  Hope you enjoyed your visit and come back soon and often for more inspiration!


Tuesday, January 14, 2020

I've Goat You Dazzled Babe - Miss Ink Stamps


Woo hoo!  There's a new glitter in town!  If you like glitter you are gonna love the new Dazzle Dust available over at Miss Ink Stamps... it's a color shifting glitter and you can get it in 10 different color combos over in the shop right now!  Buy all 10 and get them discounted!  You can check them all out here!  Today I used the Fairy Dust and here's how I was inspired:


As you move the card (or as you move around the card) the colors seem to shift... this one goes from a beautiful greenish opalescent to a bold purple!  I used some bookbinding tape and placed it across my paper at intervals and then burnished the glitter 'til it was smooth and shiny... almost foil-ish to create the background.   It made the perfect backdrop for my cute little Valentines, using the Have Heart stamp set and those cutie pies from Punny Farm Goats!

  The next picture shows how these colors change from another angle....


I love how this one changes from the Opal color to a pink-ish purple to a deep rich purple!  Check out those hearts!  I painted some little wooden hearts black and then added glossy accents to the top and dipped them into the glitter.. that dark purple is the darkest color shift in this beautiful Fairy dust mix:


If you're afraid of glitter, stay tuned!  You'll be getting lots of not so scary ideas for using it from the designers at Miss Ink..like making a glitter paste!  

Thanks for stopping and be sure to come back soon!


Saturday, January 11, 2020

Day 2 - AJVD 10th Birthday Celebration!


We're celebrating 10 years over at A Jillian Vance Design!  There's a new release and giveaways and lots of fun and inspiration!  Today I'm up on the blog with this one I created using the new Spring Birdie Die along with the previously released Cozy Cottage Birdhouse:


I hope you'll hop on over to the AJVD Blog and see how you could have chances to win some prizes!


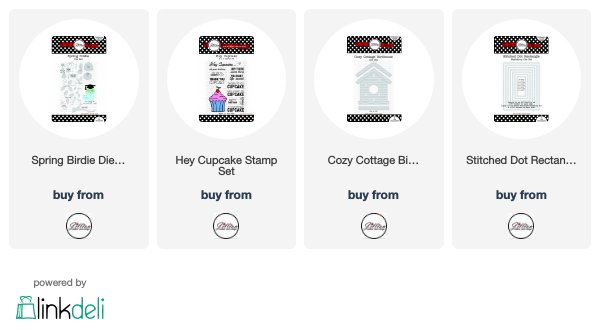
Here are links to all of the A Jillian Vance Design products I've used today:


Follow A Jillian Vance Design on:

Friday, January 10, 2020

Mixing It Up - Hogs & Kisses from Miss Ink!


Hello!  I'm stuck on the oh so adorable Punny Farm Pigs stamp set (which has some fantastic punny sentiments for Valentines Day by the way) and sharing another one with you today with a cool background I made using the Circular Harlequin stencil along with some texture paste and Wow embossing powder.
I started by die cutting a panel from Mixed Media Paper.  When I remember I like to use Mixed Media Paper when I'm using any heavy medium like Texture Paste.  I taped down the stencil just along the outside edge of my panel and applied the Texture Paste with a spatula.  One of my favorite tools for this is the Thermoweb Stencil Pal because after I apply my paste, I can run the Stencil Pal over the whole thing to smooth it out.  Once the paste was applied, I peeled off the stencil and while the paste is still wet, I sprinkled on two different "flavors" of Wow Embossing Powder randomly.  When I do this and tape the excess off,  I add the leftovers to an empty jar so I can use it in the future.  Finally I use the heat gun to met the powder... you know it's working when the paste bubbles a bit.
Next I went about stamping, cutting, and coloring my images... the pigs and ducks are from the Funny Parm Pigs set and the hearts and envelopes are from the Punny Farm Goats set.  (Which I'm pretty sure is my next obsession... stay tuned!)  I used a simple frame to frame them and made sure lots of my background would show through... because I love it!
Finally, this perfect sentiment from Punny Farm Pigs and I added some Glossy Accents to the hearts and a few of these Trinity sequins (my current fave!)  I just love that background!!
And there you have it!  Wow Embossing Powder is having a challenge this month with the theme of Love and I'm playing along over there!
Thank you so much for stopping by!  Hope you enjoyed it and come back soon for more Miss Ink inspiration!

Thursday, January 9, 2020

A Bouquet of Hugs With Rubbernecker Stamps


Excited to be up on the blog today and I'm sharing a shaker card I made using the Rectangle Combo One Piece Die #3 and the Lattice die.  You'll find step by step instructions and a list of Rubbernecker products I've used (with links) at the end of this post!


Isn't this Poppy Bouquet stamp beautiful!  I actually had planned on using a different sentiment with this image, but once I got the shaker put together I realized the sentiment I had in mind would take up too much real estate so I'll be sharing again soon with that one.  I opted instead for this beautiful Hugs die and decided on white so that it would not distract from those bright red poppies but used glitter paper because... well.. glitter!

I'm playing along over at Simon Says Stamp's Wednesday Challenge which is Fun With Florals.  You should check it out!


I love all of the white with that huge pop of color from the poppies.  Red Copics are tricky but I love them and they are definitely worth the trouble!  I always have cleanup to do when I get done coloring and do so with a combination of the Colorless Blender and a white gel pen...lol!  Always!  So don't be afraid... just do it!

If  you are interested, the reds I used are R27, R29, and R59 and the greens I used are YG01, YG03 and YG17.  These are two of my favorite combos.


Here's how I created the shaker:

  • I started by cutting the Rectangle Combo One Piece Die #3 and the Lattice Die from white cardstock using an electronic die cutting machine.
  • I decided how many of the frames I needed to make a window the right size for the Lattice die cut to fill in the center and laid them on my workspace upside down, nesting each frame inside the other.  Then so they would be easy to handle, I used scotch tape to adhere them together as one frame.
  • Next, I added the Lattice die cut in the center and taped it down.
  • I cut a piece of acetate slightly larger than the Lattice Window and adhered it over the back of the window using double sided adhesive.
  • Finally to complete the shaker window panel, I added strips of foam tape to the back of the panel around the outside of the window, but close to it.  
  • Since the window is a smaller space in the middle of the panel, I was left with a lot of space on the outer edges of the panel and so that my panel edges wouldn't bend downward I added a second line of foam tape around the outer edge just inside the scallop holes solely for structure.
  • I cut a piece of white cardstock to 5 1/2" x 4 1/4".  I adhered a piece of wood grain design paper in the center of that big enough to fill the shaker window space.
  • Now it was time to add the sequins!  It's always hard for me to decide how much to add.  You want enough that they show, but also want room to create that awesome shaker sound that makes my heart happy.  I lay the sequins down over center of the wood grain paper keeping them away from where I know my foam tape will be (I like to leave the protective layer on the foam tape of my top panel until I'm ready to cover the shaker so that I can easily hold it over the sequins without them sticking to the tape and eyeball whether I have enough sequins.)  Before I add the top layer, I like to turn over as many of the sequins as I can so they are not upside down in the shaker... I don't mind if I miss a few...but it makes me happy when the cup is up!
  • Once you feel you have the right amount of sequins it's time to take the protective layer off of your foam tape and carefully place the window panel over the top.  I take a lot of time to be sure my window is straight because once it's down... it's down.  (Although between you and me, in desperate times, and because I'm pretty sure my head is crooked, I have cut away the bottom layer.. just the edges that show; added adhesive to the paper that's left, and attached that to a new base!  It does much less damage than trying to rip it off of the base)
  • Once the shaker was together, the Poppy Bouquet image that I had stamped with my Misti, cut out with the Brother Scan N Cut and colored with Copics was added to the bottom left corner with foam tape.
  • I cut the Hugs die once from glitter paper and two more times from plain white cardstock and stacked and glued the three layers together for dimension and added it to the card with glue on the side that would lay on my bouquet and some very thinly cut foam tape on the right side.
  • All that was left to do was add a few sequins and I was done!

I've learned that different people put their shaker cards together in different ways and I've tried them but always come back to my Eyeball Method... crooked head and all it seems to work for me.. most of the time for most things...lol!

Thank you so much for stopping and I hope you enjoyed your stay!  Come back again soon and often for more inspiration!


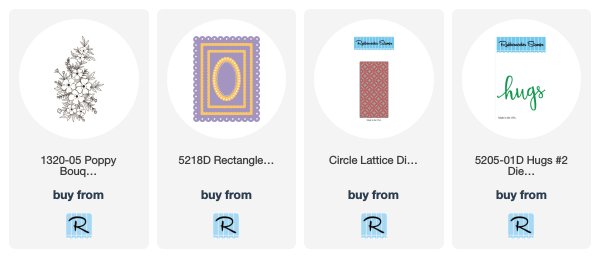
Below are links to the Rubbernecker products I've used today.   Should you choose to shop using these links I will receive a small compensation at no additional cost to you.  And thank you!