Tuesday, December 31, 2019

From Our Gnome To Yours - Tag It Tuesday With Polka Dot Orchard


Have you seen the adorable gnomes from Polka Dot Orchard?  There are two new sets and I've used one of them, Gnome for the Holidays, today for a tag for an after the holidays giftie for a friend!  Holiday sets are still on sale for today including this one!  Don't miss out if you wanted to pick it up!


I arranged the trees from the set in a row and the gnome holding this sign (leaving space to die cut the tag) using Word and printed them on Copic friendly paper.   I wanted the gnome separate from the trees because I knew I'd want to cut it out and pop him up... 'cause that's how I roll!...lol!  But if you prefer not to you could easily position him right over the trees for a flatter tag.  Once printed, I die cut the Paper Smooches tag taping it in place where I wanted it over the trees and then colored them in and created a background around them with my Copics.  I fussy cut and colored my gnome and added him to the front.


All that was left to do was add some ribbon and fill up my burlap bag with some cocoa and candies!  I loved being able to use these images for a non-Christmas card... I love my gnomies!

I'm playing along over at Double Trouble Challenges Anything Goes!

Thanks so much for stopping today!  Come back tomorrow for some Caffeine Fueled Paper Play!


Monday, December 30, 2019

New Years With A Cool Friend - A Jillian Vance Design


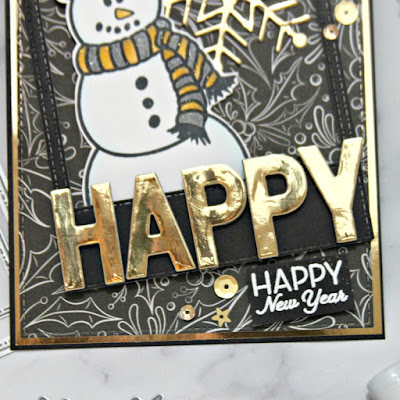
Welcome back!  Today I'm sharing a New Years card I created using the A Cool Friend stamp set!  I knew I wanted to create a New Year's card with this guy and was having a hard time deciding what that might look like, so I just stamped him and started coloring his body with my go to (BG0000 and the blending pen) and it came to me that he'd probably be wearing a fancy outfit for New Years so when it came time to color his hat and scarf I chose a gold and silver pallet.


I used some yellows for the gold spaces (Y28, Y26, and Y21) and cool grays for the silver spaces (C5, C3 and C1) and when I was done coloring I added some gold and silver Wink of Stella and added some extra clear over the top for extra sparkle!


Once I had him colored up the rest of the card just fell into place... of course I'd use some black and then lots more gold.  I cut a snowflake (once from some gold mirror cardstock and once from black cardstock and stacked them for dimension).


 I built my sentiment using the Headline Type Alphabet cut from the same gold and black as the snowflake and a sentiment from the Christmas Blessings sentiment set.  I decided to emboss the Happy New Year part in white to balance the white from my cool dude.


I'm playing along with a few challenges with this one!  Over at Simon Says Stamp's Wednesday Challenge and the Monday Challenge the theme is party!  And at Double Trouble, it's Anything Goes with a twist of New!  Check them out!

Thanks so much for stopping!  Wishing you all of the best for the coming New Year!  Enjoy and Be Safe!  See you next year!

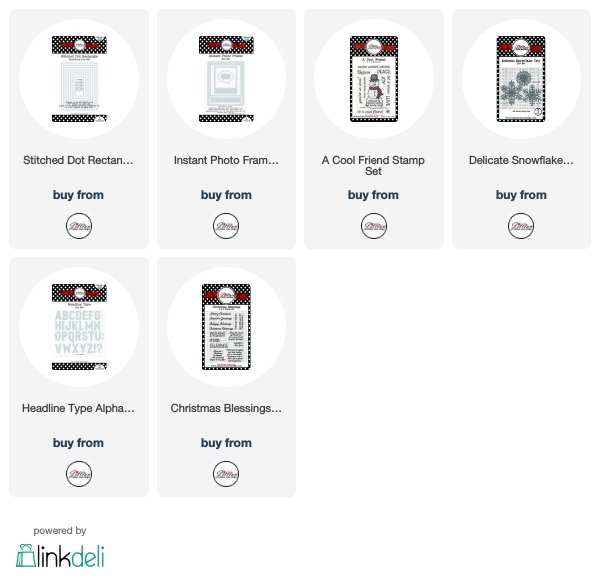
Links are included below for all of the AJVD products I've used on this card:


Sunday, December 29, 2019

Happig New Year! - Miss Ink Stamps


I had a lot of fun with this one!  I started with the background, using the Circular Harlequin Stencil... quite possibly my very favorite stencil of all time!  I will be sharing how I created this background over on the Miss Ink blog in January so stay tuned for that!


I stamped a bunch of images from the Punny Farm Pigs stamp set, including a lot of the cute little streamers onto some Copic friendly paper and then used my Scan N Cut to cut them all out.  I normally prefer the dies, but knew I wanted a lot of the little streamers so I decided the Scan N Cut was the way to go for this one.


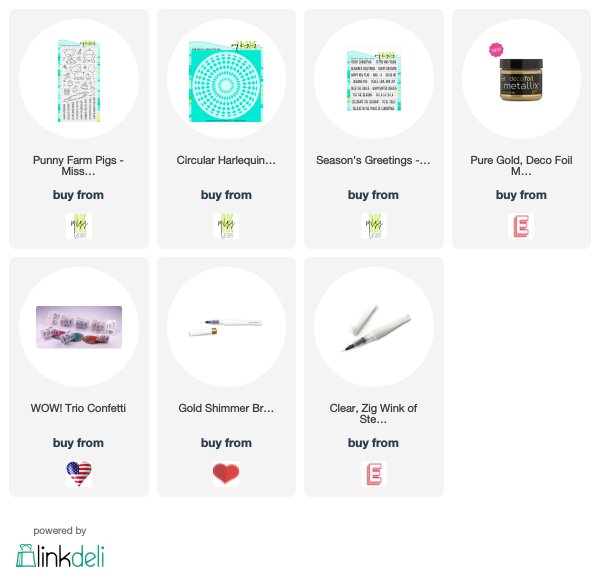
I colored them all with my Copics and laid them out on the card before attaching them using various thicknesses of foam tape.  I added some shimmer to the balloons using two different brands of shimmer pens.. I love how the camera caught the shimmer in this pic!  It's almost magical looking!  And finally I added the sentiment built using the Season's Greetings set along with part of a sentiment from the Punny Farm Pigs set... I love mixing and matching to create just the right sentiment!


So fun!!!  I love those cute little piglets!  And they look like they really know how to party!

Hope you enjoyed your visit!  Come back tomorrow for more fun and inspiration!


Thursday, December 26, 2019

You Are the Peanut to My Butter - Rubbernecker Stamps


Welcome back!  I'm sharing this card today using the adorable Gnome dies from Rubbernecker and don't you just love this sentiment??   I love these little gnomies and I thought this sentiment was perfect for the two of them.


So sweet right??  And the sentiment has so many opportunities for card themes right in it... I just love how fun it is!


And these two... gnomes aren't just for Christmas you know!!  I have lots of ideas for these two.  I cut most of the pieces from this one piece die from cardstock and then I used Copic friendly paper on one set so that I could add a little detail to their faces and hair/beard.


Was excited to use the fun colorful plaid with them too.  This will make the perfect anniversary card for my Gnomie... he's a little taller but he kind of looks like that guy...lol!

Thanks so much for stopping!  Come back again soon for more inspiration!


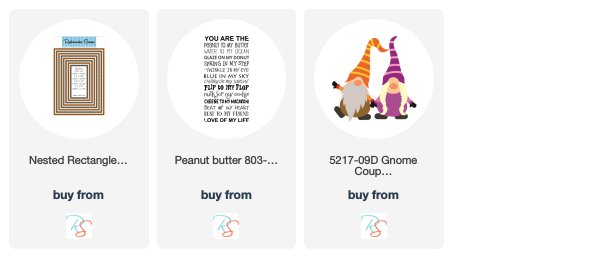
I've included links below to all of the Rubbernecker products I've used today.  Should you choose to stop through these links, I will receive a small compensation at no additional cost to you.  And thank you!

Wednesday, December 25, 2019

Crafty Elves' Countdown - Merry Christmas!


Well!  We made it!!  Merry Christmas!

My friend Debra Davison and I made a pact that we would create a Christmas card a week all year and we've been sharing on the 25th of the month each month of the year the cards we made.  Today is the day!  (Most) of my Christmas cards are in the mail.  I have one more batch to go out Thursday.  Ok.  Yeah.  I had them all made, but still wasn't able to get them all out.  But it's all good.  It's still the earliest I've gotten them out in a long time!

I've been sharing Christmas cards all month again, but I wanted to share something new today so I got a start on next year's batch:


I decided on a quick design for today using some paper from one of my local papercraft stores, The Paper Collage along with some dies from Paper Smooches (also local to me!)  I made four of the same card and it took me about an hour to put them together from concept to complete.


Isn't that cactus paper cuuute and fun?  I picked that up at the Paper Collage (their own design) and decided with all it's got going on I'd let it shine with just a simple die cut sentiment.  I used the Joy Dies from Paper Smooches to create a shaker panel.  I cut my strip of white and then die cut the largest background Joy from it.  Then I cut the smaller Joy from red paper and just added the outline to the window after placing the acetate behind the panel.  Finally I added the strip of plaid from my stash and then just popped the sentiment up over it after adding sequins... easy peasy!  That pretty bow from the Ribbon Dies was perfect to finish it off!


That's me for today!  

I have had so much fun making Christmas cards all year!  And we're gonna do it again in 2020 and guess what!!  We've got a couple more people that will join us too!  So for today, be sure to head on over to Debra's blog and check out what she's got for you!

Now for the winner of some Happy Mail from last month's post:


Whoop!  Meghan please PM me your address so I can drop something in the mail to you!

Thank you so much to those of you who have stuck with me all year!  Leave me some love on this post here and maybe I can send you some Happy Mail next month!


Monday, December 23, 2019

Jingle All The Way - A Jillian Vance Design


Welcome back!  Today I'm sharing a card with some of my fave sets from the AJVD shop and starting on my Christmas cards for next year!  I've used these beautiful Tim Holtz papers again and am loving the vintage feel of them.


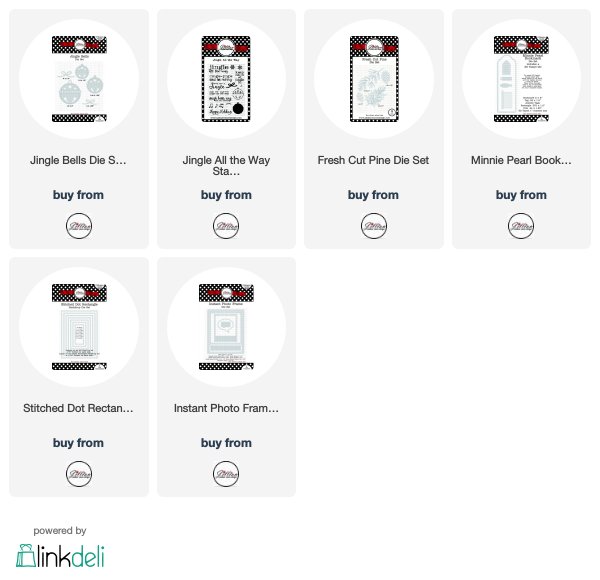
I can't get enough of these Jingle Bells dies for sure... and all of the perfect sentiments on the coordinating stamp set!  Such an easy way to create a fun Christmas card.  And it never hurts to add a little Fresh Cut Pine to the mix... here I cut it from some design paper.


And the beautiful Stitched Dot background and Instant Photo Frames work so well together to set off any stamps and dies and I discovered a new favorite!  The Minnie Pearl Bookmark die set is fantastic... but my favorite is the little tassle die that comes in it!!  I used it here to create a little embellishment and cut it from a red and white stripe which was perfect for some multicolored fringe.  I wrapped some silver thread around the top and it was fun to add just a pop of red along with the bows for the bells.


That's me for today!  Thanks so much for stopping!  Hope you have a wonderful holiday!


Below are links to all of the A Jillian Vance Design products I've used today:


Follow A Jillian Vance Design on:

Sunday, December 22, 2019

From Our House to Yours - Miss Ink Stamps


Welcome to some Miss Ink inspiration!  I was flipping through a Tim Holtz paper pad the other day and came across this one with the pretty background and thought it would perfect for a scene with these cuties from the Woodland Hearth set and the trees from the Calm & Bright set. 


I just added a gittery snow landscape and then my images using various thicknesses of foam tape.  I just love this adorable bunny family and those trees from Calm & Bright are my favorite!!  I cut these with my Scan N Cut and it worked perfectly!


And the Woodland Heart set has some beautiful sentiments... I thought this one was just right.


I'm playing along over on IG with the Simon Says Stamps Winter Wonder Challenge #SSSIGChallenge and at Cupcake Inspirations Holiday Challenge!  You should check them out!


That's me for today!  Thanks so much for stopping by and come again soon!

Beary Best Friend-Polka Dot Orchard


I'm back with another Christmas card!  This time I'm using one of my favorite new sets from Polka Dot Orchard, Beary Best Friend.  I absolutely love this folksy image... these critters are perfect for some fun coloring!  And this one is on sale right now!

I printed both the image and sentiment on Copic Friendly Paper and fussy cut the image.  Often times I do this ahead of time without a definite plan of what I'll do as far as the design of the card.  When it came time to put the card together, I found that I had printed that sentiment out fairly large and didn't think I'd be able to use the image and sentiment together without re-printing it... and then I remembered the Slimline design that is so popular right now and knew what I'd do!


I love all of the open spaces in this image making it fun for blending and adding textures... I added some lines to the scarves and dots to the sweater cuff and waistband.  Then I die cut two rectangle pieces just big enough for my sentiment and embossed the white one with a snowfall folder.  I popped up the base and the then the image for dimension and added a few snowflakes tucked in here and there.


There are some really cute sentiments in this set... this one is my favorite!  I decided I loved it big and that it should span the width of the card and added some glitter tape across the top and bottom... I actually used up my roll!!  I love and hate that!...lol!


And that's me for today!  Be sure to check out the Polka Dot Orchard shop and check out the sets on sale through December 31st!  And there are lots of new items in the shop too including some beautiful wood coasters and have you checked out the ribbon?!

Thanks so much for stopping and hope you'll come again soon!


Friday, December 20, 2019

A Merry Ornament Shaker with CAS-ual Fridays Stamps!


HelloI hope your holiday season is full of love and peace in the midst of all of the hustle and bustle!  I have a card for you today using one of my fave dies in the CAS-ual Fridays shop, Ornament Tag Fri-Dies!


I love this die set because you can make it a shaker or not!  Usually I do because it's so easy and I love shakers!  I just place the two circles together, the smaller inside the larger, on my paper and use some washi tape to hold them still and then run them through my Gemini.


I just add a piece of acetate on the inside of the frame I've created and then add foam tape around the entire frame.   The small circle became my background to my ornament because I wanted the whole ornament to be gold this time.  I added my gold sequin mix within the smaller circle and then placed the windowed frame over the top.  I've used this ornament to create a fall ornament... it's good for any season!  It also comes with cool ornament holder and hanger dies that are hard to see in this pic, but I just love them... the curly delicate hanger is so pretty!


I embellished my ornament with the Mistletoe image from the Mistletoe and Holly stamp set cut with the coordinating Fri-Dies (I love how detailed the dies cut and they come with some cute little word dies too!).  I stamped, colored and cut two and the second one was cut apart and added underneath the first.


I'm playing along over at Double Trouble Challenges Earn Your Stripes Challenge and Cupcake Inspirations Holiday Challenge!  You should check them both out!


Should you decide there is something you need to have, I have this for you:


And that's me for today!  So happy you stopped by to spend a little of your busy season with me!  Hope you'll come again soon!  Hope whatever holiday you celebrate that you get a chance to enjoy it!