

Lisa here! Excited to be sharing with you a card I made and I used many of the new Color Fuse Ink sets along with a couple new clear stamp sets!

The new Color Fuse inks are perfect with the new layered floral sets! I used It's Spring Time for my flowers and Spring Meadow for my "leaves". The leaves were stamped with a green Color Fuse Ink and then I added shading with some colored pencils.

And again, I stamped the Thanks sentiment from Spring Meadow and cut it with the Scan N Cut and then popped it up over the florals

And isn't the Nested Scallop die beautiful? I used the largest die in the set which cuts the frame and the inside layer that nest together. I used both here, popping up the frame piece only. It's such a pretty die!
I'm playing along over at Double Trouble Challenges Something, Anything and Everything Challenge! You should check it out!
And here's how I made my card:
- I stamped the large and small layered florals from the It's Spring Time stamp set. Using the tip sheet included in the set, I was easily able to determine what the first, second and third layers were. I used the lightest three colors in each set and stamped the bottom layer in the lightest color, second layer in the next darkest and the third in the darkest of the three.
- I fussy cut the flowers which was actually pretty quick and easy.
- I cut the frame and bottom layer using the largest die in the Nested Scallop with Holes set.
- I laid the frame flat on the card base (with no adhesive) and centered it so that I could then add the inside piece inside of it. This way I knew the outer edges would be centered.
- I added foam tape to my frame and adhered that so that it fit around the inside scalloped piece.
- Then I moved my flowers around until I had the look I wanted. I kept the larger flowers towards the bottom and then the smaller ones diagonally to the top. Working to keep the colors that were closest to each other separated by other colors. Once my eyes were happy I started adhering them in place... popping some up with foam tape and laying others underneath flat.
- I had stamped and cut out the silhouette images from Spring Meadows and added shading earlier and decided they were perfect as foliage for the florals.
- I popped up the Thanks sentiment that was stamped and cut out with the Brother Scan N Cut over the top and added a few sequins.
And that's me for today! Thanks so much for stopping and be sure to come back soon and often for more inspiration!
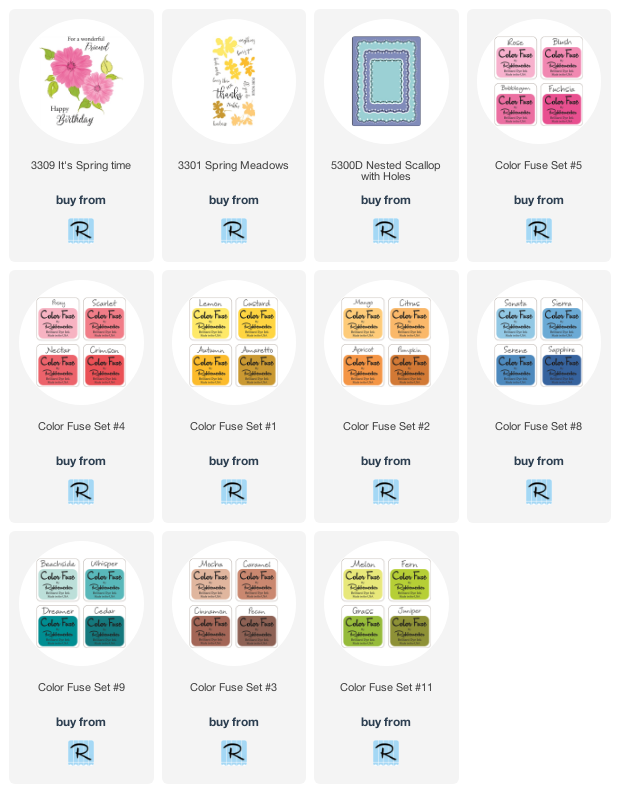
I've provided links below for all of the Rubbernecker products I used today. Should you choose to purchase using these links, I will receive a small compensation at no additional cost to you. And thank you!
2 comments:
This is so gorgeous. Love the colors on the floral design.
BEAUTIFUL! I love your lovely spray of flowers!
Post a Comment